This is a sponsored post written by me on behalf of Arrow Fastener. All opinions are 100% mine.
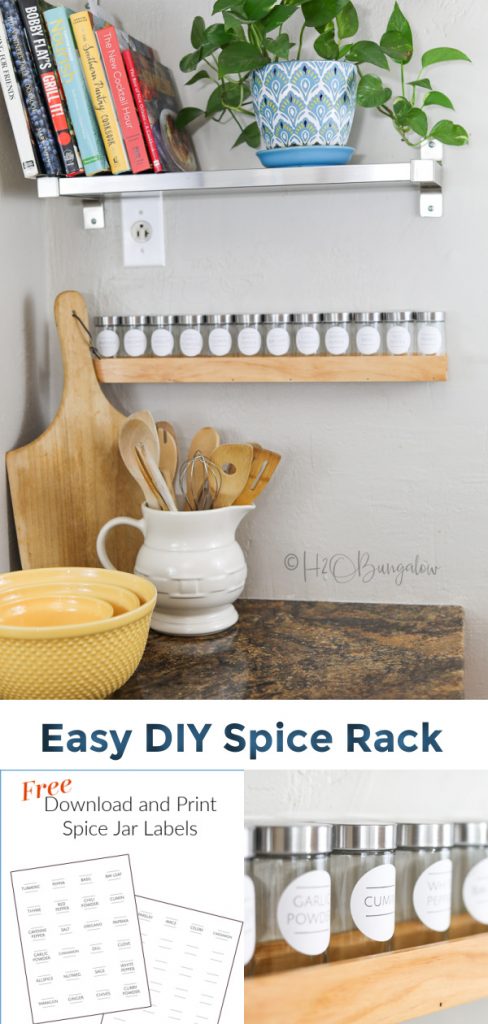
Make this easy modern DIY wood spice rack to fit any size wall space. Hang one long handmade spice rack or make several to hang in a group. Use your own spice jars or elevate your kitchen decor by downloading and printing my free spice jar labels!
This is a fantastic project for my beginner woodworking friends! I assembled this spice rack with my new Arrow Fastener T50ACN Electric Stapler using brad nails!
Looking for more organizing ideas? Check out this post on how to Organize a Pantry And Get More Space, How To Organize A Small Kitchen And Get More Space, How to Add Extra Shelves to Kitchen Cabinets
Be sure to check out my other kitchen updates! How To Makeover A Kitchen Island on a Budget , How To Make a Wall Mounted Paper Roll Note Holder, Hollow Core Door Makeover On A Budget, , my new dining table that I love, and my free-standing pantry cabinet!
No kidding!
How to Make a DIY Wood Spice Rack
Supplies needed for this project.
- 1/2″ plywood cut to 2 1/4″ strip, or use a 1 x 3″ board
- 1/4″ x 1 1/2″ wood lattice moulding
- Arrow Fastener T50ACN Electric Stapler
- 5/8″ Arrow Fastener brad nails
- Wood glue
- Drill with 3/16 bit
- Spice jars – these are what I used
- Printable blank stick on labels – these fit the jars
- Spice jar labels, download these ones I made below
Step 1. Choose a length for your spice rack.
Cut two sides out of the lattice and the base from the plywood to your length.
The bottom needs to be wide enough to hold spice jars. Mine is 2 1/4″ wide and cut from plywood. You could also use a 1 x 3′ board as the base when you make this spice rack.
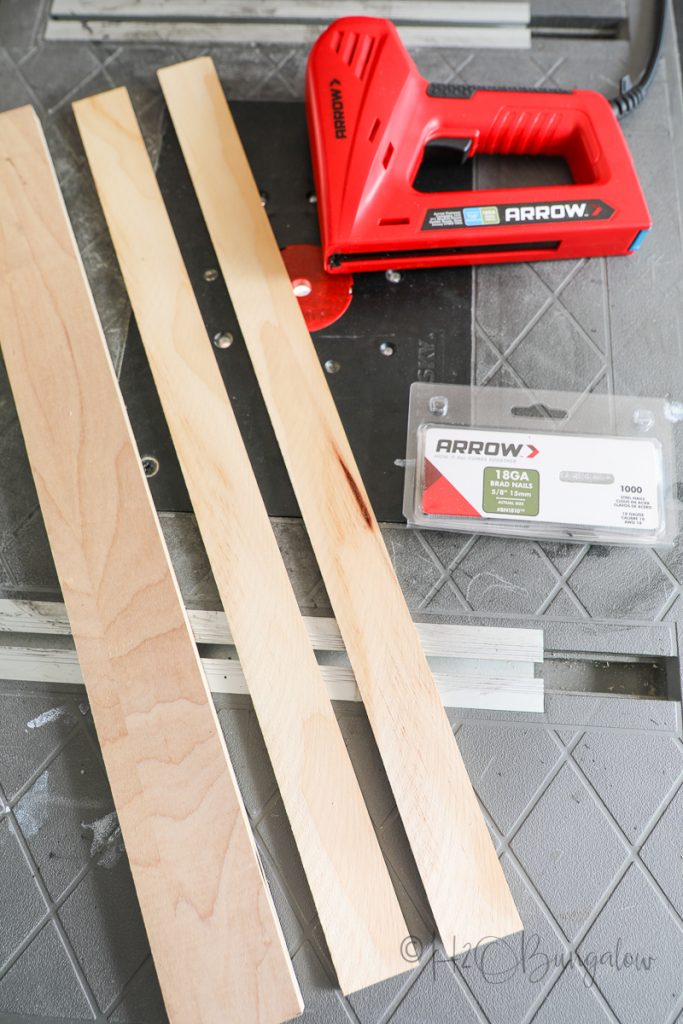
I wanted my spice rack to be the length of the bookshelves I already had on the wall in my kitchen. They are 22″ long and will hold twelve 1 3/4″ wide spice jars. I made custom labels for my spice jars that you can use and download here.
Step 2. Add holes to hang the spice rack onto the wall.
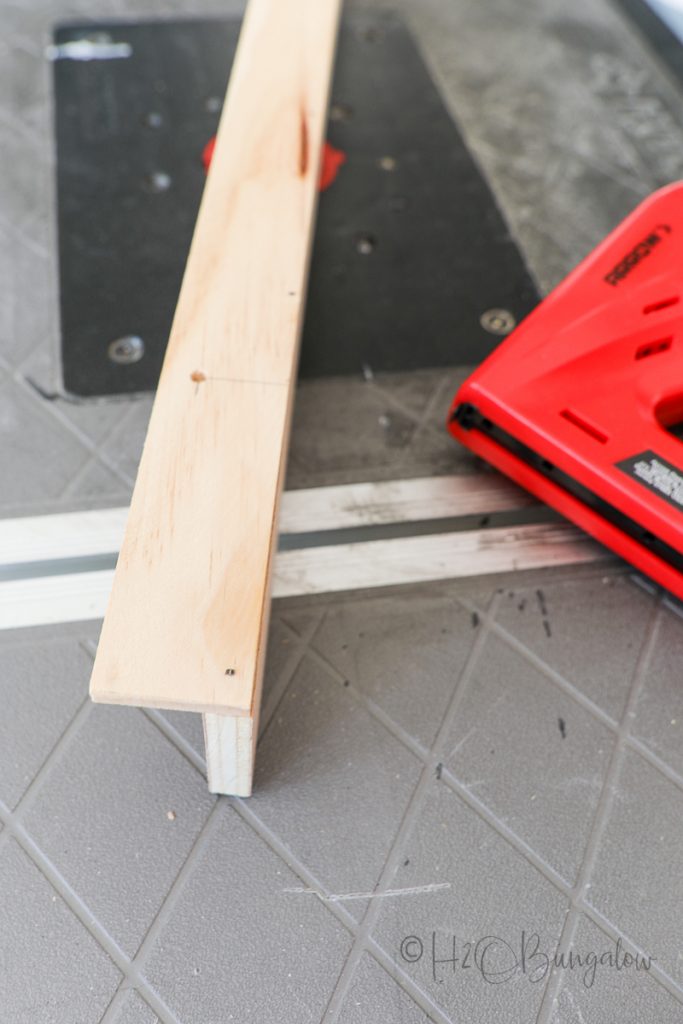
Drill two holes at each end of one of the 22″ lattice moulding lengths. This will be the back of your spice rack. Measure and drill a hole 4″ in from the end about 3/8″ from the top at each end using a 3/16″ drill bit.
See where I placed the hanging holes below.
Step 3. Attach the back of the spice rack.
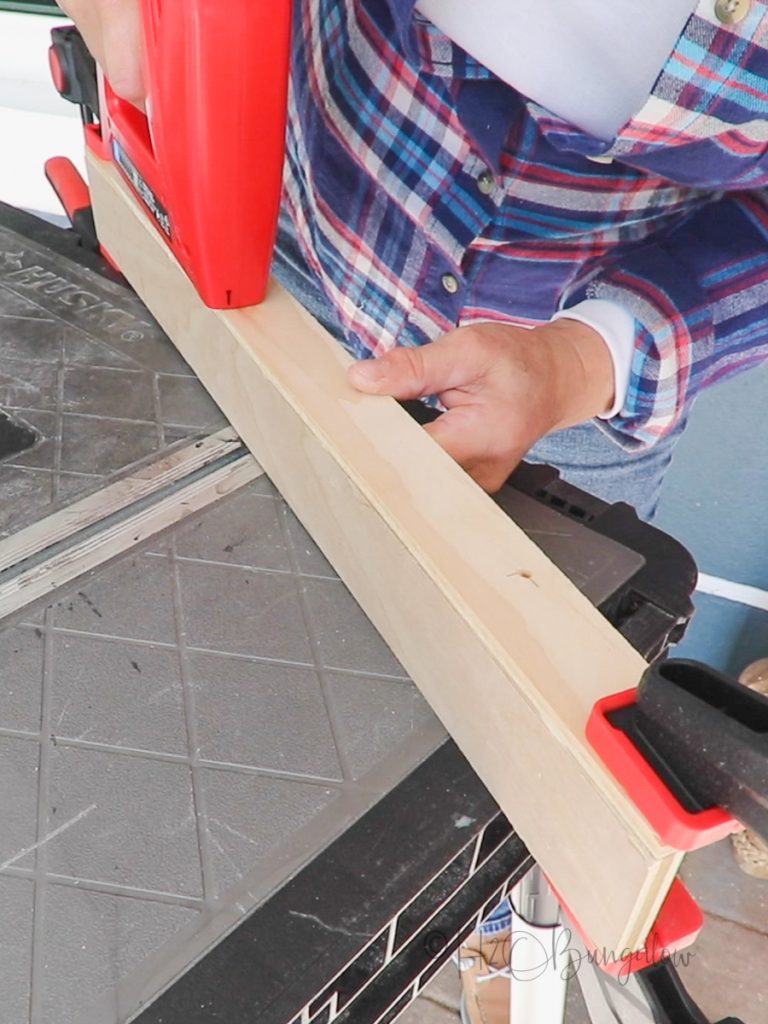
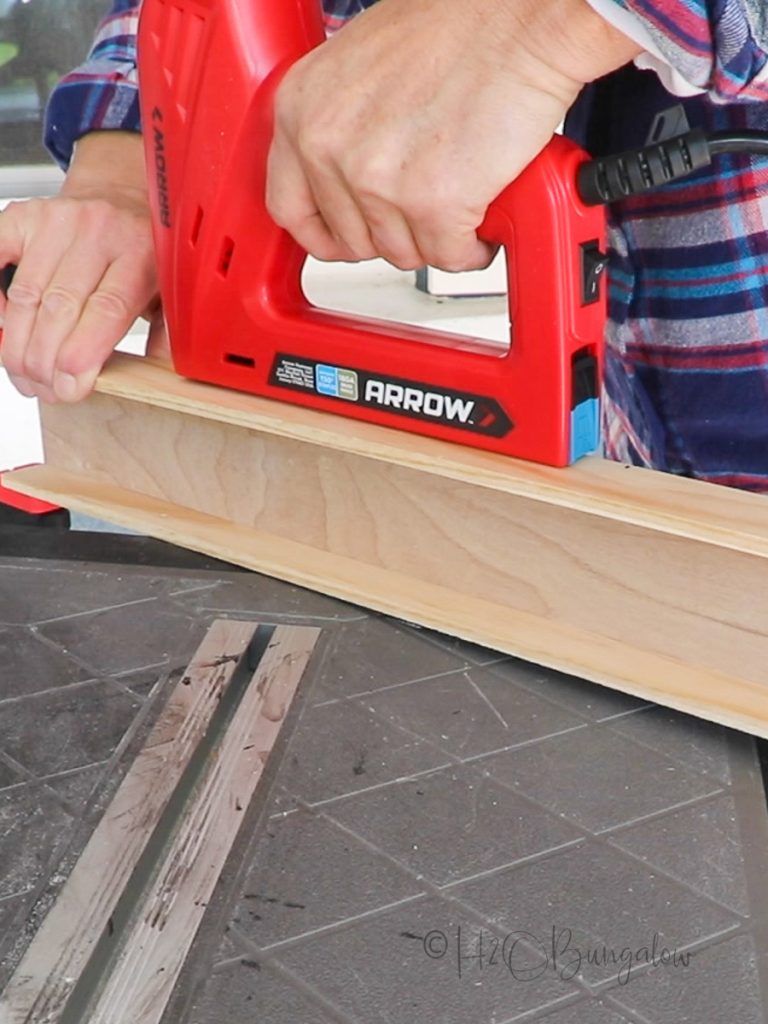
Use wood glue, and an Arrow Fastener staple gun with 5/8″ Arrow brad nails for this step. It helps to use bar clamps if you have them.
How do you load brad nails into an Arrow Stapler?
Loading brad nails is easy. First, be sure it’s turned off or unplugged.
Release the back of the stapler, pull back the staple bar. Next, insert a row of 5/8″ Arrow brad nails into the front of the stapler on the side with the picture of the brad nail. Push the staple bar back in place until it clicks.
To nail, turn the stapler on, place the stapler flat onto the surface, line up the picture of the brad nail where you want the nail to go and pull the trigger.
Add a nail to the back of the spice rack every 3-4″.
Step 4. Secure the front of the spice rack.
Like the back, use wood glue and brad nails to secure the front panel.
Step 5. Sand all over lightly to remove sharp edges
Use a palm sander or sanding block to lightly go over the corners, edges and flat surfaces. Wipe well with a cotton cloth or tack cloth before finishing.
Step 6. Finish as desired.
I stained my spice rack using a pecan stain but you could easily paint it.
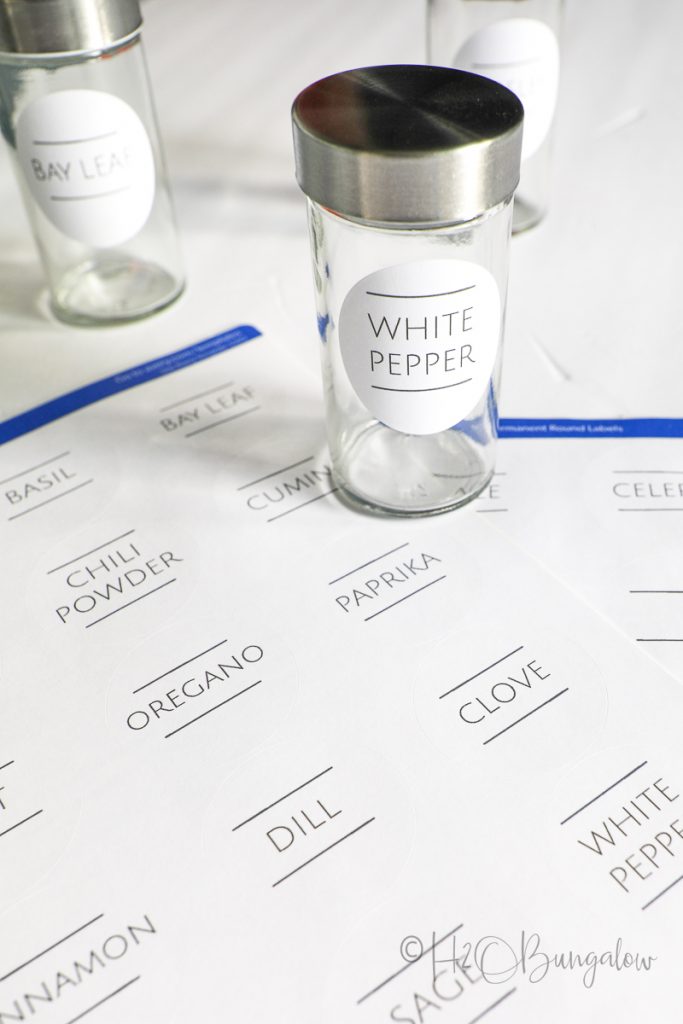
To complete my handmade spice rack I made my own spice jar labels and used blank spice jars.
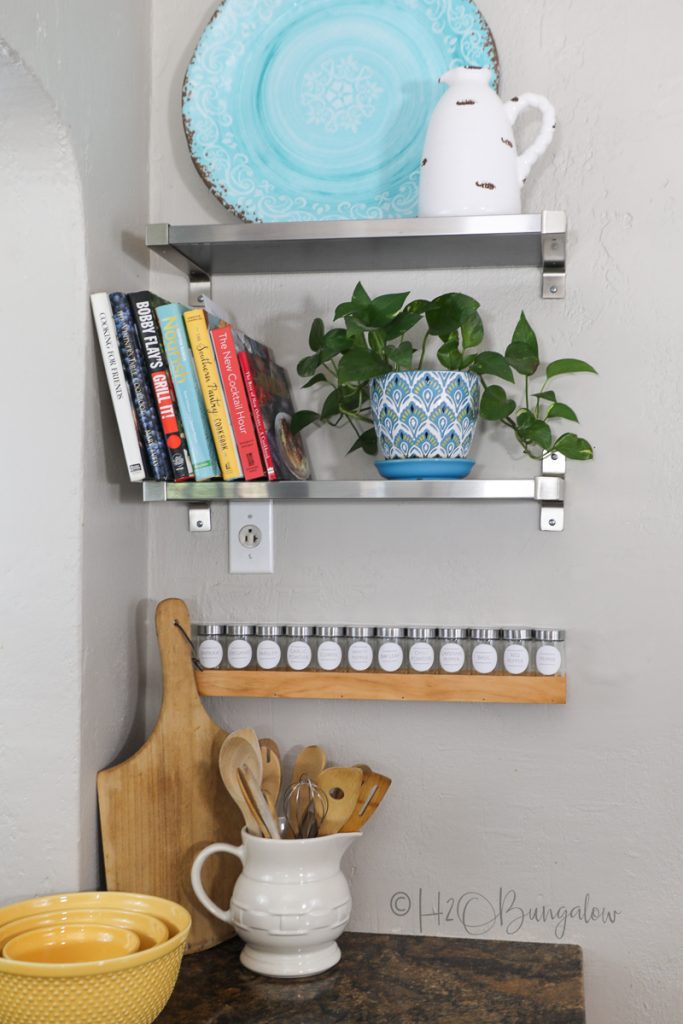
This is what the set looks like put together and mounted on my wall.
I still need to fill my spice jars but, I was so excited I couldn’t wait to hang my new spice holder on the wall and get pictures!
Save my DIY wood spice rack project for later!
Maybe having my spices front and center in the kitchen will motivate me to cook more…
Ha! Probably not. But, they will be much easier to find now!
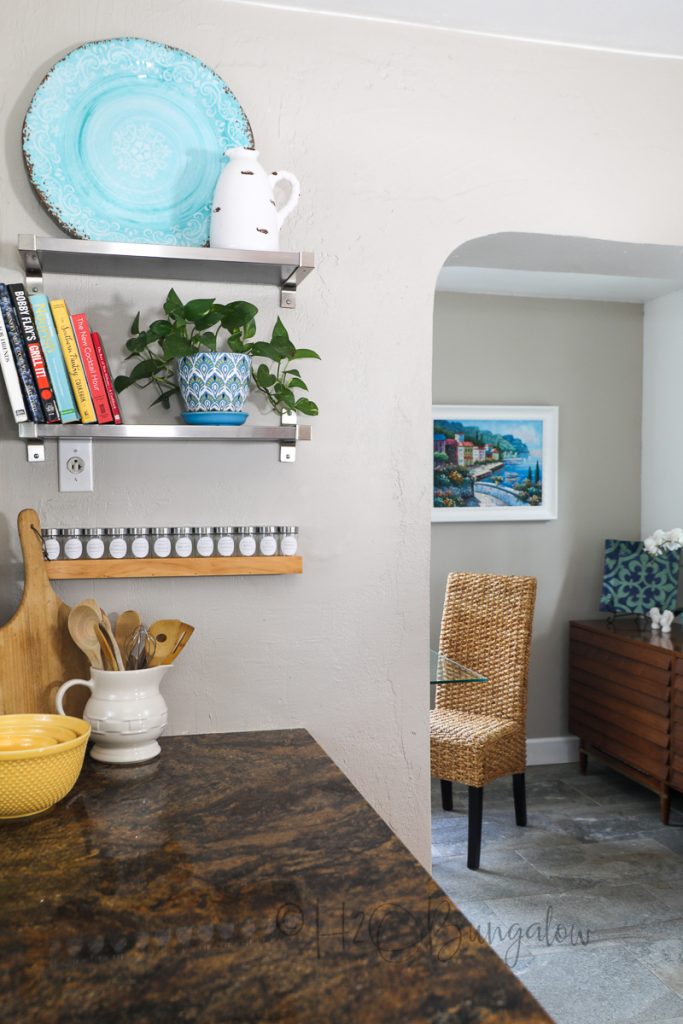
I used small wall anchors with the two holes on the back to hang it on the wall.
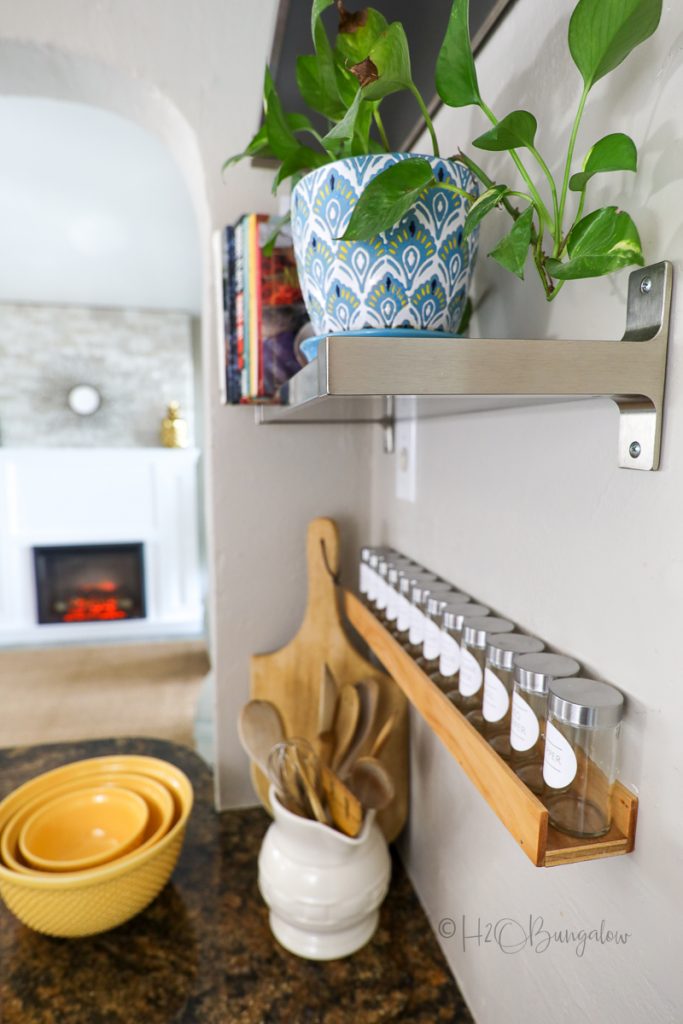
These simple spice rack woodworking plans work well for hanging wall decor too!
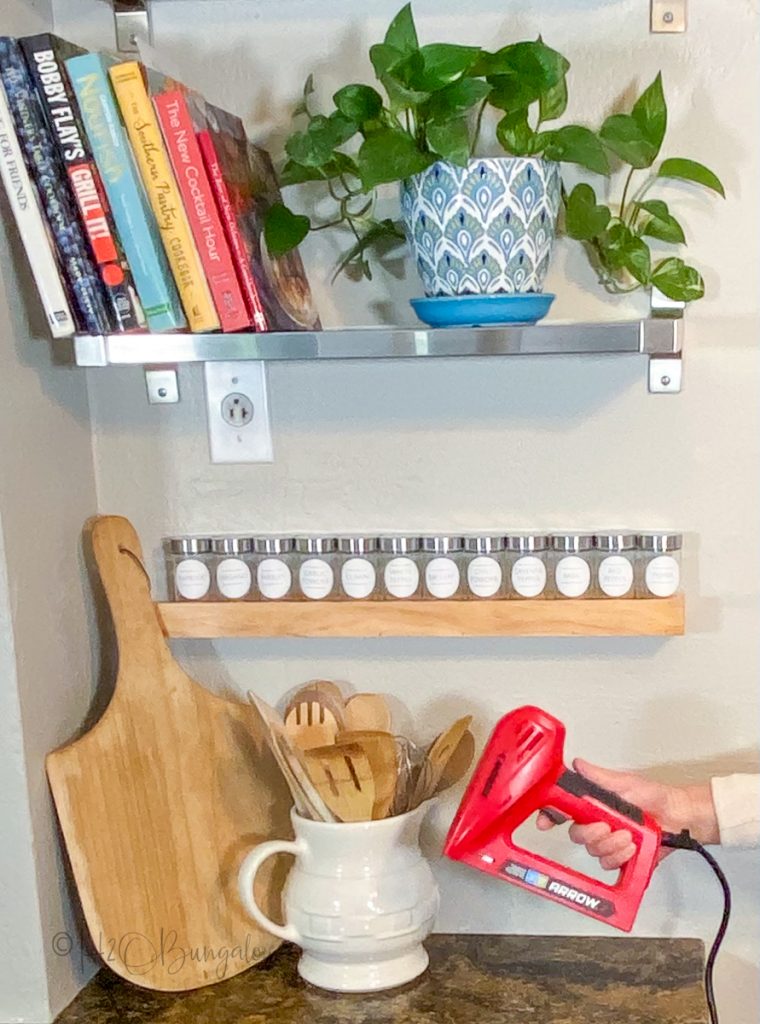
What else can you make with an Arrow electric stapler and brad nails besides this wood DIY spice rack?
With a little modification you could make:
- DIY Napkin Holder
- Picture shelves
- Deer Antler DIY Drink Coaster Set
Arrow’s suite of tools is here to help pros, makers and DIYers alike tackle any home repair or DIY project. Click here for other #MadewithArrow projects to see more project ideas.
This is a great project to try your hand at making a simple spice rack to hang on the wall even if you don’t have a lot of tools!
