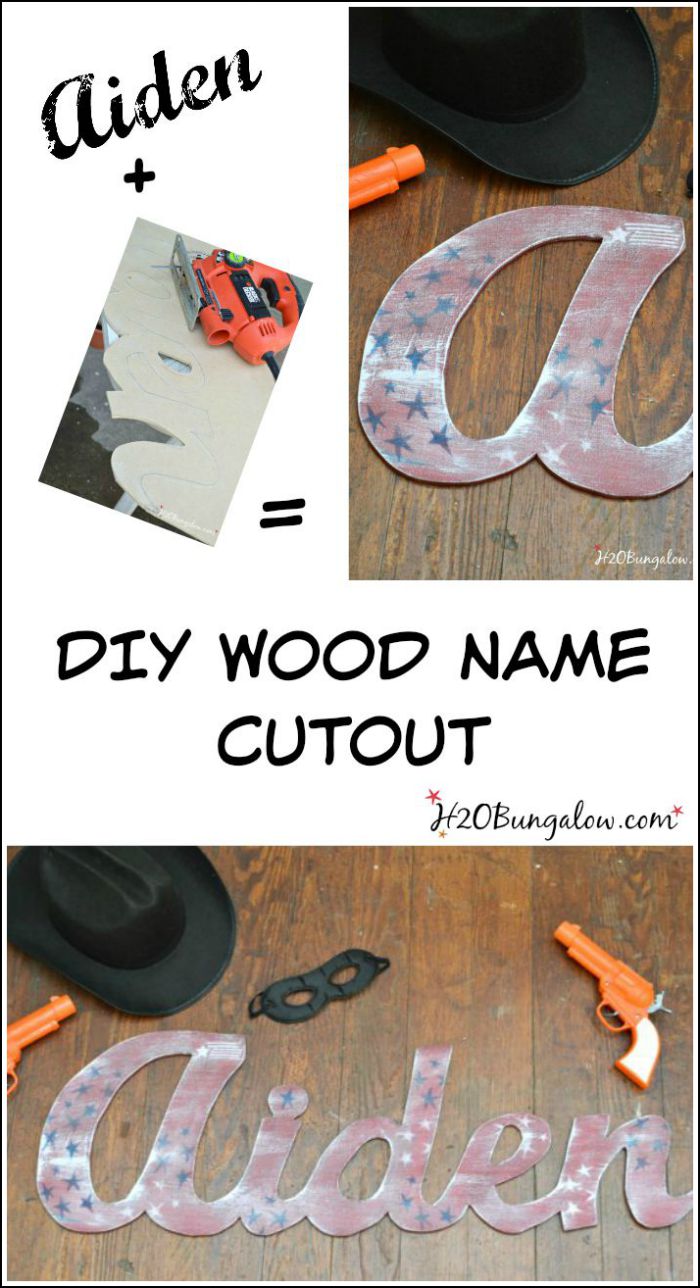
Ten minutes before I left for the airport and my grandson’s 3rd birthday I had a doozie of an idea. I’ve wanted to make him something special for his room for the longest time, but shipping was always the challenge. This was it. The perfect opportunity. I knew my daughter didn’t have the tools I needed, but that was not an issue. What’s a little more weight in my luggage going to hurt…right? So I quickly threw in my jigsaw, some sand paper and a set of new jigsaw blades. I was finally going to make a DIY wood cut out name! I also made a wood name cutout for my granddaughter and shared several tips to make a perfect name cut out with a jigsaw.
DH was watching and shaking his head with a smile as I shoved my tools into my suitcase. I think I heard him say “I’d expect nothing less”.
As soon as I arrived, and drove in from the airport, I found a hardware store near my daughter’s house, stopped and bought a 1/4″ – 2 ‘ x 4’ piece of MDF board and some paint. I carried everything, my heavy suitcase, laptop, camera bag, wood and paint all the way up a long flight of stairs to my daughter’s apartment. Opened my supplies and got to work.
I had to be creative on the fly. Almost everything about this project was improvised. I had no workbench or work area, minimal tools and had to get photos without my lighting kit. Working outside in 100+ degrees was not an option. This girl does not do well in that kind of heat…at all! Leaning over a dining room table is also not the optimal place to DIY, but it was better than the alternative! I used a drop cloth and vacuumed up the telltale signs before my daughter came home from work:)
So now that I’ve warned you that my photos will be wonky… let’s move on to the DIY Wood cut out name tutorial. Yes, girlfriends, you can do this project!
You’ll need a
- Jigsaw
- Palm sander
- 2″ x 4′ MDF board
- Pencil
- Tracing medium like Graphite paper
or chalk
- printer with 8 1/2 x 11″ paper
- clear tape
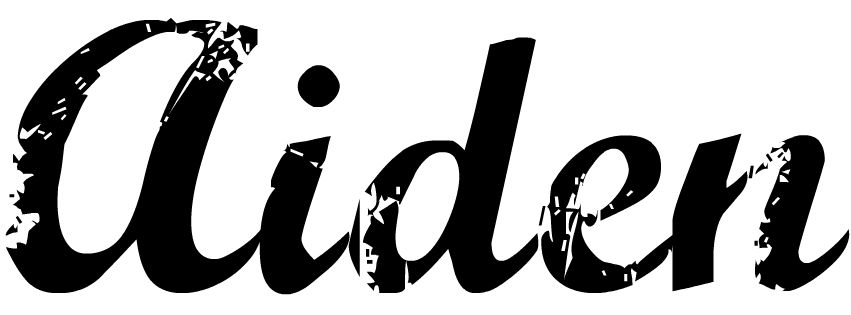
I used the Marcelle Script font in Pic Monkey for the name. Go to PicMonkey.com, click on create, choose 8 x 10 size. The first option is background color, chose white. Next, Click the rotate button underneath, rotate the project to get a landscape orientation and click save. Click add text, select your font and spell out your word. Adjust it to fit on the form as large as possible. Save it as a JPEG.
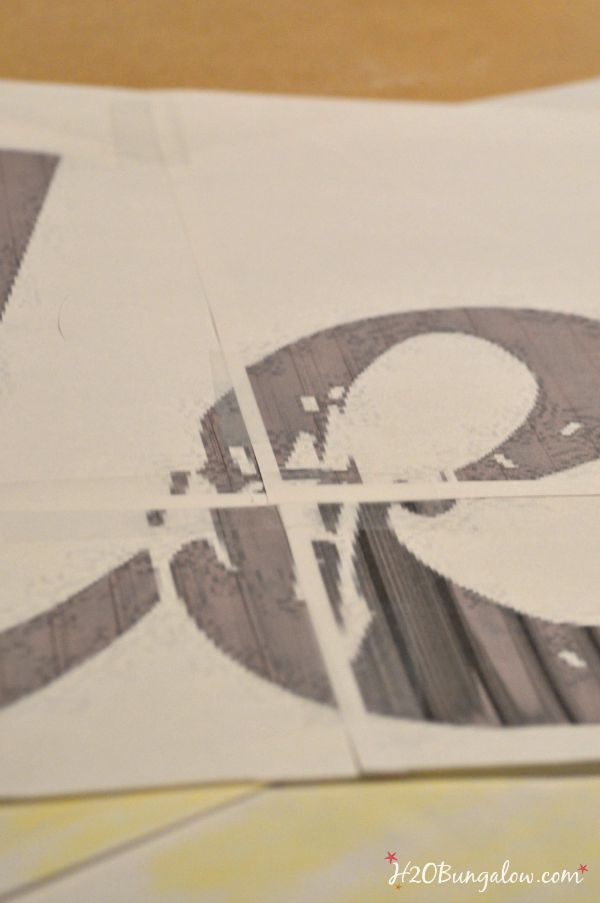
Go toBlockposter.com, upload your JPEG file. Choose how large you want your name to print. I choose landscape and 3 sheets across. It will tell you in a little box on the menu screen how tall, large and how many papers across your file will save as. Choose to save it with borders. When it is the size you need, download and save the file. It will save as pdf.
Next, you’ll print your file. Open your saved file and click print. Select to print it as an 8 x 10”, unclick the fit to size option because it will cut off a bit of the edges. Print out your file. Put your pages together with tape.
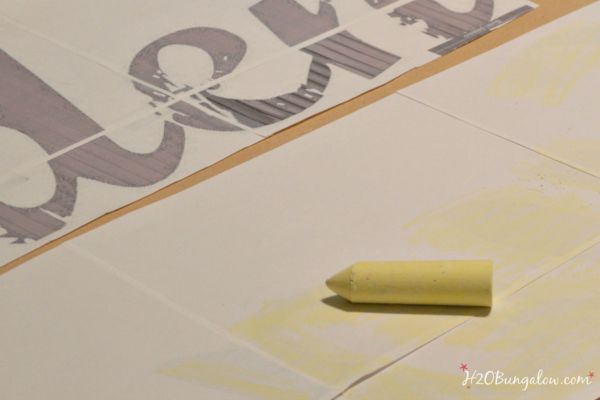
If I were home, I’d use graphite paper to transfer the image. Since I was at my daughter, Blair’s place, I had limited supplies. I rubbed colored chalk against the back side of the letters, taped it down and then traced the outline. It left a light chalk outline of my word. Because I can’t see a darn thing, sometimes even with my glasses, I used a pencil to go back over the traced letters to see them better.
Modify any letters to be sure there are no spots that are too thin. Hand draw the dot on any “I” so it rests on top of the letter. See my finished project photo and see what my “I” looks like.
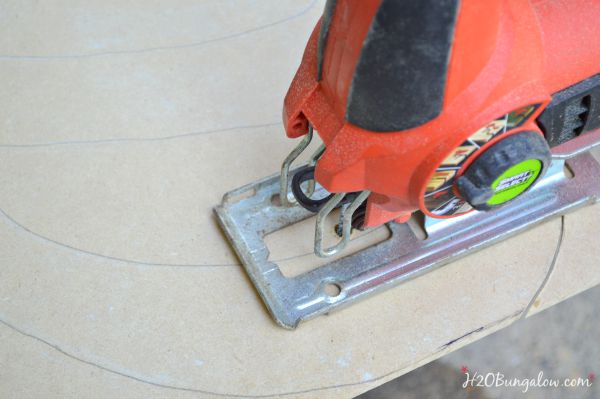
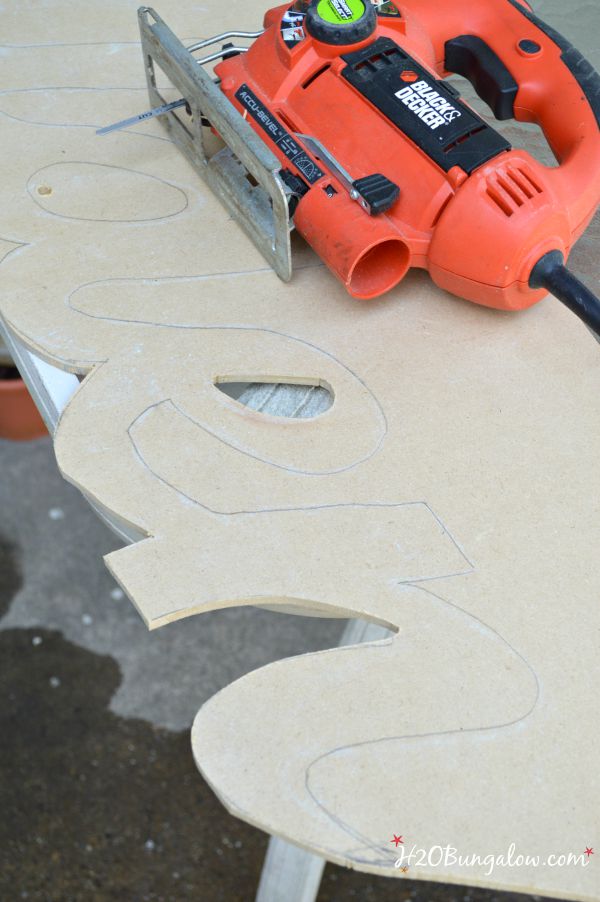
Using a drill place pilot holes in any closed letter like an O or A. Using a scroll blade for a jigsaw, use the pilot holes and cut out all the inside spaces first.
Next start on one end and begin cutting out the letters. Work all the way around the edges.
The cuts will be smoothest with the jigsaw cutting at a fast speed.
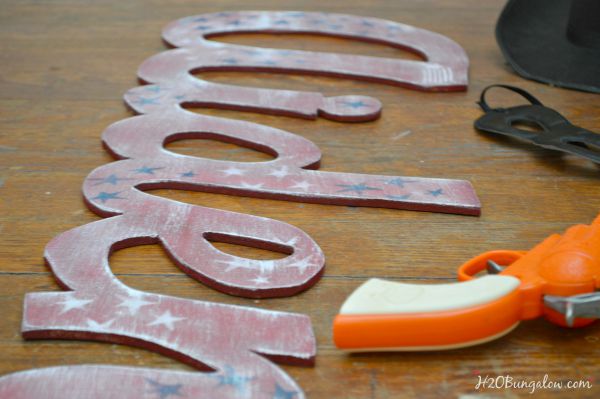
The beauty of the MDF board is how smooth it is so it needs minimal sanding. The top is perfect. I’d recommend using a palm sander to smooth out any edges and rough spots on the edges. Blair didn’t actually have a palm sander… she had a random orbital sander which is a honking huge high power sander. Just like the sander I used for my DIY Concrete Countertop (click here) in our new Master Bathroom. Since beggars can’t be chooser, I made do 🙂
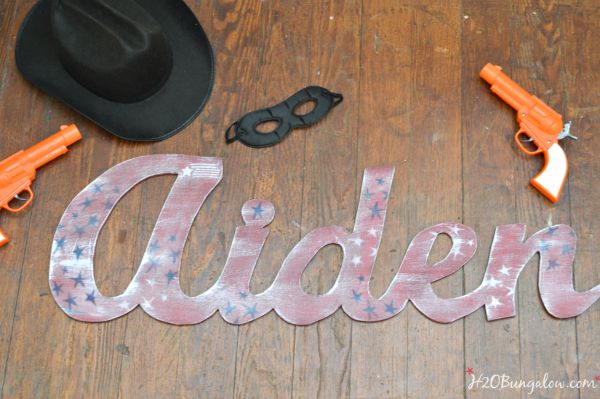
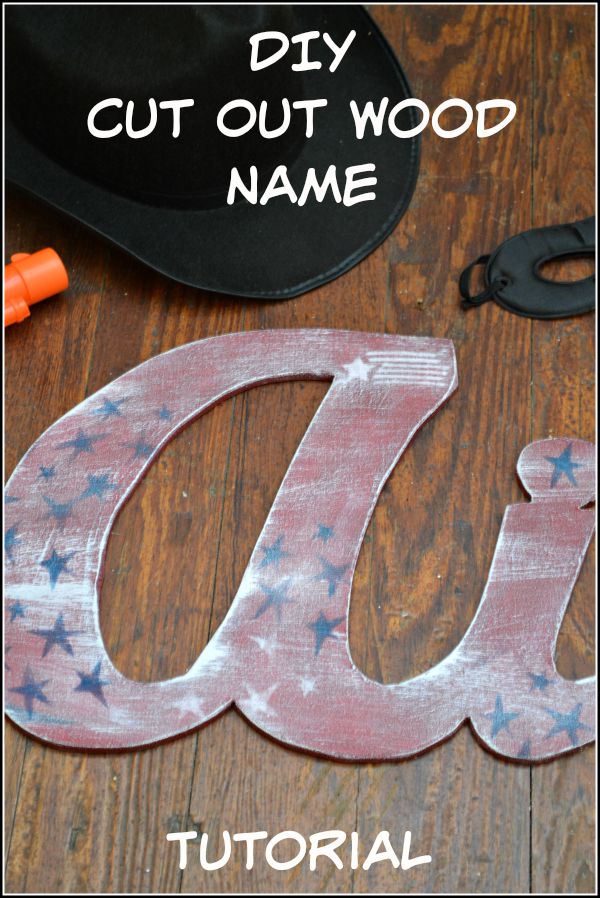
My daughter lives in 1oo year old building. The wood steps in the landing were the only place I could find with bright light for my photos. One of the other gifts I brought to Dallas for my grandson was a Lone Ranger costume. Do any of you remember the Lone ranger?
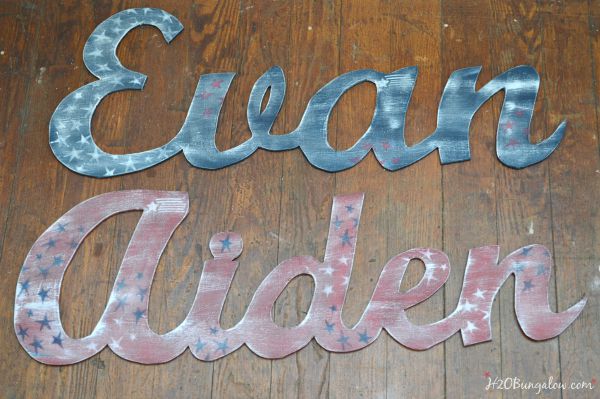
The costume fit well with his DIY wood cut out name since I painted it with an Americana theme, which is one of my all time favorite themes to paint.
Perfect for a little boy. I had enough wood left over to make a DIY wood cut out name for my sister’s grandson too.
I love that I finally was able to make at least one of the (many) projects I ‘d like to make for my grandson. I even wrote a little birthday note to him on the back with the date and lots of hugs and kisses from Birdie.. Who’s Birdie you ask? It’s me!
Who would you make a DIY wood cut out name for?
Read my Tips For Choosing A Grandparent Name (click here) where I share how the girls gave me my grandparent name:)
Want more simple woodworking and tool using projects? Here’s a few that are easy and look awesome! DIY Wood Doormat (click here) , How To Make An Easy Headboard Bench (click here)
Love a good dose of DIY home decor, home improvement, the challenge of woodworking and creative ways to make your home look fabulous?
Me too! I’ll share mine with you!
Click here to have my posts sent to your mailbox fresh off the press.
Social media fan? Don’t be shy say hello! I love when you guys do that!
I’m very interactive with my readers on Facebook and I share lots of extra projects and, useful inspiration for the home and content I don’t share anywhere else.
Follow H2OBungalow on Facebook
Oh heck, just follow me on all social medias. We’ll have some fun…promise:)
Follow H2OBungalow on Instagram
Follow H2OBungalow on Pinterest
I’m on Periscope! @H2OBungalow
I use affiliate links in my posts. If you should make a purchase I will receive an itty bitty commission at no coast to you. Thank you in advance for supporting my blog…my two cats and our boxer dog 🙂

Geri Ann says
You have some serious skills Wendi!!!
Wendi says
…LOL Thank you Geri Ann! I still love this project! It was a lot of fun showing up to my daughter’s house with my jigsaw packed. I hope my girls learn to expand their own boundaries through their Mom’s craziness!
JaneEllen says
Now that’s what a person could claim to be awesome determination, you deserve one big gold star for being super Grama. How did you get your tools to pass at airport?
This is truly incredible, have to print this out, maybe between hubs and I can get computer name printout to work, I am digitally challenged. Then to get him to cut it out for me. Due to wimpy hands, lousy eye sight am forbidden to handle power tools except for sanders.
Sure glad I clicked on your post and decided to subscribe, don’t want to miss any more posts.
Enjoy rest of week. Love your apron.
Wendi says
Hi Jane Ellen! LOL… Thanks so much for the awesome compliment and subscribing to my project emails:) Tools will travel just fine when packed in a suitcase that is checked. I think a jigsaw would pass the carry-on inspection as long as there wasn’t a blade, but what good is a jigsaw without a blade? LOL… I had fun with this project. Enlisting your husbands help with this project is a great idea! Then it could be a gift of love from the both of you:) Thanks so much for your visit and note!
Falon at A Disney Mom Blog says
This is so cute! And I’m totally impressed you were able to do this is an unfamiliar workspace. Kudos!
Wendi says
Thank you! It’s amazing what a little determination will bring to a project. It was crazy trying to cut this in my daughters dining area..thank goodness she wasn’t home! Thank sos much for your visit and sweet comment:)
Lou Lou Girls says
Cute! This looks so amazing. Pinned and tweeted. Thank you for bringing such amazing creations to our party. We hope to see you tonight at 7 pm because we LOVE to party with you! Lou Lou Girls
Marie@The Interior Frugalista says
Well, Birdie can sure rock the power tools on the fly! I bet Aiden was thrilled when he saw his special handmade gift. To answer your question…well you know mine would spell Westin 🙂
Wendi says
I know it would Marie! I loved doing this project and especially writting a little note to Aiden on the back. Someday he’ll read it an know his “Birdie” was a rockin’ grandma:)
Mary-In the boondocks says
That is so adorable, I’m sure Aiden must be so excited. First he got to see his grandmother and then he got a special gift.. and yes, I do remember the original Lone Ranger…lol