Installing your own baseboard trim can seem like a daunting task. It’s easier than you think! Learn how to install new baseboards with this DIY baseboard tutorial for a professional looking installation.
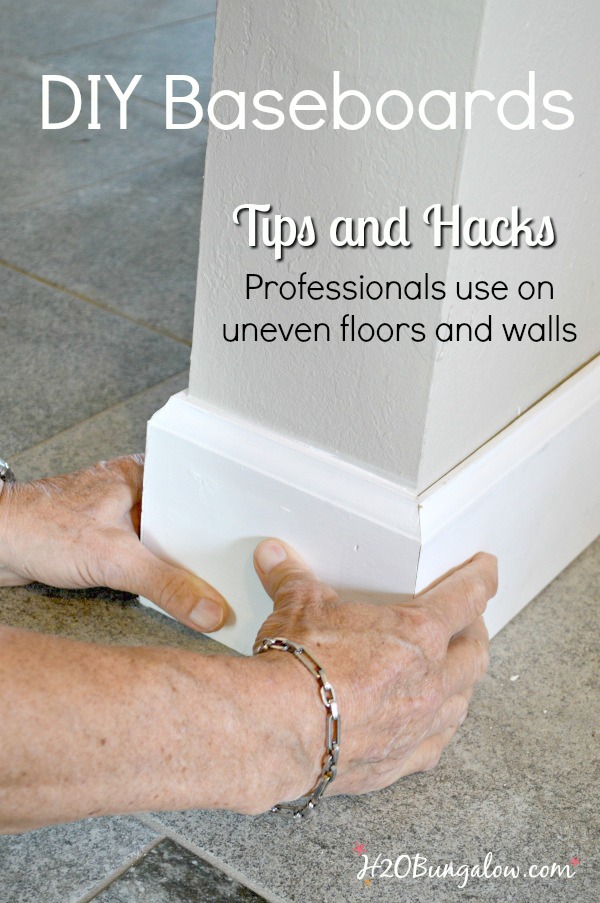
I have a problem. It’s called DIY- itis. When you have DIY-itis, it means you are too cheap to pay someone to do what you know you can do yourself. Projects like my baseboards get delayed until the stars align and schedules clear, in other words, it’s rare.
We just had one of those rare occasions and I not only have new baseboards, but I also have a DIY baseboard tutorial to share with you too.
Just in case you need new baseboards or are planning on replacing the ones you have. Baseboards don’t have to be boring either, my friends! take a look at my new Rustic Modern DIY Mudroom Entry and see how creative use of color and baseboards defined this room.
Installing my own baseboards cost me less than $400 for my entire house! That figure includes the paint, nails and all the caulk I needed with change to spare. They look amazing with my Simple DIY Craftsman Style Window Trim and my DIY Fireplace with Electric Insert projects.
I will show you how to install your own baseboards, it’s not hard. If you can cut a simple 45 degree angle, you’re mostly there. Baseboards are not technically called toeboards or kickboards. But, if you want to call them that then, yes, this post could easily be called how to install new kickboards or toeboards in your home.
What makes the biggest difference in your DIY baseboard project, is knowing the tips and tricks professionals use to make their projects perfect. I’ll share the ones we used and a lot of what my Dad shared with me. These tips made my baseboard project look just as, if not better than if I’d paid someone.
DIY Baseboard Tutorial
This post contains affiliate links, as an Amazon affiliate I earn a fee from qualifying purchases at no additional cost to you. Thank you for supporting H2OBungalow!
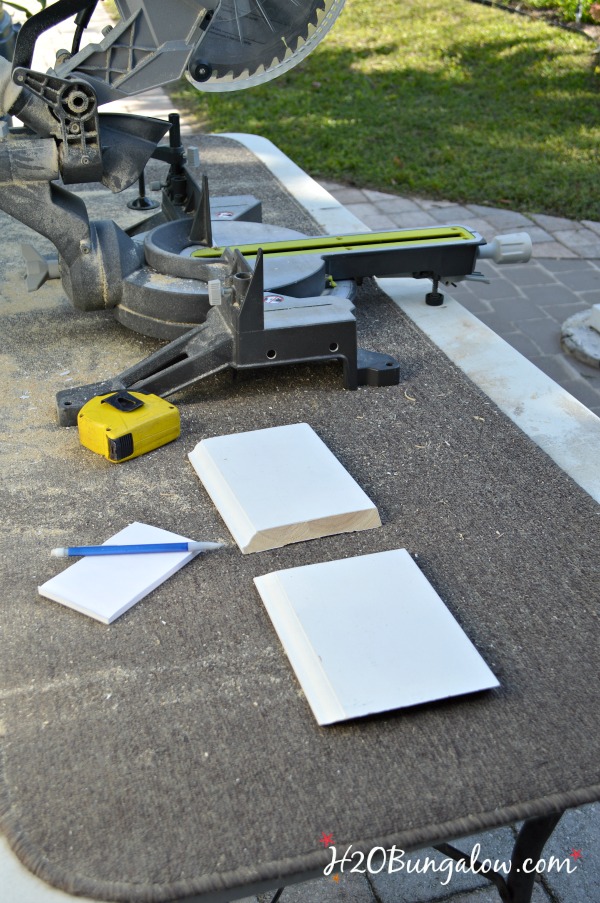
Tools needed for a DIY baseboard project.
- compound miter saw
- compound square, One of my most used tools, and it make measuring and marking measurements easy.
- brad nailer, I love the Ryobi Airstrike because it’s easy to use and it’s cordless.
- wood stand
- chisel
- hammer
- quick read tape measure – The best kind for this type of project.
- caulking gun
- backer rod
- protective eyewear
- knee pads or a gardening pillow for your knees
You’ll also need a DIY buddy. Two sets of hands make the job go by a whole lot faster and easier.
Measuring tips for DIY baseboards
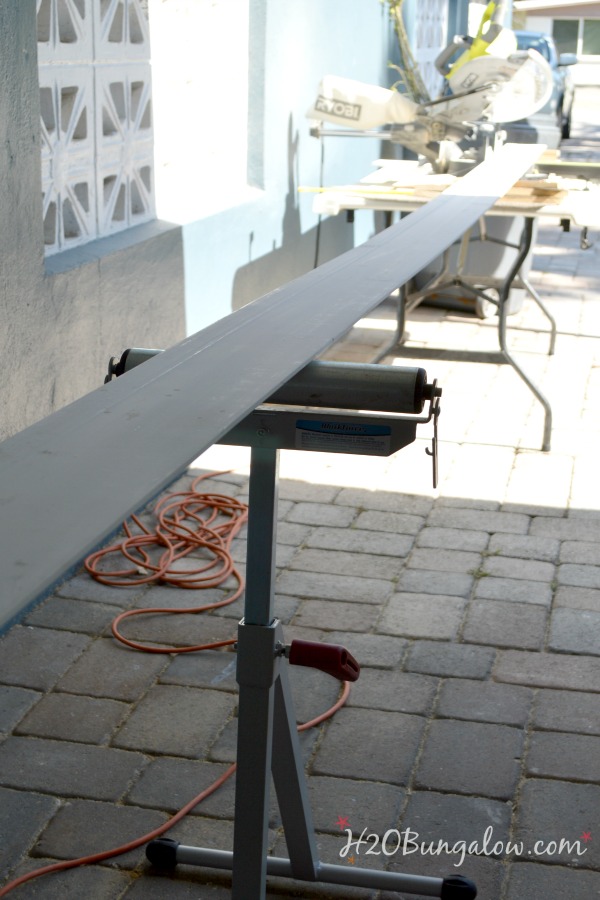
Baseboards are sold by the linear foot. When you’re figuring out how much to order, measure the area and add 10 – 15% more for waste and mistakes.
There are several choices for baseboard material. You can use unfinished that mean it’s plain wood, you can use primed, which is what I used for my baseboards, or you can use prefinished, which means you install, caulk and walk away.
You can see the prefinished boards in my Craftsman Style Window Trim Tutorial.
Use the same measuring tape to measure the wall lengths that you use to measure the baseboards lengths. keeping a pencil and paper nearby is helpful. Also keep in mind when you’ll measure for a heel or toe cut and make allowances for those when you measure.
On our baseboards it meant 1/2″ difference on the overall length of the board. It’s good to know if you’re using scraps, which you should so there’s less waste.
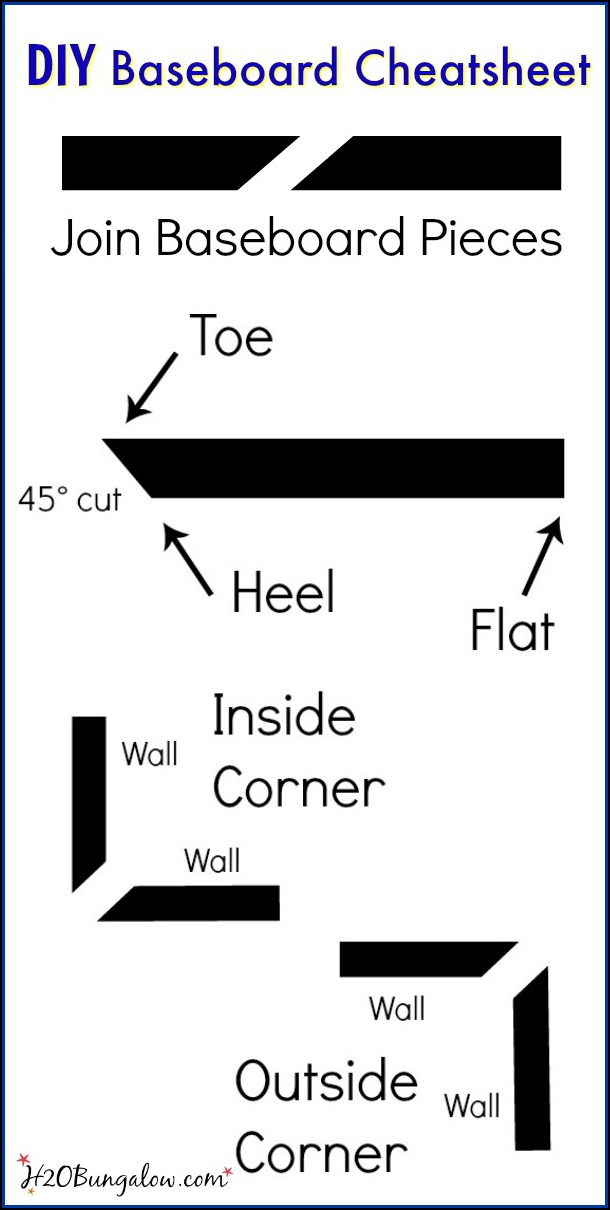
See below for my DIY baseboard cheat sheet for cuts and terms.
Prep your surface for new DIY Baseboards
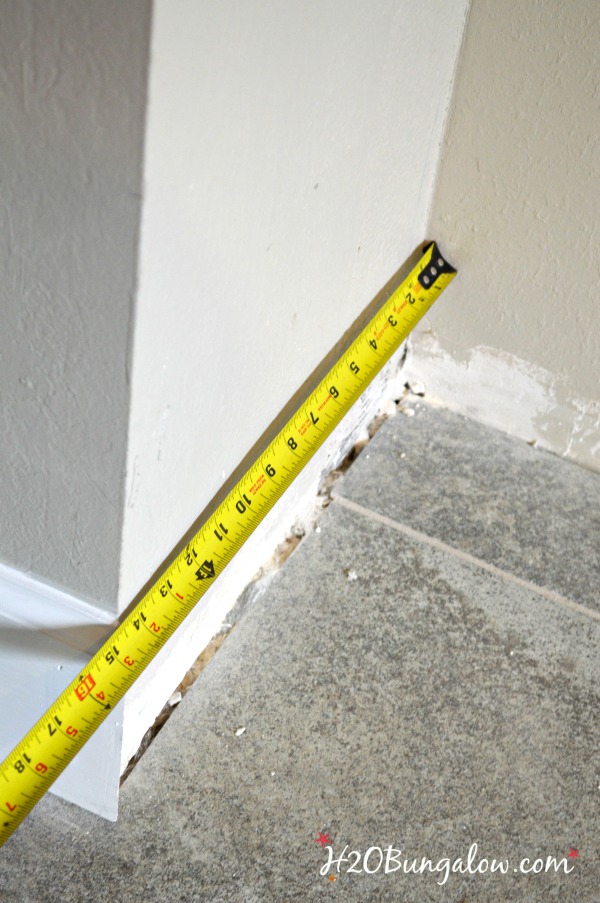
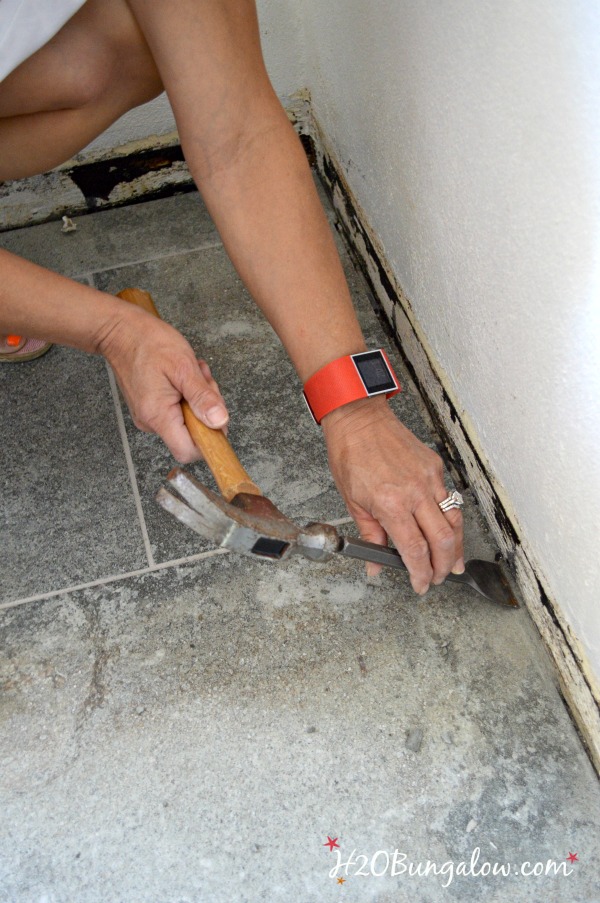
Be sure walls and floors are clear of debris so your new baseboards will lay flat. Once upon a time, this house had tile baseboards. There was tile adhesive on the walls and extra grout sticking up from the tile floor edges that had to be removed. I used a hammer and chisel to clear away the area.
It helps to be on the same page when it comes to terms & baseboard names with your DIY buddy. The cheat sheet below shows how the cuts are made, what inside and outside corners look like and the terms we used. All the angles were simple 45 degree cuts.
Tips for cutting baseboard angles
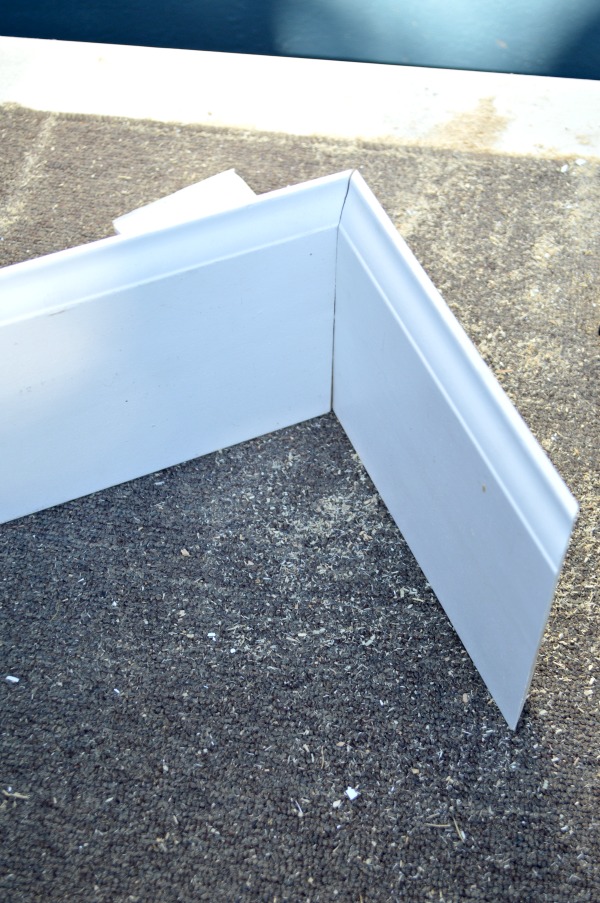
It helps to have two pieces of pre-cut molding at your cutting station. Sometimes, angles can get confusing. If you’re cutting an inside angle and want to be sure the direction you set the compound miter saw is correct, you can hold your boards together for a quick visual and check against the direction of your blade setting.
This is an inside corner.
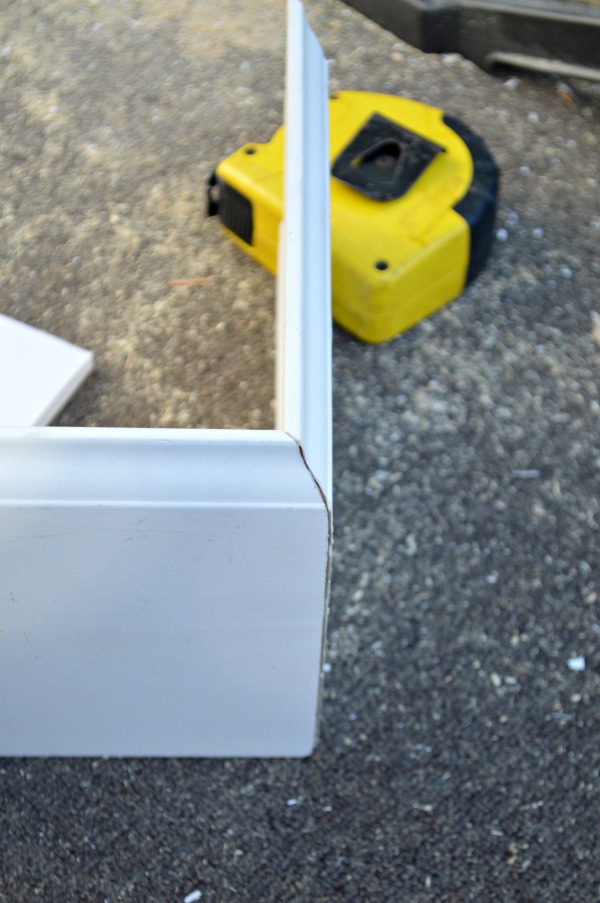
This is an outside corner.
Because we used these boards as visuals and used the same terms, we didn’t have one wrong cut for the entire project. In fact, we had the entire extra 15% we ordered left over!
Installing baseboards
First, plan to install your longest runs or walls first. When needed, splice two pieces together like the diagram in the DIY baseboard cut cheat sheet.
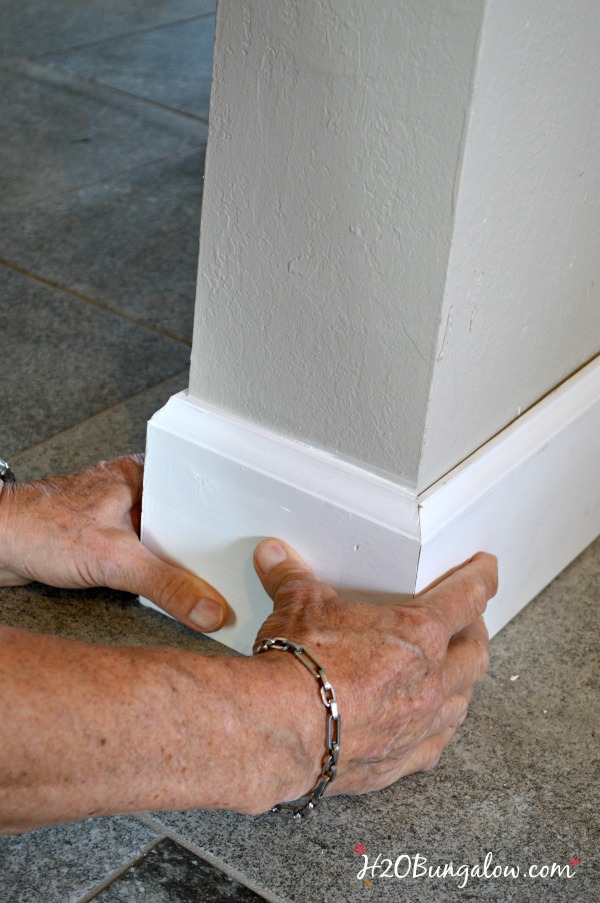
When you get to corners and room transitions like the one below, have your DIY buddy hold the cut baseboard pieces in place. Line up the corners and secure the center piece first.
This will help make sure your corners line up well. These corners are the most visible and the last thing you want are wonky corners.
You want your DIY baseboard to look like a professional installed them, right?
Tips to nail your DIY baseboards to the wall
Attach the baseboards at the end with 2 or 3 brad nails. I alternately added more nails high and low on the flat part of the baseboards about every 8 inches. Our home is cement block and doesn’t have studs behind our drywall, we have furring strips that lay over the concrete blocks.
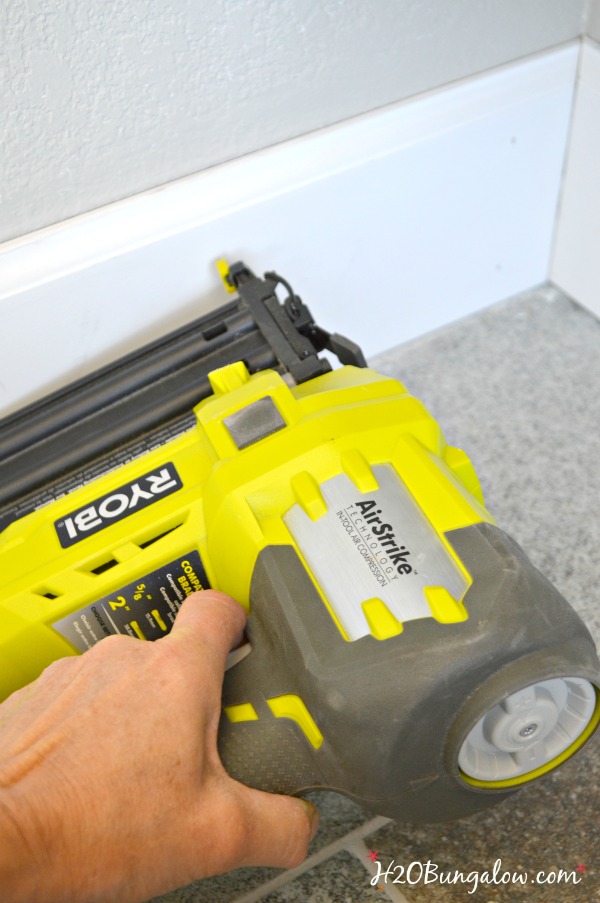
If you have studs, you may want to secure your baseboards at 16″ intervals where your studs are located.
How to install baseboards on uneven floors
Almost all homes will have some uneven floors, especially old homes. You can still have your baseboards look good and flush to the floor. Cut and lay your board in place. You’ll probably have sections that look like this. Some areas touch the floor and some don’t.
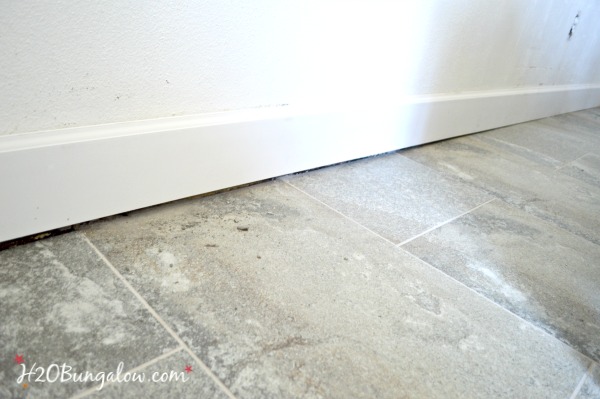
Or, one end will and the other doesn’t. Not to worry, this can easily be fixed. Secure the end that lies flush to the ground as you normally would up to the point where the board does not lay flat on the ground. Do not add any brad nails from that spot forward.
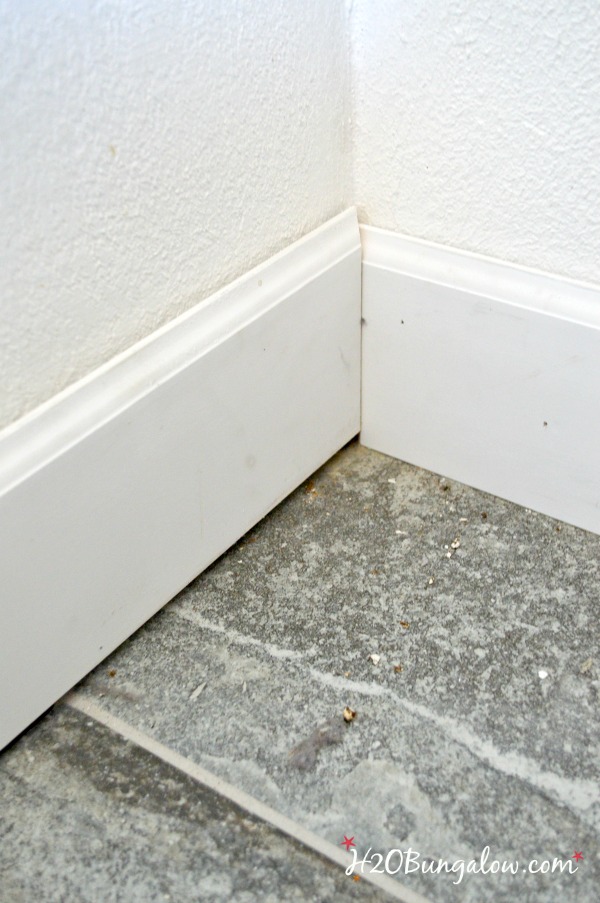
Have your DIY buddy hold down the baseboard with a 2 x 4. This will bend the board onto the ground. Secure with the brad nailer up to the point where it doesn’t lay flat. Repeat this until you reach the end of the baseboard.
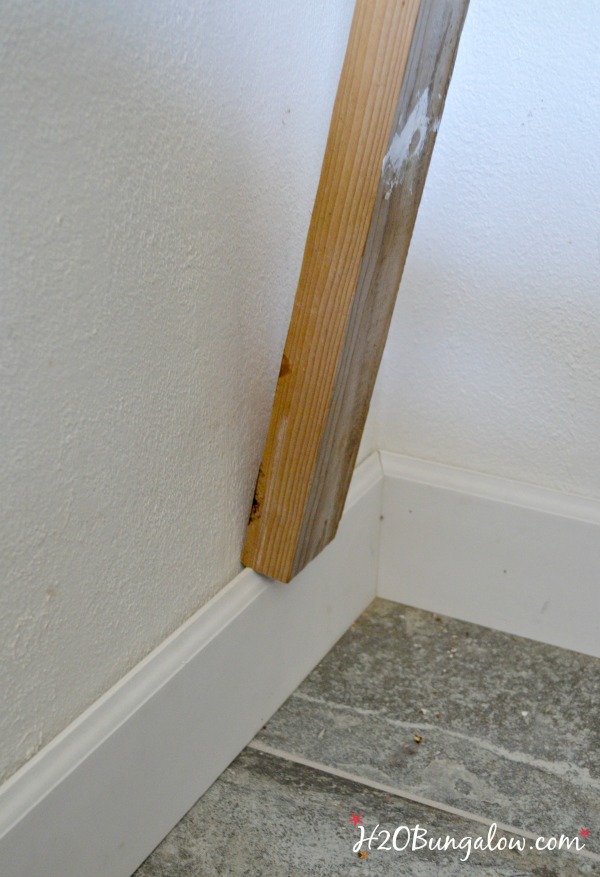
The last thing I want to show you is how we ended different runs of our baseboards. Sometimes we’d use a flat cut at the end like when the baseboards butted against a door frame.
Below is a good way to finish an end if a baseboard run stops without having anything to butt against. The trim carpenters who finished our addition used a small piece of baseboard to finish and cover the rough cut wood where the molding stopped.
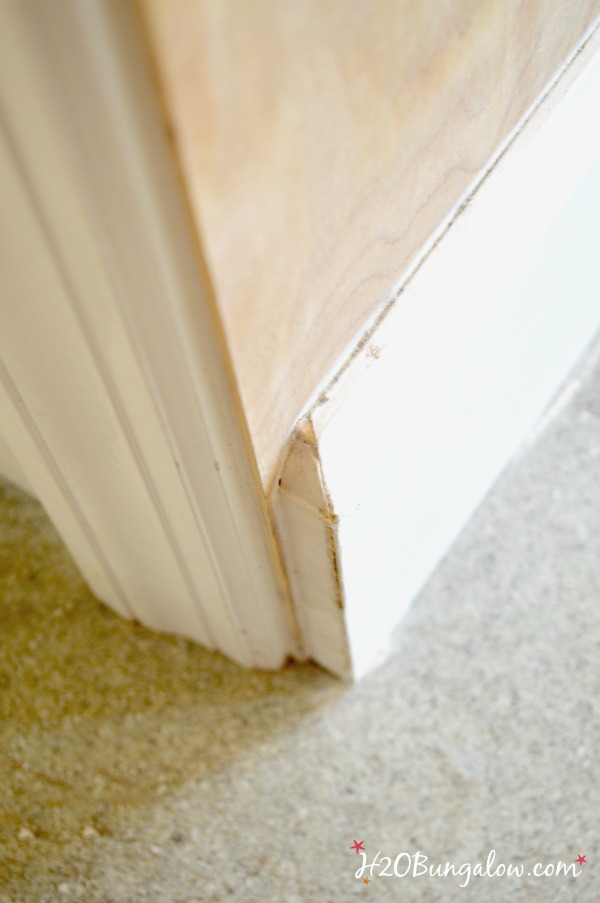
Other times, like in the picture below, we ended with an angle cut because the baseboard stuck out too far for a flat cut.
Installing baseboards when walls are uneven
Floors aren’t the only thing that can be uneven in houses. Walls can be off too, especially in old houses like ours. Run a bead of caulk at the top to seal the baseboards. If you have a wide space between your wall and baseboard, you may need to add a few layers of caulk or something else like a good wall filler to fill in the gap first before adding the caulking at the top.
If you have a gap like this, don’t panic we had several. We filled them in like I mentioned, its the only choice you have and on most of them you can’t tell a gap was filled.
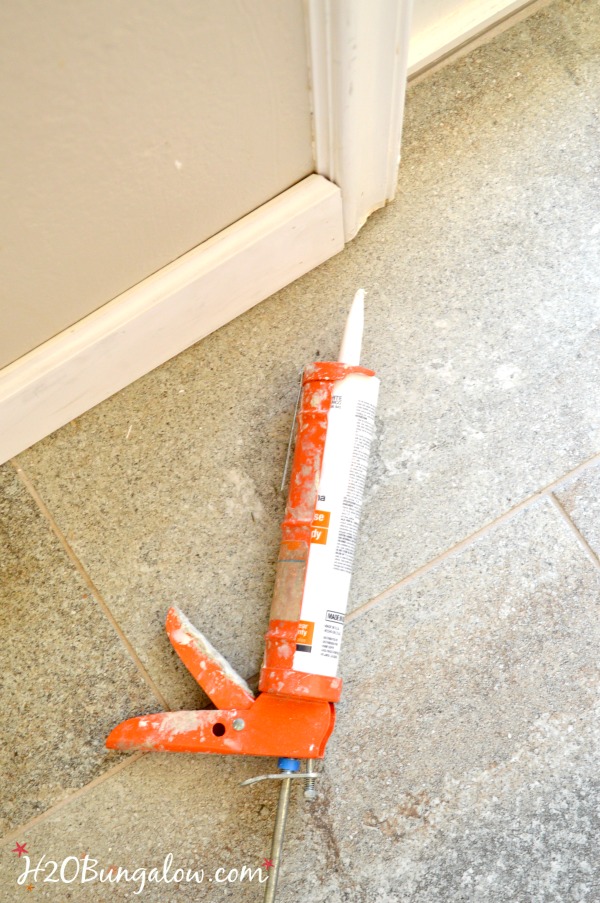
If you have a large gap, fill the gap with backer rod before caulking. It will make the job a whole lot easier!
Top tips for painting and finishing baseboards and trim
Once the gap at the top of your new baseboard where it meets the wall has been sealed with caulk, you’ll need to fill the nail holes and give the primed baseboards a coat of paint. I have several painting tricks to save time and get a perfect paint job every time I pull out a paintbrush to paint trim.
See my post 12 Genius Painters Tape Tips, to see what I do to save time and get quality results.
**Update** Fast forward 2+ years… I just finished adding this DIY craftsman style window trim to our windows. It looks fabulous! So does our room by the way, completely different than these pictures!
What was so amazing was that I used prefinished boards! No painting my friends, and that was a huge timesaver! Check out my How to Add Window Casings Tutorial for the details. Using prefinished boards is a great option if you don’t want to paint.
Because our house has been added on to and modified a lot in the last 50 years, it has a lot of extra corners and crazy spaces. The entire baseboard project took us about four full days to do.
I’m fast forwarding again in my next few photos. These are of what my house looks like today. I’ve already added our DIY baseboards, plus my recent DIY craftsman style window trim and our newest addition, my craftsman style DIY fireplace I just finished. It doesn’t even look like the same house! Adding quality trim has done wonders for our small home.
…I may also have built the wall mounted TV cabinet to hide our big screen TV and the media console below it too 🙂 … I did mention I was a DIY junkie!
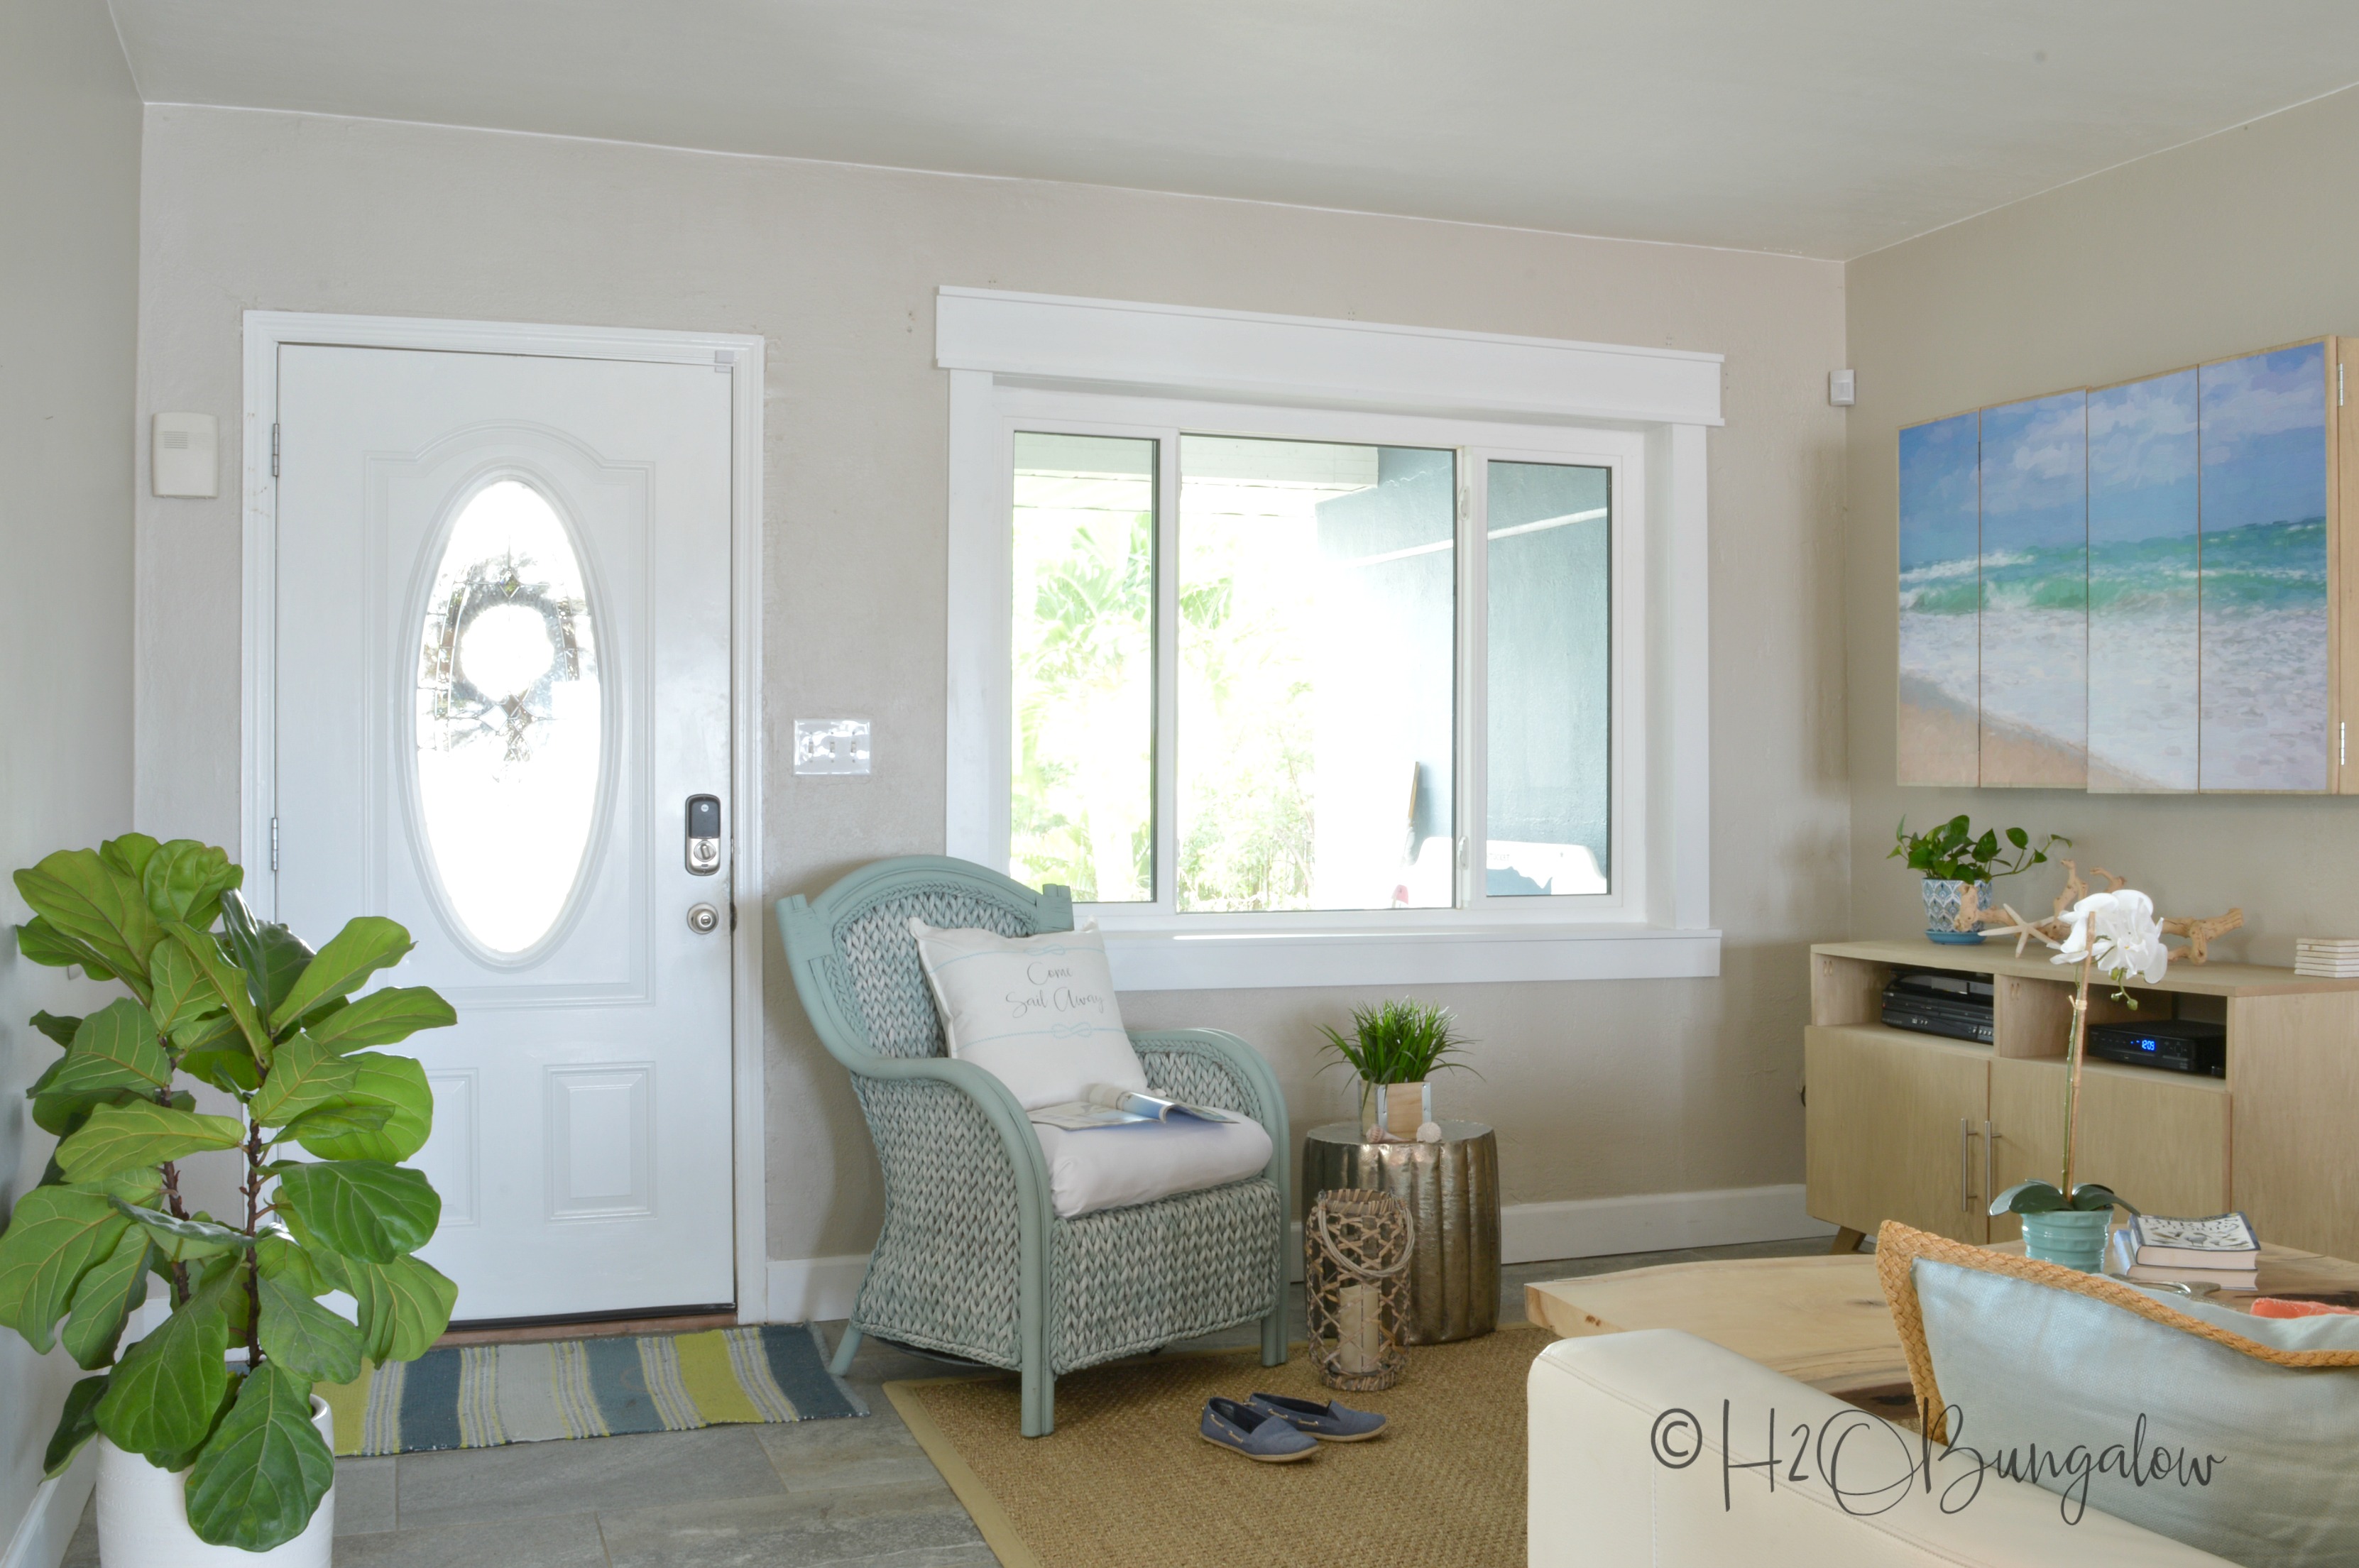
Yes, it was all worth the wait.
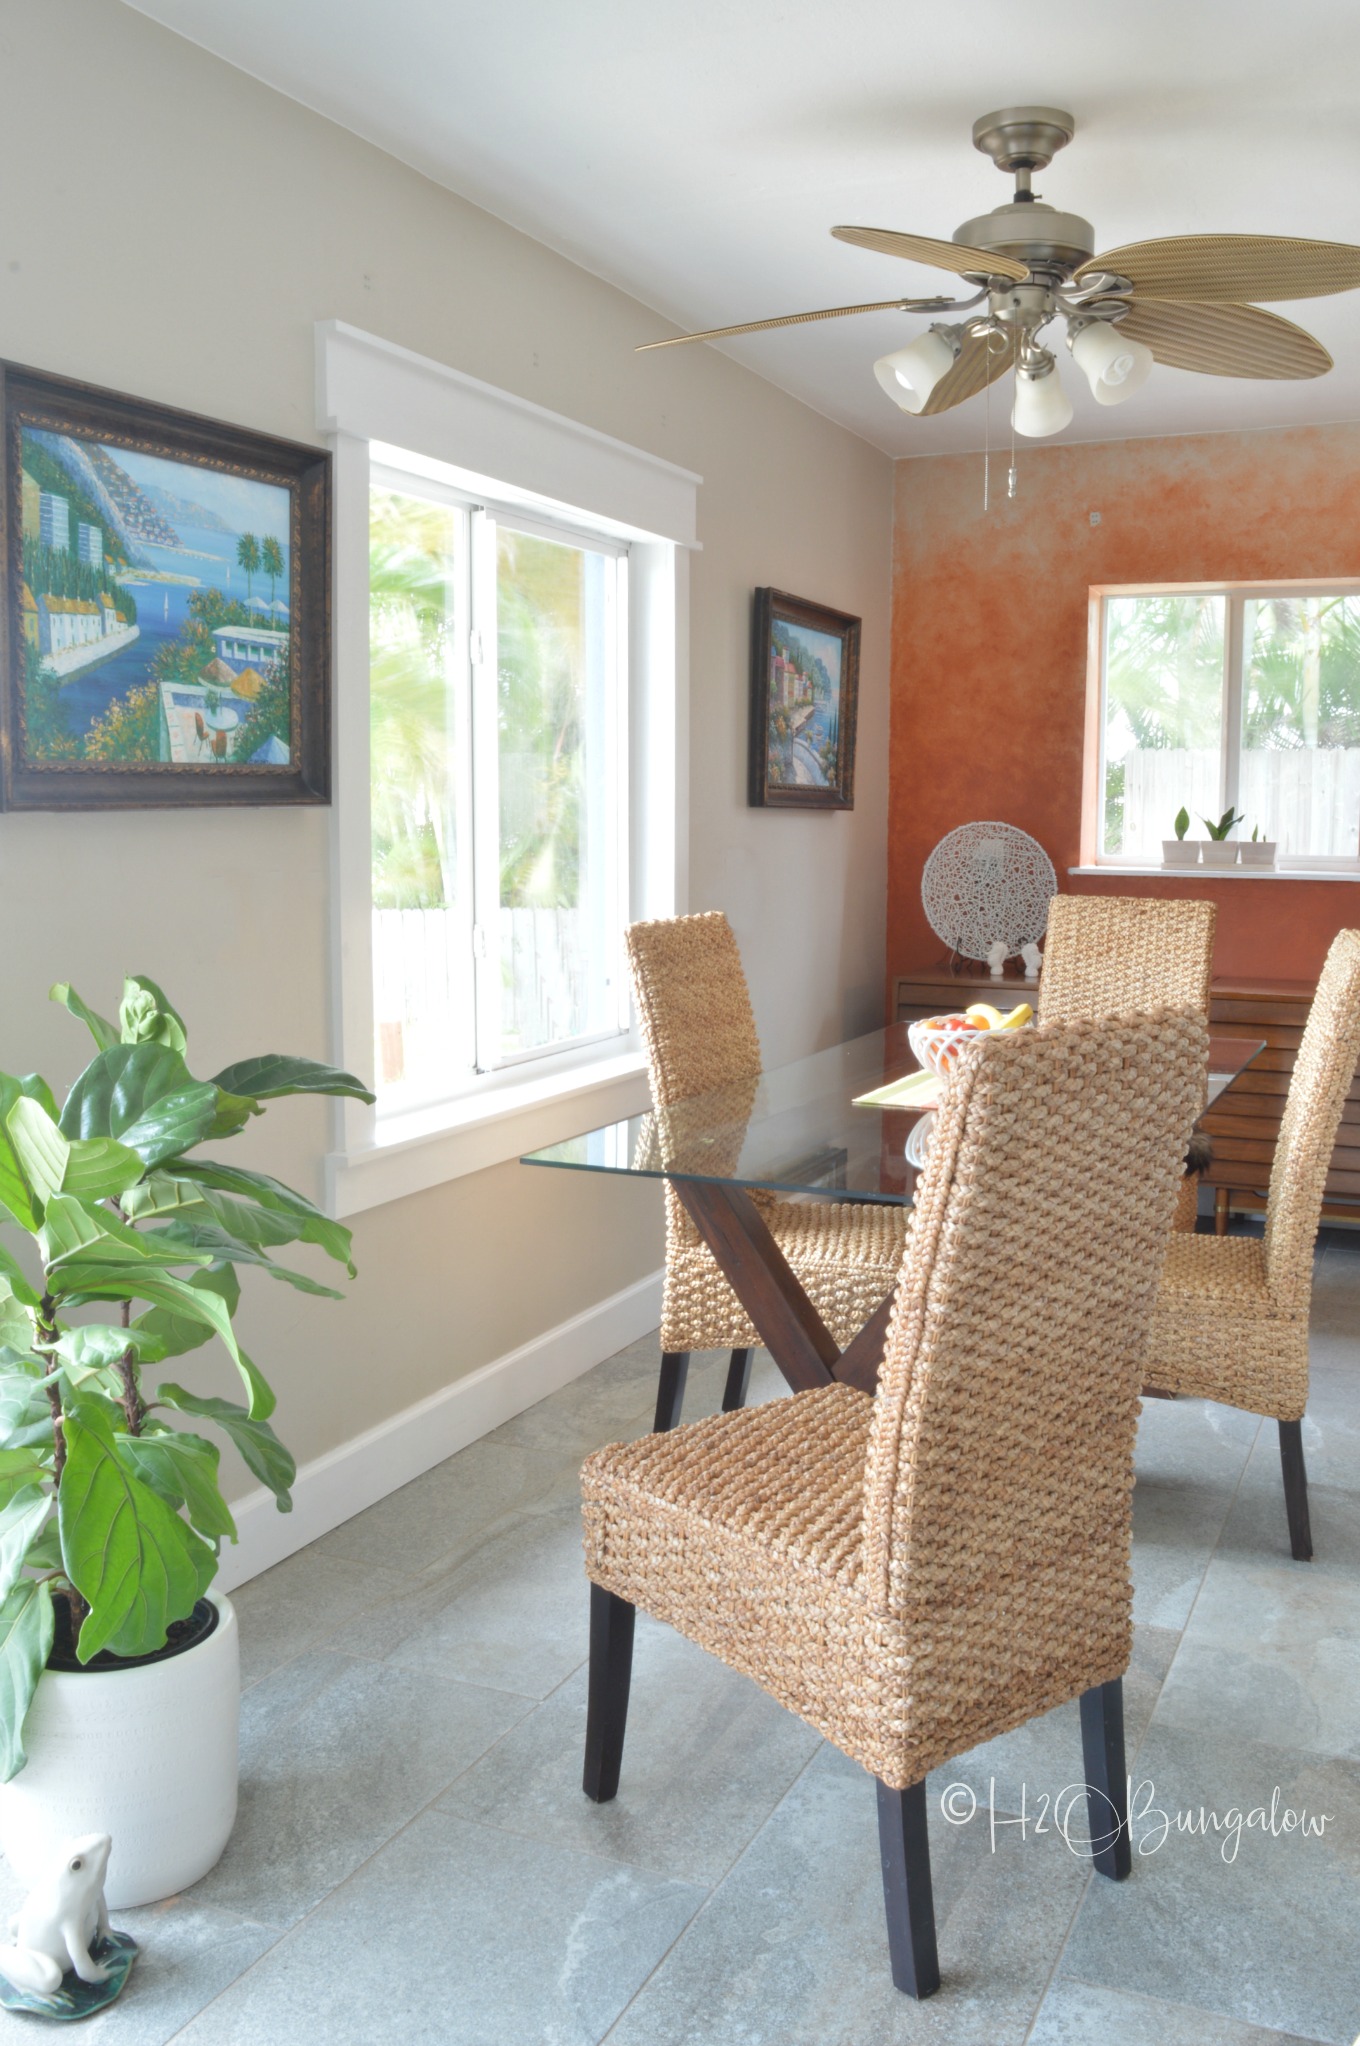
Adding DIY baseboards and then window trim was a game changer for this space.
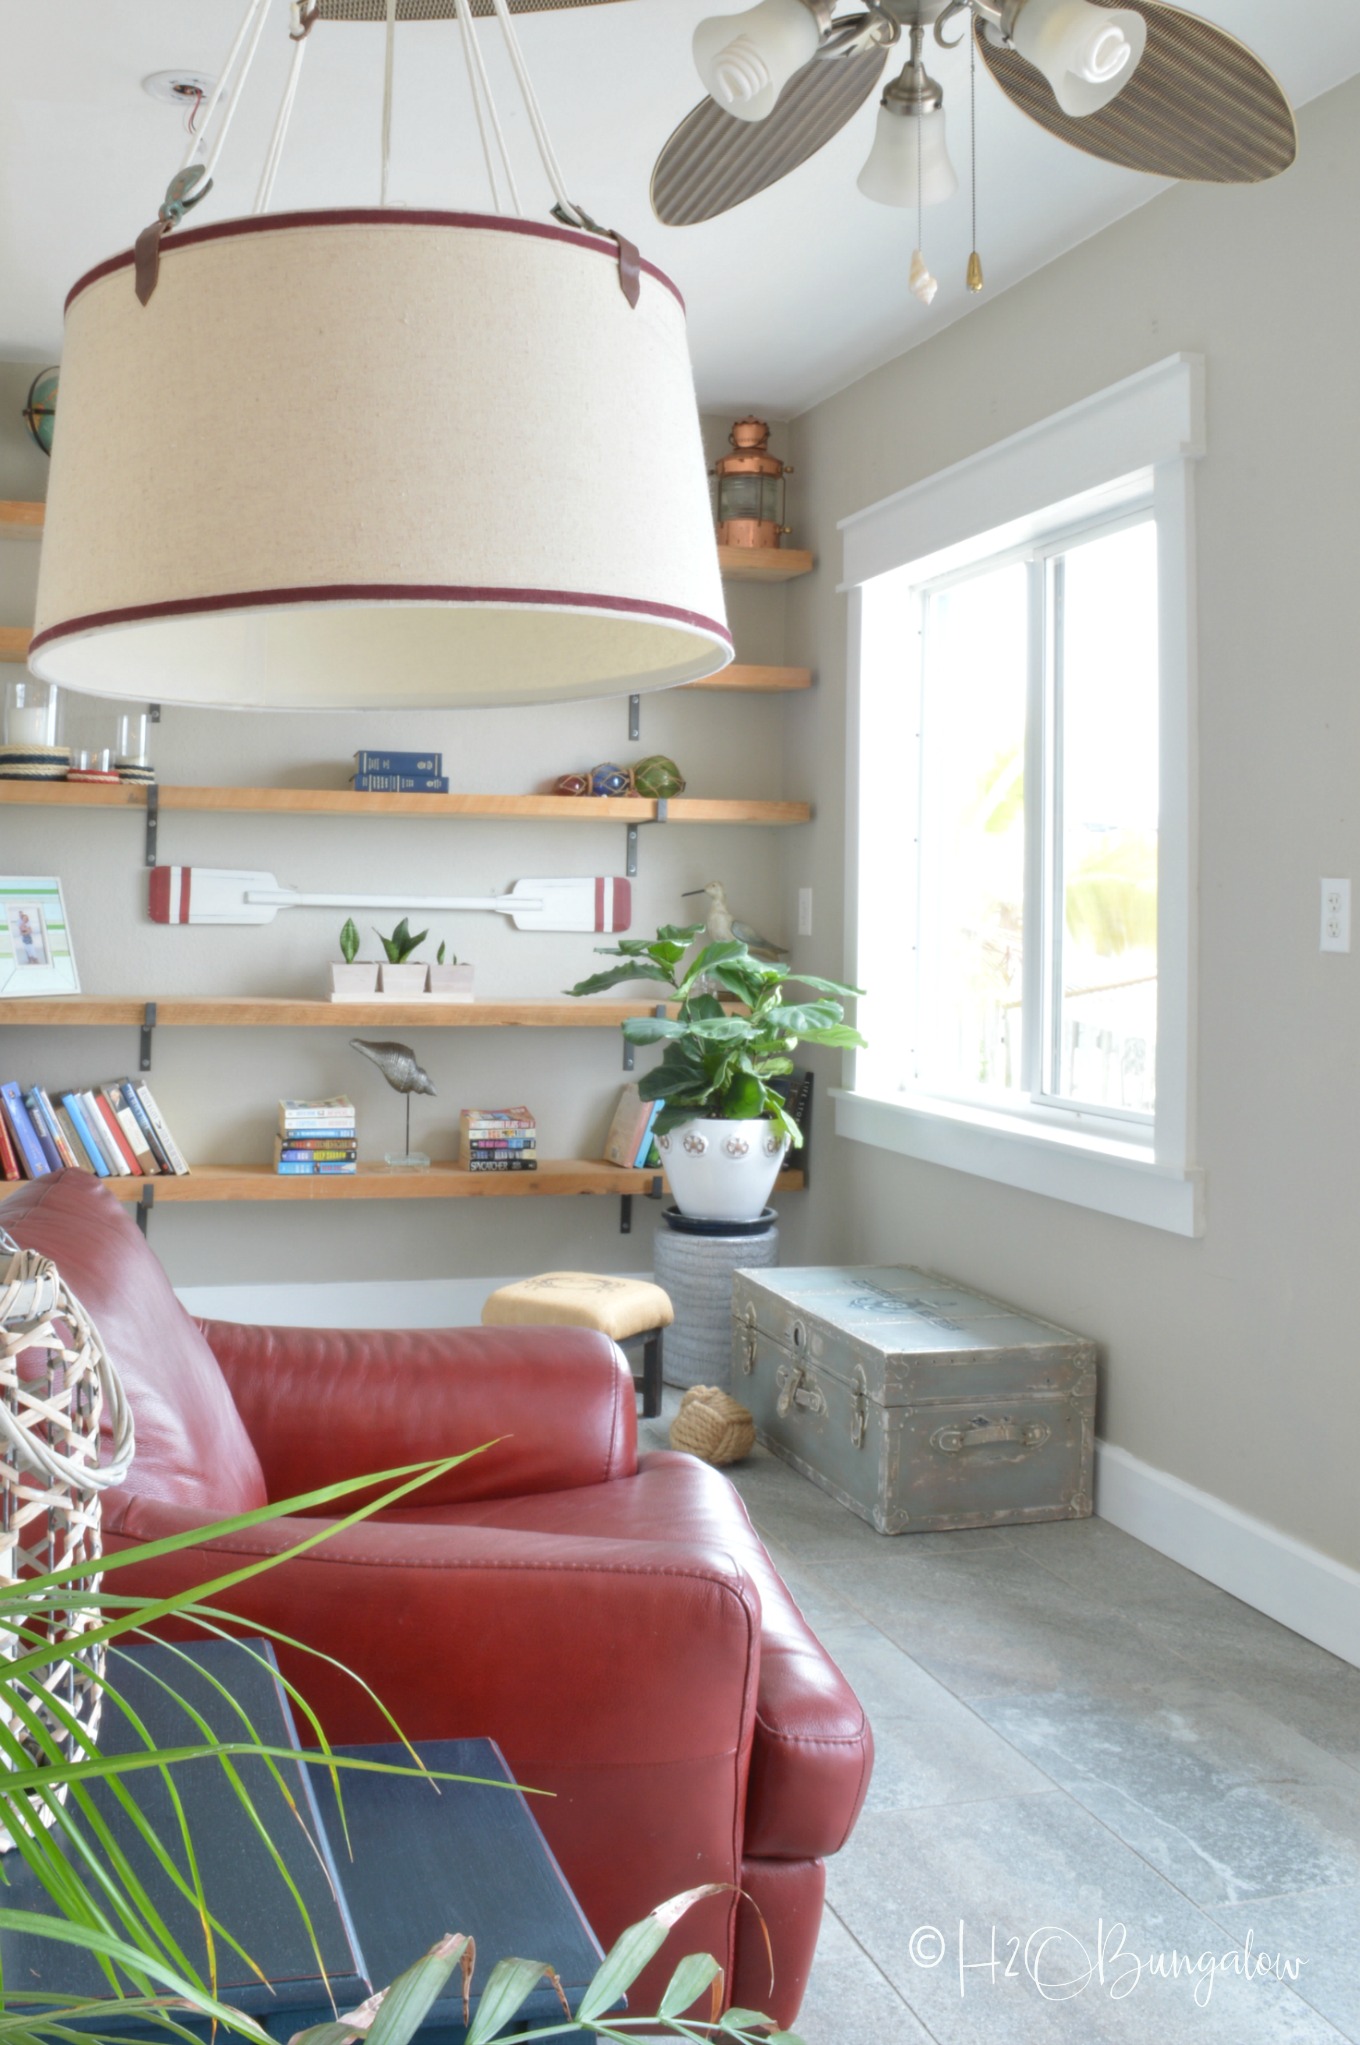
I hope you’ve enjoyed my DIY baseboard tutorial.
I love walking in the house now and feeling like it’s complete! It’s not complete, not by a long shot.
But…
It’s a huge improvement!
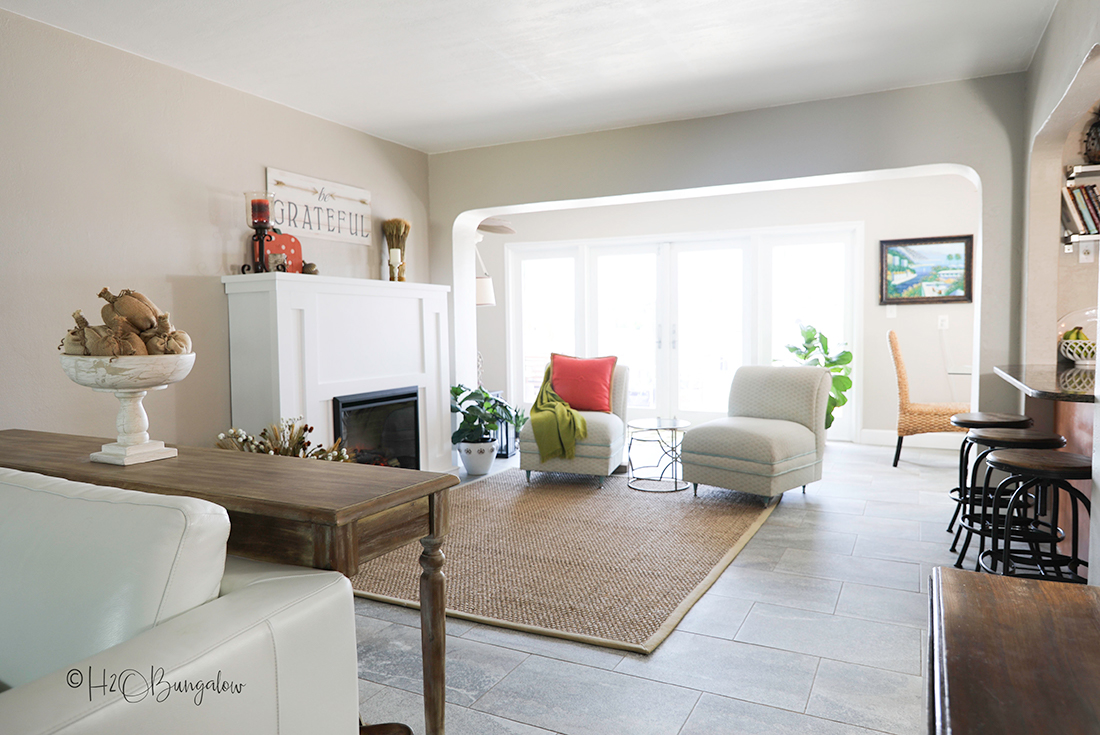
The other huge improvement is now when I’m taking pictures of a project for the blog, I don’t have to work around not having baseboards, or worse yet, use the fake piece of ill-fitting baseboard I’d put in place for photos!
Yes, guys, I’ve been faking baseboards for a long time;)
I’m thrilled that my Achilles heel/house project is finally done. Can you relate? Do you have a project now that you want to tackle so bad it makes you crazy? Have you had one in the past? Misery loves company, lets chat about it below!
DIY Baseboard Tutorial
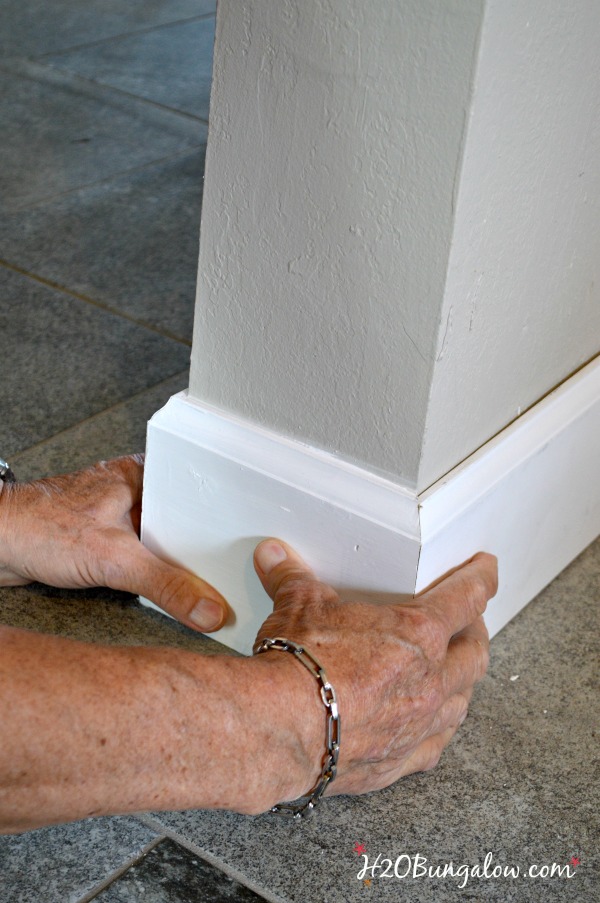
How to install your own baseboards with tips and tricks the pros use.
Materials
- Baseboard of your choice
Tools
- compound miter saw
- compound square
- brad nailer
- wood stand
- chisel
- hammer
- quick read tape measure
- caulking gun
- backer rod
- protective eyewear
- knee pads or a gardening pillow for your knees
- DIY buddy, two sets of hands make the job go much quicker
Instructions
- Measure for your baseboards. Be sure to add 10-15% extra for waste and mistakes.
- Prep your surface for new DIY baseboards. Be sure walls and floors are clear of debris so your new baseboards will lay flat.
- Cut your baseboard angles. TIP: It helps to have two pieces of pre-cut molding at your cutting station. Sometimes, angles can get confusing. If you're cutting an inside angle and want to be sure the direction you set the compound miter saw is correct, you can hold your boards together for a quick visual and check against the direction of your blade setting.
- Install your baseboards. First, plan to install your longest runs or walls first. When needed, splice two pieces together like the diagram in the DIY baseboard cut cheat sheet in this post.
- When you get to corners and room transitions like the one, have your DIY buddy hold the cut baseboard pieces in place. Line up the corners and secure the center piece first.
- Attach the baseboards at the end with 2 or 3 brad nails.
- Alternately added more nails high and low on the flat part of the baseboards about every 8 inches, be sure to secure where your studs are located in the wall.
- For uneven floors, cut and lay your board in place. 1. Secure the end that lies flush to the ground as you normally would up to the point where the board does not lay flat on the ground. Do not add any brad nails from that spot forward. 2. Have your DIY buddy hold down the baseboard with a 2 x 4. This will bend the board onto the ground. Secure with the brad nailer up to the point where it doesn't lay flat. Repeat this until you reach the end of the baseboard.
- Installing baseboards when walls are uneven. Run a bead of caulk at the top to seal the baseboards. If you have a wide space between your wall and baseboard, you may need to add a few layers of caulk or something else like a good wall filler to fill in the gap first before adding the caulking at the top. If you have a large gap, fill the gap with backer rod before caulking.
- Fill all the nail holes and paint. That's it!

Tony says
Great job! I’ve only had to cut and install new baseboards once and I hated it. Now, if I need to, I remove them VERY carefully, so they don’t break and I can reuse them 🙂
Wendi says
Hi Tony! That’s a smart idea, I’d do that too. I had fun with this project because my Dad and I were working on it together. It was a lot of work but so worth the savings! Thanks so much for your visit & comment:)
Brittany says
Love this! Where did you get your baseboards?
Wendi says
Hi Brittany, So glad you liked my tutorial. That’s a good question too. It was worth the work to do it ourselves, and of course the savings were wonderful too! We got our baseboards from a local distributor. Home Depot carries them as well. If you are looking for a quantity like we needed, it’s worth it to shop around and find a local wood/lumber yard who will deliver. Our pieces came in 20 foot sections and the store delivered for a small fee which was convenient and less expensive than the big box stores. Thanks for your visit and let me know if you have an other questions.
Trude says
This might seem like a silly question, but why didn’t you paint the baseboards before you installed them? Seems like it would be easier to touch up brad heads than paint all that baseboard at floor-level.
Wendi says
Hi Trude…that’s a very good question. I did paint the ones in our bath remodel first. We were low on space because they were 20 foot boards and we have a small place and little room to paint and dry outside for so many boards that length. I’m also a really good painter and rarely drip. I cut in the top by hand and just gave them a quick paint job. Even professional painters give a topcoat by hand when they put in baseboards. Our paint was quality and covered the white primed boards well. I hope that answered your question. In other words, it was just a convenience thing! Thanks for asking I’m sure others have had the same question.
Melody says
I just replaced several baseboards in my home… MDF dogs peed. and they needed replacing, did all mine by myself… Challenging thing actually was getting the finishing nails in… Pretty much easy task….
Wendi says
Hi Melody and hooray to you for tackling them yourself. I think it’s more intimidating to most people than it really is! I can’t imagine hammering the boards in. My Ryobi Airstrike brad nailer saved the day on that part of the job. Thanks so much for your visit and note. It’s a huge encouragement to others when someone share their story here too!
Martha says
Hi Wendi!
So glad I came upon your Pinterest page and the information about baseboards. Just removed the tile baseboards from my powder room and trying to figure out how to attach new baseboards having zero knowledge of nailers. I’ve looked at the Ryobi Airstrikes and was wondering which model you used? There are several on the HD website I’m looking at – which one would you recommend? Can’t wait to get this project over and done with and thanks to you I’ll accomplish that sooner than later!
Wendi says
Hi Martha! Good for you taking on your bathroom baseboards! I use the Ryobi 18 volt One + Airstrike here’s a link to the one I use. http://www.homedepot.com/p/Ryobi-18-Volt-ONE-AirStrike-18-Gauge-Cordless-Brad-Nailer-Tool-Only-P320/203810823 I use my airstrike all the time on other projects too. Give yourself a big pat on the back and have fun with your project!
Colleen says
Love it! We need to replace ours…BTW what color paint do you have on your walls?
Colleen says
Just saw the paint color on previous posts! Thanks!
Wendi says
Hi Colleen, New baseboards made so much difference in our place. It was worth the painful wait to get them in. Of course the savings on DIYing them alone was motivating, LOL! Thanks so much for your visit & Happy New Year!
Elaine says
Loved all the great tips!! If you don’t mind, will you
Share the paint color on the wall (dining room)? It’s beautiful!
Wendi says
Hi Elaine and thank you! I’m not sure if you’re asking about the wall color in general which is Revere Pewter by Benjamin More or the orange color. I’m going by memory but think the orange color is Copper Penny by Behr. I added a clear glaze to extend the the wet time to sponge it up the wall. I hope that helps! Thanks so much for your visit!
Holly says
Love the tips, but what do you do if there is carpeting on the floor?
Wendi says
Hi Holly, That’s a good question. If there is carpeting It should end before the baseboards do. The tack strip will be in front of the baseboard. Thanks so much for your visit!
Sheila says
There a tools you can buy that hold the carpet back when you are painting trim. I’ve also used a small piece of one of the vanes on plastic blinds. You might be able to get that from a blind installer….mine was about 3″ wide and worked great.
Wendi says
Hi Sheila and thanks so much for sharing your tip! That’s a great suggestion. Especially the part about using an old blind to hold back the carpet to paint. I love when readers add to the knowledge base and help out fellow readers. Thanks again for sharing!
Sharon says
Some good info, however it looks like you used the same drawing on your cheat sheet to show an inside and an outside corner. The actual pics are correct – just thought you might want to change your cheat sheet.
Wendi says
Hi Sharon & thanks for pointing that pout to me. I do need to change that pic. I was bone tired when I made it and didn’t even think that it didn’t translate backwards. LOL Thanks so much for your note and visit!
Linda says
The picture you have of the inside and outside corners are the same!
Wendi says
Wow Linda, you have good eyes! Whoops..I never noticed that before! Thanks so much for the note. I’ll get cracking on fixing that one. Can you look over my other posts for crazy mistakes too? LOL… Good job 🙂 Have a great day!
KathyJB says
Thank you for the cheat sheet. Now if you only had one for a rounded corner, sigh. I did one years ago and I doubt I could remember how now.
Seriously I do appreciate the cheat sheet in my old age, lol
Wendi says
Hi Kathy, You’re welcome! Having a picture of which cuts were which made a huge difference when we were working on the baseboards and my Dad and I were communicating which cuts to make. I’ve seen rounded corners, they are really pretty. I have to say, I’m glad we didn’t have any of those to do! LOL… uneven floors and walls were enough of a challenge! Thanks so much for your note and stopping by:)
Tina says
Dont feel bad about three years Wendi, we bought an old cottage and renovated and when kids came along extended out and up and down! But nothing got finished all together, after 20 years bathroom looks yummy, downstairs bedroom and sewing room look yummy but still unfinished as he is unhappy how his wall colour turned out! I like plain walls, he likes a feature wall so my plain ones I painted look like skating rings so smooth and lovely, his is patchy all over and he says will do it again later! Now at 72 I doubt I will ever see it done, hahaha! So I am waiting until spring time to go and do the rest, sick of waiting for my man to do it and I am quite capable of doing it myself, always trailed behind my DYI Dad and helped out so learned many tricks! Love your skirting boards but I learned a neat trick for corners, I take the small saw and just saw a little lip on one side and fit over the other, you would not even notice its been cut! I could not calk or paint as it is native wood and would look silly! Many a finger got mangled and cut but it looks great! Go for it and hope to see a bit more !
Wendi says
Hi Tina, What a dream home, I love old cottages. Not like our 1950’s old, but old. Although, I do love how our block house is turning into a home with personality. It does take time to get to the yummy and pretty part doesn’t it? I suppose that makes it all the better. I had to have a fixer upper that was so bad off that nothing was even borderline good enough to keep. Good for you at 72, and I’m quite certain you are more than capable of redoing and finishing projects. Bravo to you! Thanks so much for your visit and your sweet note:)
Ashley says
Hello! We have already installedone our baseboards, but I am having trouble with the puckered nail holes. My husband may have nailed a few too many times. Did you do any finishing work over the nails? I’ve tried caulking, but it left a visible residue on the painted baseboards. Fyi- we used painted mdf baseboards from Home Depot.
Wendi says
Hi Ashley, Our baseboards had nail holes in them too. Try caulk, or even better, a spackling compound to fill them. Just wipe it one with your fingers and wipe off the excess. Yes. it will leave a film, and yes you’ll need to put a coat of paint on your baseboards. They come primed not painted:) That’s just how they come. Perfect timing for you, my latest post talks about painting baseboards and trim https://h2obungalow.com/2016/07/12-genius-painters-tape-tips.html Have fun, and I know you’re enjoying the savings of doing the project yourself! Thanks so much for your visit and happy DIYing!
Jenny Sipe says
OMG! We have ripped out almost all the baseboards! We have replaced baseboards they don’t look good & need to be redone! Yuk! The tips for the uneven floors & walls are helpful. We have both. Did you buy the pre-primed baseboards or were they wood & you painted?
Wendi says
Hi Jenny, Yes we used the pre-primed baseboard. I was just telling another reader to use a caulk on the edges and spackling paste or caulk over the nail holes and then give them a coat of paint. They won’t look good otherwise. My latest post covers this. https://h2obungalow.com/2016/07/12-genius-painters-tape-tips.html The uneven floors and walls are common, if your challenges are due to this, read the article I just posted. They may just need finishing! Good luck and thanks so mush for your visit!
Miranda says
How did you get by so cheap? Just my bedroom will cost $150
Wendi says
Hi Miranda, I bought 12 foot pre-primed pieces at a local builder supply place. It was much less expensive than buying from either Home Depot or Lowes. I’d check out those kind of places locally. They also usually deliver which ours did. I was also happily surprised at the price too. It’s not often I finish a project for less than I expected! LOL Good luck with your project!
Cara says
Oh Wendy this tutorial is great!! We just moved into a house and guess what it’s lacking… Baseboards!!! This is definitely going to help me get them done!! Pinning!!!
Stacey says
Stopping by to stay hi from the #HomeMattersParty thanks for sharing your link!
Wendi says
Hi Stacey! Thanks & you’re welcome!
Mary H says
This turned out great! We will need to add molding and baseboards when we finish our basement reno and I was not looking forward to it, but I think we can do it correctly using your tutorial!
Wendi says
Hi Mary & thank you! So glad my tutorial will be useful for you! I wasn’t looking forward to the grunt work on our baseboards either. It went by fast and when you have a few good tips to make the job go smoother it’s much easier! Good luck on your baseboards, I know they will look awesome! Thanks so much for your visit too!
Marie, The Interior Frugalista says
I think it’s so sweet that you and your Dad do DIY projects together. I also love the great tips you share after these projects like the one to butt up trim on uneven floors. Ours is a 50-year-old project home too so I always find your tips helpful.
To answer your question about a project around our house that we’re dying to tackle. Since the day we moved into this house in 1998 I have hated our lovely yellow cultured marble jet tub with lovely stains around the drain. We’ve procrastinated long enough and it must go SOON. Everything else in this house has been renovated but that eye sorer. Oh, and while we’re at it, we may as well replace the shower and floor tiles, the vanity, the mirror – see why it hasn’t been done yet! You know how much I envy that gorgeous bathroom you did last year.
TwoPlusCute says
Not only a very pretty result, it’s a great tutorial as well. The close ups you took really help with the process.
I made a pin board for Home Improvements just to add this. Seriously. =)
Wendi says
You are too awesome! Thank you for the compliment. I figured if I had to wait 3 years for these baseboards, I’d share the know-how so the job is easier for someone else. It was worth the savings!
gail says
yay! Happy you finally got this done Wendi! I remember when I replaced my orange shellac baseboard with pretty white ones…. it made me smile!
great tips!
pinning!
gail
Wendi says
Oh my gosh! You do know the feeling! We had black areas where the old baseboards were and they made me crazy. This was such a huge project to get out of the way. I smile everytime I see the pretty clean white of the new baseboards. Thanks so much for your visit!