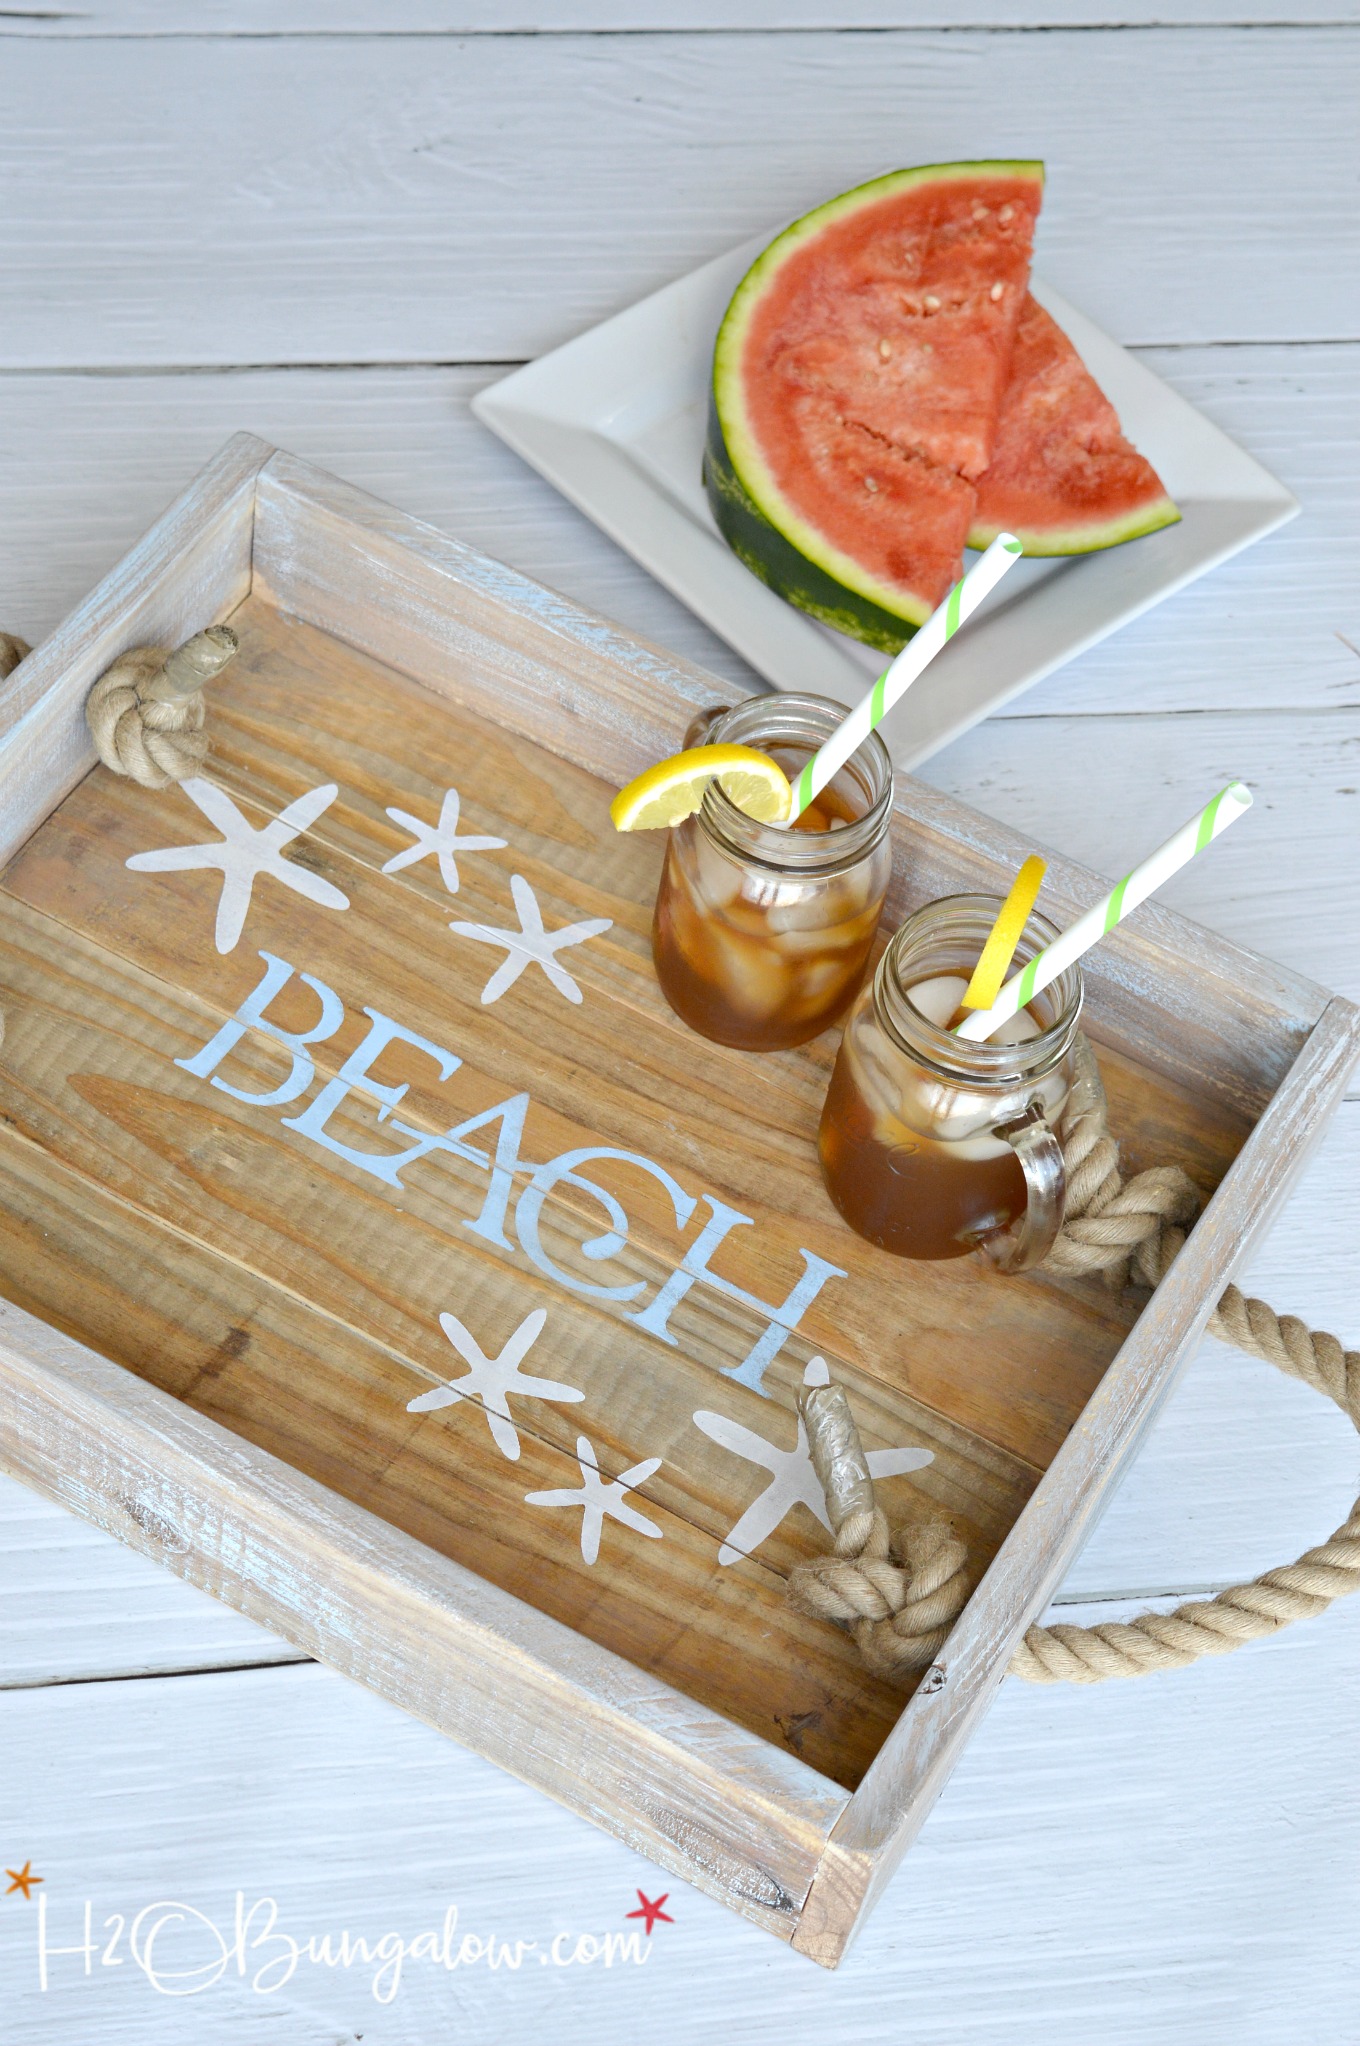
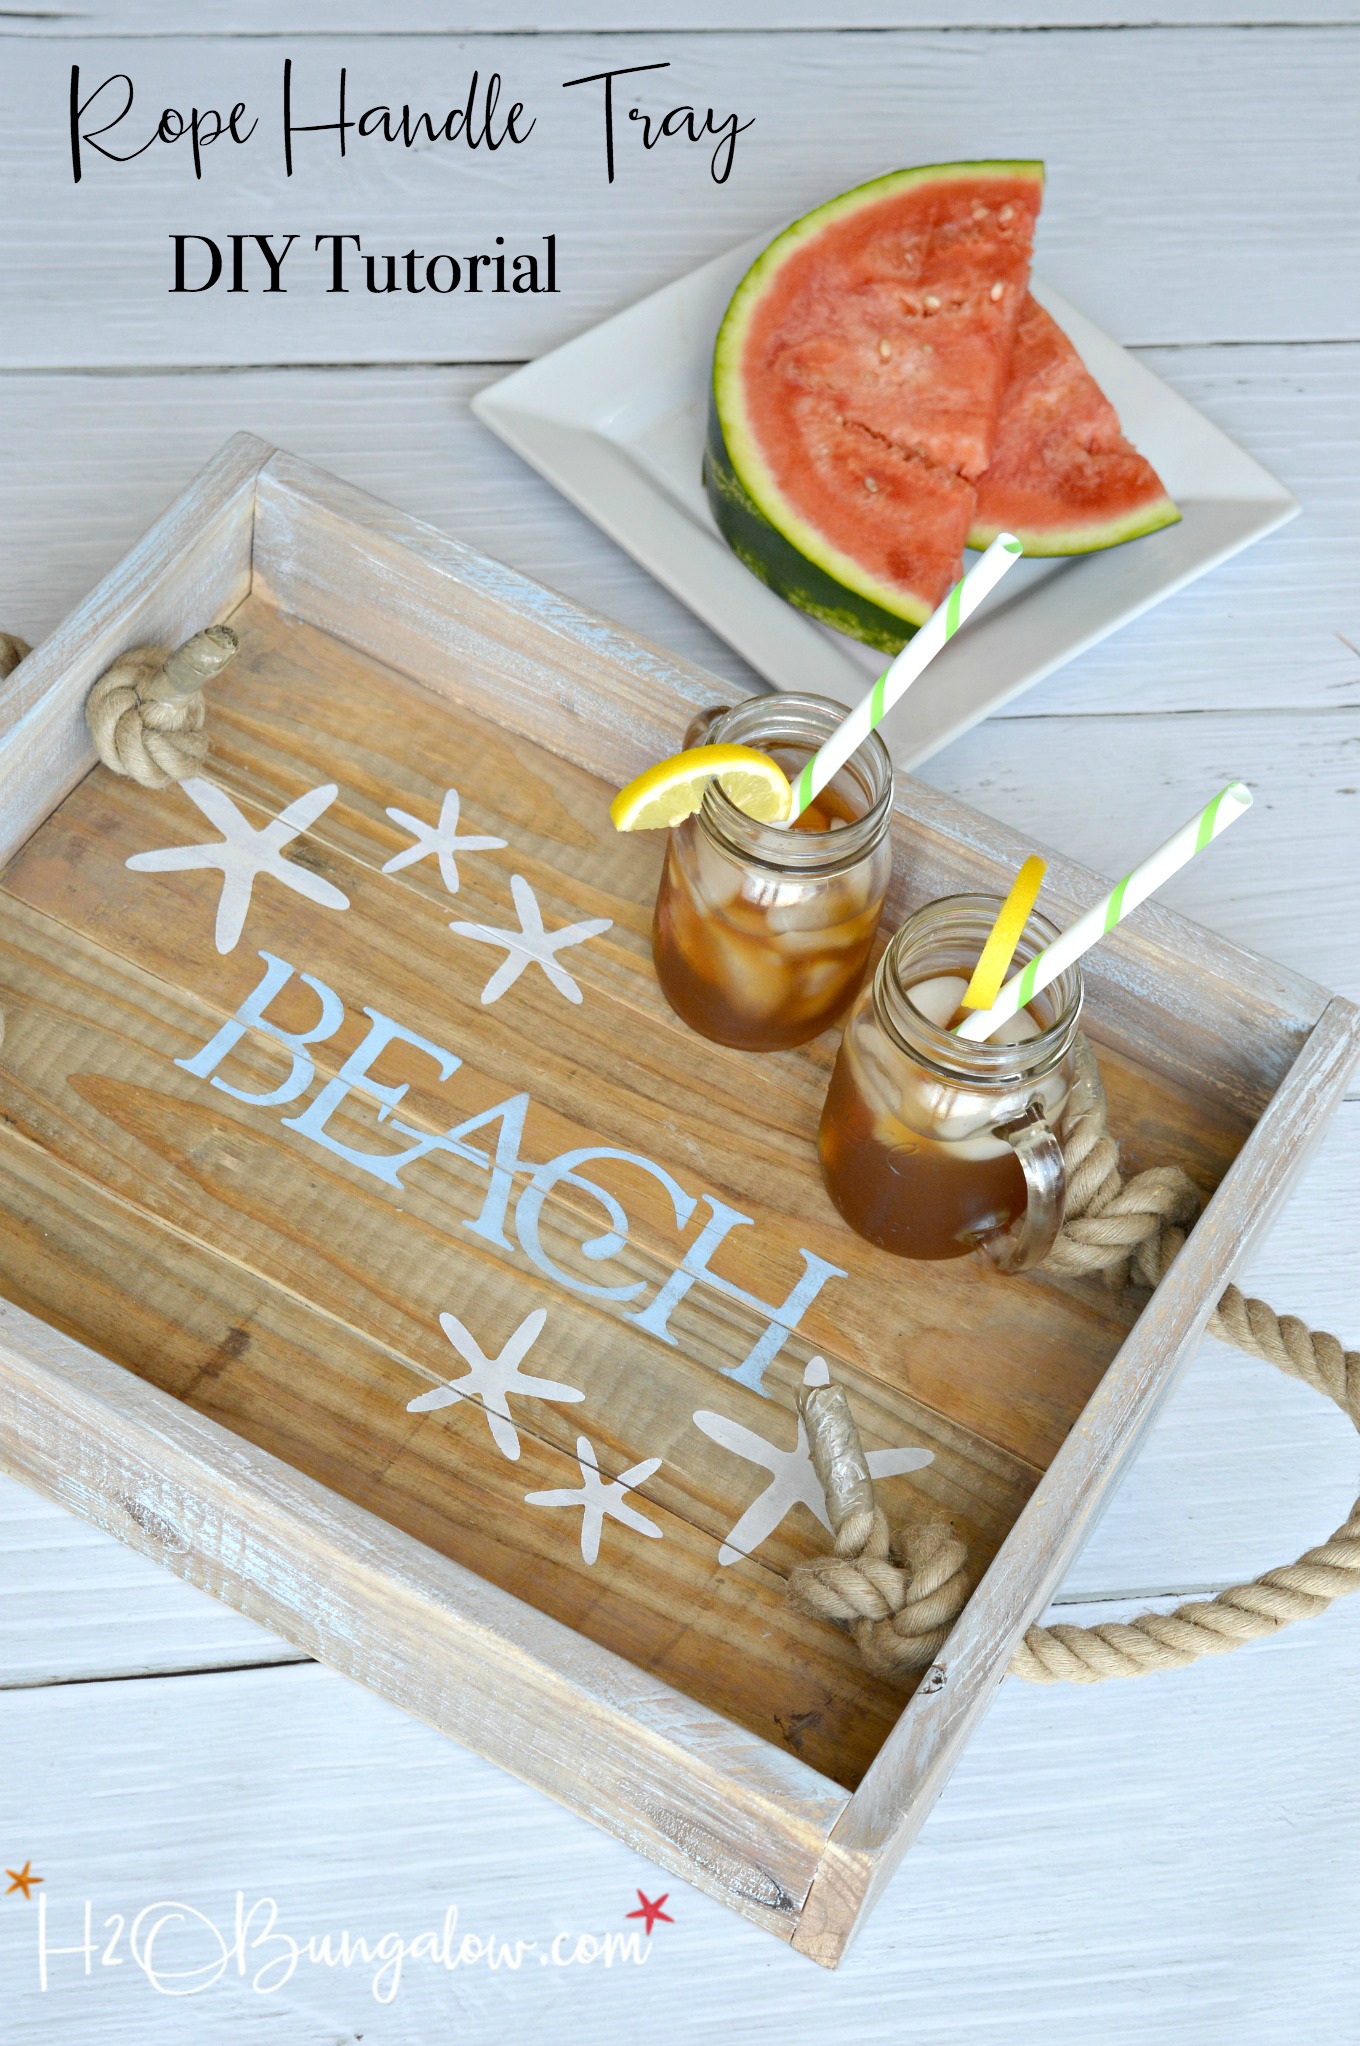
I made a DIY rope handle tray to share with you guys today. It’s been a whirlwind of a week returning from vacation only to leave 3 days later for the SNAP Bloggers conference in Salt Lake City. I had no vision or the faintest idea of what my project was going to look like when I started. All I knew was I needed to make a tray…and fast!
Why a tray? Because this month’s Power Tool Challenge is all about trays. Seriously, the entire team was challenged to come up with a design and make a wood tray. Trays make great gifts and Mothers Day is around the corner. The weather outside is beautiful and how fun is it to serve dinner or evening refreshments on a pretty new tray?
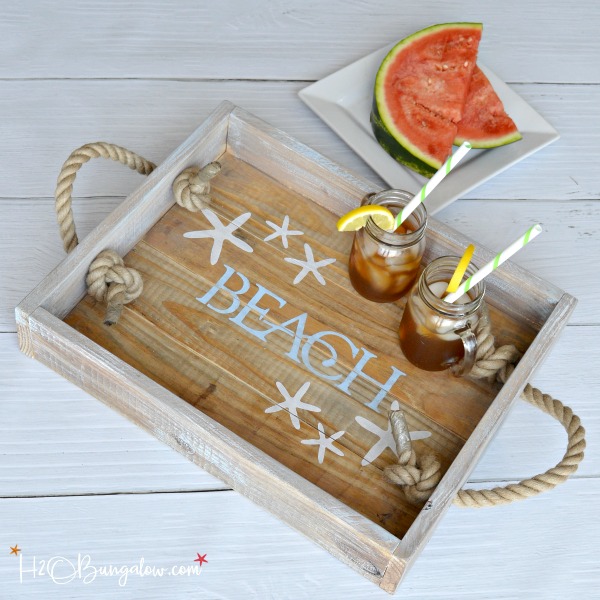
You can make a DIY rope handle tray in a few hours, start to finish like mine. It’s an easy project with just a few wood cuts which is great if you’re pressed for time like I was 😉 You’ll find my tutorial to make my beach rope handled wood tray at the end of my post below.
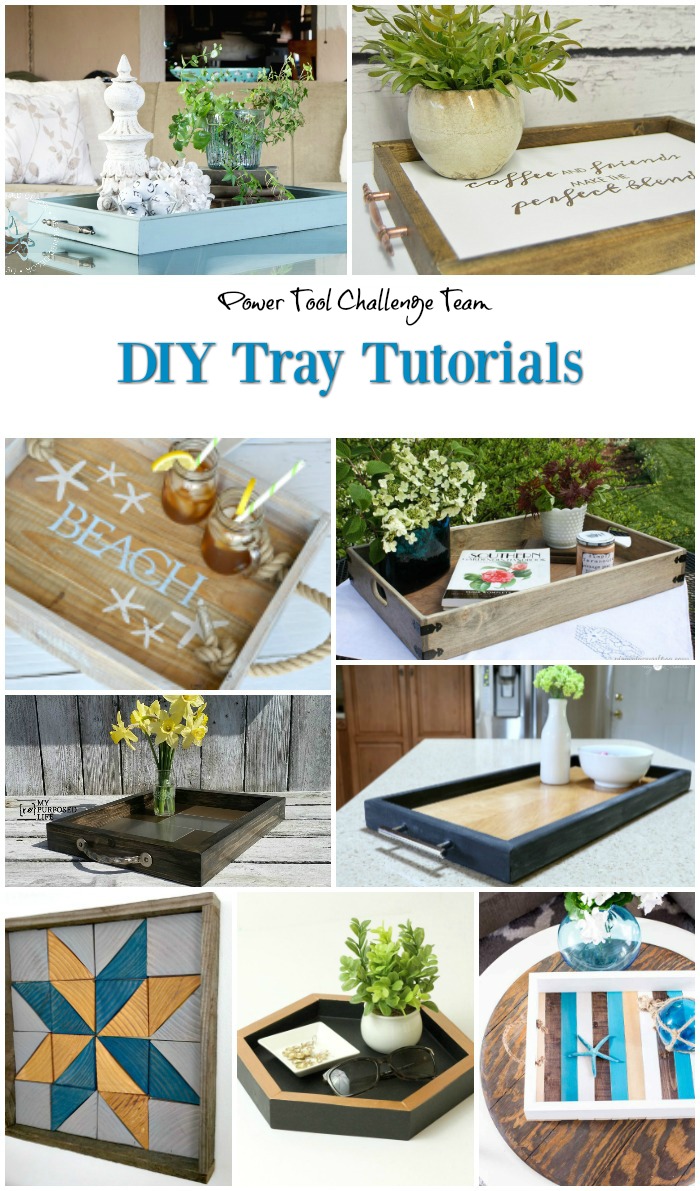
First things first, let’s see what the team created for this month’s Tray Challenge. Click on any of the links to go to that tutorial and DIY serving tray project.
Designed Décor – DIY Serving Tray
Interior Frugalista – DIY Farmhouse Tray
H2OBungalow – Coastal Rope Handle Tray Tutorial
Virginia Sweet Pea – DIY Farmhouse Style Tray
My Repurposed Life – DIY Tray Using Metal Tiles
My Love 2 Create – DIY Chalkboard Serving Tray
Create And Babble – DIY Wooden Quilt Square Tray
The Kim Six Fix – Easy Hexagonal Tray
Domestically Speaking – DIY Coastal Tray
Pretty awesome projects aren’t they? I’d be hard pressed to pick a favorite. Are you ready to see how to make one like mine?
If you love coastal decor projects you will love my whale bench and how to paint graphics on furniture with a free fish graphic , this DIY Seashell Decor, and my School of Fish project too.
How To Make a Simple DIY Rope Handle Tray
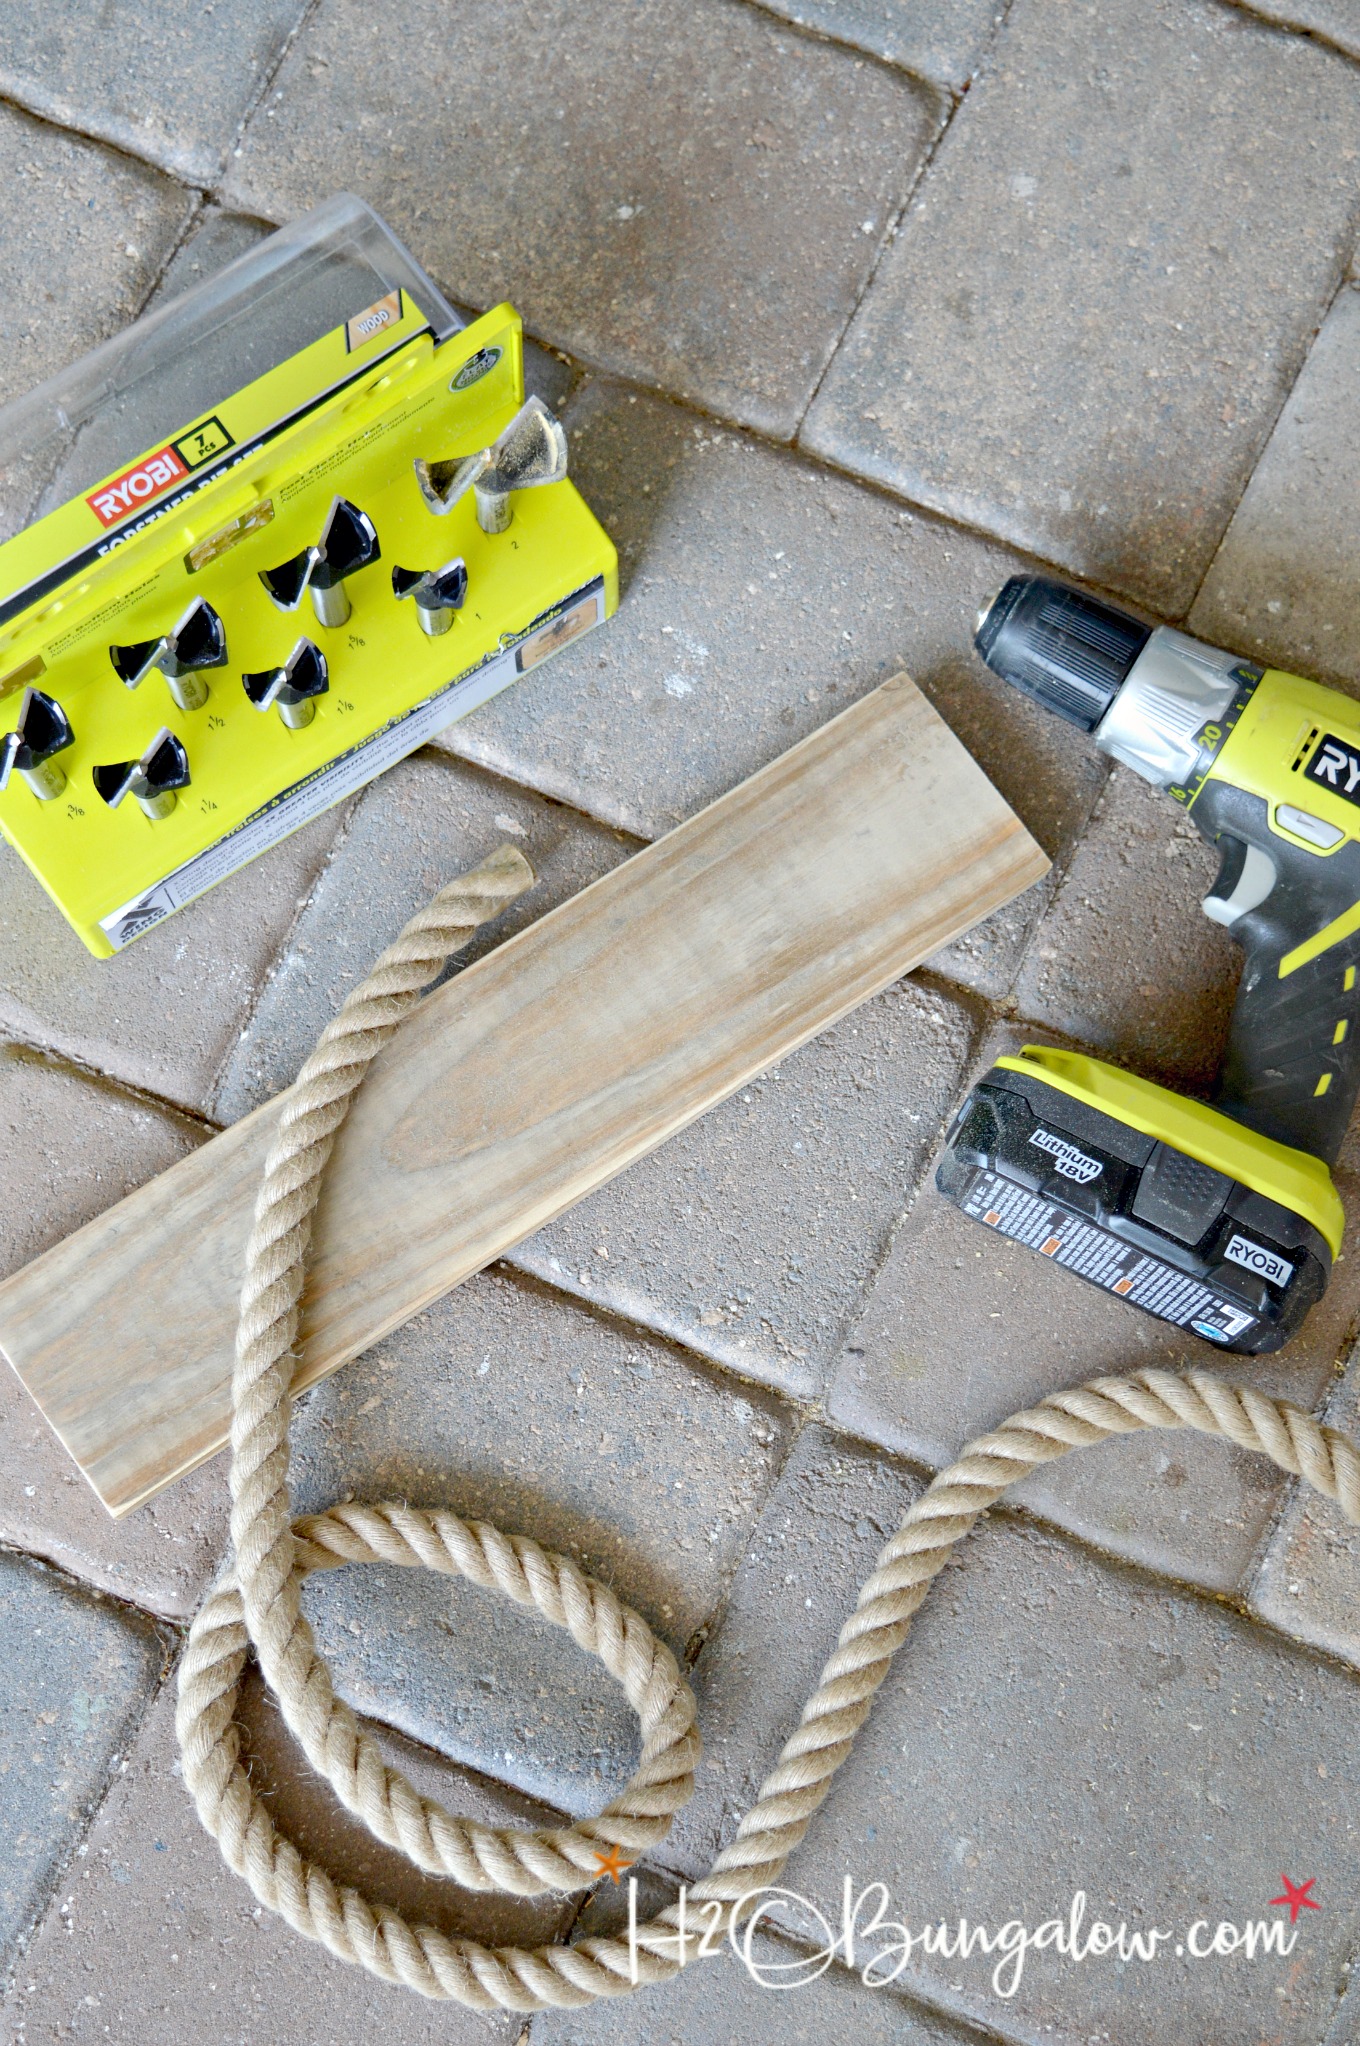
Supplies needed to make a DIY wood tray with rope handles. I use affiliate links to help you find the products I used. If you make a purchase I get a small commission at no cost to you. Thank you for supporting the overhead costs of H2OBungalow.
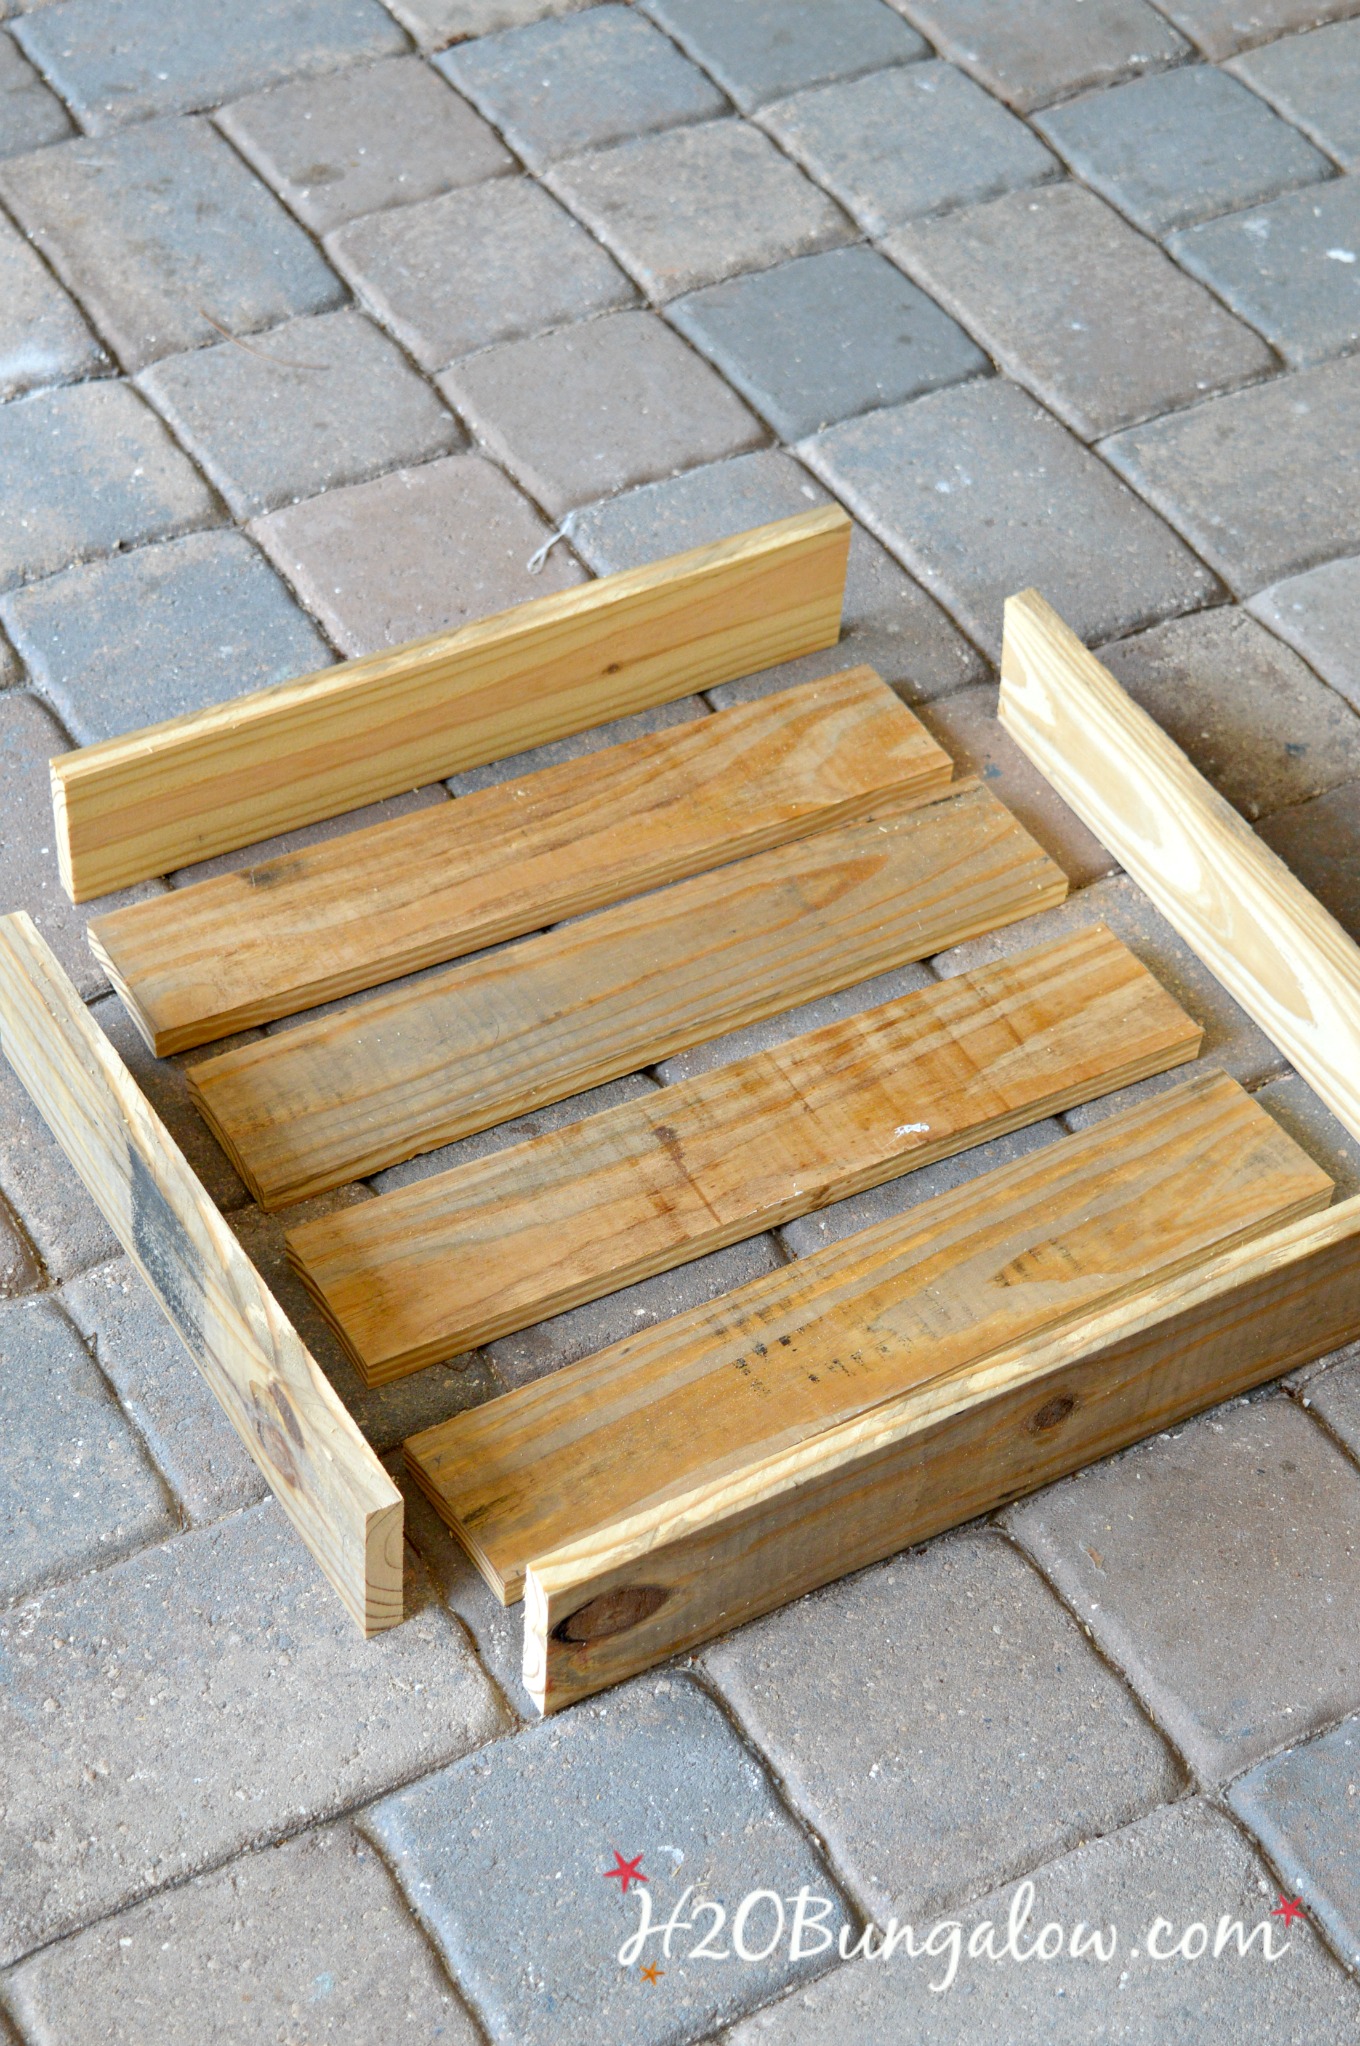
- 6 – 1” x 3” pine boards cut to 18”
- 2 – 1” x 3” pine boards cut to 14”
- 2 yards – 1” rope
- miter saw
- drill
- forstner bit
- palm sander
- nail gun
- brad nails 1 ¼”
- wood glue
- paint
Step #1 Cut the boards to size.
My tray is 18” x 14”, if you want a different size tray just cut 6 boards the length of the tray you want and two for the ends at the width you’d like. Be sure to square the ends of the boards before measuring for your cuts.
Step #2 Age it, sand away!
Use a palm sander to soften all the hard edges. Sand the tray side pieces as well as the tray bottom. It’s easier to sand the tray before assembling the pieces and the wood takes on a better naturally aged appearance.
Step #3 Mark the handle holes
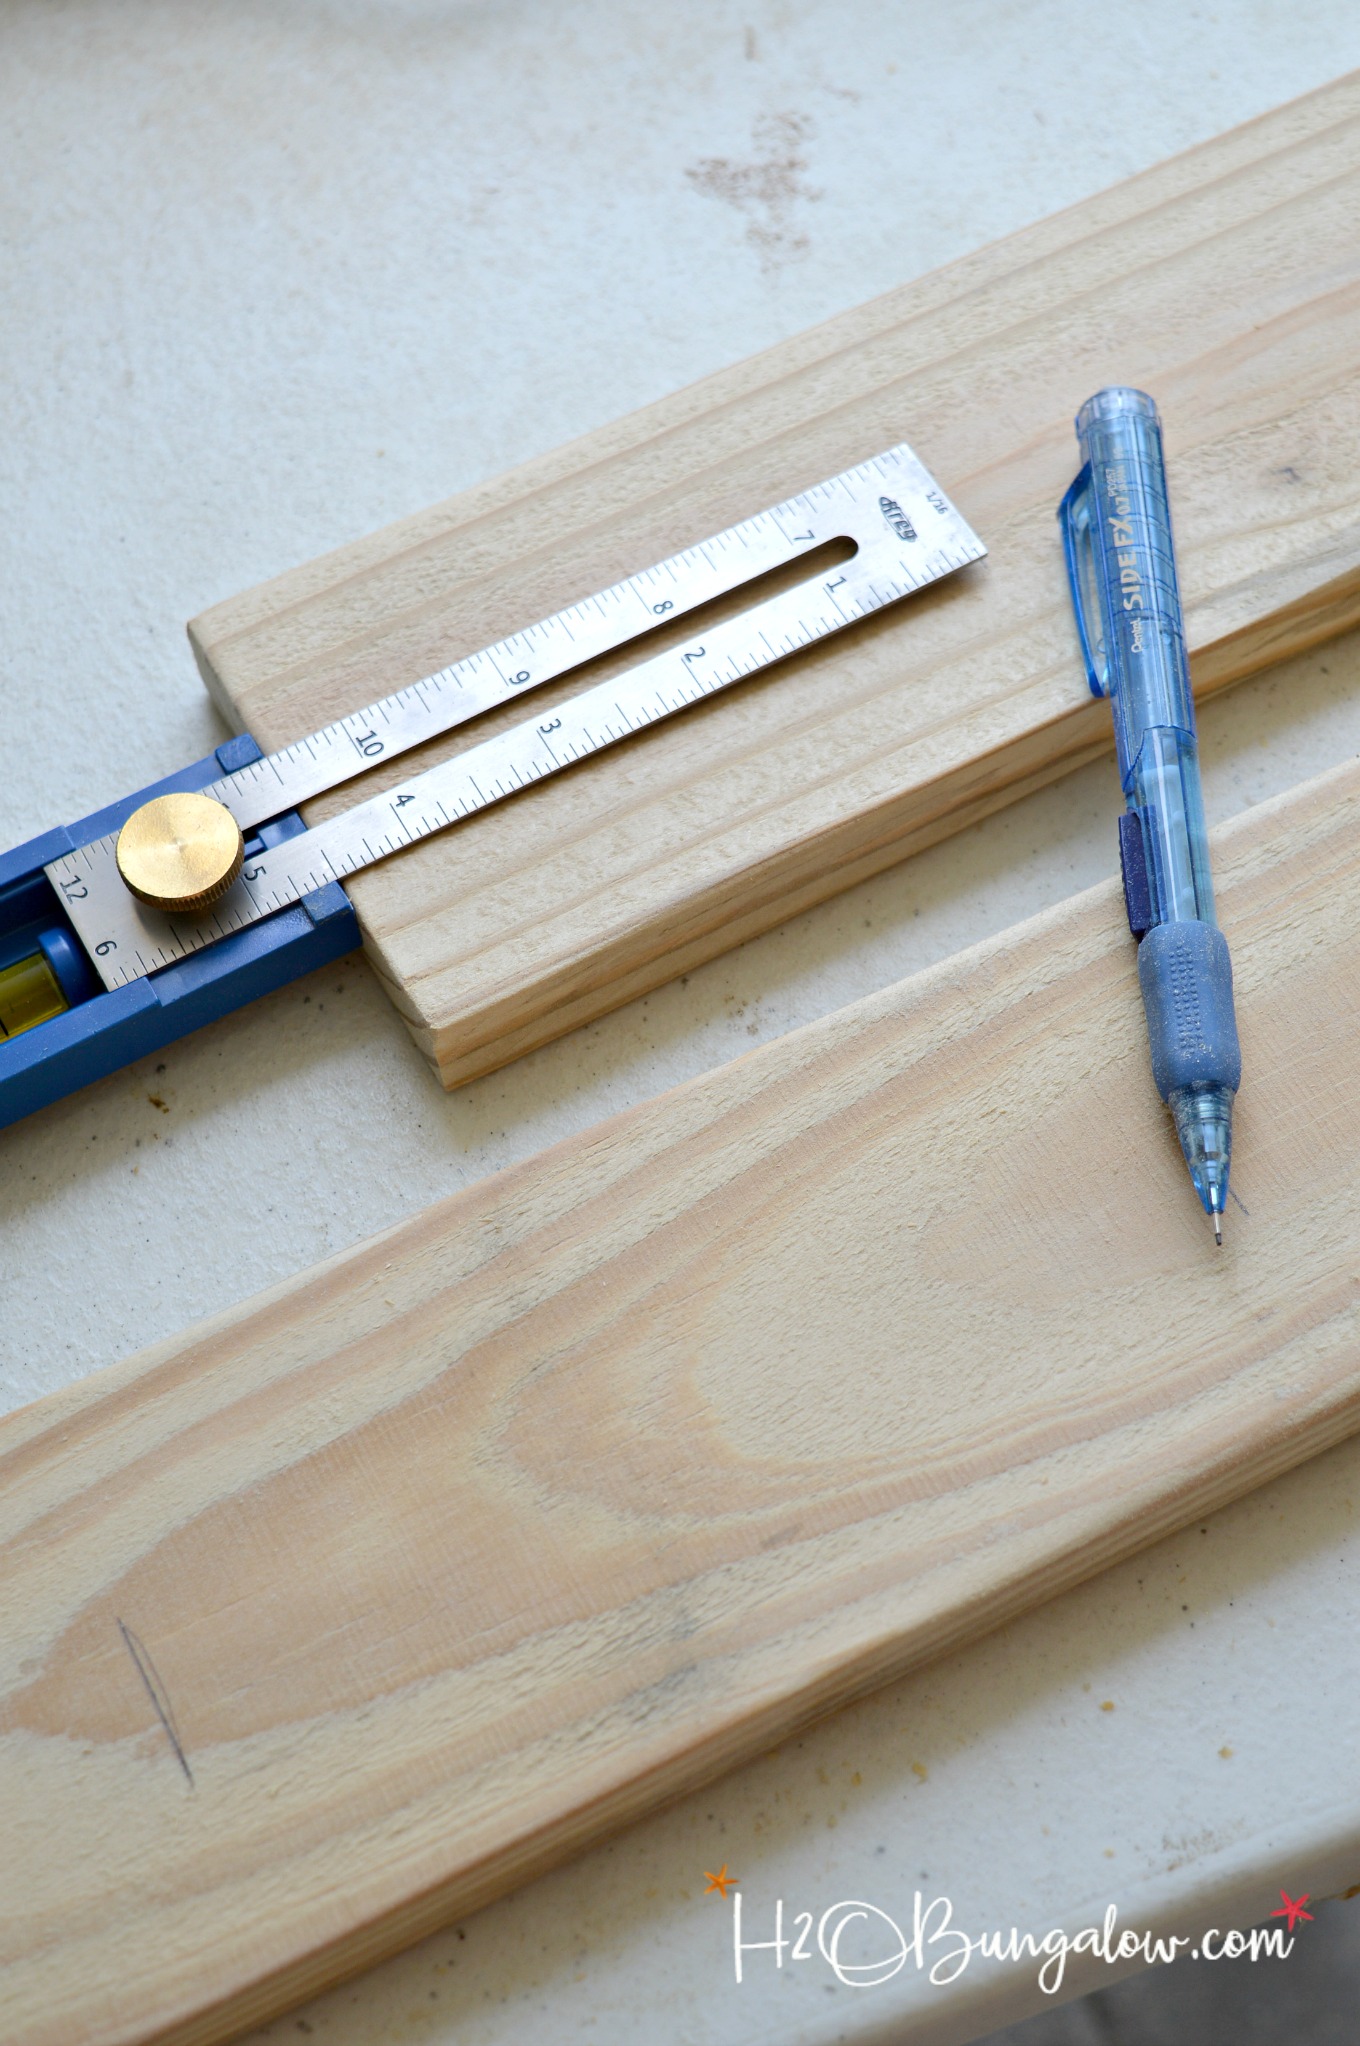
Make a mark 4 ½” from the ends and halfway in from a side for the handles. I love my Kreg measuring tool for these kind of jobs, just set it and quickly mark the places. Can we say timesaver!
Step #4 Add handle holes to tray ends
A forstner bit will make a clean large round hole. My rope is 1” so I used a 1” bit. I found the the easiest way to use the forstner bit was to set my torque low, about 4 and switch to the impact feature which is the #1 on the top of the Ryobi 18 volt drill. Use medium and steady pressure to make the cut. Also when your drilling a hole in a board if you clamp another board under the one your drilling to get cleaner edges.
Step #5 Assemble the tray
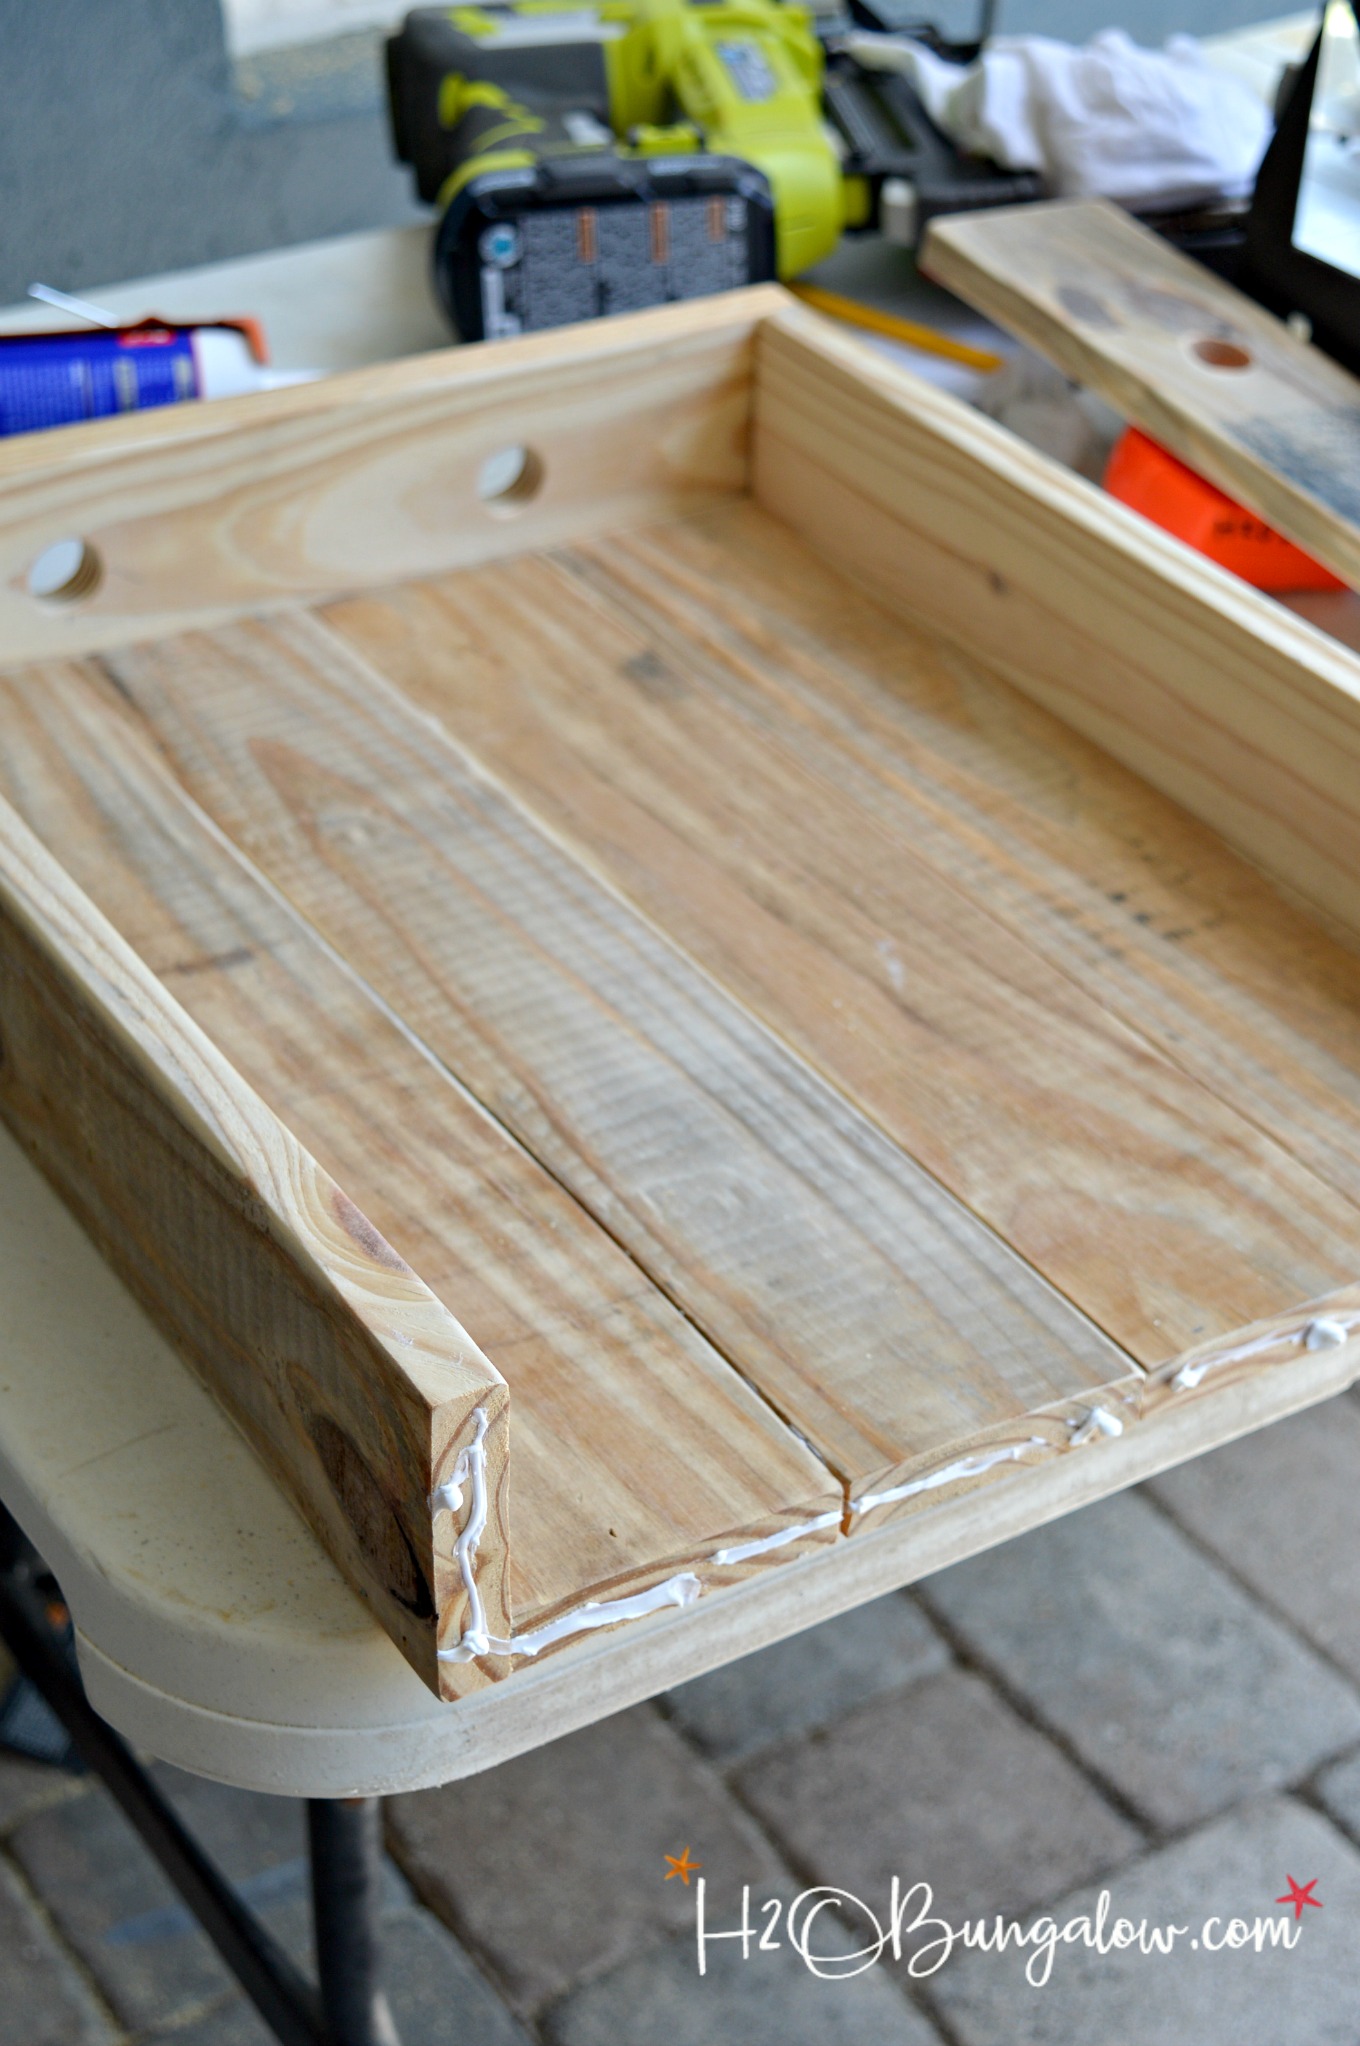
Assemble the two long sides first. Attach a side to a bottom board with a bead of glue and brad nails. Line up the rest of the wood tray bottom boards and attach the DIY wood tray sides.
Step #6 Tie It Up, add the rope handles
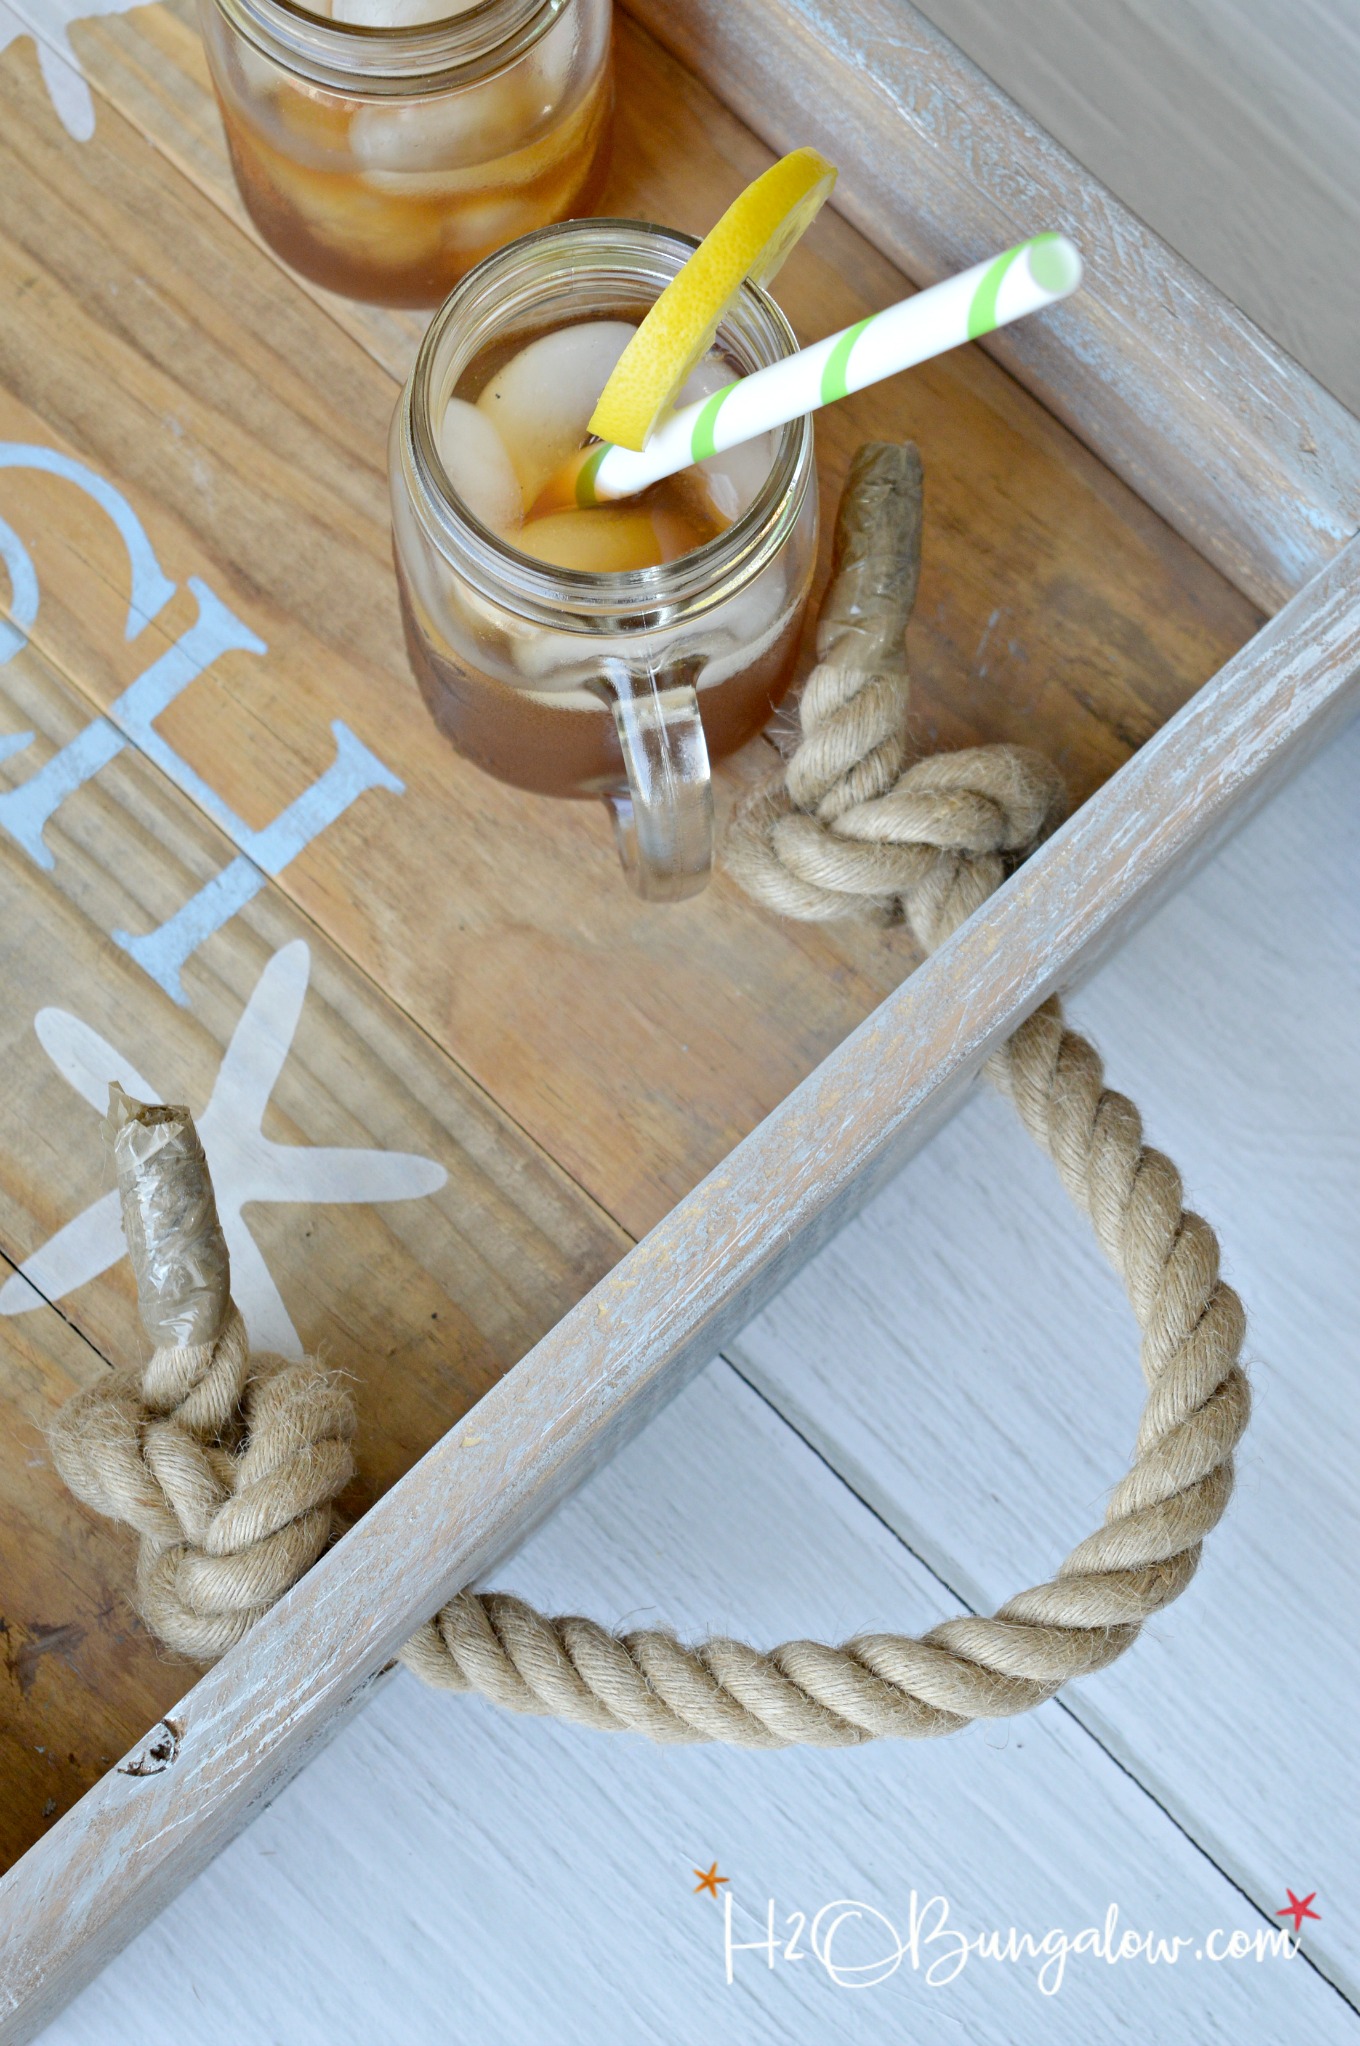
Each knot will use about 10” of 1 “ rope. Be sure to test how long you’d like your handles to be and add 20” for the knots before cutting your rope. I added glue to the ends of my rope and tightly wound packing tape around them to keep them from fraying.
Step #7 Add some personality with paint and stencils
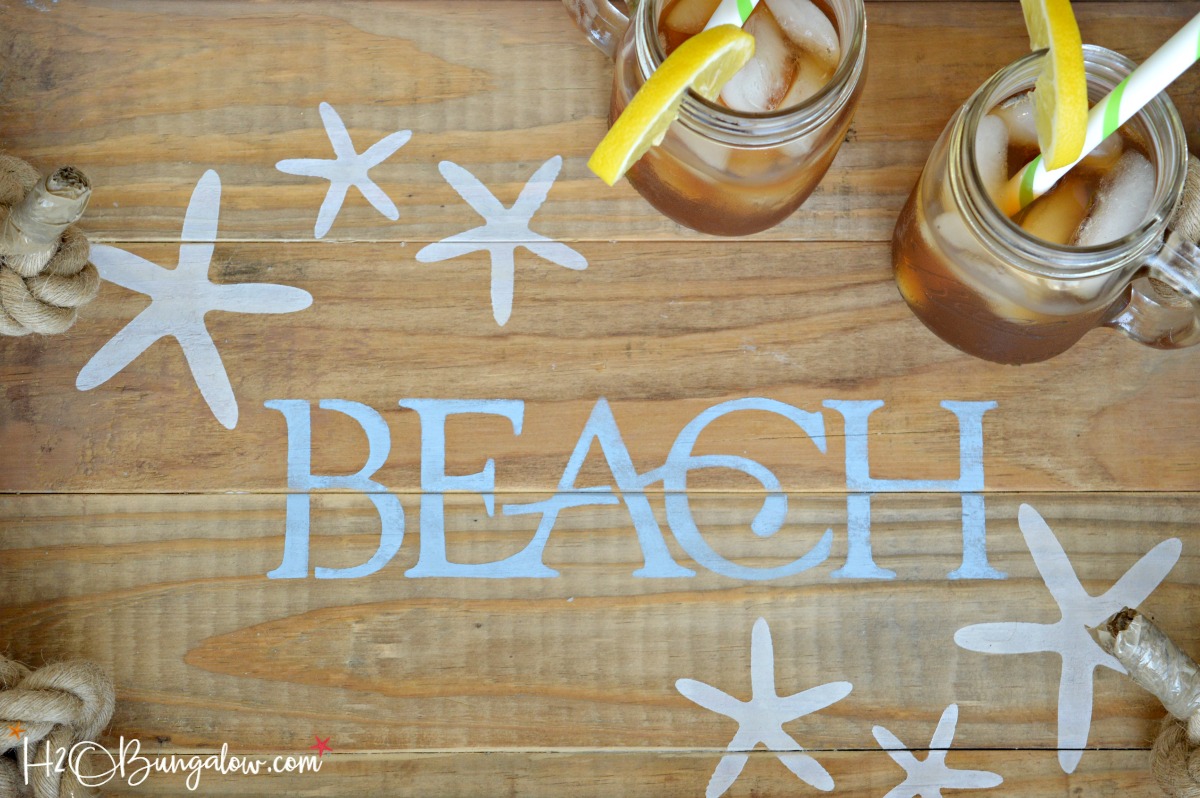
I used craft paint with a few stencils I had on hand for the center. I made this wood tray with scraps from my wood pile so the base was already tea stained. Find directions in my How To Tea Stain Wood Post Here. The sides were raw wood and they didn’t look right next to the pretty patina of the wood base. I took water based brown stain and watered it down even more and randomly brushed it along the tray sides. Next I dry brush some paint on using both the white and blue paint I used for the stenciled center.
Pin this project for later!
I think my new DIY rope handle tray turned out super cute, especially since I had no plan or idea what type of tray I was going to make. It’s making e want to pull out our BBQ supplies, invite some friends over and start enjoying our backyard before the FL heat gets overwhelming.
How about you? How about you? Are you ready to start enjoying outside weather …maybe with a new DIY rope handle tray you’ve just whipped up?
Other projects you may enjoy
DIY Key West DIY Wood Planter Box

Marissa | Squirrels of a Feather says
Getting some serious tray envy looking at these. I am feeling like I need to get to the thrift store and find a tray to convert. Those rope handles are awesome! Pinning, thanks for sharing at The Scoop. 😉
Wendi says
Hi Marissa and thank you! I love tray projects and always have use for a tray somewhere in decor or when friends come over. It’s even better when I can use a tray for both in our home! There were several really good ideas in this post too! Thanks so much for your note and visit!
Meg Green With Decor says
This tray is so cute!! I really love the rope handles! Thanks for rounding us all up for this coastal blog hop!
Wendi says
Hi Meg and thank you so very much! I loved the rope handles too. Plus, it was great to use something that was in my stash. That rope was so cool and had been stored for a while so I was thrilled to find a use for it. Thanks so much for for joining in with us!
Maria says
thanks for including me in this amazing round up! I truly enjoyed it. Will pin your tray to my coastal board.
Maria
Wendi says
Hi Maria and thank you for joining in! This has been fun blog hop and I loved your oyster shell candleholders. They are on my “list” of want to do projects!