You can make this DIY napkin holder from 1/2″ plywood scraps in a few hours. I couldn’t find plans to make a flat napkin holder anywhere so I whipped up a set of my own to share. There’s a Youtube video tutorial in this post as well.
Pin this now and share with your friends on Facebook!
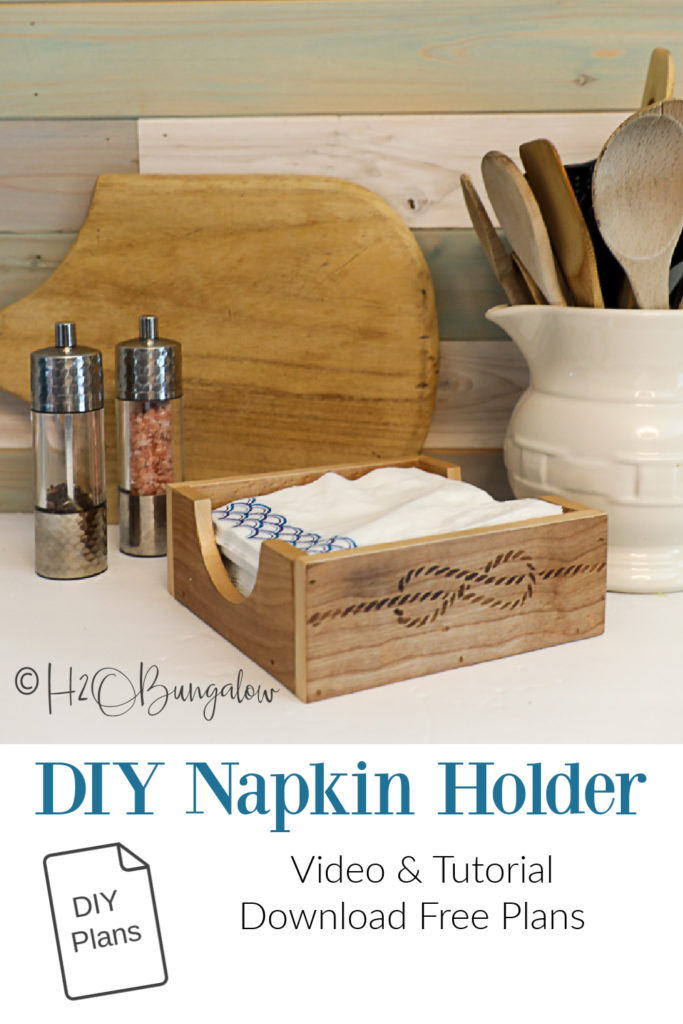
I’ve been meaning to make a DIY wooden napkin holder that we could use outside, in the kitchen or even take on boating trips. While many people like the stand up holder style, we prefer the kind that lays flat because the napkins stay nice and don’t bend over time.
This post contains affiliate links, as an Amazon affiliate I earn a fee from qualifying purchases at no additional cost to you. Thank you for supporting H2OBungalow!
How to Make a DIY Napkin Holder
You can easily modify the size of the napkin holder to fit a cocktail or dinner napkin. The plans for this project are for 6 3/4″ or luncheon napkin size. Luncheon napkins are the one most common size when buying a large pack of paper napkins at the market.
Download my free plans for more details and the steps that match the video, which you can see below.
Supply list to make a DIY napkin holder out of wood.
- 1/2″ plywood
- Miter saw
- Jigsaw
- Brad nailer – optional but makes the project stronger
- Wood glue
- Edge banding– 7/8″ white birch
- Edge banding tool – not required can use razor but helps
- Iron – household
- Retractable razor – this is a good deal!
- Sanding sponge or 200 grit sandpaper
- Measuring tape – my favorite self centering one!
- Kreg Multi-Tool – not required but useful!
- Bar clamp, small
- Safety glasses – These fit over prescription glasses!
Time needed: 4 hours
Steps to make a DIY napkin holder.
- Cut the wood to size.
Cut the base and 4 sides out of ½” birch plywood.
1 – 6 3/4″ x 6 3/4″ for the napkin holder base
2 – 6 3/4″ x 2 3/4″ short side
2 – 7 11/16″ x 2 3/4″ long sides
If you modify my sizes above to fit your own napkin dimensions, be sure to adjust the dimensions on the two long sides to leave room for the thickness of the edge banding. - Cut Semi-Circular Shapes
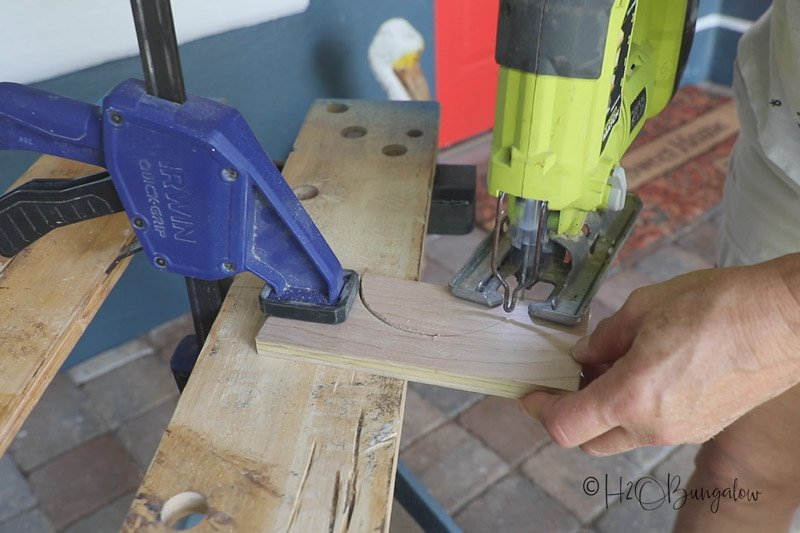
To make it easy to get napkins out of the napkin holder, I cut semi-circular shapes out of the top section on the two short sides.
Place the two short sides together, center a cup in the center and trace a circle.
Cut the semi-circle out of each side with a jigsaw. - Apply Edge Banding
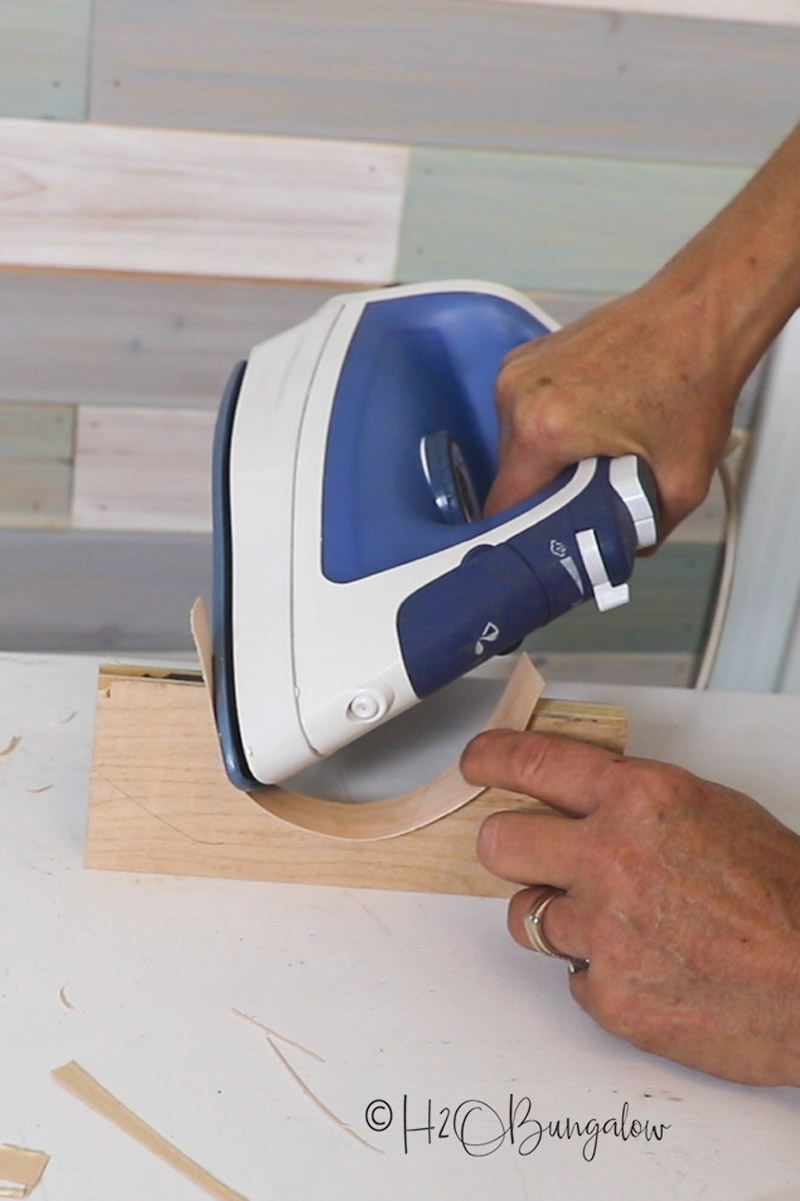
Apply edge banding to the top of all fours sides, the cut out sections and the ends of the two long sides that will be visible when the holder is assembled.
My video has lots of tips on edge banding for this project.
- Sand the wood parts
Sand rough spots down and excess wood trim using a sanding block and 200 grit sandpaper.
- Assemble the DIY napkin holder
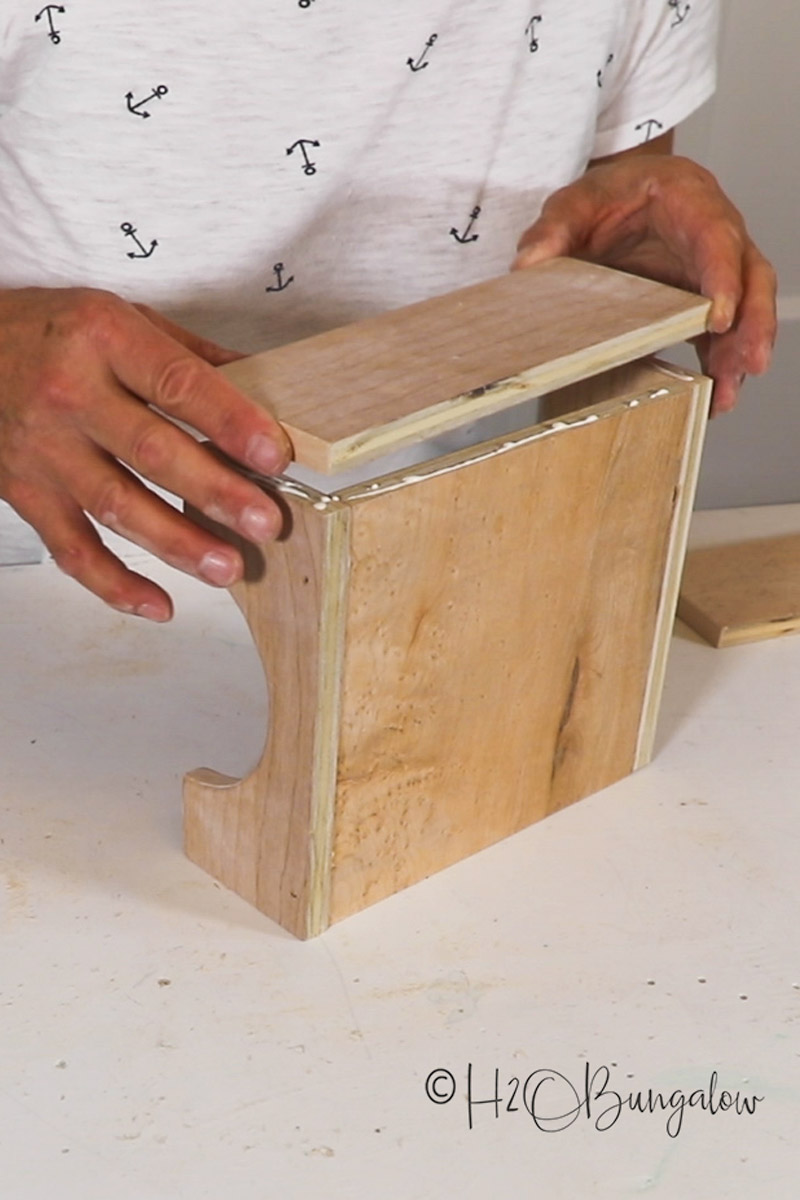
Use wood glue and 1 1/4″ brad nails to put together the napkin holder.
Add the short sides with the circular cut outs to the base first. Next add the other two sides. - Finish as desired.
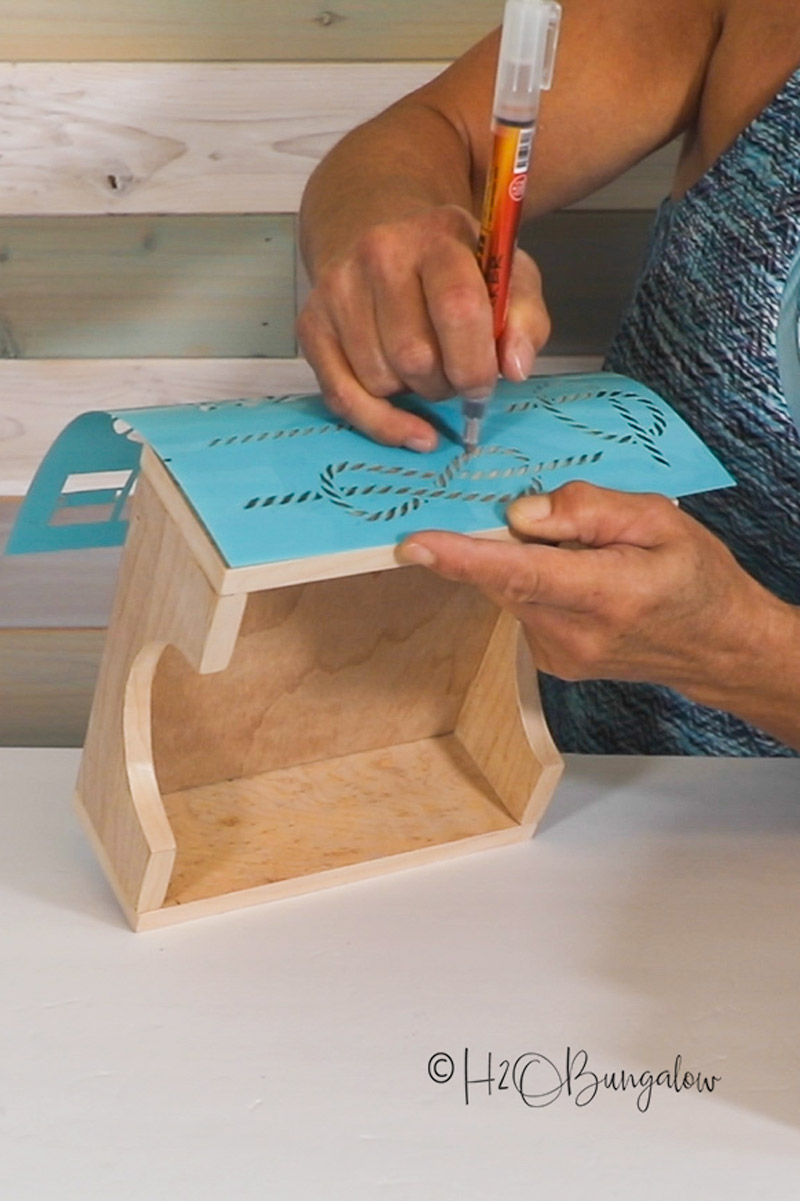
You can stain, paint or leave the napkin holder natural wood.
I used a scorch marker and a rope stencil to add a design on my wood before adding a clear coat of boiled linseed oil sealer.
I made a quick video tutorial to make this project even easier to make!
Two other of my very favorite and useful kitchen projects I’ve done are how to How To Add Extra Shelves To Kitchen Cabinets.
Organization in a small kitchen can be challenging! This is a really old post but has great info in it, How To Organize a Small Kitchen and Get More Space.
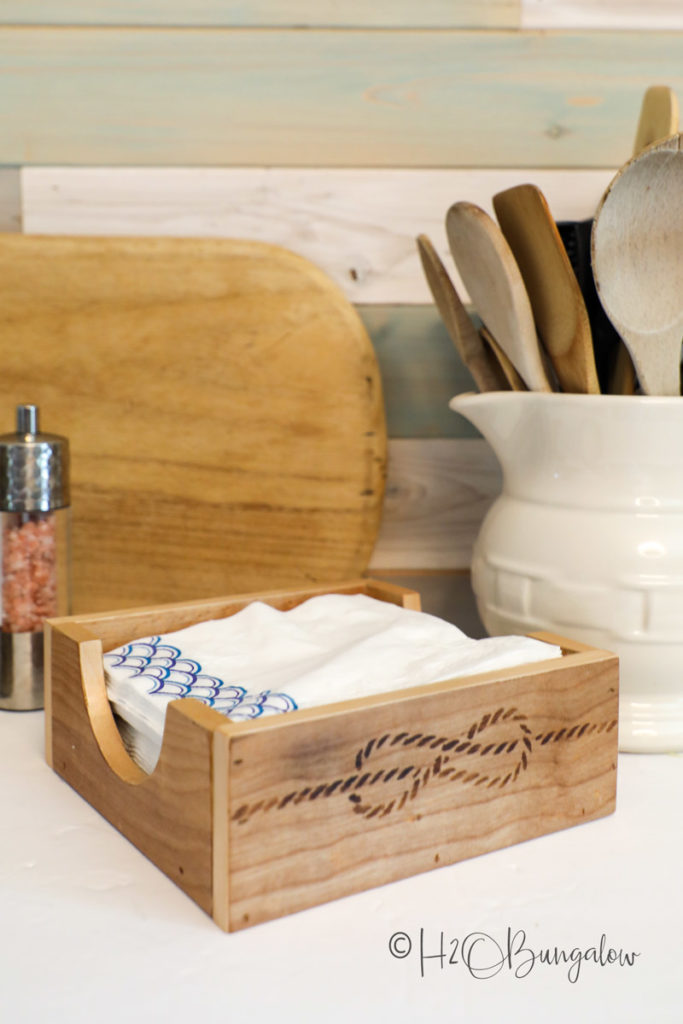
I wasn’t sure if I’d like the scorch pen and oil finish on this DIY wood napkin holder when I was doing it. After I added the oil finish and it sat for a while, the design in the wood became even darker and I loved it!
Pin this now and share with your friends on Facebook!

Are you ready to make a DIY napkin holder yourself?

You may also enjoy my DIY Nautical Towel Holder I made. It’s fast, unique and a great way to hang a hand towel by a sink!
In the same room I also made this Copper Toilet Paper Holder too!
