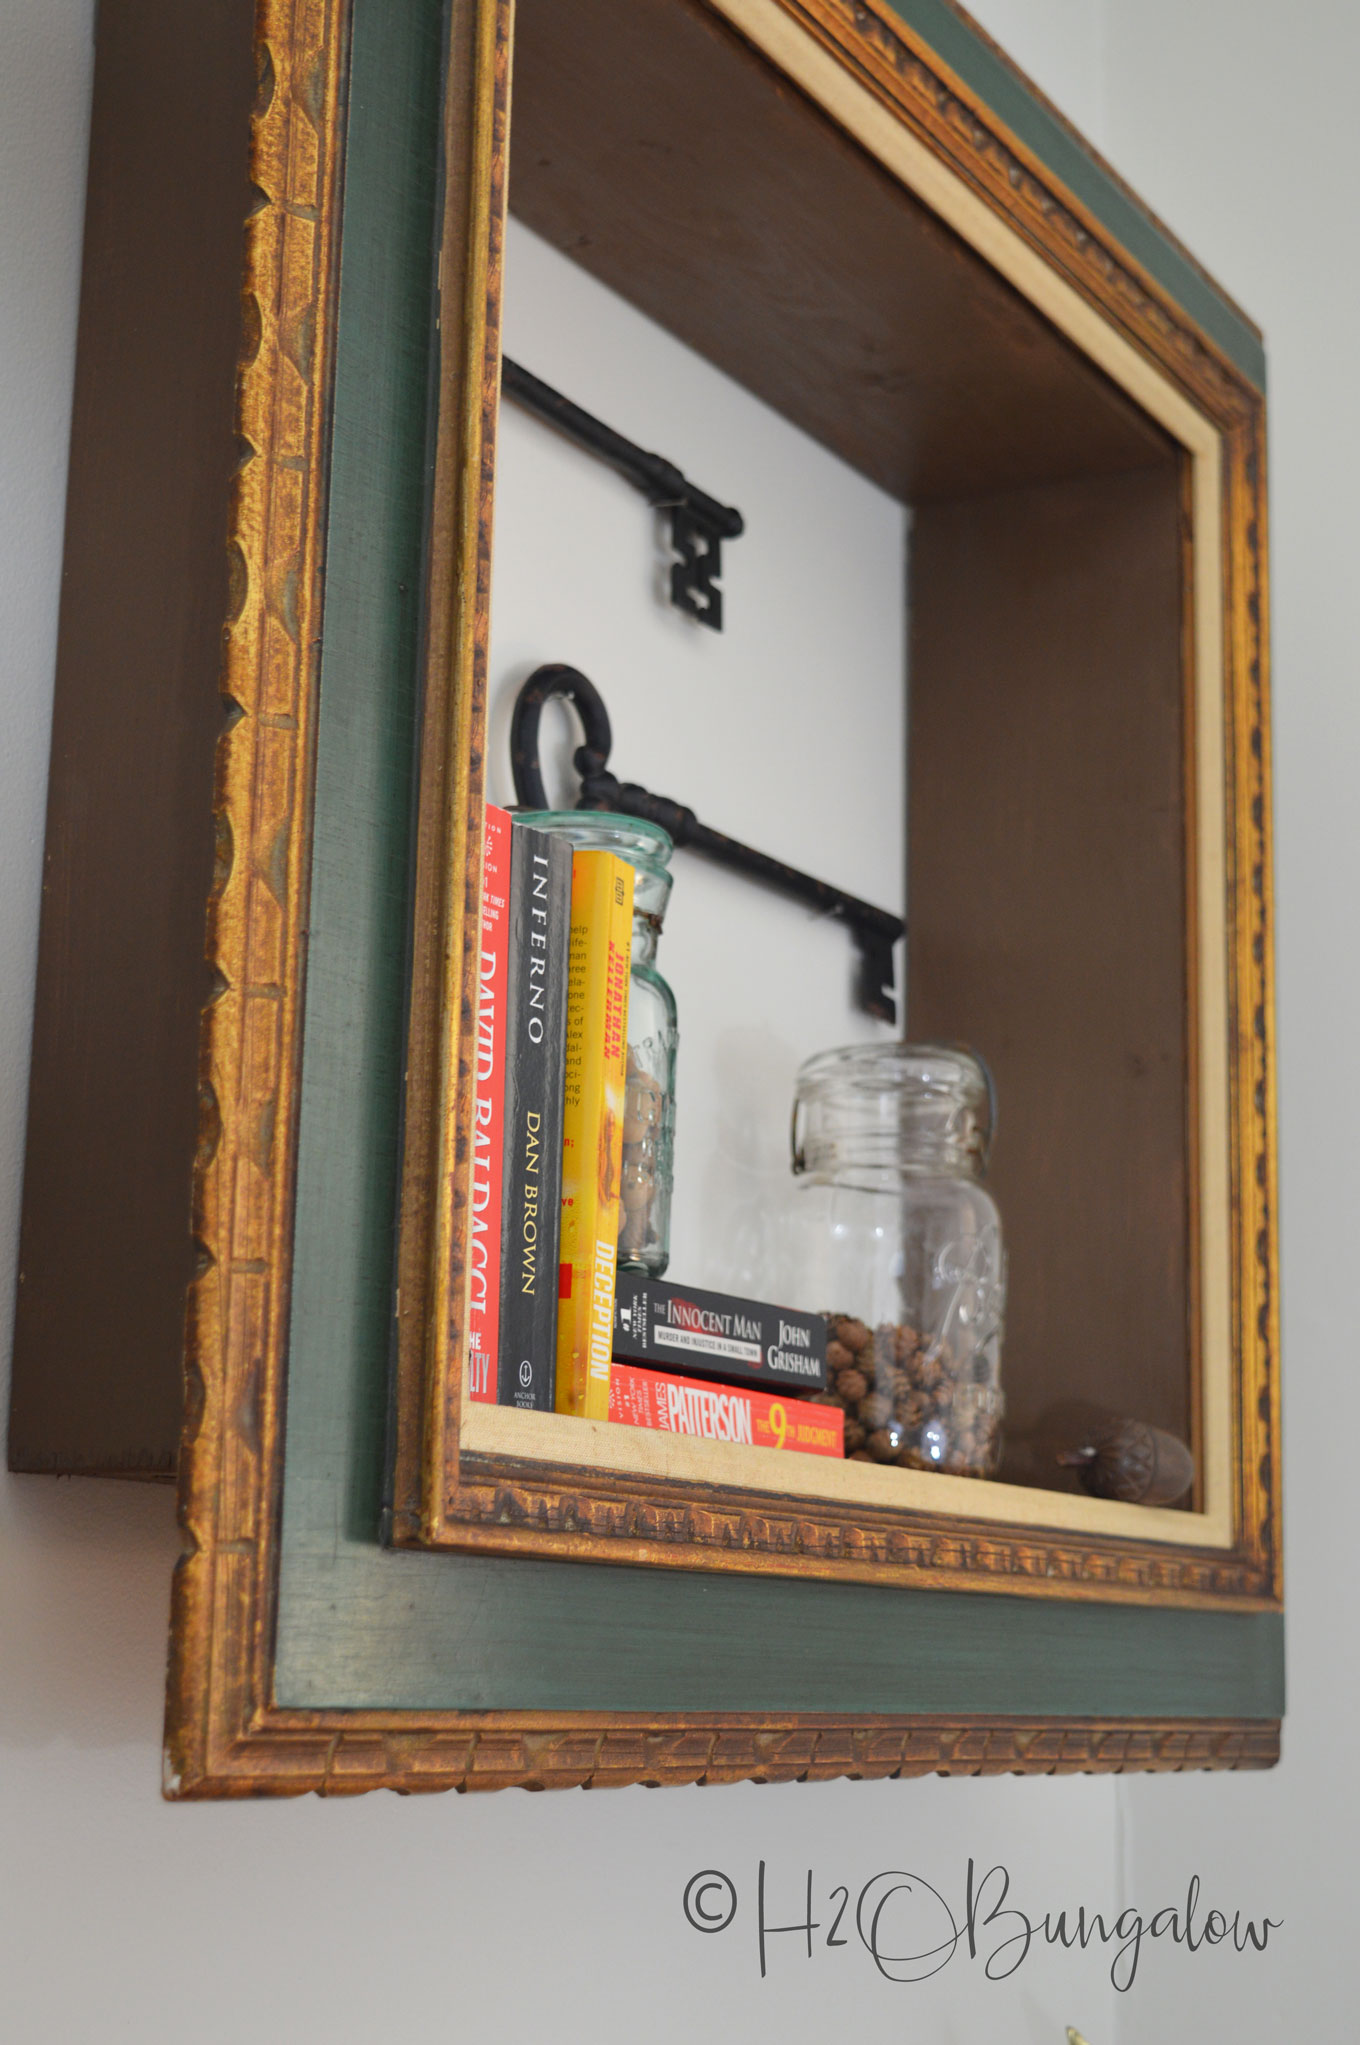
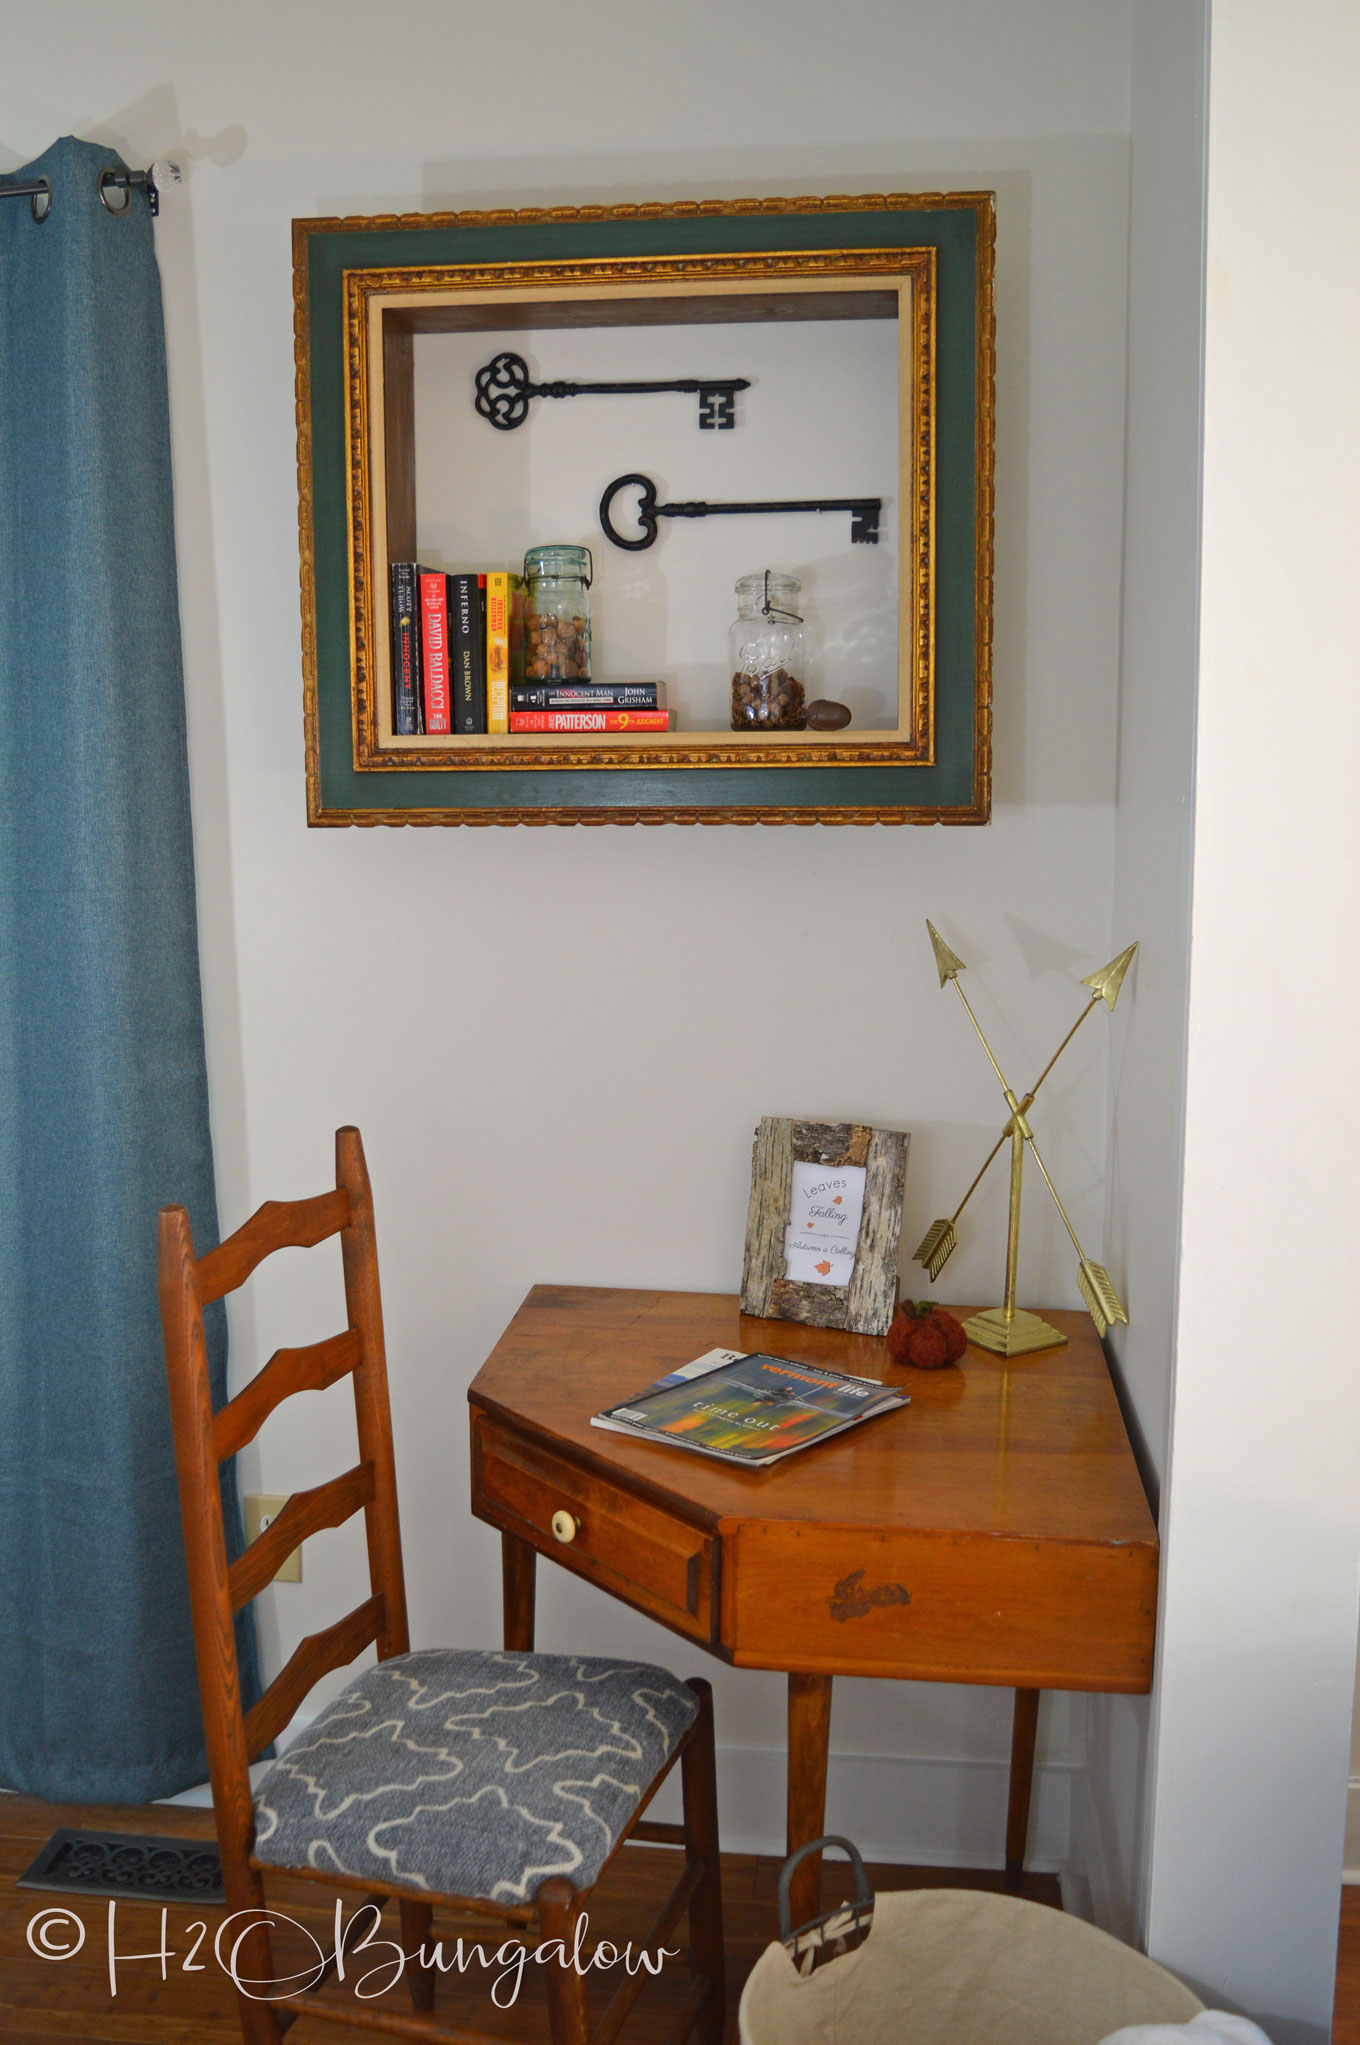
I made a set of DIY repurposed picture frame wall shelves from vintage wood frames to share today. This frame sits in the North House Lodge and you can see it and other projects on the North House #54 Home Tour. Shelves are such a huge key for storage, organization and decor. I love Open Shelving that You Can DIY, especially in the kitchen. We are celebrating the kickoff of the Power Tool Challenge Team’s Repurpose theme day and the start of our Reader Challenge. That’s really cool because you guys get to see several creative repurposed projects and share your favorite DIY repurposed projects with us!
What’s in it for you? There’s not just one, but two ways to win an awesome power tool prize for playing along!
What do I mean by two ways to win? Well… We want everyone to join in the fun, new and experienced tool users! You’ll find the details further down in this post.
You’ll find my tutorial on how to make my repurposed picture frame wall shelves at the end of this post:)
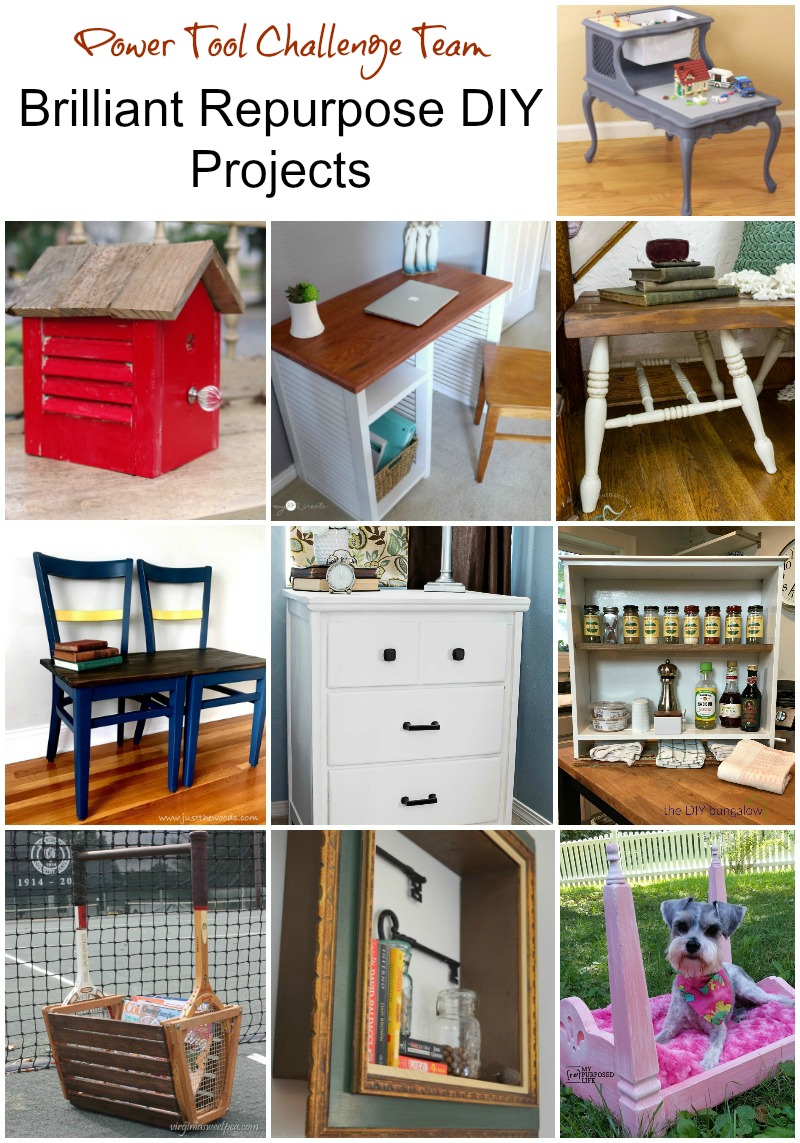
In the meantime, let’s take a look at what the rest of the team came up with for this month’s repurpose theme. You can click on any of the links to go to the tutorial for that that project.
The Kim Six Fix Lego Table From Two Tiered End Table
Create and Babble Rustic Birdhouse from Upcycled Shutter
My Love 2 Create Repurposed Shutter Desk
Designed Decor How To Build A Repurposed Chair Leg Bench
Just The Woods How To Make A Bench From Chairs
Domestically Speaking How To Turn A Desk Into A Nightstand
The DIY Bungalow Turn an Old Drawer into a Cabinet
Virginia Sweet Pea DIY Vintage Tennis Racket Basket
H2OBungalow Repurposed Picture Frame Wall Shelves – That’s me!
My Repurposed Life DIY Doll/ Dog Bed
I was blown away by the creativity of the repurposed projects this month.
Now that you’ve seen our projects, let’s see yours!
Reader Challenge Entry Details
To qualify, an item needs to be repurposed using at least one power tool of any kind in the process. Simple enough? Everyone can enter up to four DIY repurposed projects.
Two Ryobi Power Tool Prizes!
Every entry counts towards a chance in a random drawing and the winner gets to choose either an 18 Volt One + jigsaw or an 18 Volt One + Drill. The project voted Best Repurposed Overall by the team gets to select up to $230 of Ryobi Power Tools of their choice.
How to enter: Enter your project in the linky below. The linky will be open for 2 weeks ( ending midnight November 2nd). Readers can submit their own projects directly, make a Facebook post and share that link. If any of you need help or want me to post your project for you just send me an email with your project photo to [email protected], be sure to include your name and your project title too!
Must be 18 or older to win, giveaway and contest is open to USA resident only.
DIY Instructions To Make Repurposed Picture Frame Wall Shelves
I use affiliate links to help you find the supplies I used. You can read my full disclosure policy here.
You’ll need these supplies to make wall shelves out of picture frames.
- thrifted wood picture frame
- wood to make the boxes, 1″ x 4″ wood for small frame shelves, 1″ x 6″ wood for large frame shelves
- small 90 degree “L” brackets
- paint or stain
- miter saw or jig saw
- Kreg Jig
- 1 1/4″ coarse pocket screws
- ½” #6 Small screws
- 2 keyhole hangers per frame
Step One: Remove the picture and any hardware from the wood frame.
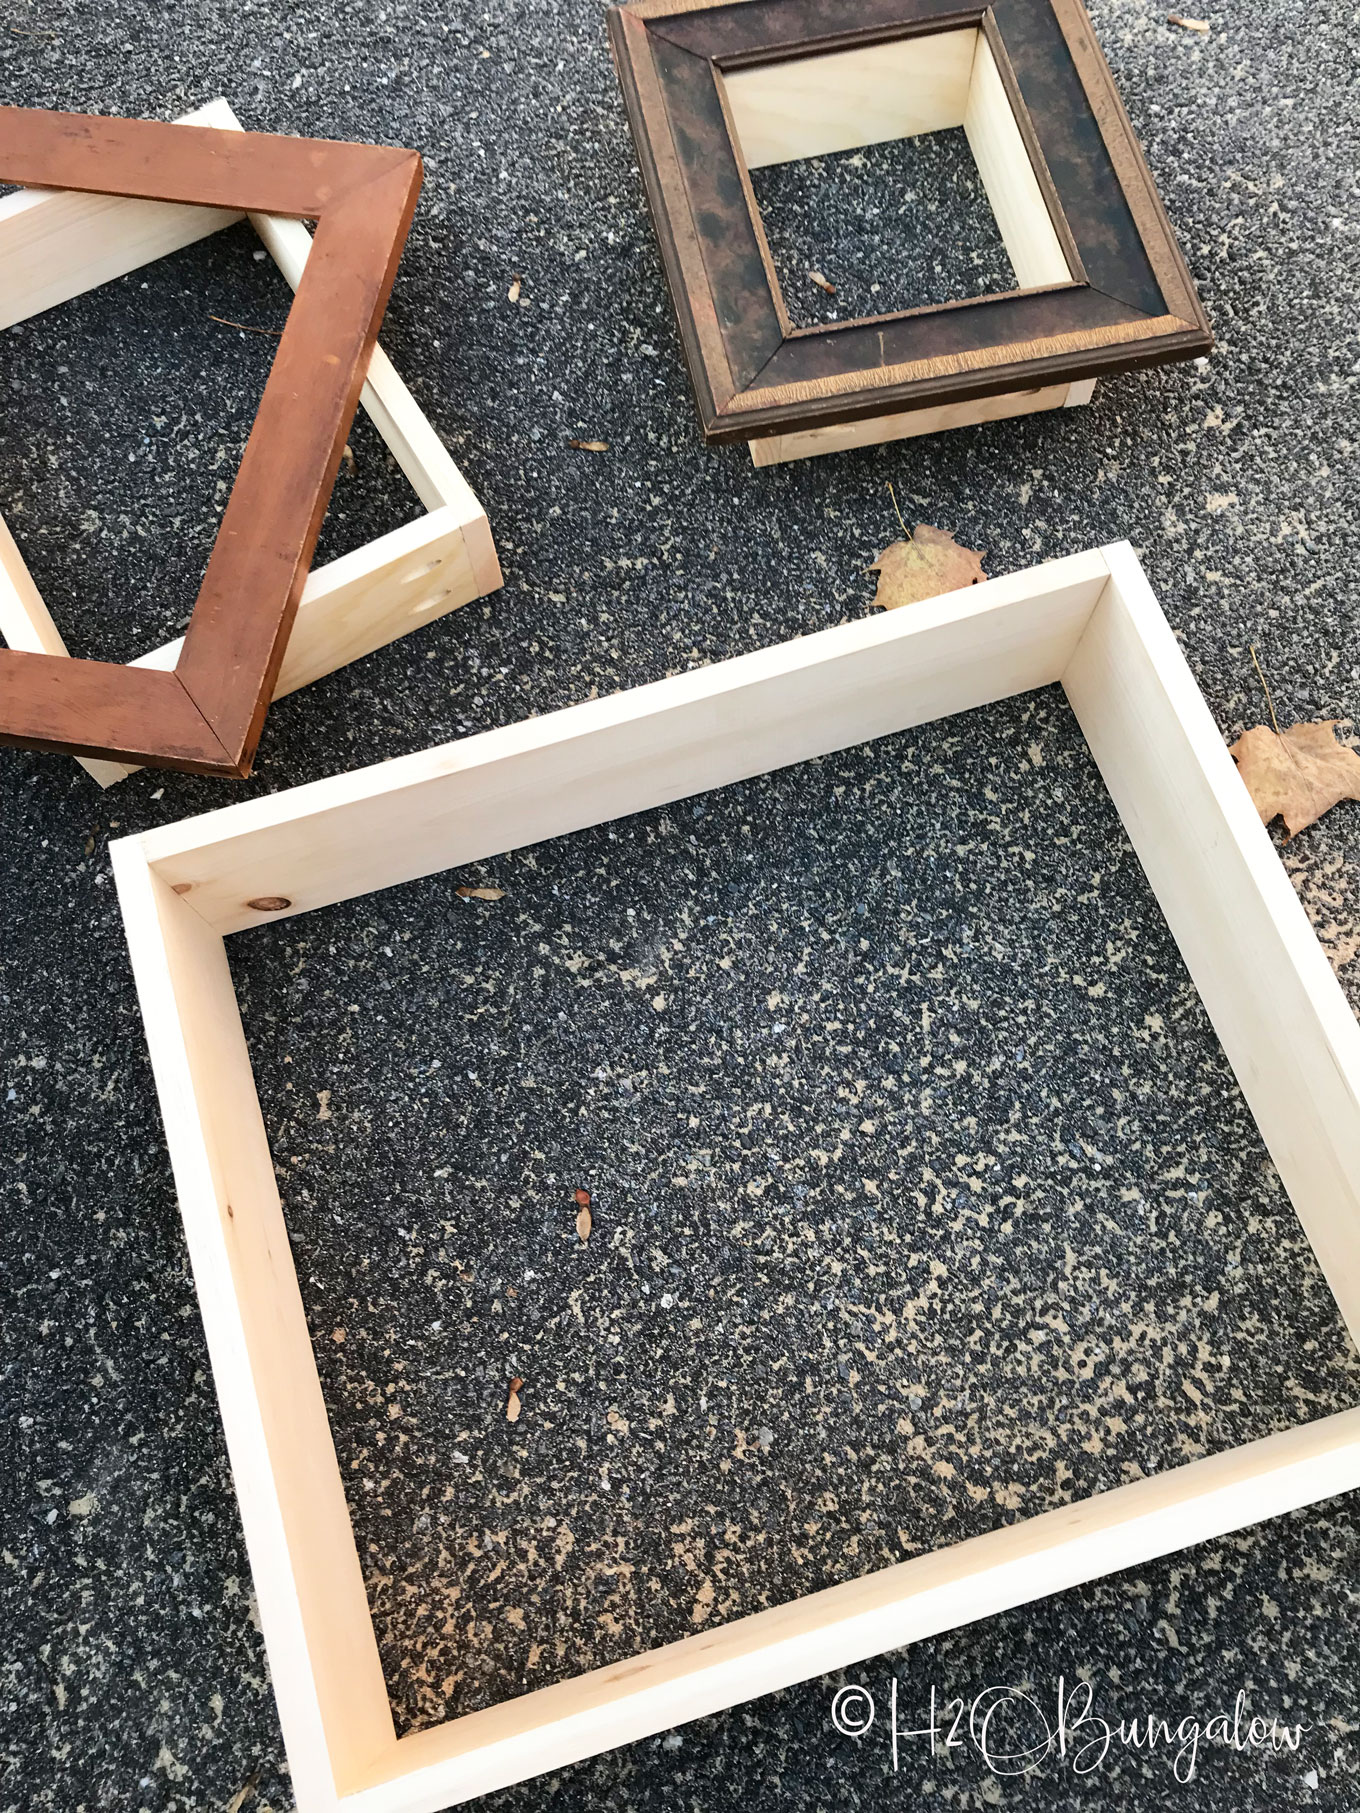
Step two: Cut wood to fit inside back of picture frame. You can use a miter saw or a jigsaw to cut the wood.
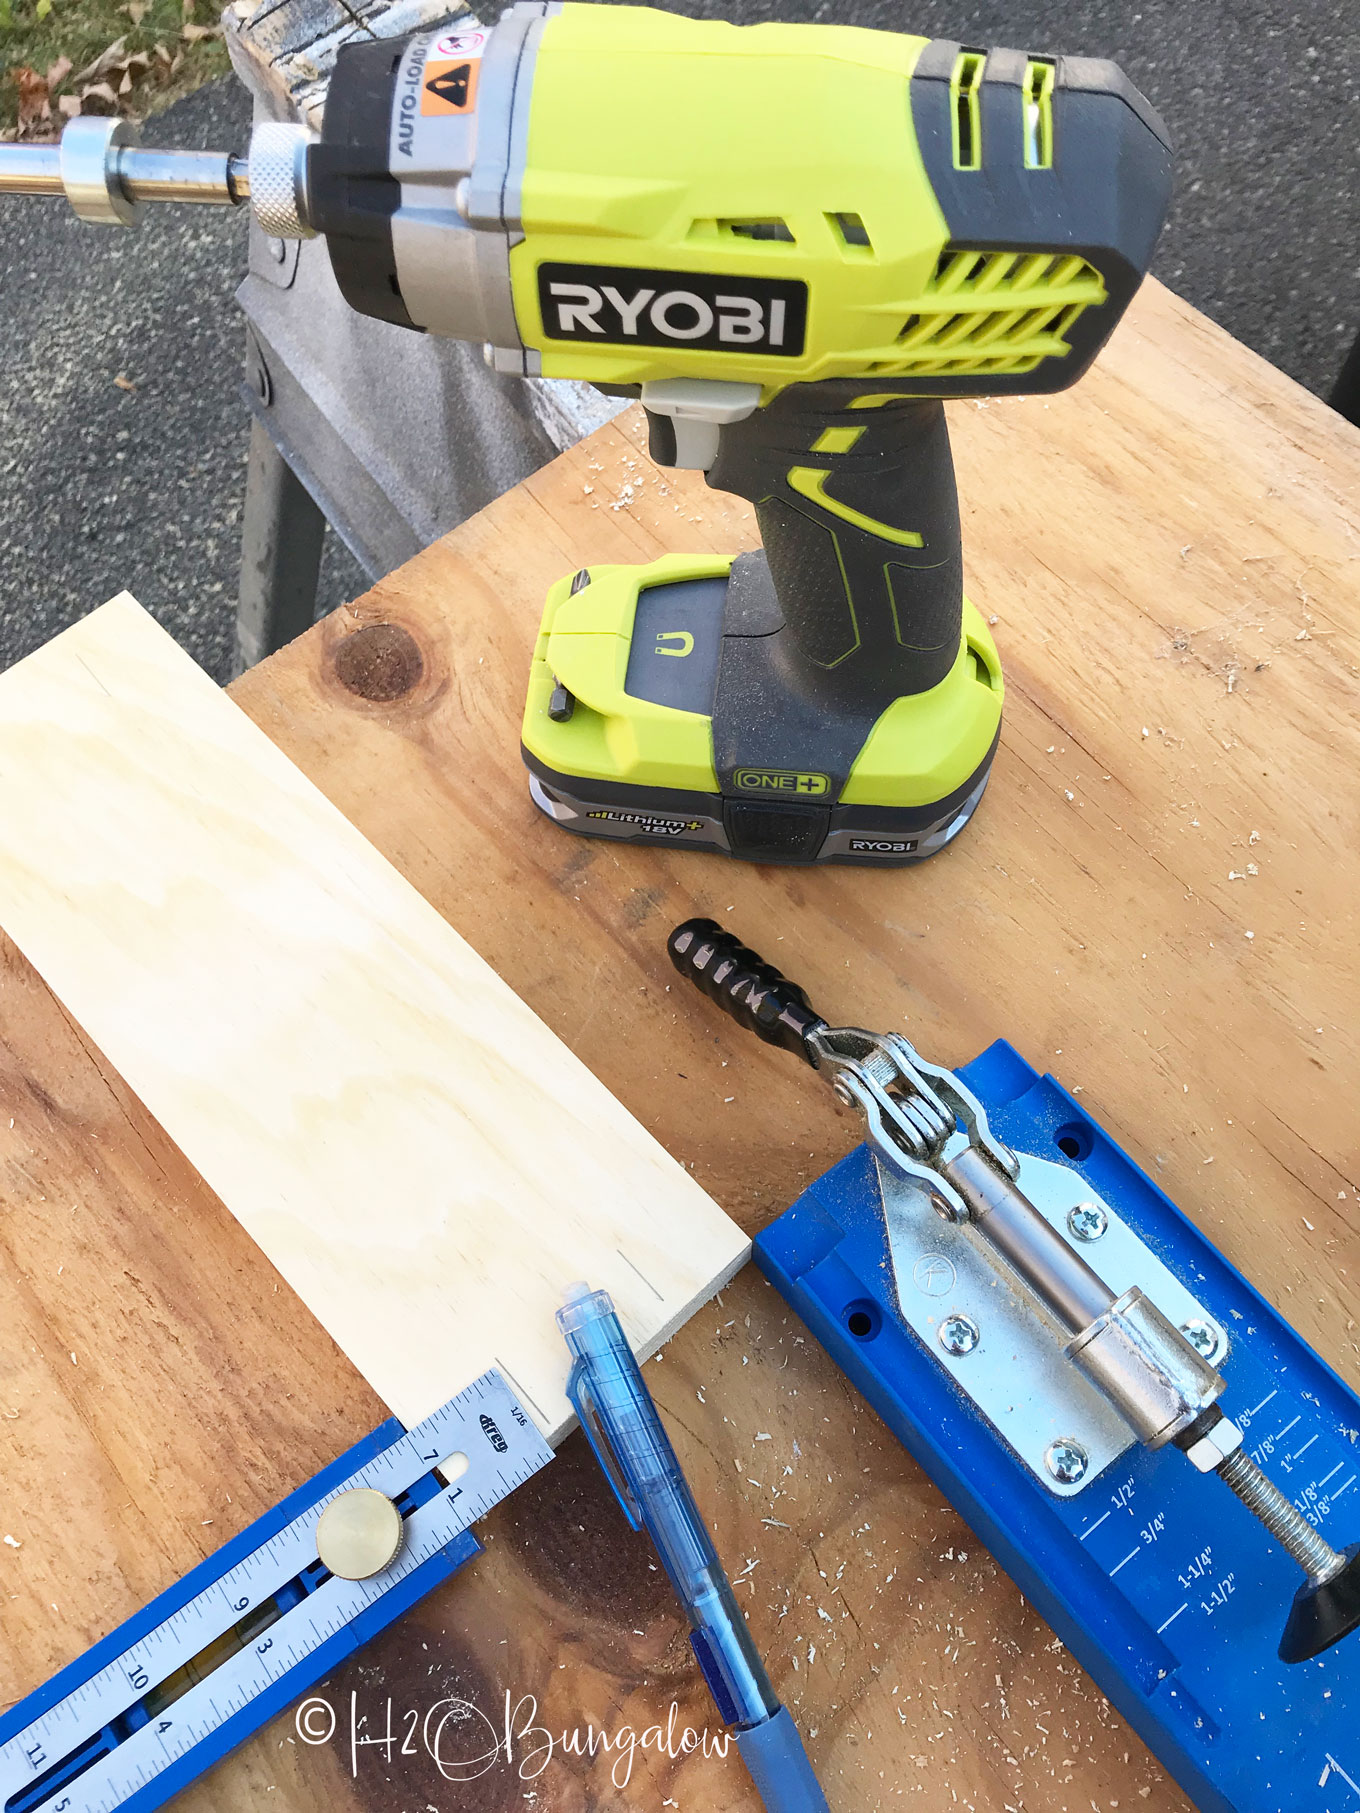
Step Three: Assemble shelf boxes. I used my Kreg jig and put two pocket screw holes one inch from the end of the short frame pieces. They were attached with 1 1/4″screws. The boxes can also be assembled with wood glue and a brad nailer too.
Tip: Use a Kreg measuring tool for quick and accurate marks.
Step Four: Paint or stain the wood as desired.
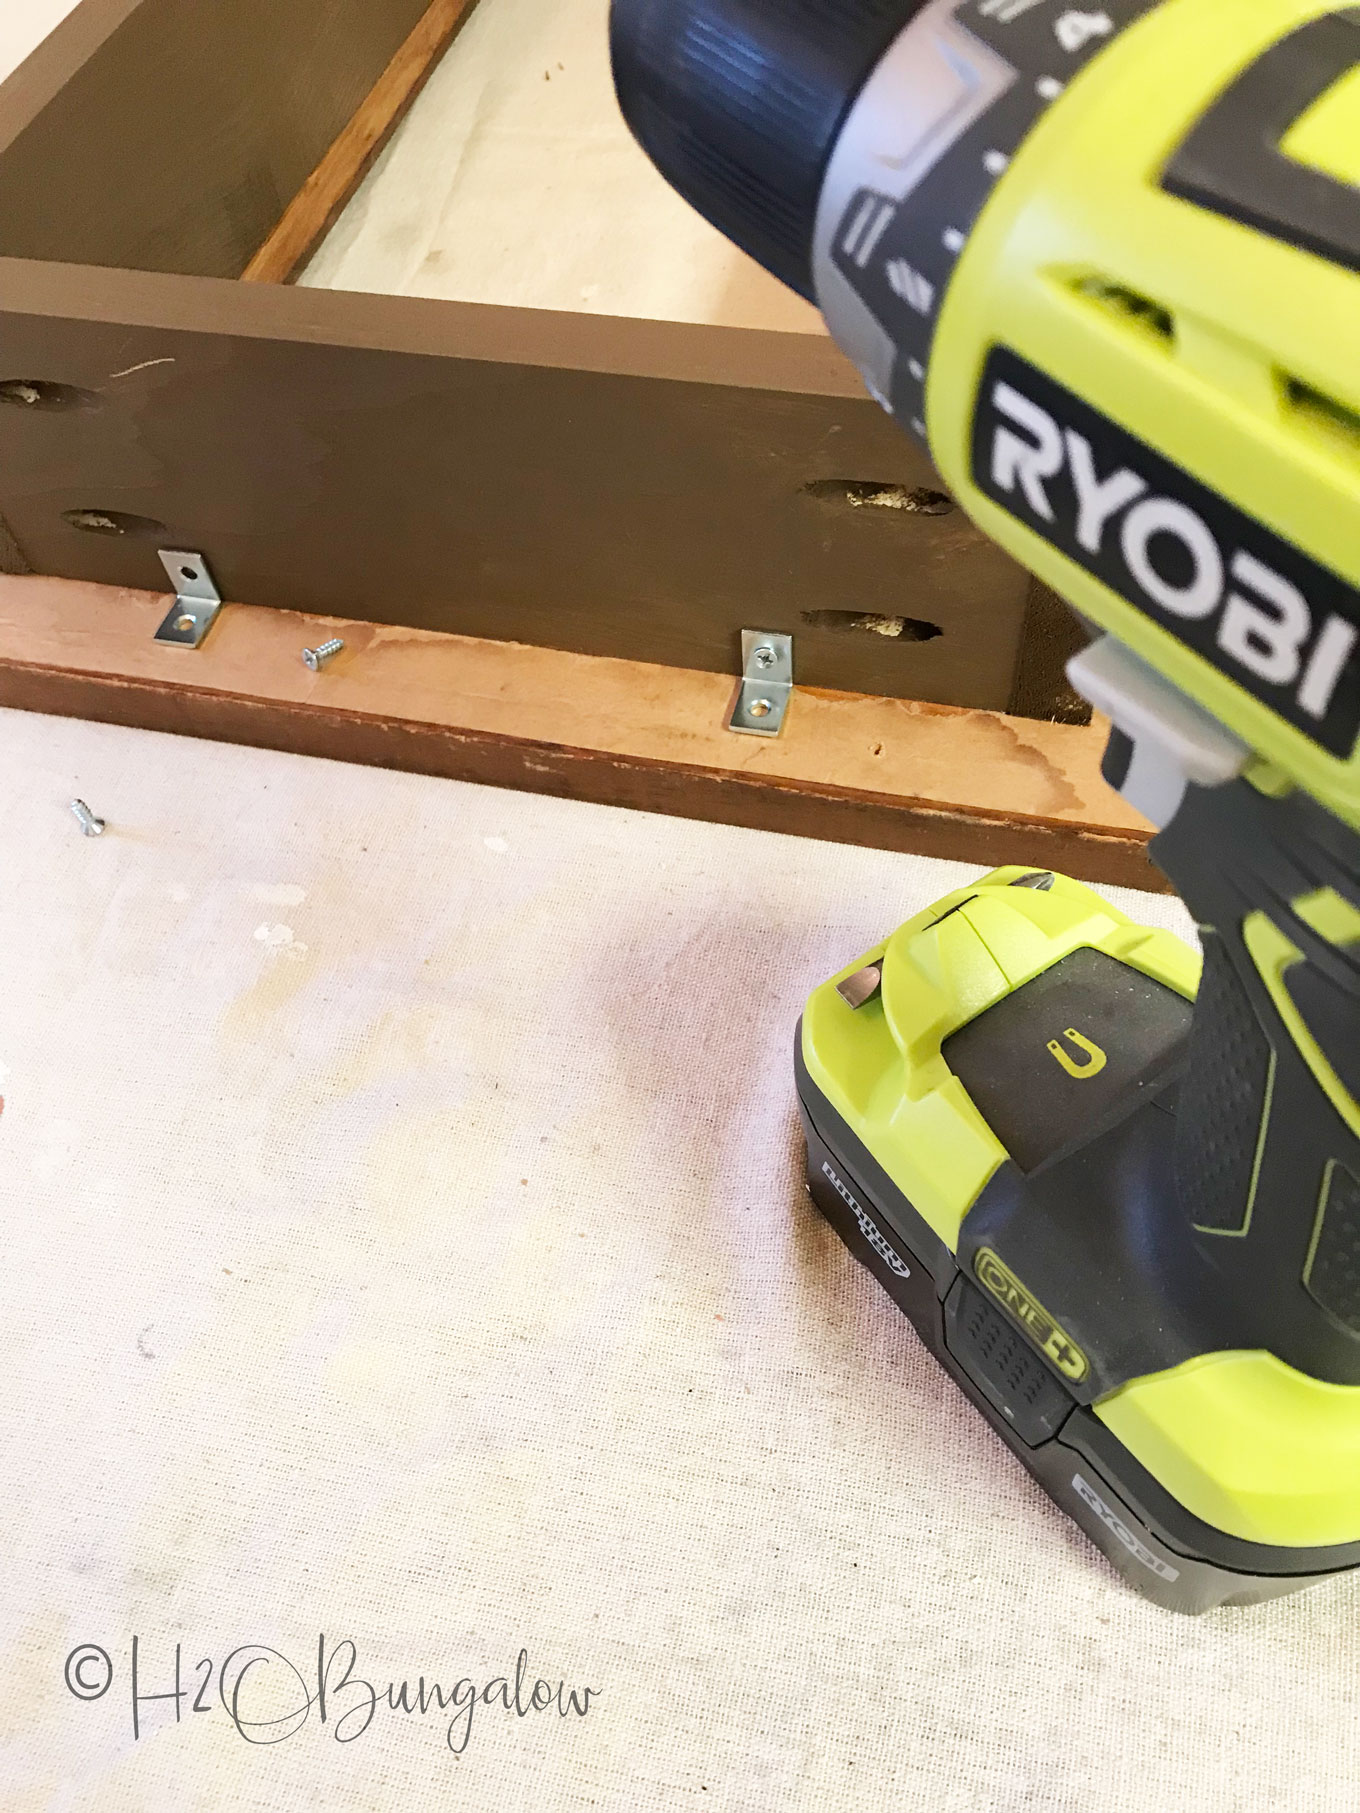
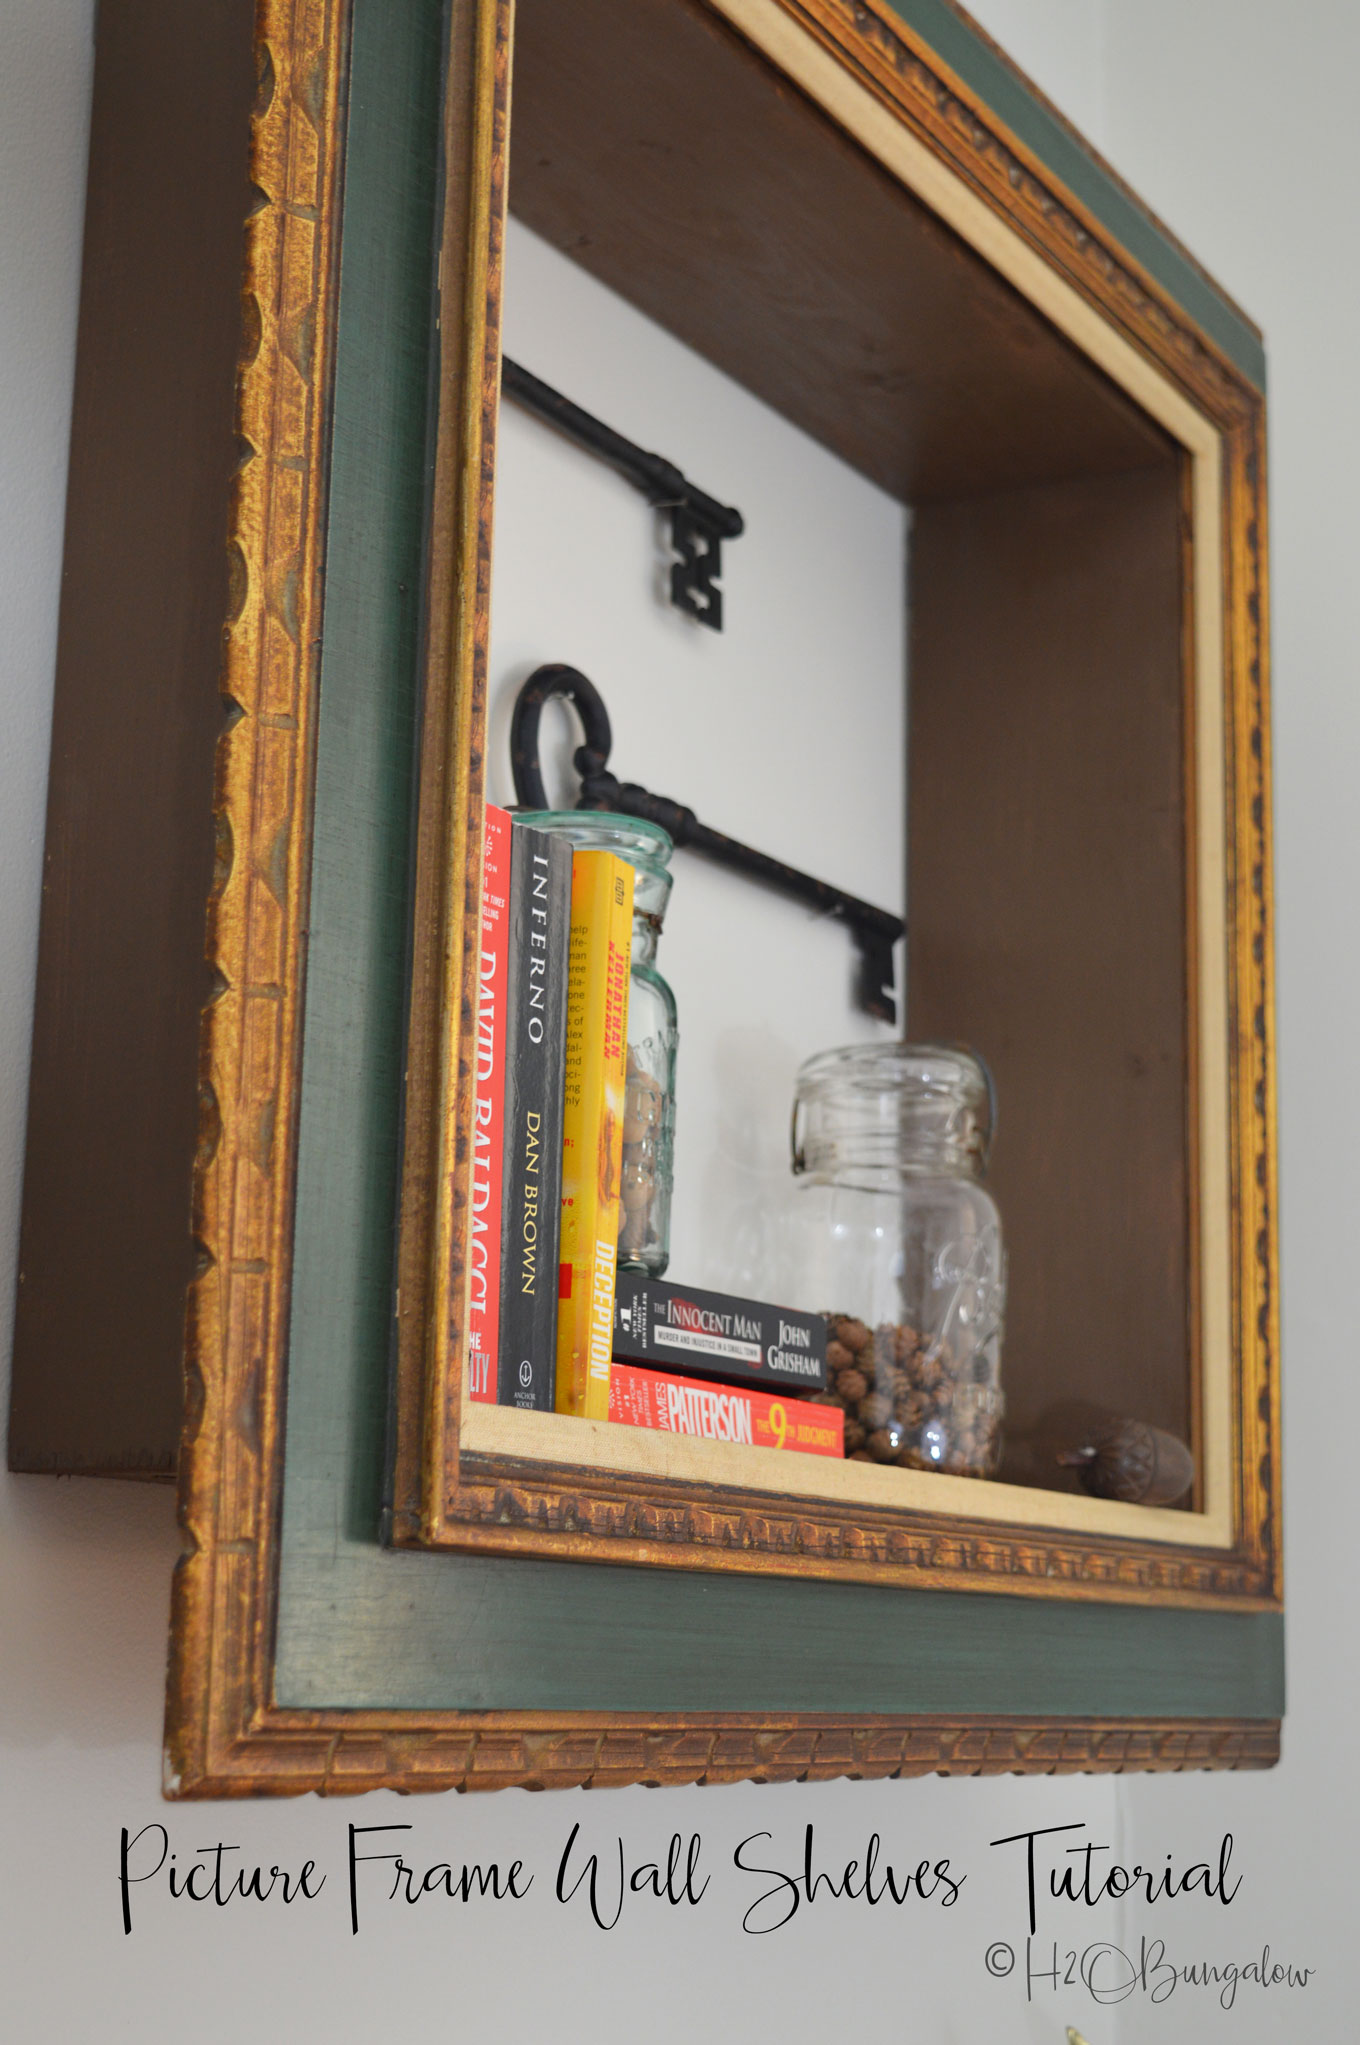
Step Five: Attach wood box to frame. Use 1 small L bracket on each side to attach the wood box to the wood frame with ½” #6 screws. Use two L brackets on larger frame wall shelves.
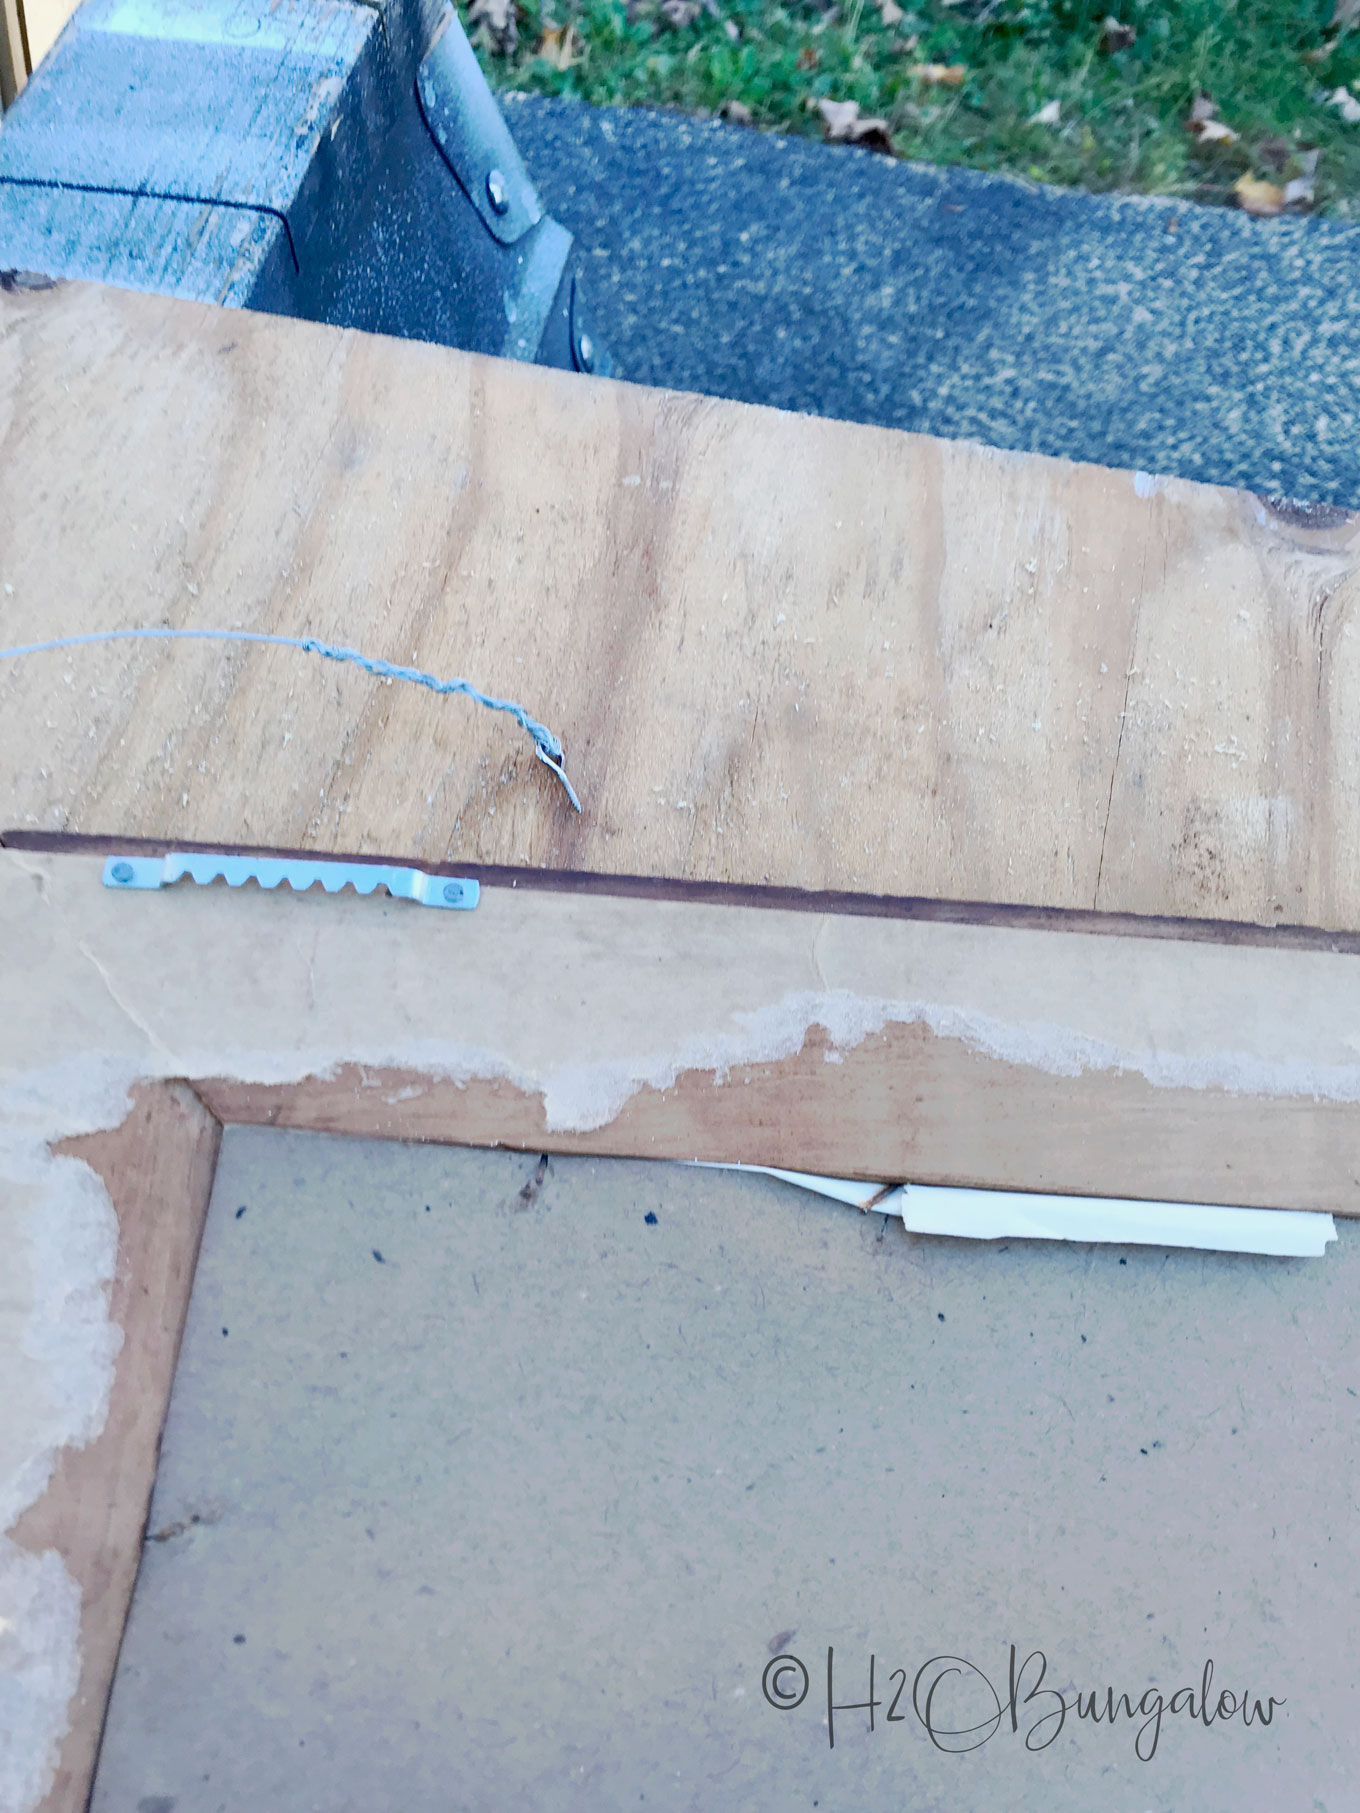
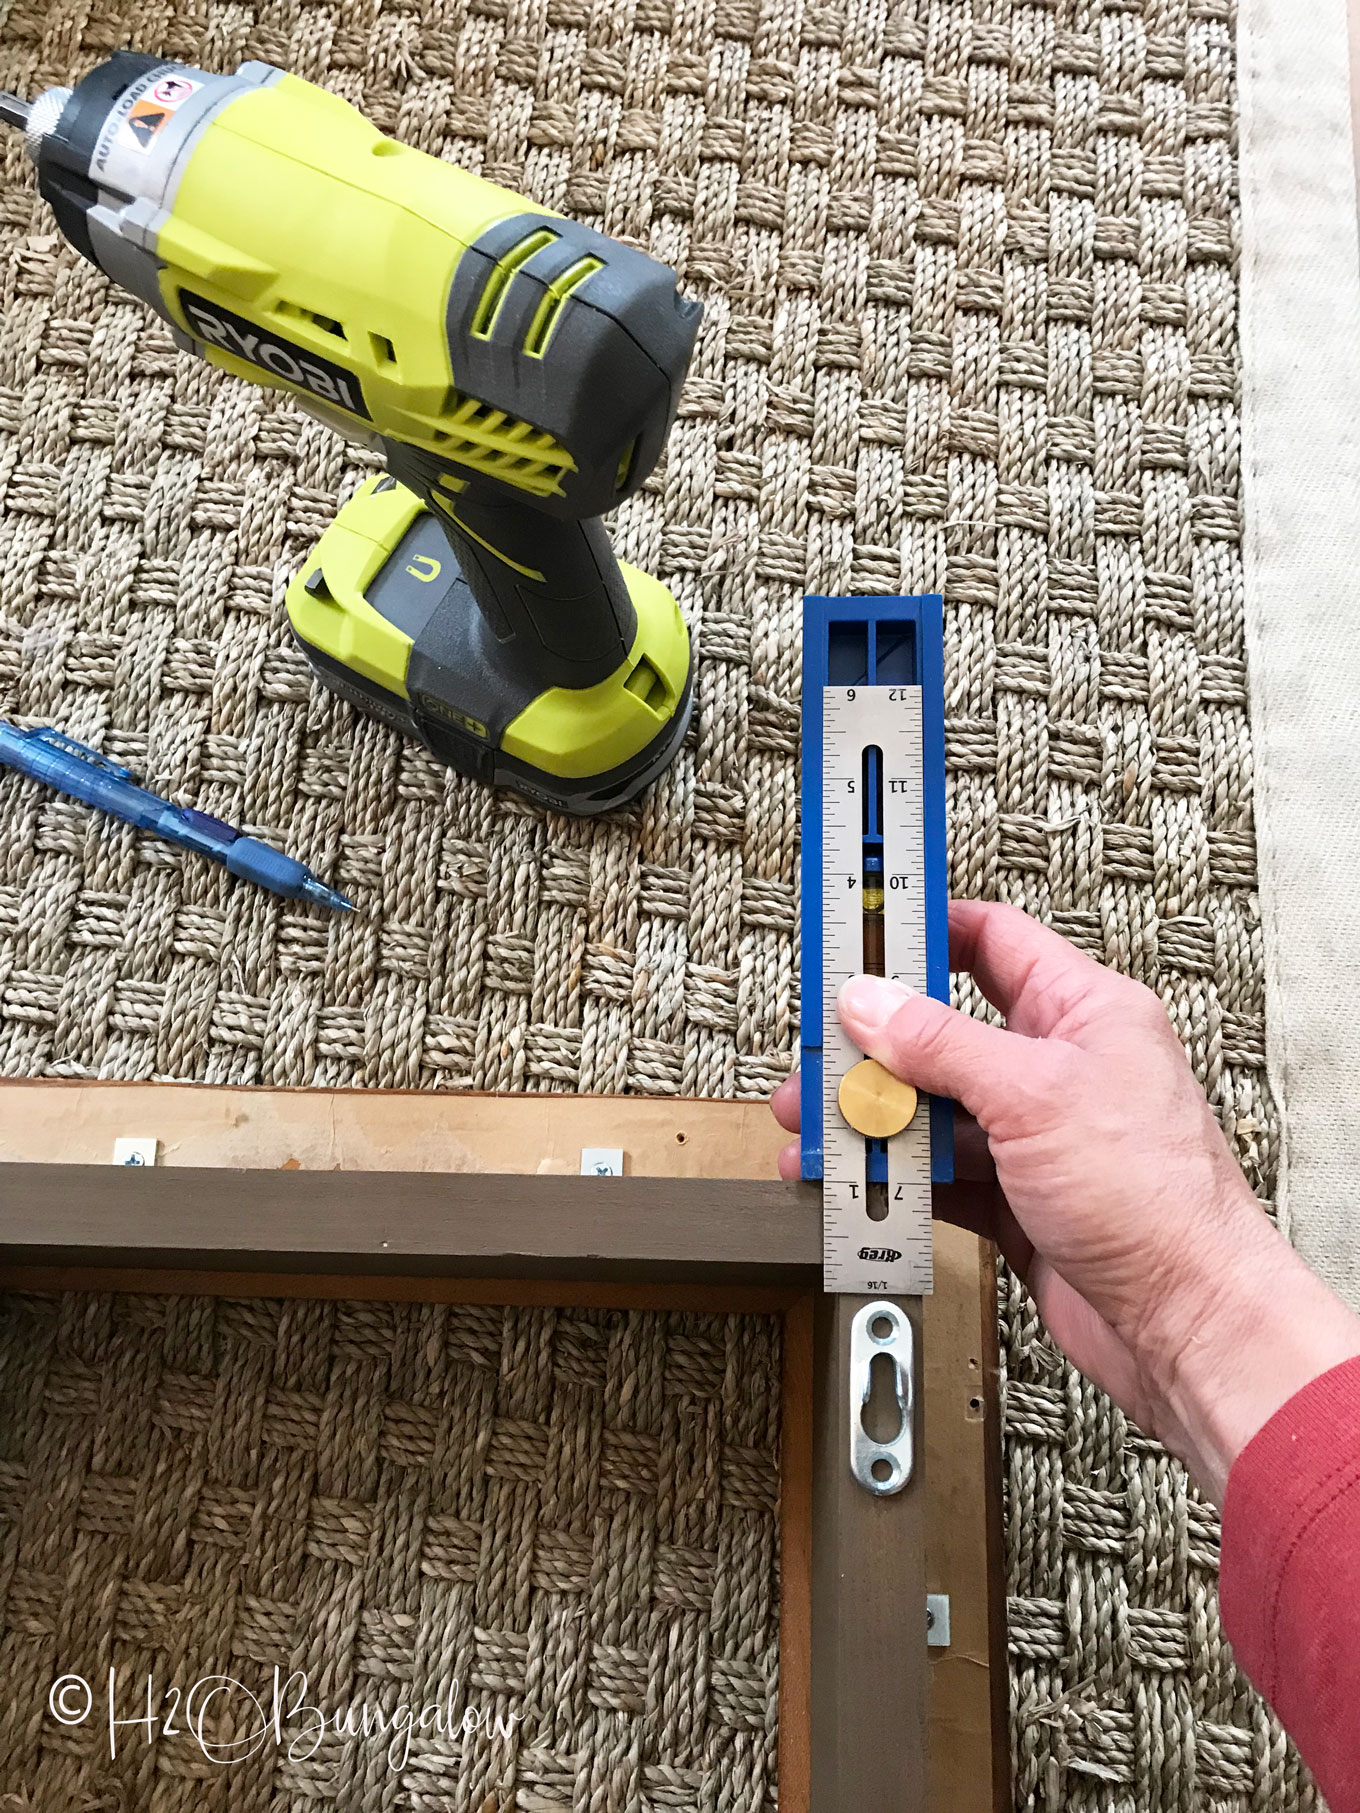
Step Six: Attach keyhole hangers onto back of frame. I used #6 self drilling drywall anchors to hang these. I choose the #6 size which was the same size the keyhole hanger used. If you’re attaching your frame wall shelves to a stud in the wall you won’t need the anchors. Once the keyhole hanger is attached to the frame, back the screw out a turn or two until the screw head easily slides into the hanger.
Hanging your new repurposed picture frame wall shelves is easy. I have a favorite method of hanging items items with two holes and it works every time like a charm. Check out my post on how to easily hang picture frames picture with two hooks to see how.
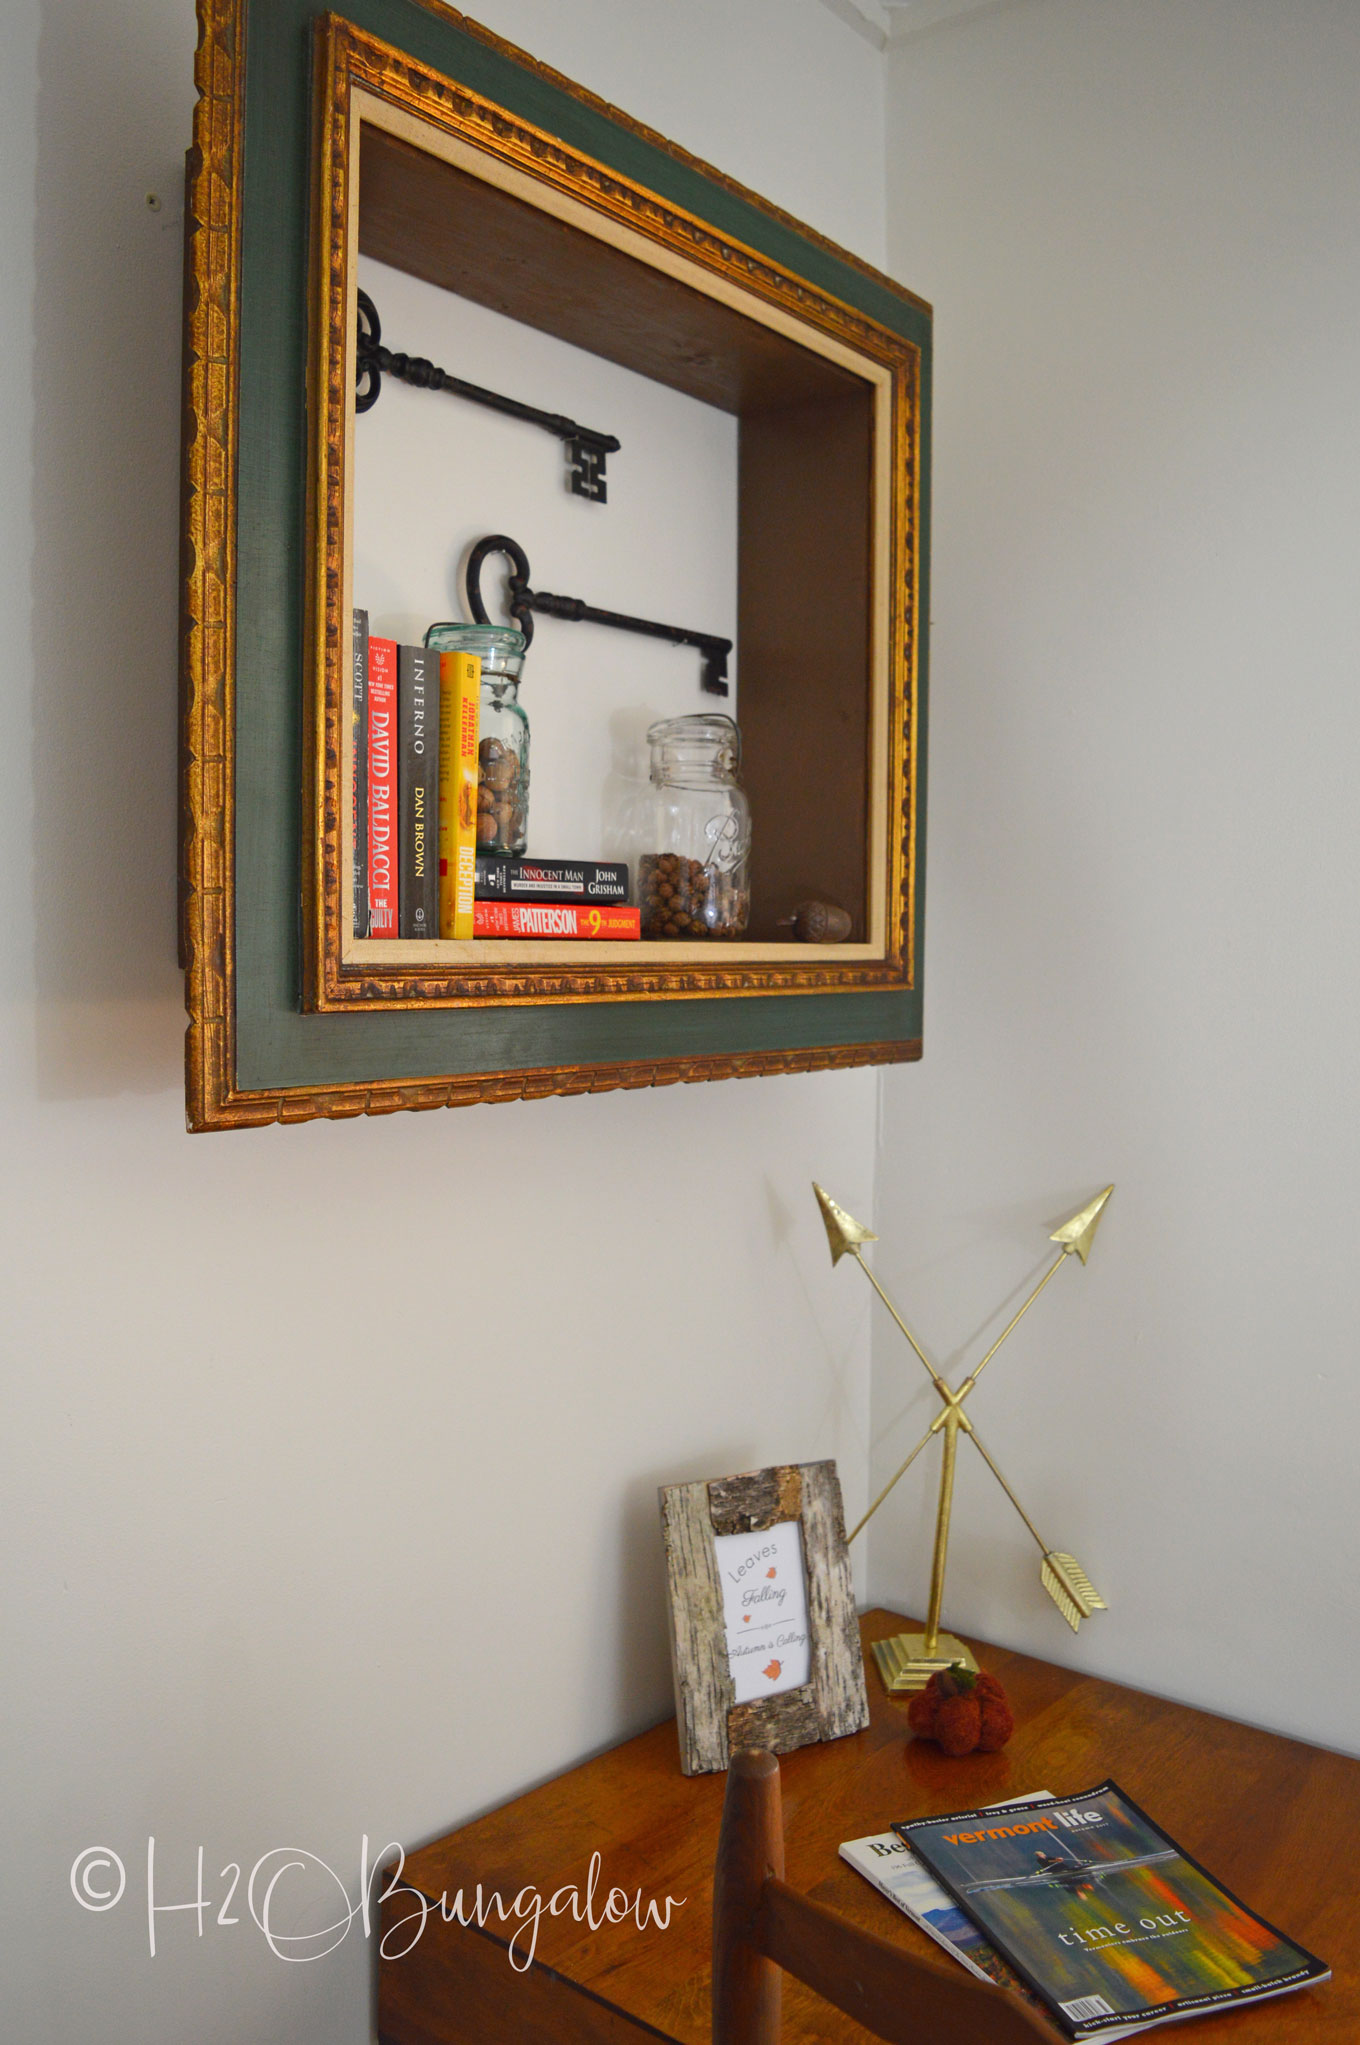
I mounted the large frame sideways which gave me more shelf room. This wood frame wall shelf use the 1 x 6” frame. My Fall Birch Bark Picture Frame looks great on this desk.
If you want to add shelves inside the frame, Gail from My Repurposed life has a good tutorial on her Picture Frame Shadow Box to add them.
These shelves are perfect for stacking a few books and interest items. This was just one of the many Creative DIY shelving Ideas for Organizing and Styling your Home that I’ve shared on the blog.
I loved the idea of using extra wall space to hang old style keys in my vignette.
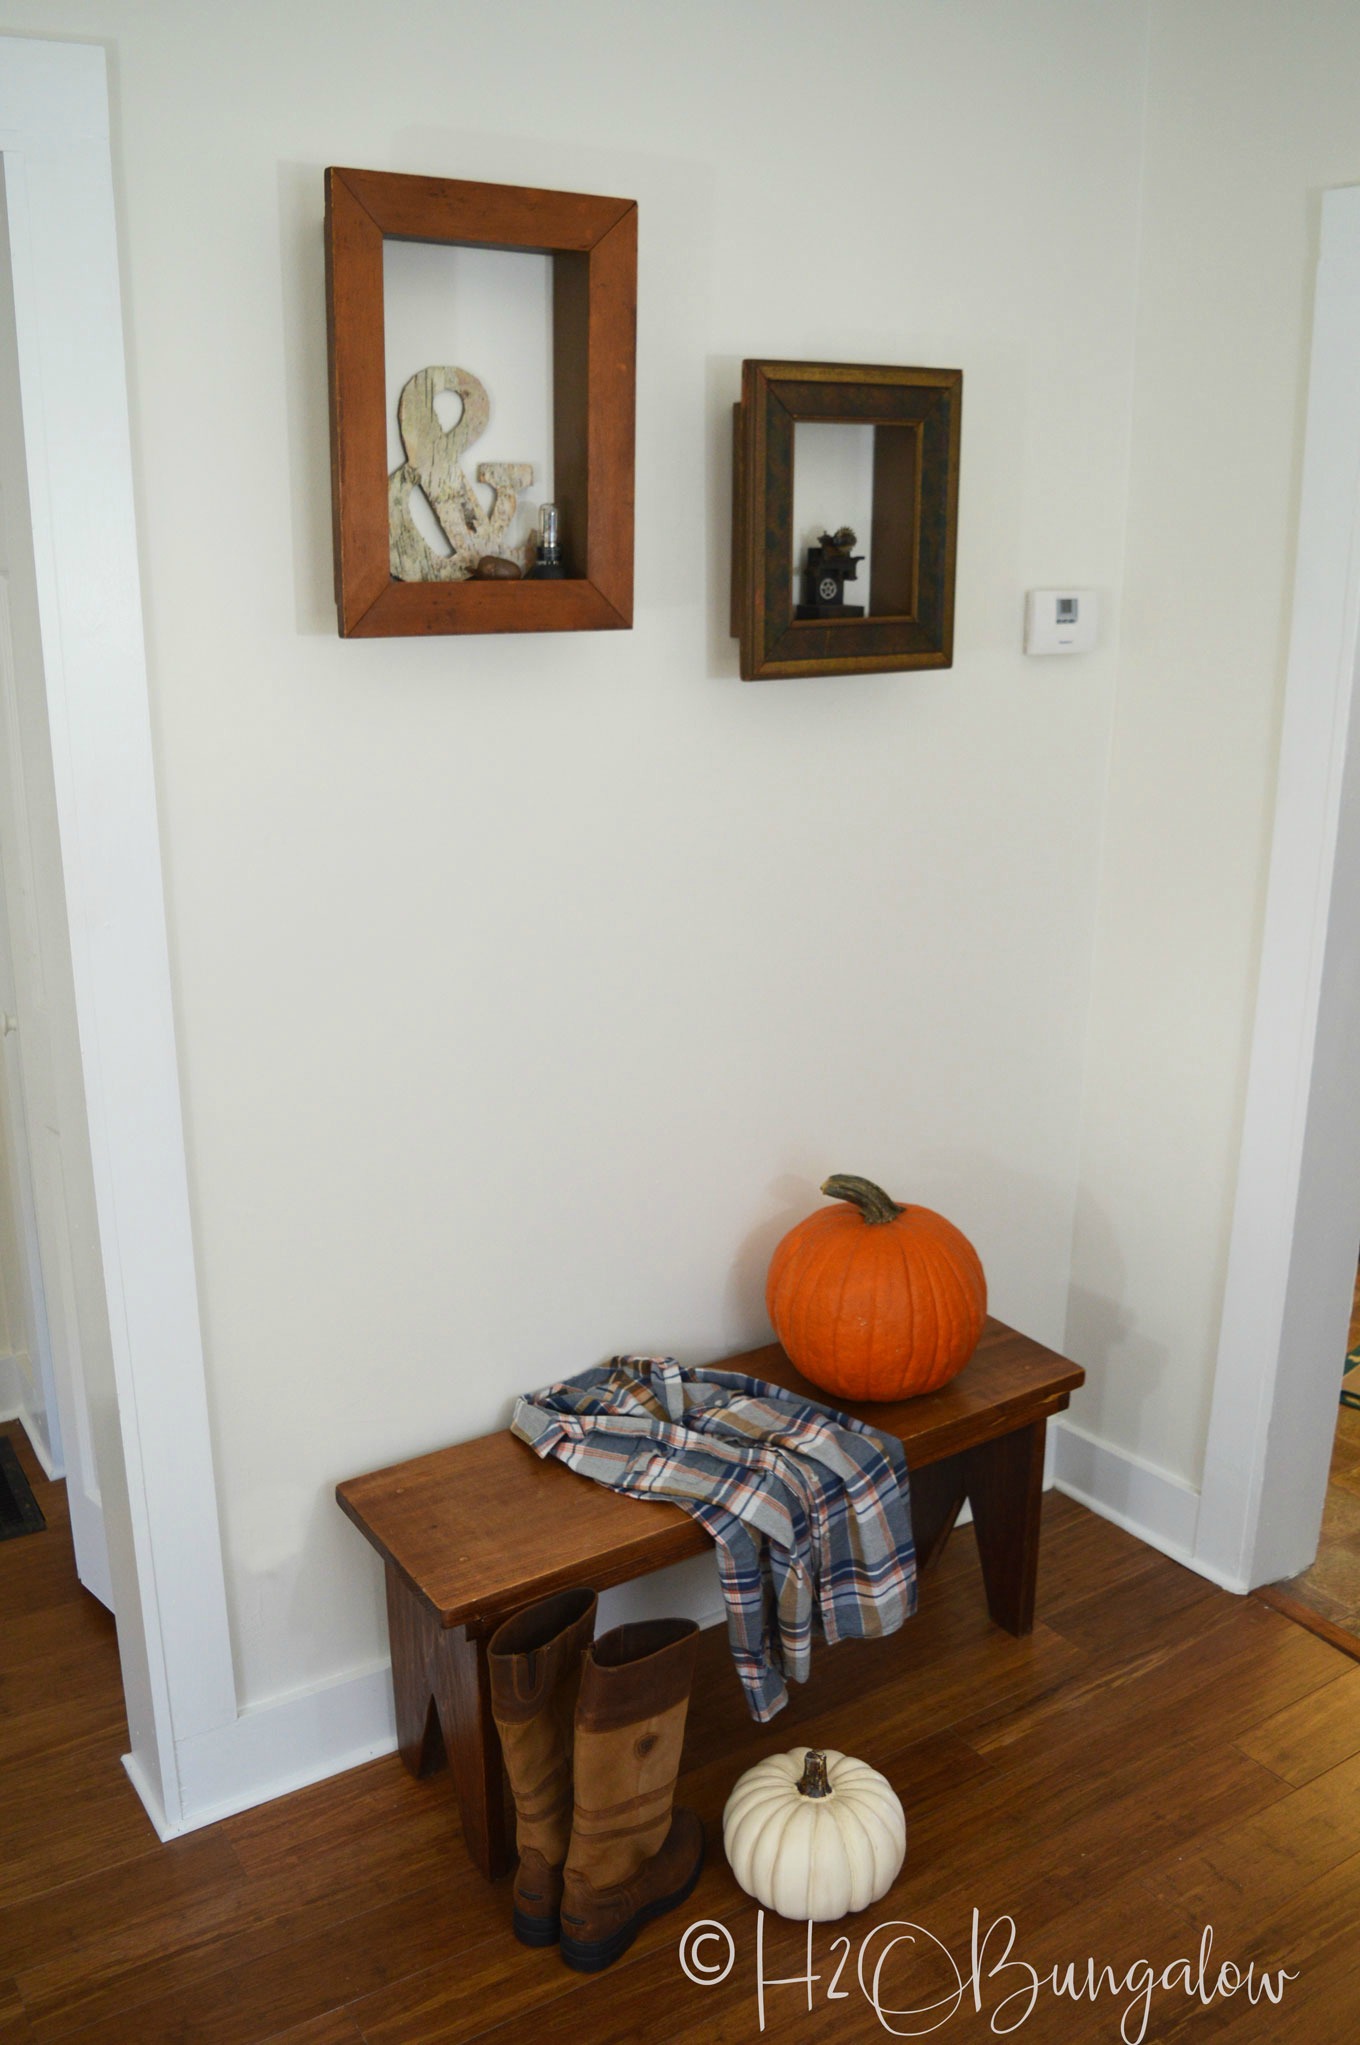
The other two picture frame wall shelves I made are on the opposite wall in this room.
Pin this project or the group graphic above to save these projects for later!
I’m hoping you’re motivated to find something old and give it a new purpose…and of course join along in the fun with the team and share your project!

Kippi says
These frames with the shelf are fantastic. I will be making some. So glad I found this post on the link party today. Happy Summer, Kippi
Wendi says
Hi Kippi and thank you, I’m glad you found my project too! I loved making these repurposed frames for our wall. they were so easy, inexpensive and look great on the wall. Have fun making your own version of this project. Thanks so much for your note!
kandice says
this reminds me of a shadowbox! love this idea
Wendi says
Hi Kandice! I thought the same thing, they looked a bit like shadowboxes. I loved the funky look of these!
gail says
I love making shadow boxes out of picture frames. Your frame is so cute and I love how you have it decorated! Super cute Wendi.
pinning!
gail
Wendi says
Hi Gail and thanks so much! I saw only two of these projects in Pinterest and one of course, was yours! These were easy and I’m definitely making more of them for somewhere… Thanks for sharing my project!
DeDe Designed Decor says
I love this idea and the corner is looking great with the new additions! The frame is a perfect size!
Wendi says
Hi Dede and thank you. This room is coming along, it’s basically 3 blank walls and a fireplace. It is the perfect size for this wall, I’m thrilled with how it turned out!
Maryann @ Domestically Speaking says
You’ve got my mind swirling!!! So many options with this idea.
Jamie says
Absolutely love this project and I love the way you decorated it with the keys on the wall. Wish I had a project to link up to enter the giveaway!
Paula says
This is such a great way to add interest to a wall. Not only are the frames attractive, but it’s fun to have a display shelf on each one for a vignette. I am going to be on the lookout for some pretty frames to use to make one of these for my home.
Karen @ The DIY Bungalow says
Great project! I love how you styled it!