I made a DIY rustic picture frame to share today. My new wood frame project will hold a photo, printable or artwork. Making a frame to hold art and photos is pretty easy. I know that telling you and showing you are not the same, so I’ve created a simple video for you to see how to make a hanging photo frame like mine. I also have 6 other super creative picture frame ideas you can make from my talented friends on the Power Tool Challenge Team today too. Scroll down to the bottom to see what creative photo and printable frames they’ve shared.
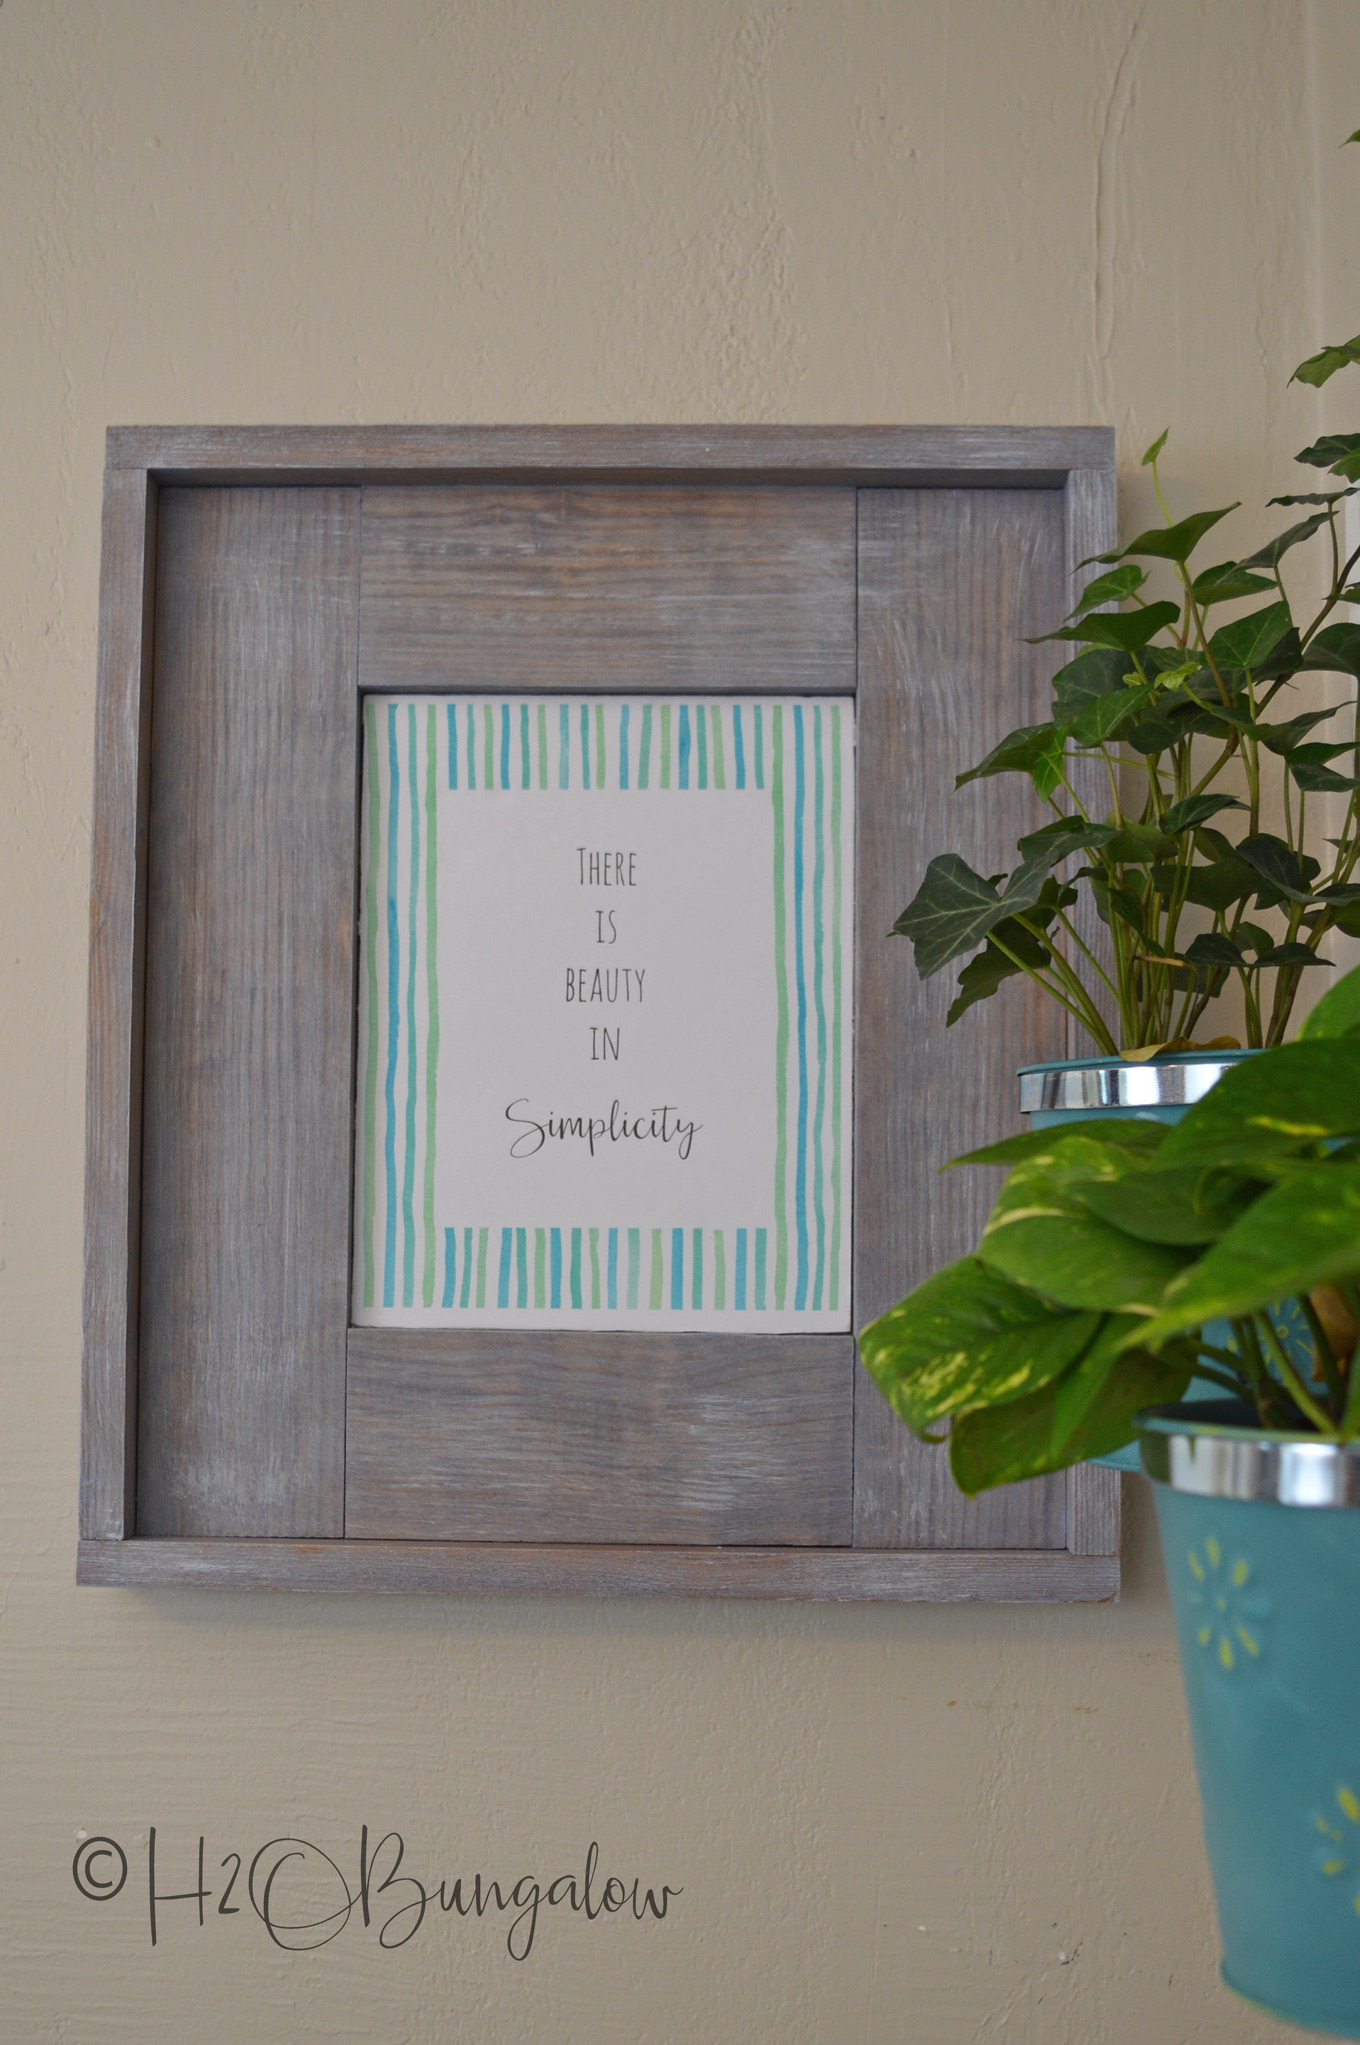
I’m not sure how printables became a thing, but they are. There are usually oodles of creative ones available during holidays and season changes. Many are free. It’s like instant art, download it, print and display it in a photo frame of some sort. Today’s post is all about how to make a frame for printables and photos.
How to Make a DIY Rustic Picture Frame
I use affiliate links to help you find the supplies I used. You can read my full disclosure policy here.
Supplies needed to make a rustic picture frame or printable frame like mine.
- wood, see cut list below
- Gorilla No Foam wood glue
- brad nails 1/2″, 1″
- Ryobi Airstrike Brad Nailer
- stain
- Folkart pickling wash I used haze
- white craft paint
- chip brush
- painter’s rag
- d-ring hanging hardware
- printable
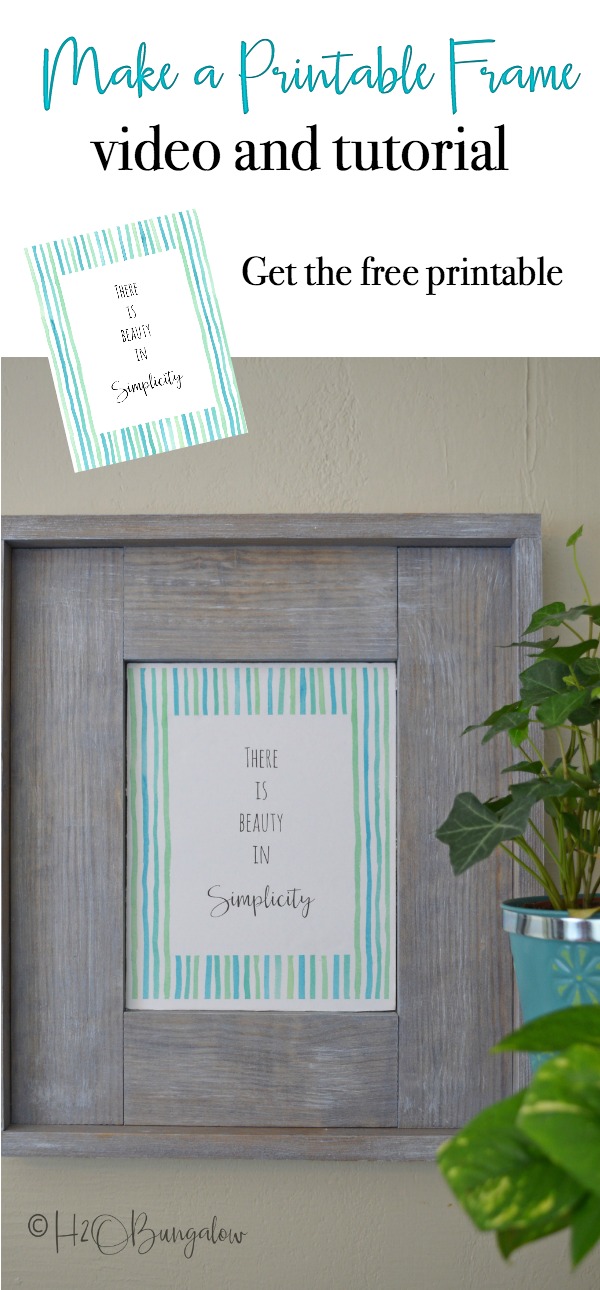
My subscribers always have free access to my printables. If you are already a subscriber, no worries, you won’t get two emails! Please remember, my graphics are for personal use only! Get the Simplicity printable below!
Cut List to Make a Wood Frame for Pictures or Art
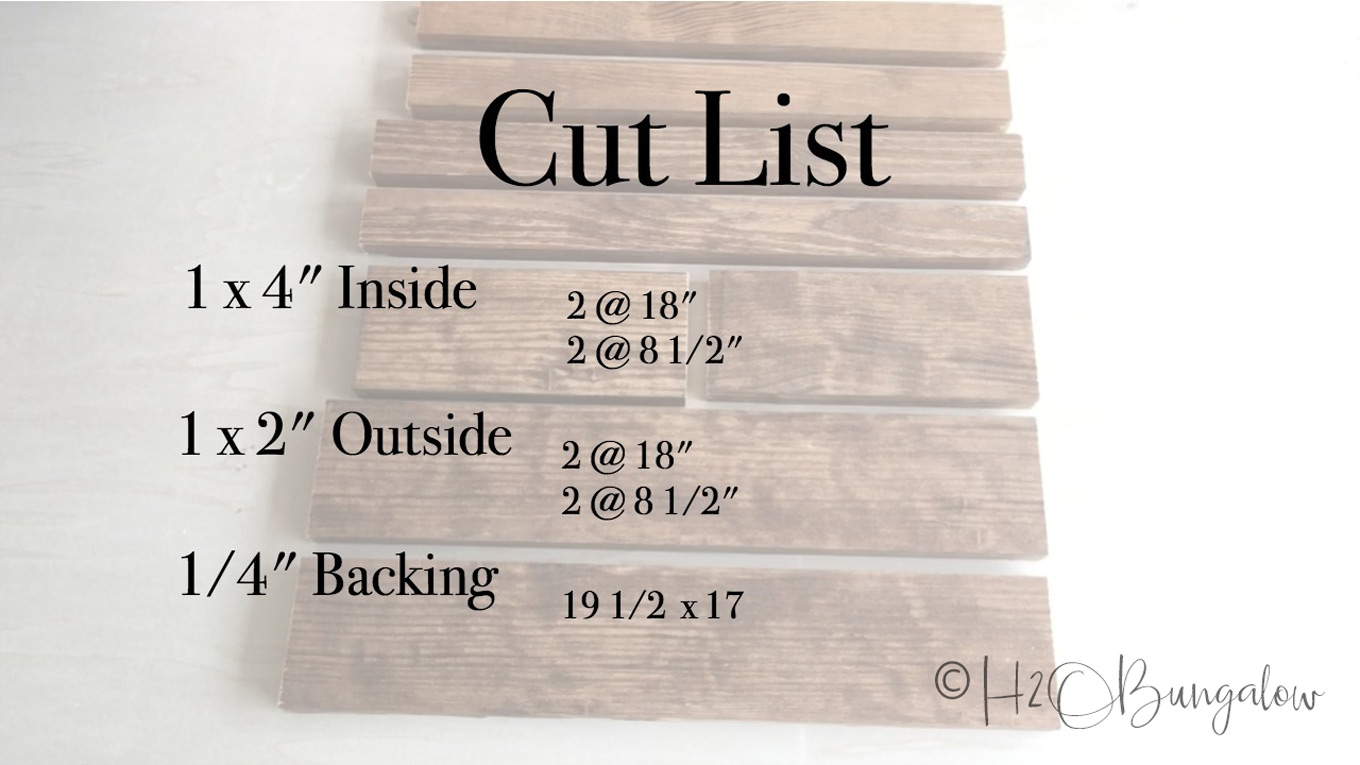
Here’s a quick video on how to make my rustic picture frame.
Extra Tips to Make a DIY Rustic Picture or Printable Frame
Position the wood before glueing it. Even with the best of cuts, you’ll find some pieces of wood lie up better than others.
Glue and secure wood. Be sure to glue the bottom of the pieces and the sides where the two boards meet. After glueing the DIY picture frame to the backing, secure the four corners with 1″ brad nails. This hold everything together well. I also weighted my frame pieces to be sure they sealed to the backing board well. Let the glue dry before flipping the printable frame over and securing with the 1/2″ brad nails on the back.
Finishing the DIY rustic picture frame. I made my frame with pre-stained boards that were left over from my DIY Builtin Bookcases project. You could easily make a beachy frame by using white or blue paint and distressing it. I’d also use white for a modern farmhouse frame.
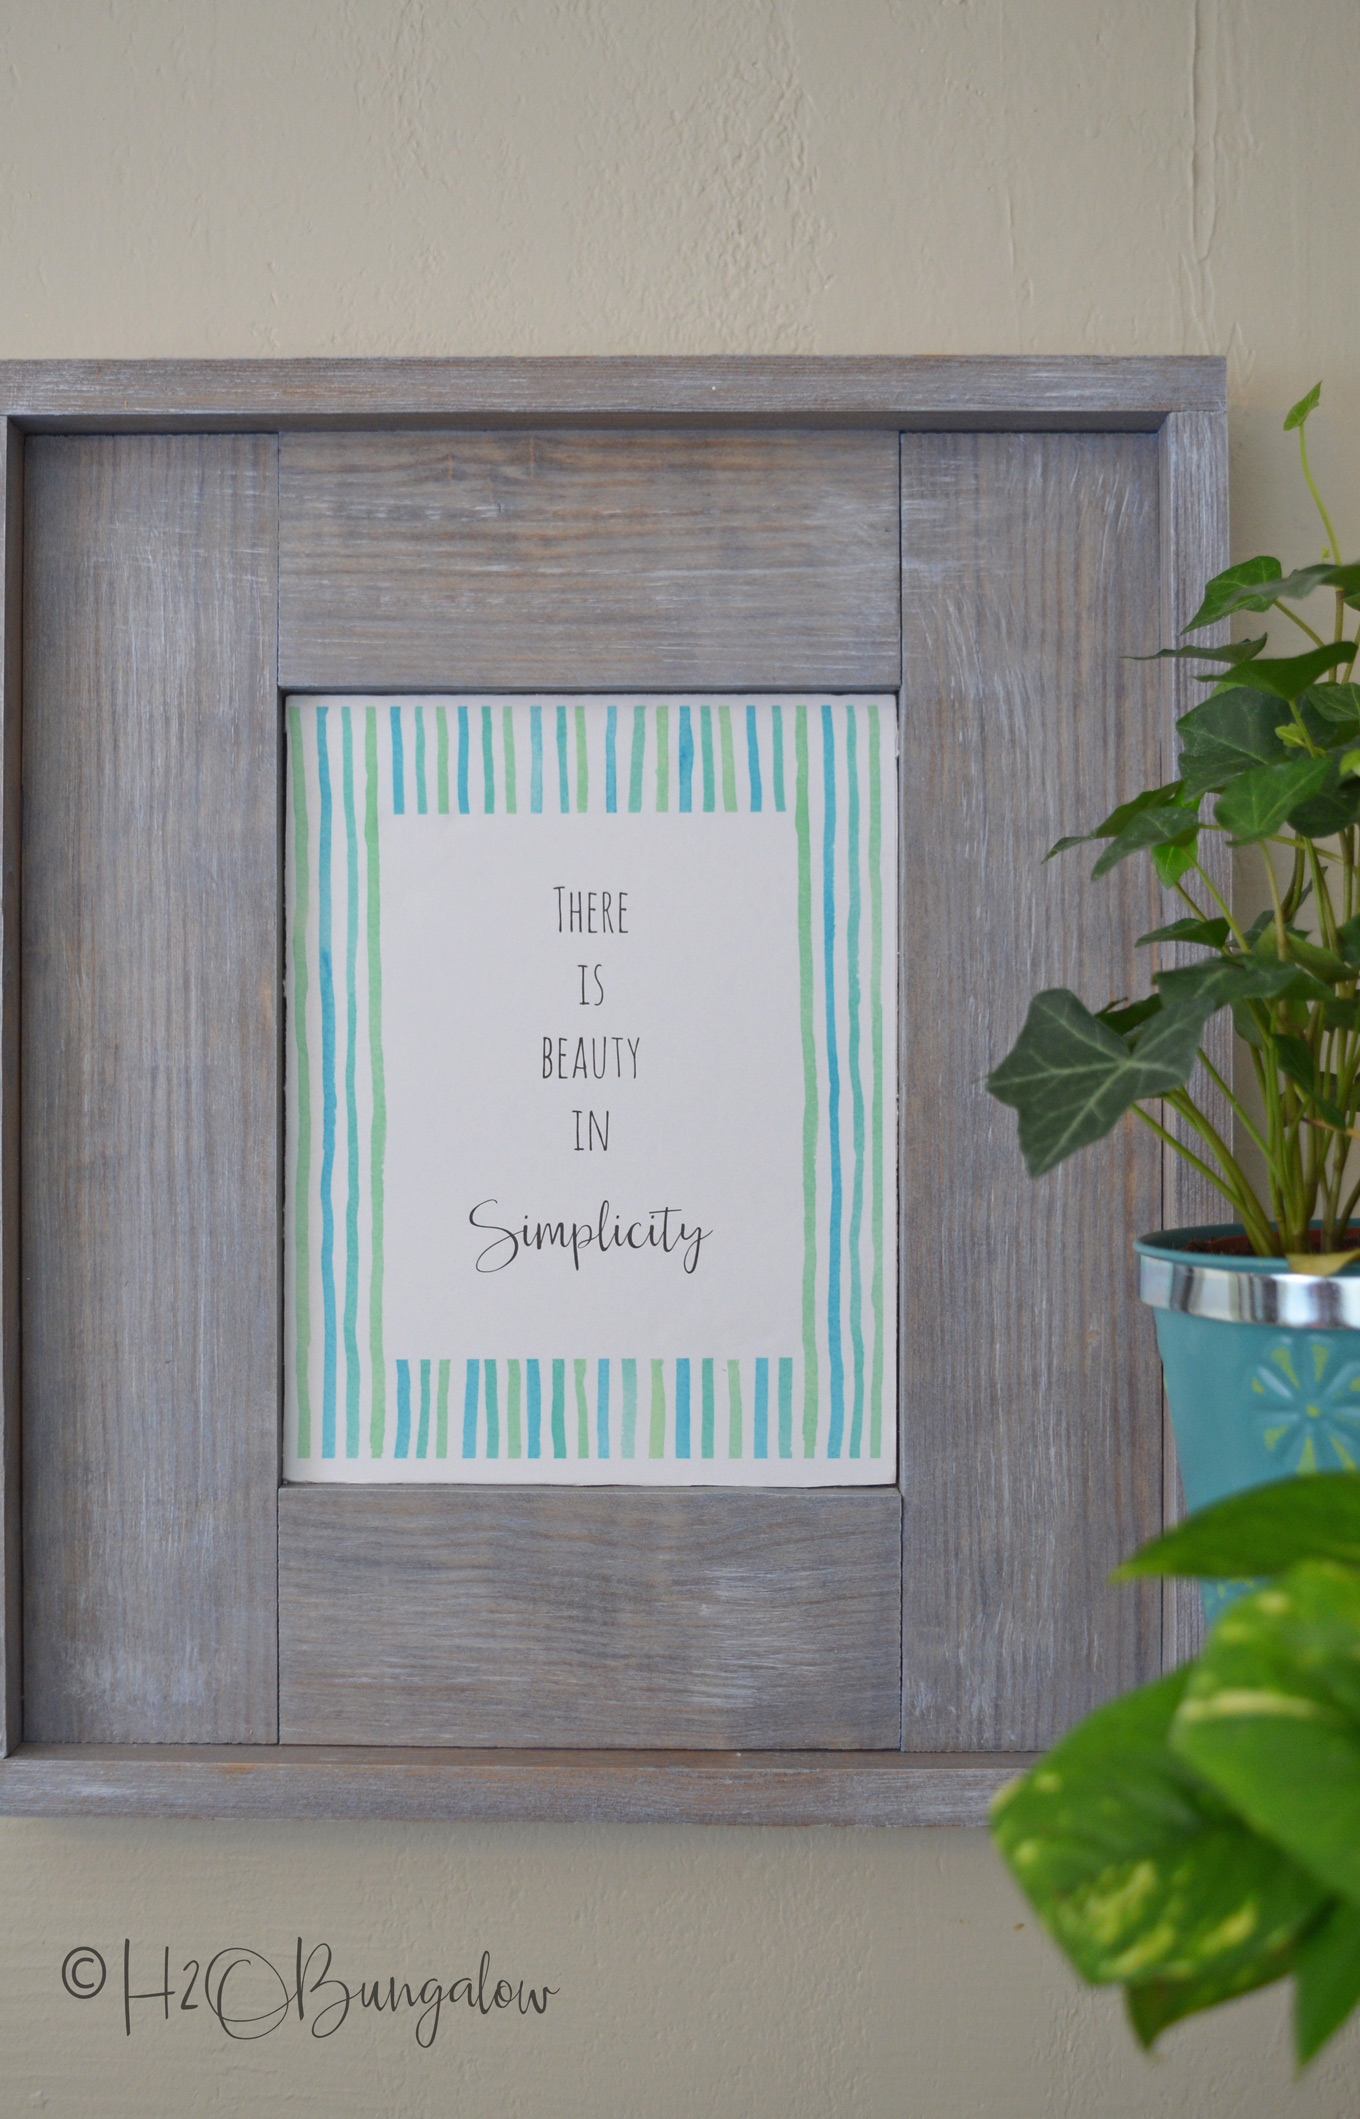
Placing the printable in my new DIY photo frame was easy. I cut a foam core board from the dollar store and used spray glue to mount my printable onto it. Then it fit perfectly into the center spot on my frame.
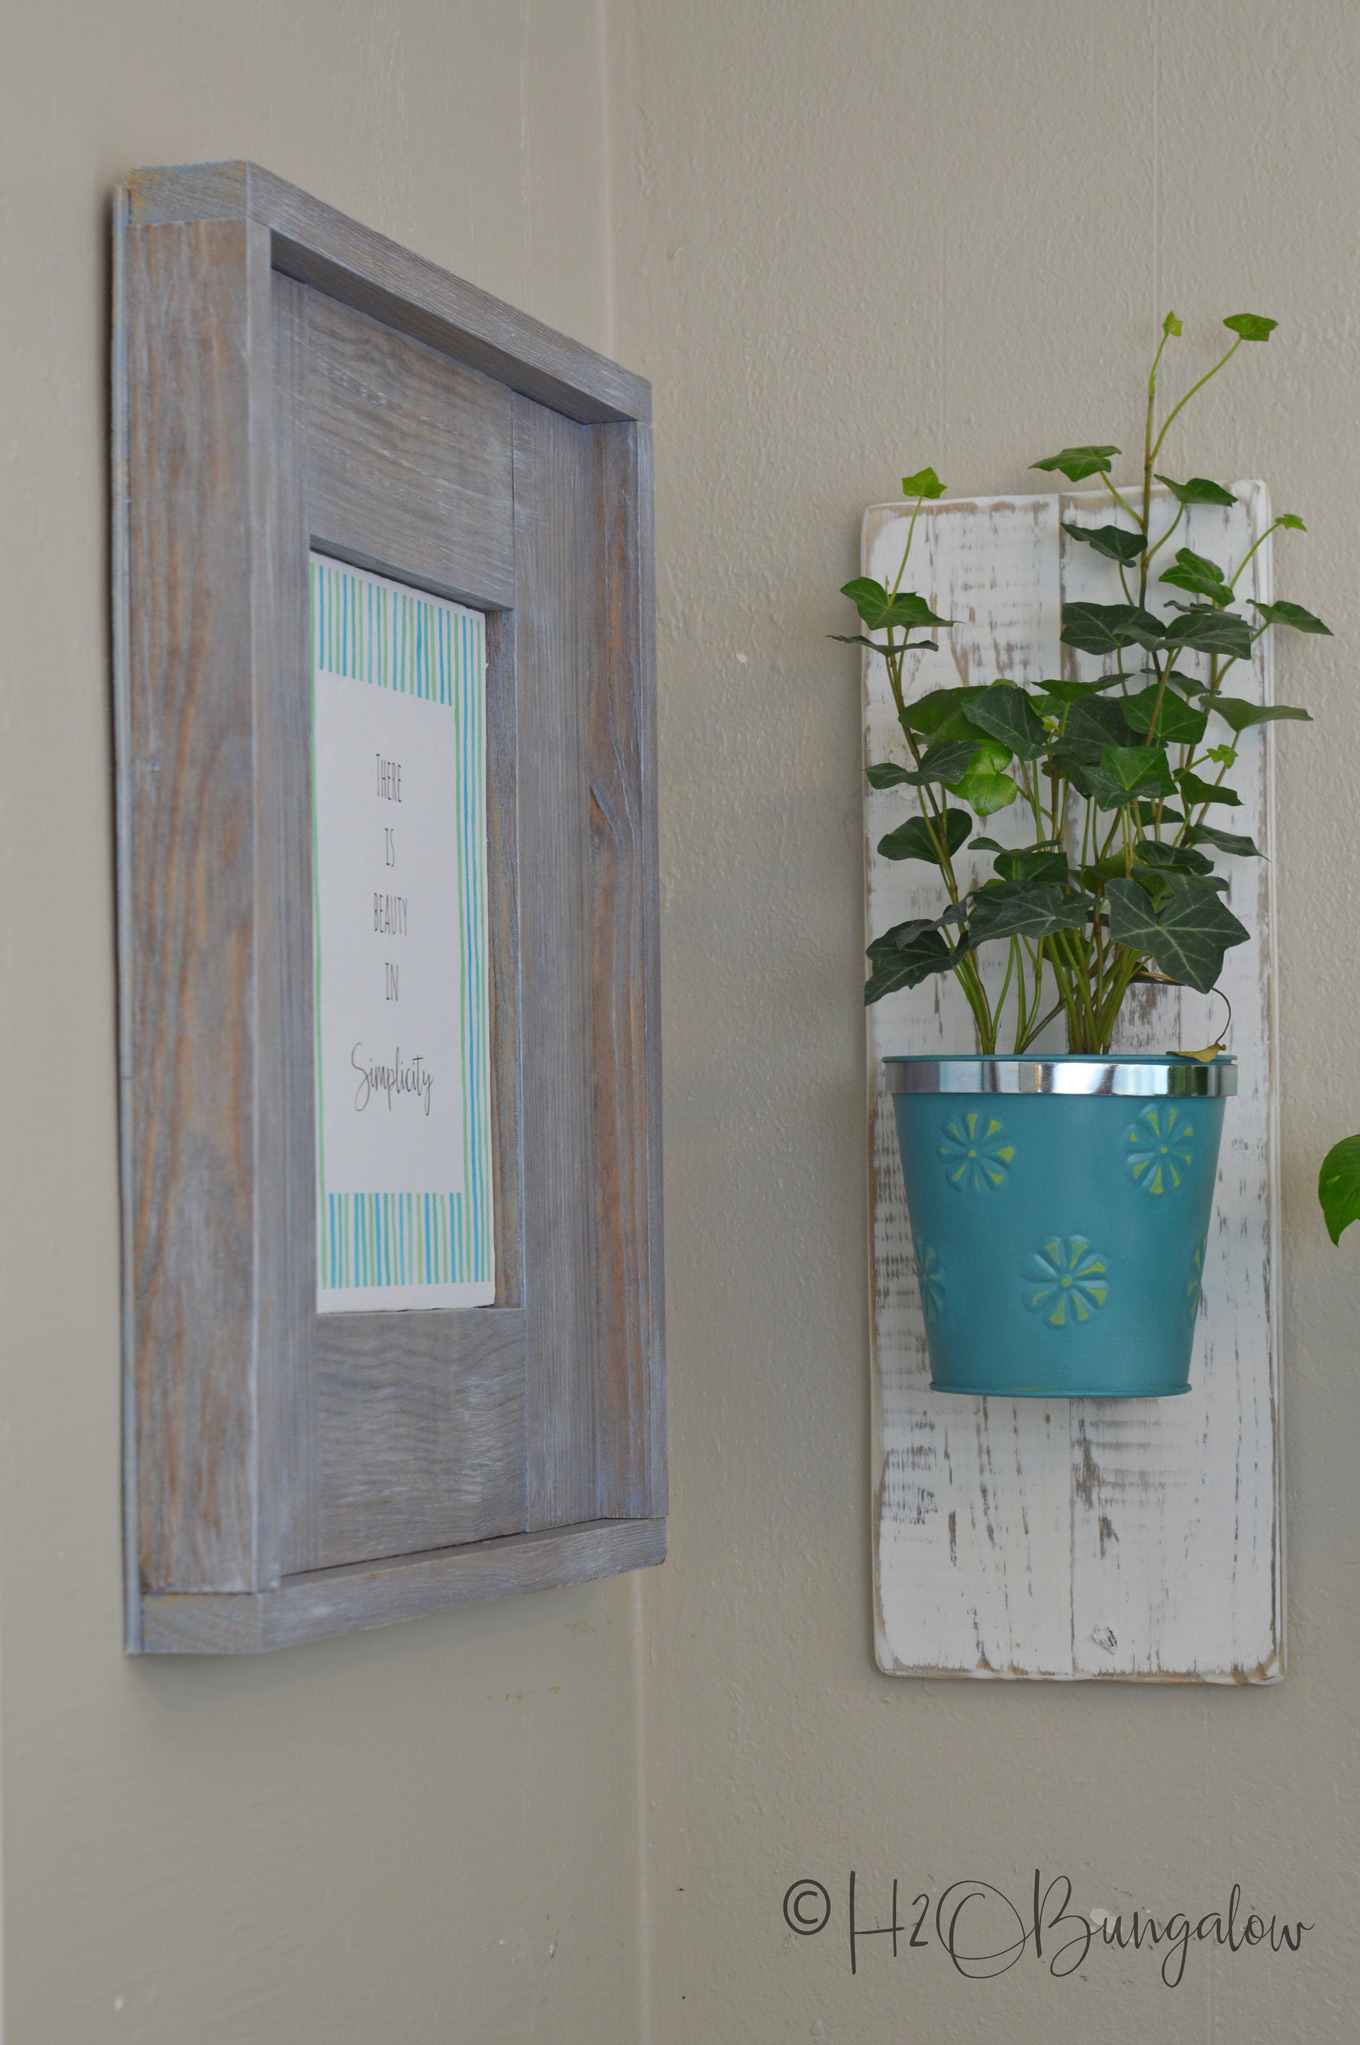
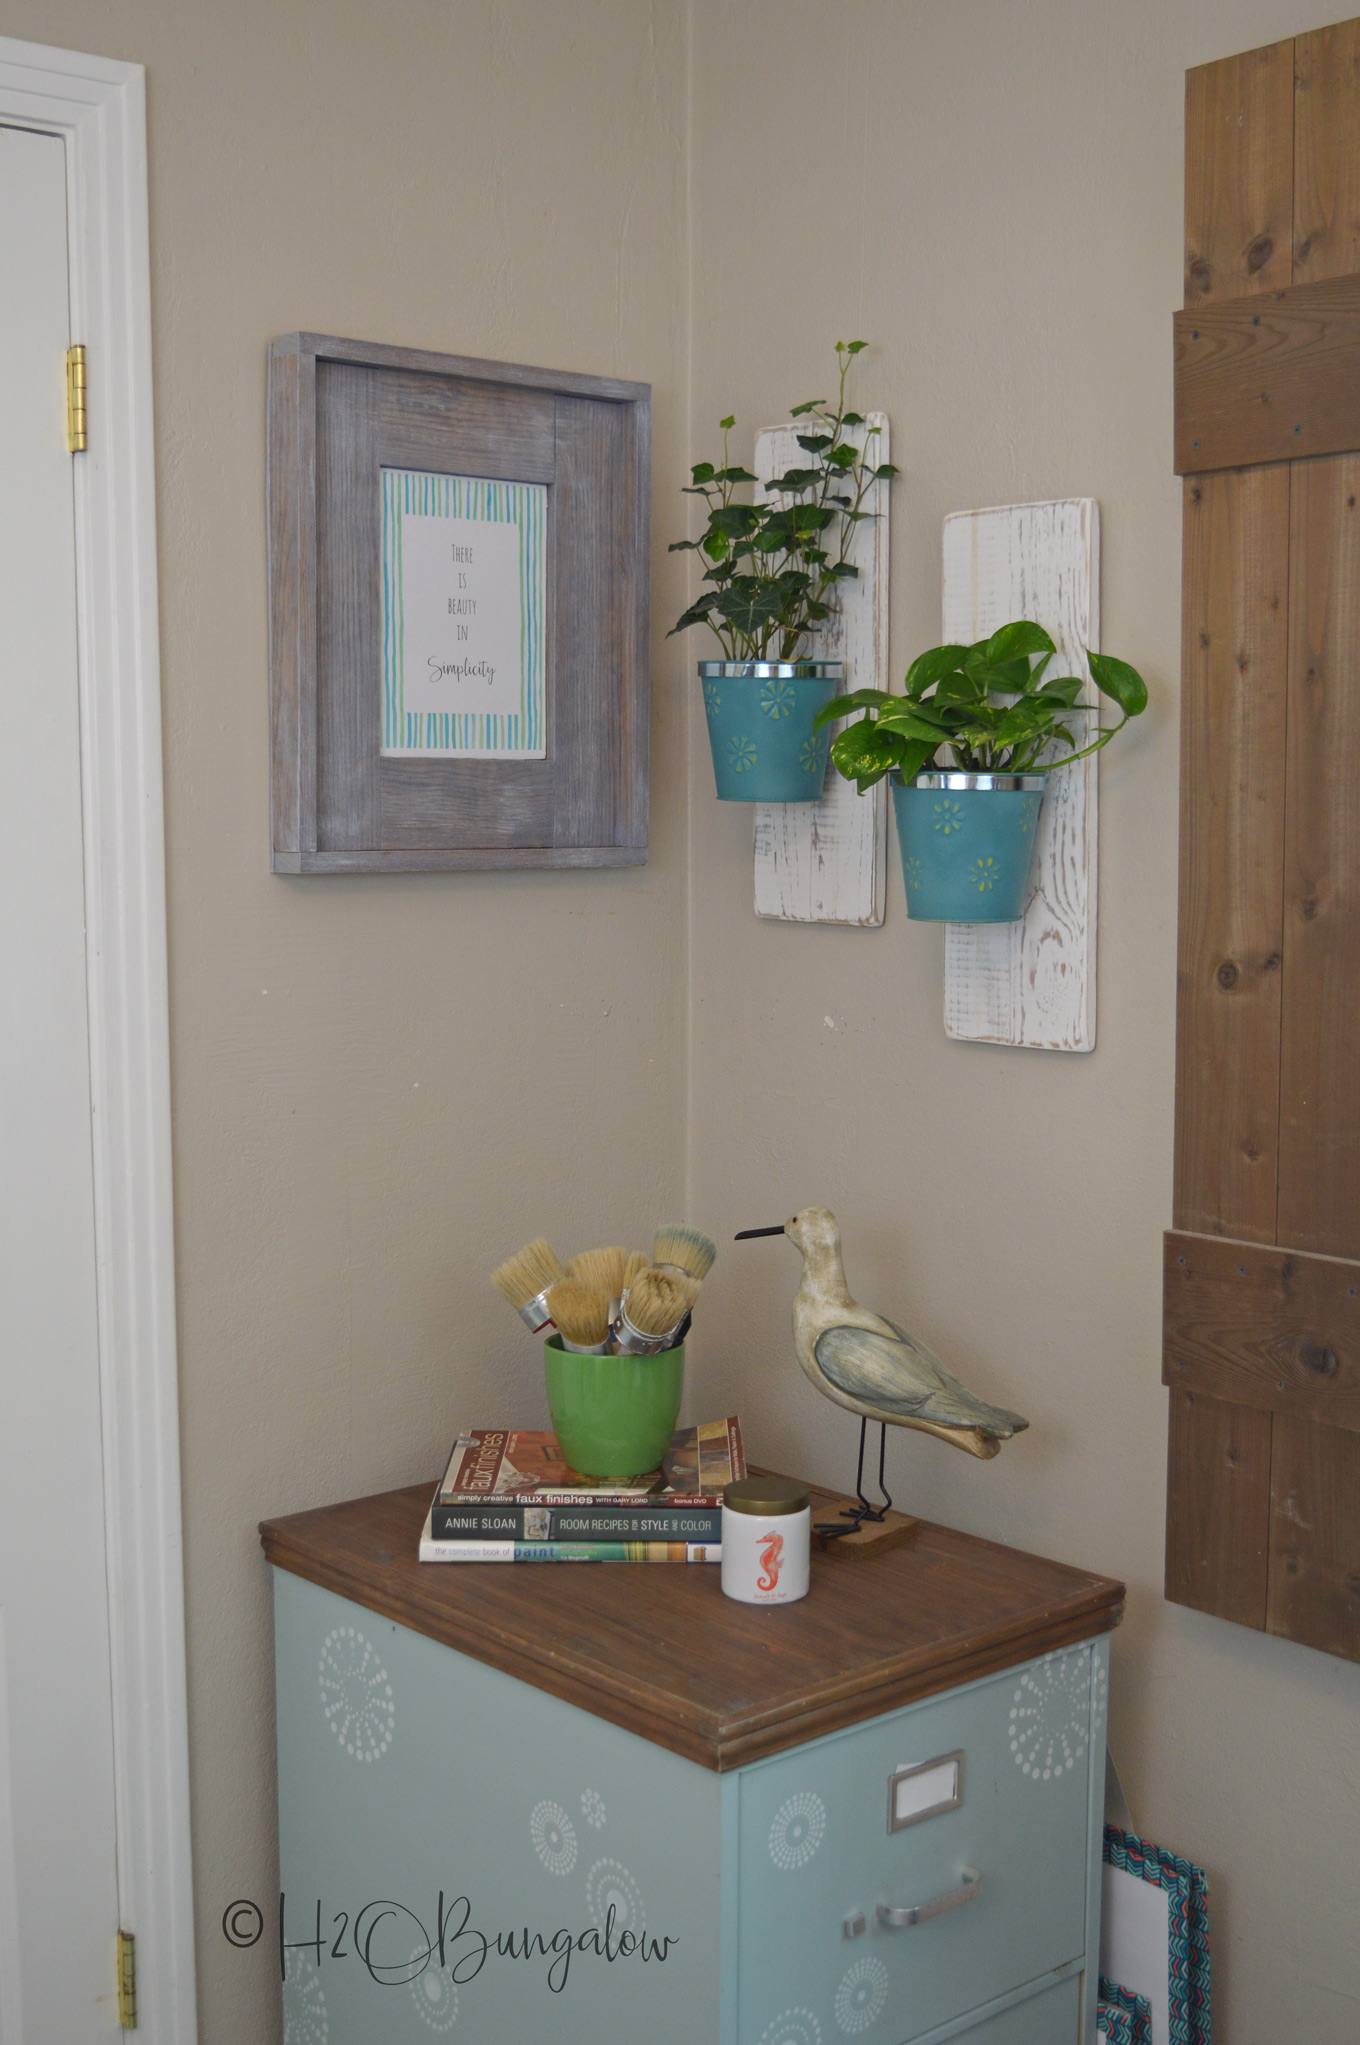
The pickling paint toned down the brown stain a lot. I’m loving the beachy rustic finish for this spot.
My office is shaping up nicely! I just finished these colorful DIY Wall Planters a few weeks ago. The blues and greens are perfect with my printable colors. These would be easy to make on my DIY Rolling Work Bench.
Love it? Share it on Facebook and pin it!
I’m loving all these blues! I made that wood trimmed filing cabinet out of the ugliest metal thrift store find! My new stencil storage is peeking out from the side of my cabinet too.
Let’s take a look at the DIY printable frames the rest of the team created!
H2OBungalow – Easy Rustic Picture Frame – That’s me!
Create and Babble – How to Make a Magnetic Scrapbook Display
Just the Woods – How to Make a Printable Display for Kids Chore Charts
The DIY Village – DIY Wood Shim Picture Frame
The Kim Six Fix – Acrylic and Perforated Metal Floating Frame
My Repurposed Life – Printable Pallet Frame
Refresh Restyle – How to Make a Photo Display
Pin these ideas too!
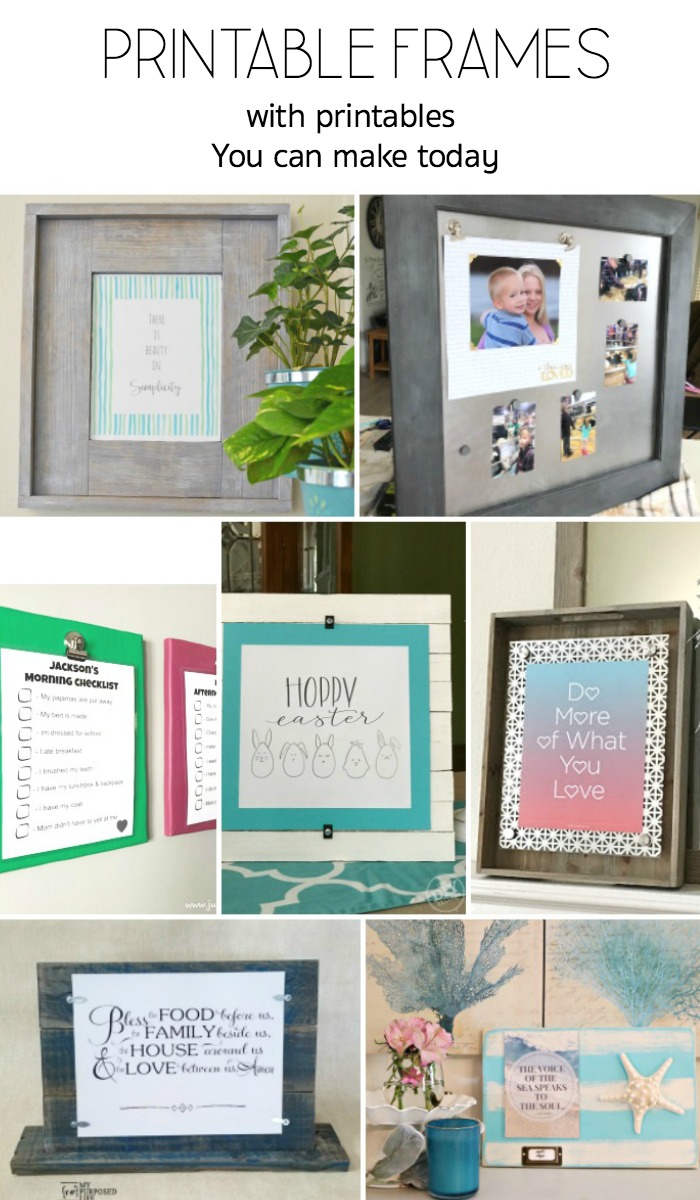
Are you loving all of the DIY picture frame ideas we’ve shared today? I am! Which style is your favorite…share in comments below!

Alice Smith says
I love the bulliten board picture frame. I love the idea of changing it’s look so easily. I also like the look and color of the blue one.
Wendi says
Hi Alice and thank you! There are several good looking frame projects in this post. I love them all too!
Ivory says
I’ve been wanting to make frames exactly like these. Thanks to you and your wonderful step by step tutorial, I just might be able to make one to two. Being able to do this would be of great joy, because yours is fabulous.
Wendi says
Hi Ivory! I love to get notes like yours! These frames are so easy to make and they look great too. Have fun with your project and don’t forget to share it on our Wednesday, Whatch’a working on day on my H2OBungalow Facebook page!
Leanna says
Gorgeous Little frame ….Pinning ….
Wendi says
Hi Leanna and thank you so much! I’ve wanted…needed a way to frame printables that was more than just a tabletop frame. Thank you for sharing my project too!
Jody says
Yours is lovely but I like the one with the shims. I could see making a whole bunch of them easily. I have a lot of printable from various ladies and you. It’s a nice clean frame that can be painted any color. Red an green for Christmas, yellow and white for Spring, soft blue and pink and yellow for Easter. Navy,red for 4th of July. I am so excited. I can start making these before I get into the new house. Thank you for the different ways to make them.
Wendi says
Hi Jody, I loved that one too! I love your idea of painting the frame a color for each season. So smart! I think they’d make a thoughtful gift too. Take care & thanks for your visit and note:)
Ellie says
I love the bulliten board picture frame. I love the idea of changing it’s look so easily. I also like the look and color of the blue one.
Wendi says
Hi Ellie! Yes, I like the bulletin board one too! I liked that it held different sizes. This month was a fun theme, especially since everyone had to make the same thing in their own version. Thanks for your note!
Paula says
This looks great in your home office. It’s going to be fun to change out the printable with the season. One of these would be great for The North House!
Wendi says
Hi Paula! Thank you. That’s a good idea ❤️ for the North House. I’m loving that I finally get to spend some time on my office to make it a prettier place to work in too. I’m looking forward to changing my art when I want to. No expense and no commitment!
gail says
I love the final color of your frame Wendi. It’s perfect for your office!
gail
Wendi says
Thanks Gail! I’ve been playing around with finishes to redo my new built-ins. I’m not loving the stained wood!