I’m excited to be sharing my wood trimmed filing cabinet makeover today because it fixed a problem I think many of us face.
The practical vs pretty challenge.
I have a problem with being practical, especially when it’s not pretty. Take filing cabinets, for example. I needed one. They are useful, but metal filing cabinets aren’t necessarily pretty. The challenge I had was a stack of papers that continued to grow on my desk, and then they began multiplying 🙁
But …the cure wasn’t pretty.
It was a filing cabinet.

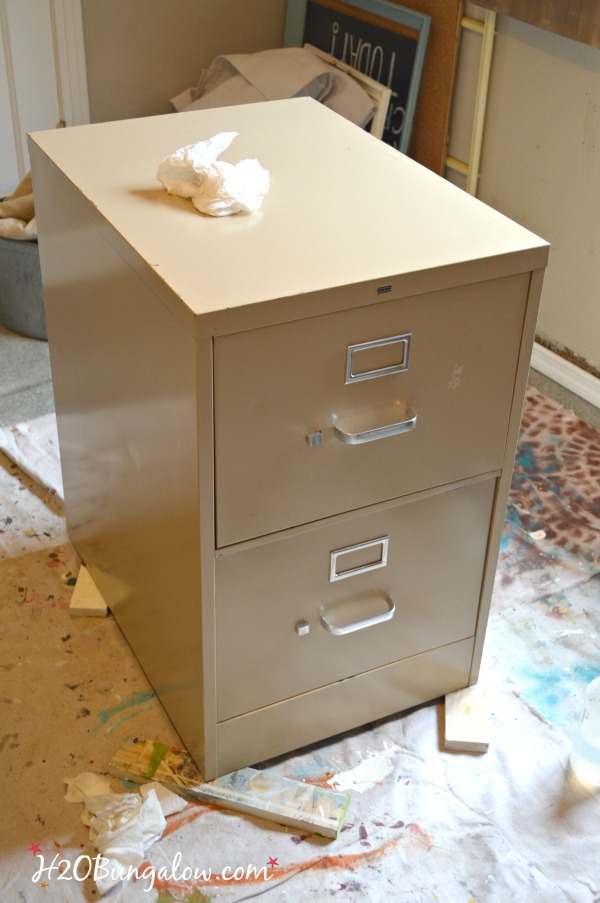
A few weeks ago I finished my filing cabinet makeover and I changed my mind. I found a great deal on beat up old metal filing cabinet at my favorite thrift store and hauled it home. I knew right away when I spotted it that it would be perfect for my idea.
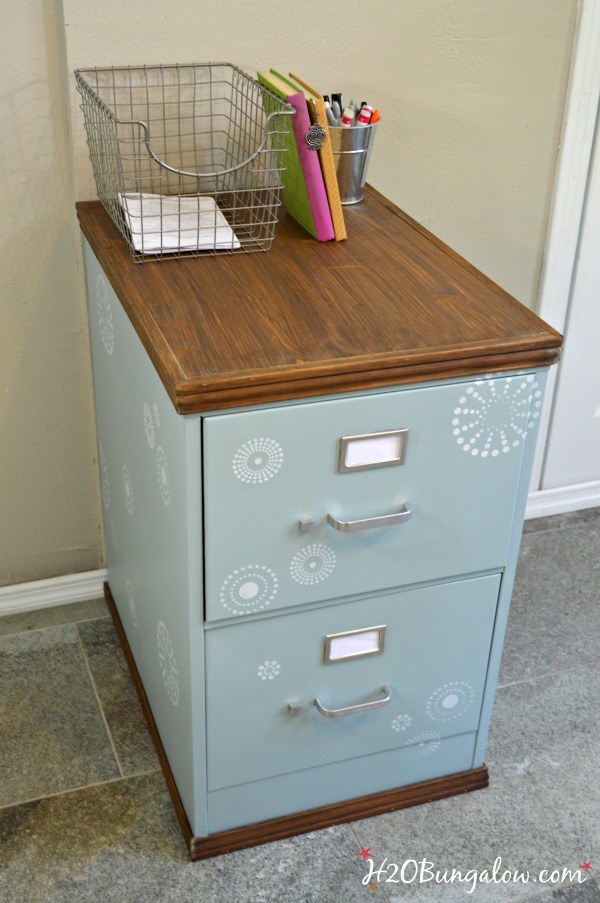
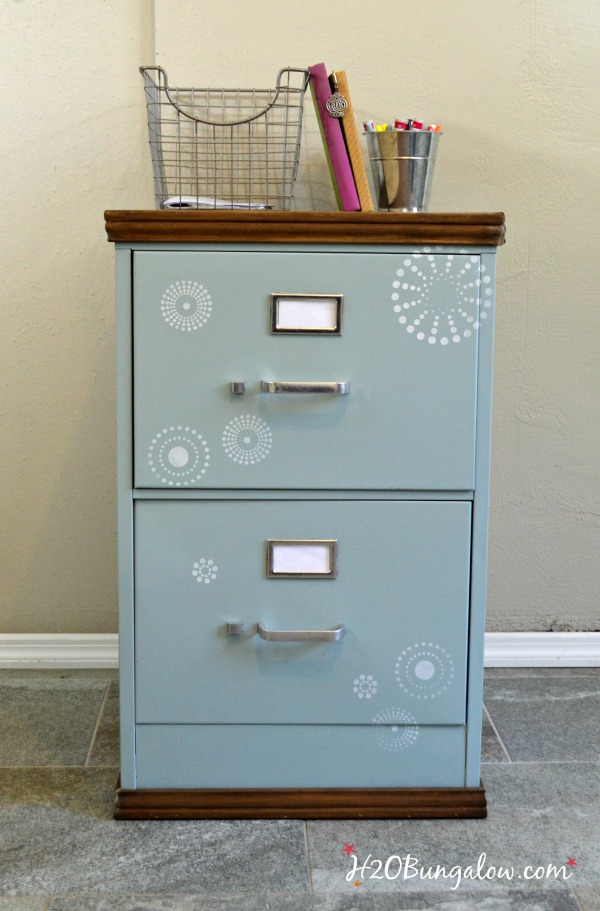
Why have a plain file cabinet when a super-duper upcycled pretty filing cabinet with wood trim, colorful and stenciled is so much more fun?
DIY tutorial for filing cabinet makeover with wood trim
Start by clean any old dirt and grease off with TSP and dry. Tape off the hardware with painters tape and give it 2 coats of paint. I used DecoArt Chalky Finish in Vintage. It has good coverage and is durable.
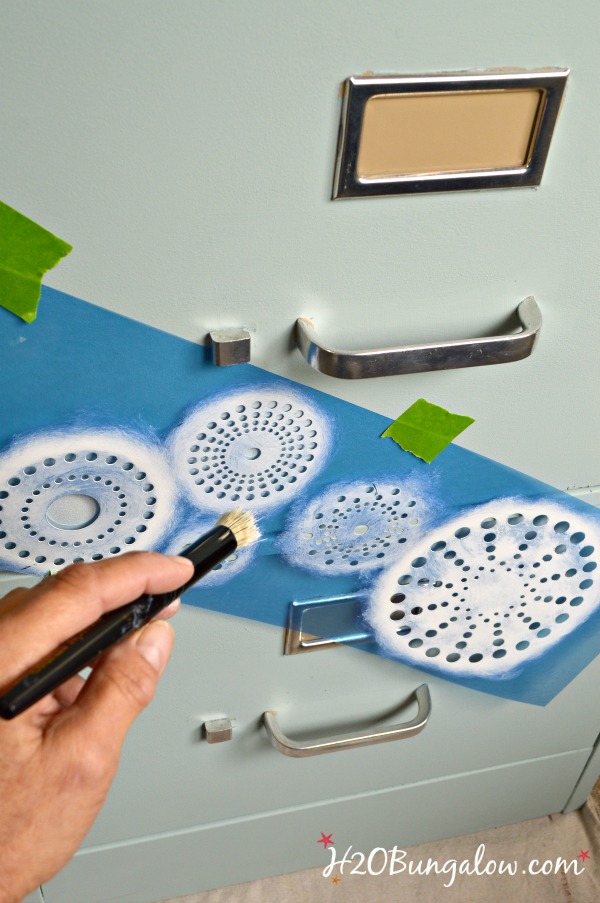
I love these little white stencil circles, it’s a DecoArt border stencil. They were perfect for the filing cabinet makeover. See my tips for perfect stenciling in my Birdy Storage Cabinet Makeover project.
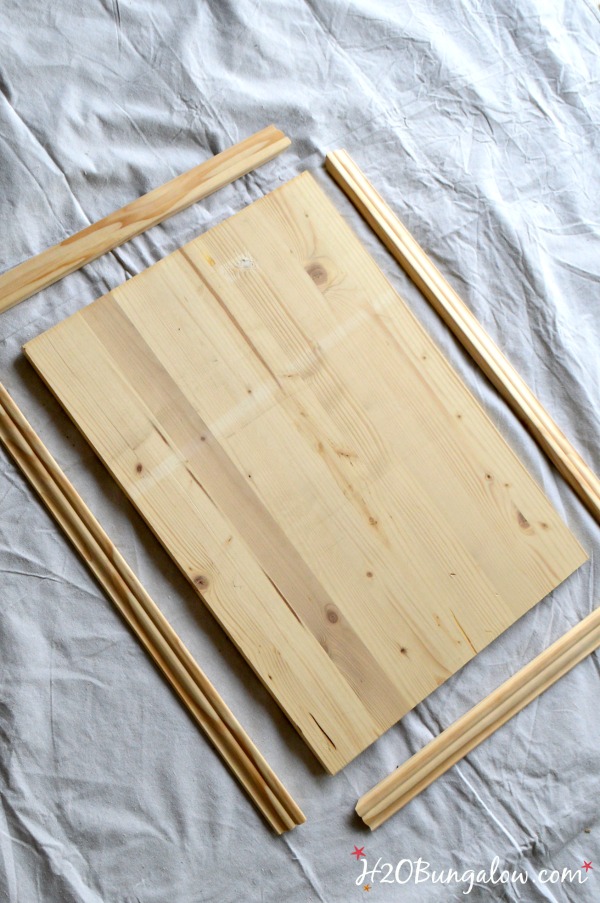
To make the wood top and base I cut the bottom and top boards to fit the length and width of the filing cabinet. Don’t assume the filing cabinet is square, measure all the sides, the front and back width were slightly different on mine.
The trim I used was a 1 1/2″ trim with a flat back. I cut it at 45 degree angles. Sorry, I don’t have a close-up picture of it, but it’s easy to pick out, the back has no grooves unlike most of the trim that you’ll find.
Stain the pieces first before attaching them to the filing cabinet.
The base of the metal filing cabinet isn’t solid across. To attach the wood base to the filing cabinet, I used 4 screws to hold the wood in place. It helped to drill pilot holes in both the metal and the wood first. I countersunk the holes in the wood so the screw heads would be recessed. last, I attached the trim with my Ryobi Airstrike Bradnailer.
Flip the upcycled metal filing cabinet project over.
To attach the wood top and trim, add some E6000 or liquid nails to the top of the metal filing cabinet and position the wood top. Next, using the nail gun, attach the trim to the board.
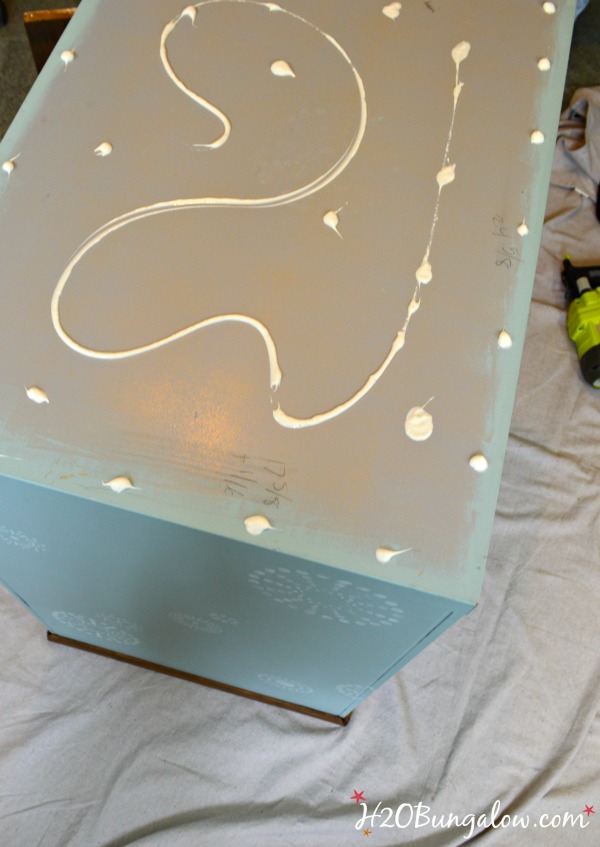
Fill in any gaps and the nail head divots with stainable wood filler and touch up with stain.
 My upcycled metal filing cabinet and I are on good terms now.
Practical isn’t so bad as long as it’s pretty too;)
So maybe now I can keep my papers organized and my desk clear, what do you think?
Do you need more organization? You may like some of my other popular organization posts.
5 Creative Ways To Deal With Sentimental Clutter
Organize A Small Kitchen and Get More Space


You’ll find my project linked up to these fabulous parties!
Love a good dose of DIY home decor, home improvement, the challenge of woodworking and creative ways to make your home look fabulous?
I’d love to share mine with you. Click here to sign up for my post emails and I’ll send a quick note when I have a new project to share.
Social media fan? Don’t be shy say hello! I love when you guys do that! I’m interactive on Facebook and I share lots of other projects and, useful inspiration for the home and content I don’t share anywhere else. Follow H2OBungalow on Facebook and Instagram!
I use affiliate links in my posts. If you should make a purchase I will receive an itty bitty commission at no cost to you. Thank you in advance for supporting my blog and two fur-ball cats who believe they are privileged.![]()
Yolanda says
How thick was the top and base board used? It might affect my DIY because I’m adding casters to mine.
Thank you.
🙂
Wendi says
Hi Yolanda, that’s a good question. I think I used 1/2″ plywood. You can easily use any size nut keep in mind if you’ll use nails or screws there needs to be enough wood for them to sink in. This project took a bit of dry-fitting since I made it up as I went along. Adding casters is a fabulous idea! Have fun with your project!
Linda at Mixed Kreations says
Oh how pretty! I love love what you did with it. The wood looks really nice on it too! I have and old two drawer file cabinet that it stored away somewhere. This make me want to drag it out and give it a makeover.
Wendi says
Hi Linda! You absolutely should pull your old file cabinet out and give it a makeover. It’s a win-win when a makeover helps keep us organized! Thanks so much for your visit 🙂
Ashley ~ 3 Little Greenwoods says
This is an awesome makeover! We have a metal cabinet just like this one and it’s so ugly in my pretty office. Thanks so much for the DIY inspiration!
{BIG hugs}
~ Ashley
Wendi says
Hi Ashley and thank you! 🙂 That was my problem too, I needed the functionality of the filing cabinet, just could stand how it looked. I hope you make a pretty one for your office too! Thanks so much for stopping by 🙂
Debrashoppeno5 says
What a fantastic idea, I love the idea of making a piece of office furniture so it blends in with the rest of the house.
Wendi says
Hi Debra & thank you! It was a good solution for finding a way to make a necessity like a filing cabinet fit & look OK in a small space. Thanks so much for your sweet note and visit:)
Lynn says
Wow! What a great upcycle! My son needs a filing cabinet and while I will probably make his a little more masculine, you have definitely inspired me.
Thanks, Lynn
Wendi says
Hi Lynn and tank you! You can do this and it’s such an easy and budget friendly way of making a boring necessity like a filing cabinet 😉 look great in a space! Enjoy your project and thanks o much for your visit!
Amy says
I love this makeover! I have a filing cabinet upstairs that I am now going to try to make pretty. 🙂 I’ve never painted on metal before, so thank you for the inspiration!
Wendi says
Hi Amy! Thanks so much. This was a fun project and it felt good to take something that I needed but was ugly and make it pretty! Have fun making your filing cabinet pretty too! Thanks so much for your visit!
lisa says
this looks very cute. i love the idea of the trim on top and bottom. do you have to seal the color with a clear coat or is the chalky finish enough?
Wendi says
Hi Lisa…that’s a good question. Chalky finish is self sealing, but I like to use a layer of DecoArt’s Ultra Mat Varnish then the piece becomes wipeable. This project was a super way to pretty up an old file cabinet. It’s one of those things I needed but didn’t want to put in my studio. Thanks so much for your visit!
Amy Pelzner says
Love this project! My son’s kindergarten teacher was asking me if I knew ways to spruce up her filing cabinet that looks just like the before picture. I will have to show her this and find some cute school stencils. Do you use a foam brush or bristle for panting?
Wendi says
Hi Amy, I used a stencil brush, it does a much better job of clean lines. School style stencils on a filing cabinet would be absolutely darling!I’d love to see a picture of how to spruce it up! Please share on on my H2OBungalow Facebook page. Thanks so much for your visit!
Angie @ ambient wares says
This is so cool! I’d love to do this to ours…after I remove years and years worth of stickers that are all over it! 😀
Wendi says
Hi Angie! You can totally do this! It sounds like all you need is a big bottle of sticker remover first LOL. I was surprised at how much better an ugly old file cabinet could look! Thanks so much for your visit today!
Angie @ Knick of Time says
I have a filing cabinet in my workshop that’s been waiting for a makeover for almost a year – yours looks amazing and inspires me!
Thanks for linking it up at Talk of the Town – It’s my feature pick this week!
Wendi says
Hi Angie and thank you so much! I’m honored and thrilled I inspired you to do something with your filing cabinet too. They should really build a better looking filing cabinet, the metal ones have zero appeal, don’t you agree? Thanks again!
Laura says
Thank you for sharing this at Thoughts of Home.
We love having you.
Wendi says
Thanks Laura, I enjoy sharing my projects:) Thanks so much for your visit!
Crystal says
I think it’s super cute! Very creative way to upcycle your cabinet! Thanks for sharing at #HomeMattersParty hope to see you back!