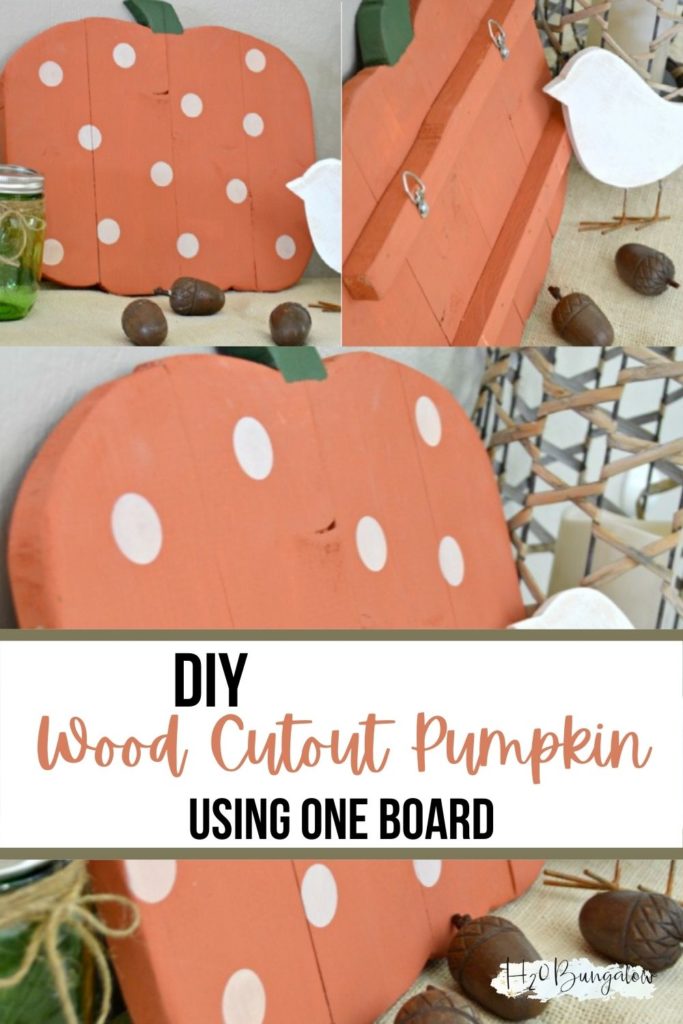
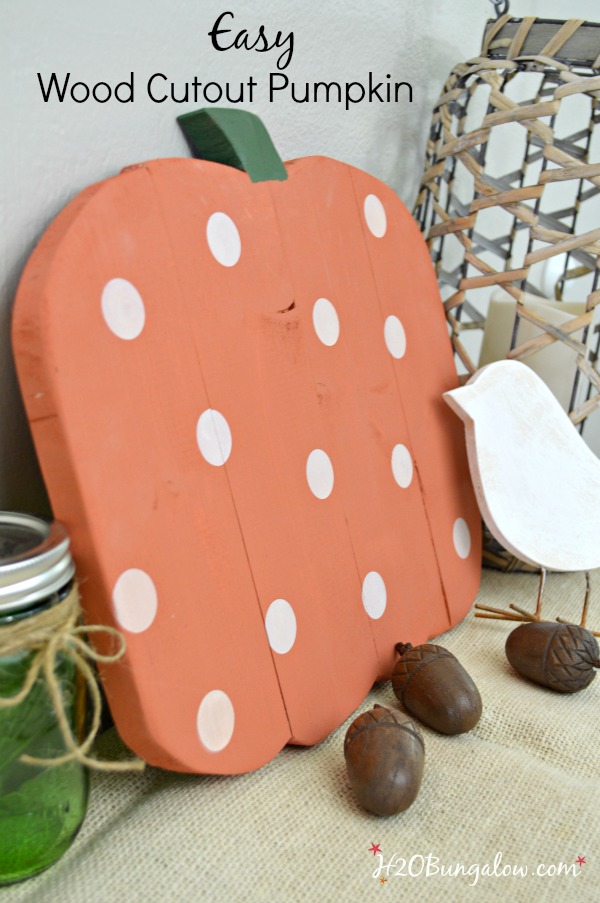
This cute wood DIY wood pumpkin cutout is my way of saying I’d like to boycott the hot weather and move on!
I know we are still in August, and yes I made a wood pumpkin. Our temps are hovering at about 100 degrees with lots of humidity every day. It’s been brutal.
This month’s Power Tool Challenge Team theme is One Board. I made my easy DIY Wood Pumpkin Cutout from a six-foot piece of 1″x 4″ board.
Consider this my rain dance of sorts, if I build a wood pumpkin, fall will come soon.
This post contains affiliate links, as an Amazon affiliate I earn a fee from qualifying purchases at no additional cost to you. Thank you for supporting H2OBungalow!
Supplies needed to make a DIY Wood Pumpkin Cutout
- 1 – 6 foot 1″ x 4″ board
- jigsaw
- sander
- nail gun (optional)
- paint
- ruler or combination square
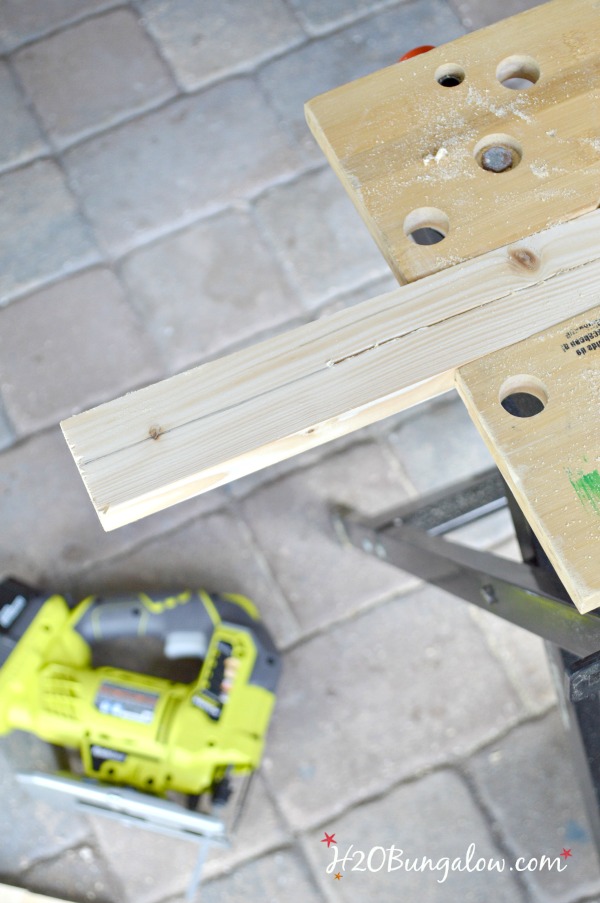
Use your jigsaw to cut 4 pieces at 12″ each. Cut another at about 10″. Split the 10″ piece in half like I show below.
Since this piece was narrow I clamped it in my work bench so I wouldn’t need to get my fingers close to the jigsaw. It would be OK to use a 4″ piece in this part and just skip this step if you want super easy.
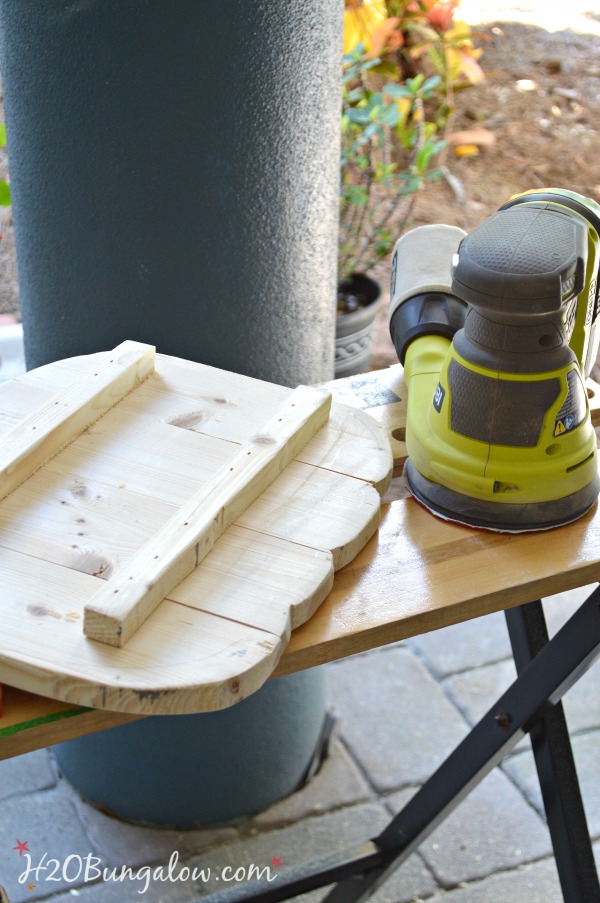
I attached the cut pieces to the back of my board with a little glue and nail gun. If you don’t have a nail gun, screws or a plain old hammer and nails would work fine too 🙂
I got to try out my new Ryobi One + cordless drill for this project, and Wow! I loved the easy to use features! It made it easy to cut my DIY wood pumpkin into its shape.
I tried making a paper template to use for this project and finally realized it was easier to just round the sides a bit, cut a few dips in the bottom and then round the top after I cut a section for the stem.
The charm of this project is in the imperfection. Last I smoothed the edges with my handheld orbital sander.
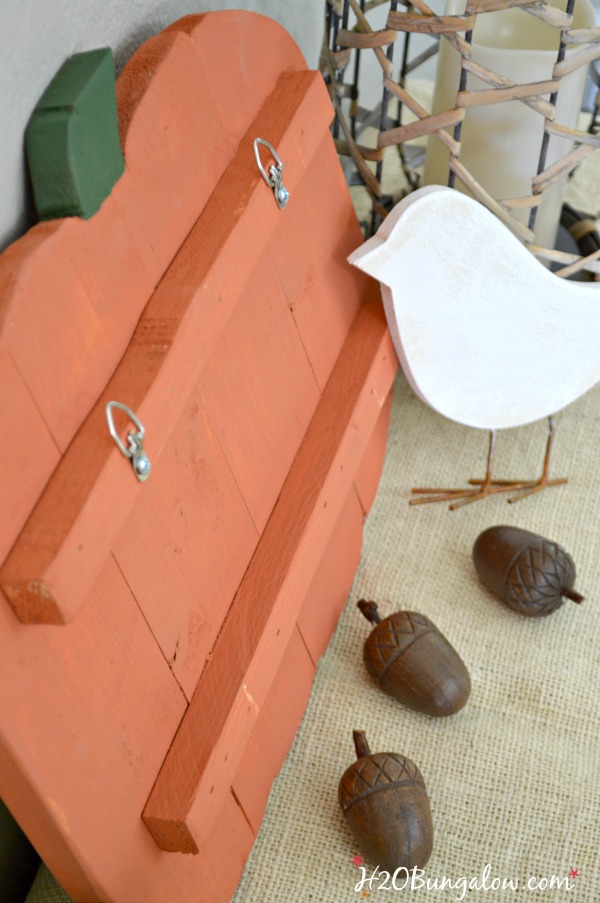
I like to paint both sides of my projects so they look tidy:) I think I’ll eventually hang this on my front door so I added hanging hardware. Mostly because you know what happens when we think we’ll come back to do something later…
…yup, it doesn’t get done 😉
I know it’s not time to hang this outside now, and my neighbors would surely think I was the crazy lady down the street if I were to start putting out my fall decor. But you have to admit, it is cute and doesn’t it make you want cooler temps and colorful fall decor too?
Or do you think I’m the crazy blogging lady who puts out her decor too soon? Share below in comments, It’s OK if you do!
Pin my Easy Wood Pumpkin Cutout on Pinterest!
If you’re not ready for pumpkins, you may like some of my other themed projects
Twin Headboard Bench with Storage Shelves
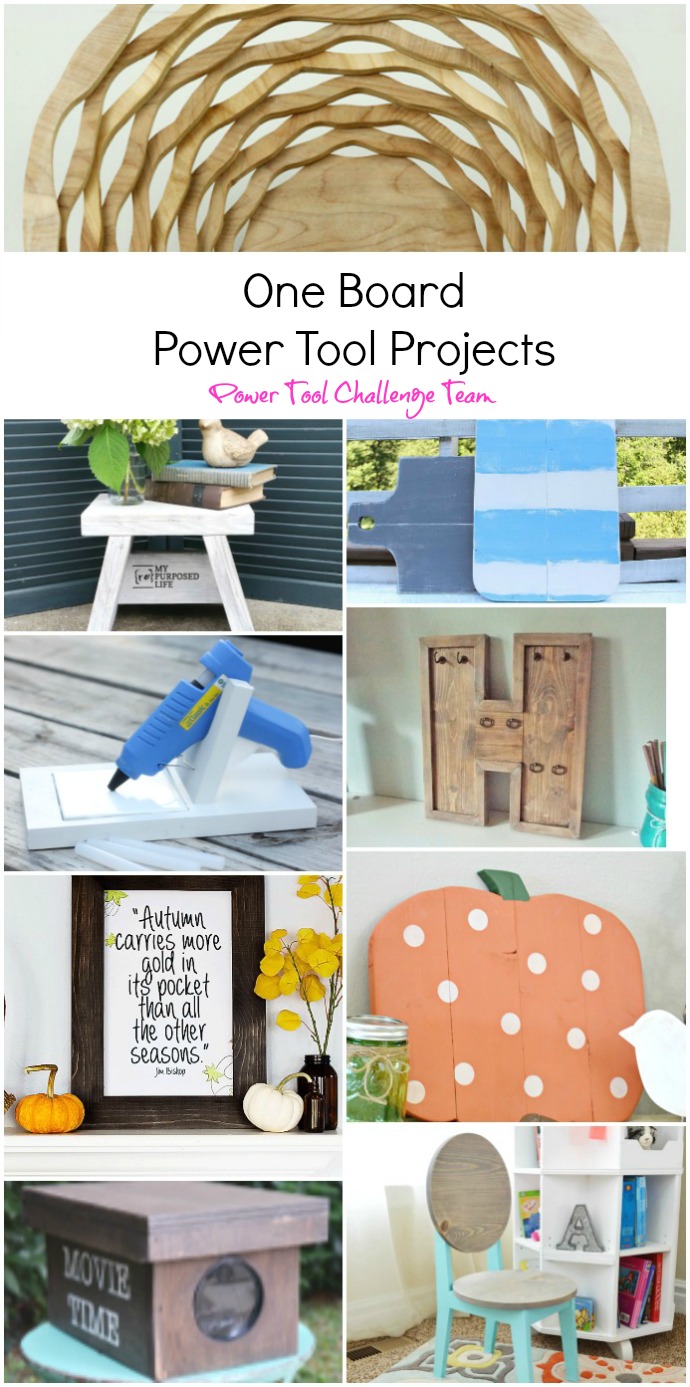
Like I mentioned earlier, It’s time for our monthly challenge of the Power Tool Challenge Team. As always, our team didn’t disappoint. Take a look below at the super creative projects they all created using only 1 piece of wood!
Our team comes together each month to inspire our readers and share lots of ways power tools can be used in home decor, crafts, holiday decor and of course home improvement and more. To me, the best part of using a power tool is the freedom it brings and the creative possibilities that come with each new skill. I hope our projects inspire you to pick up a power tool and have some fun too.
Scroll Saw Wooden Basket by Kim Six Fix
Easy DIY Picture Frames by Domestically Speaking
DIY Wood Letter Jewelry Hanger by Designs By Studio C
Circle Back Kids Chair Plans by Her Tool Belt
Easy Wood Pumpkin Cutout by H2OBungalow (That’s me!)
DIY Pizza Bread Board by Refresh Restyle
Small Step Stool by My Repurposed Life
DIY Glue Gun Holder by Virginia Sweet Pea
DIY Wooden Movie Projector by Thrift Diving

Debrashoppeno5 says
This is so cute, and easy to make. It is a great decoration for the fall season.
Wendi says
Hi Debra & thank you! It was easy to make, I’m all for easy to make projects that look good too! Thanks so much for your visit!
Carlene says
Well cutest pumpkin but my love is for that sweet Bird. Did you make it too?
Wendi says
Hi Carlene and thank you! Isn’t that bird too cute? I found two o them on clearance at Michaels a long time ago and knew I’d do something fun with them. I just painted them with some white paint for the time being. Thanks so much for your visit!
Wendi says
Hi Carlene and thank you! Isn’t that bird too cute? I found two of them a long time ago at Michaels Craft Store and fell in love with them. All I did was add a little white paint. Making a set of these would be so easy! Thanks for your visit!
Sherry says
I love your pumpkin and what a great tutorial. I’d love one or two or three!
I’d like to invite you to the party at my blog. The Fabulous Fall party is for
all Fall themed posts. New ones or old. Come over to the party over here:
mychristmasjourney.blogspot.com/2016/08/2016-fabulous-fall-party.html
Let’s Party!
Wendi says
Hi Sherry and thank you! I had fun with this project and to me it makes it even more fun when I can be creative using a power tool. Thanks so much for your visit and I’d love to join your party:)
Dee says
This is adorable! I made a similar one last year, but I love your bright polka dots better. Thanks for sharing at Merry Monday!
Wendi says
Hi Dee and thank you:) The polka dots were a last minute decision. I’m so glad I added them, it was the perfect finishing touch. Thanks so much for hosting, I know how much work it is!
Teri@The Freshman Cook says
This is adorable! I love the dots! Stopping by from Foodie Friends Friday!
Wendi says
Hi Teri and thank you! The polka dots were a last minute add and I’m glad I did. Thanks so much for stopping by!