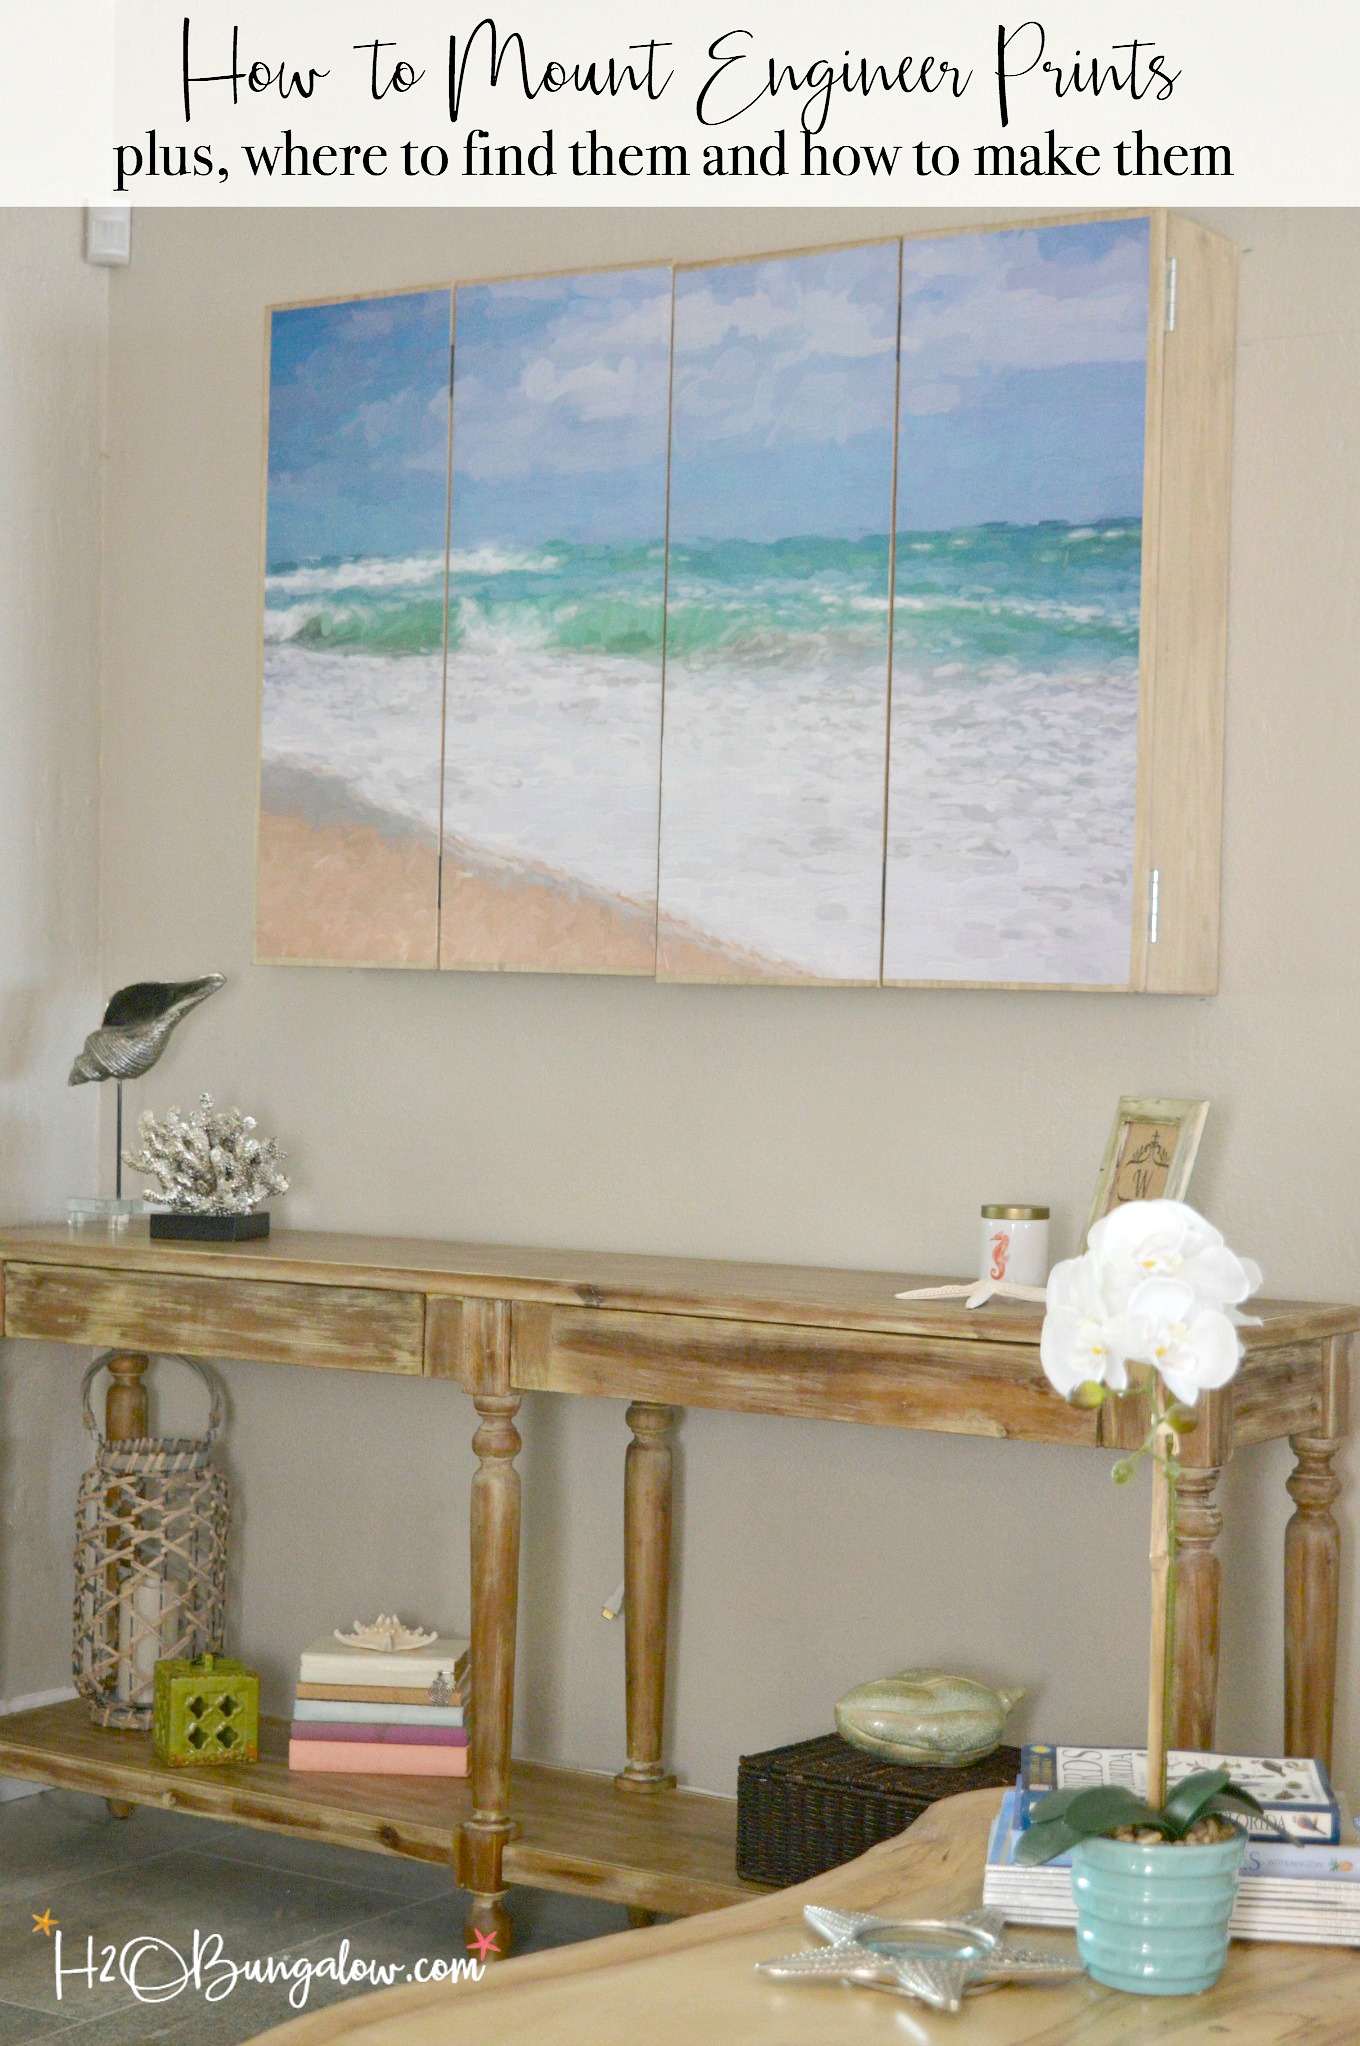
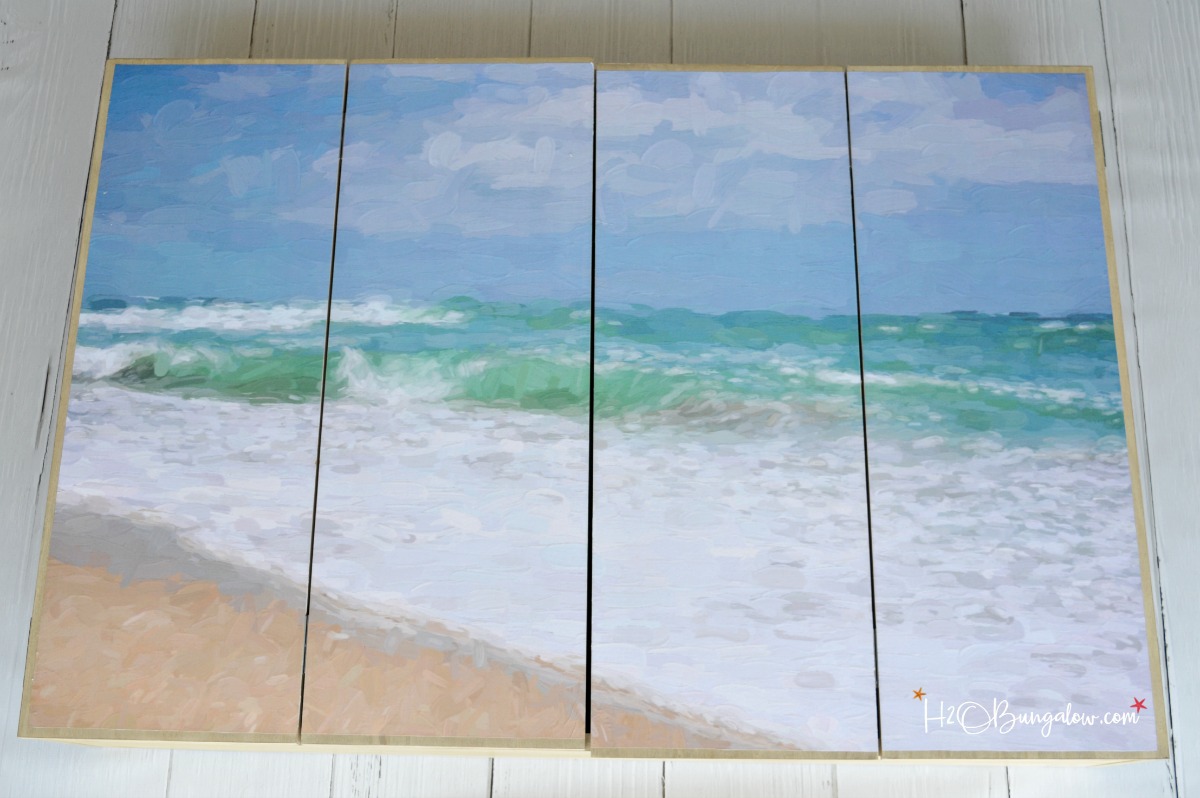
Today, I’m sharing how to mount large engineer prints on wood with you guys. If the print I used looks familiar to you, it should. It’s what I used on the front panels of the Wall Mounted TV Cabinet I just built to hide our big and not so pretty flat screen TV when we aren’t watching it.
Engineer prints are all the rage, and rightly so. You can get a huge, I mean huge print of a picture or make a graphic and have it blown up for about $12 or less. I know, that’s pretty cool! Right? What is an engineering print? In a nutshell its a blown up version of a jpeg or png file. A picture that you can have printed at a local office store (Staples, Office Depot) on giant paper. Engineer prints can be made in several sizes. Our local store prints in 18″ x 24″, 24″ x 36″, 30″ x 42″ and 36″ x 48″ sizes. Basically you upload a file to the store’s website, choose a size and pick up the print when it’s ready. Easy!
What’s the catch? Well, engineer prints are printed on 20 lb paper so your print will not be poster quality or the same quality as if you purchased a photo canvas. But… for my project, mounting an engineer print on wood was the perfect solution.
The bigger challenge is how to mount a large print or large engineering prints on wood or another surface so it looks good. It’s not as hard as it sounds. On the other hand, knowing a few tips right from the start will help you mount these giant prints onto a surface without a lot of guess-work. So let’s get right to it, OK?
How To Mount Large Engineer Prints
I use affiliate links to help you find the supplies I used. You can read my full disclosure policy here.
Supplies needed to mount a large engineer print on wood.
- wood
- print I found this shop on Etsy and fell in love with the work. – this is the print I used
- painters tape
- repositionable spray adhesive for paper
- matte finish Decoupage
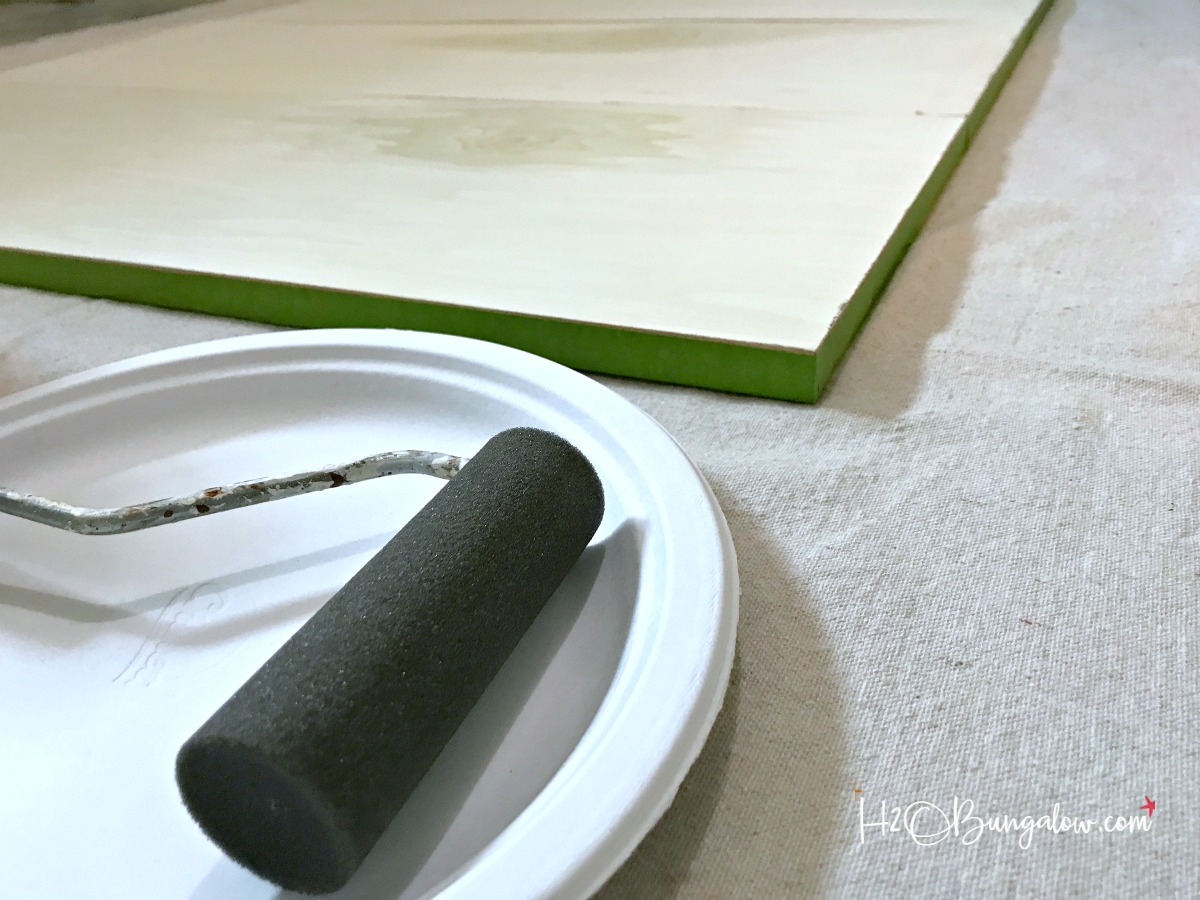
- 4″ foam roller – don’t use the high density ones, they don’t work well
- Exacto knife
- 220 grit sandpaper
Step one: Prepare your surface.
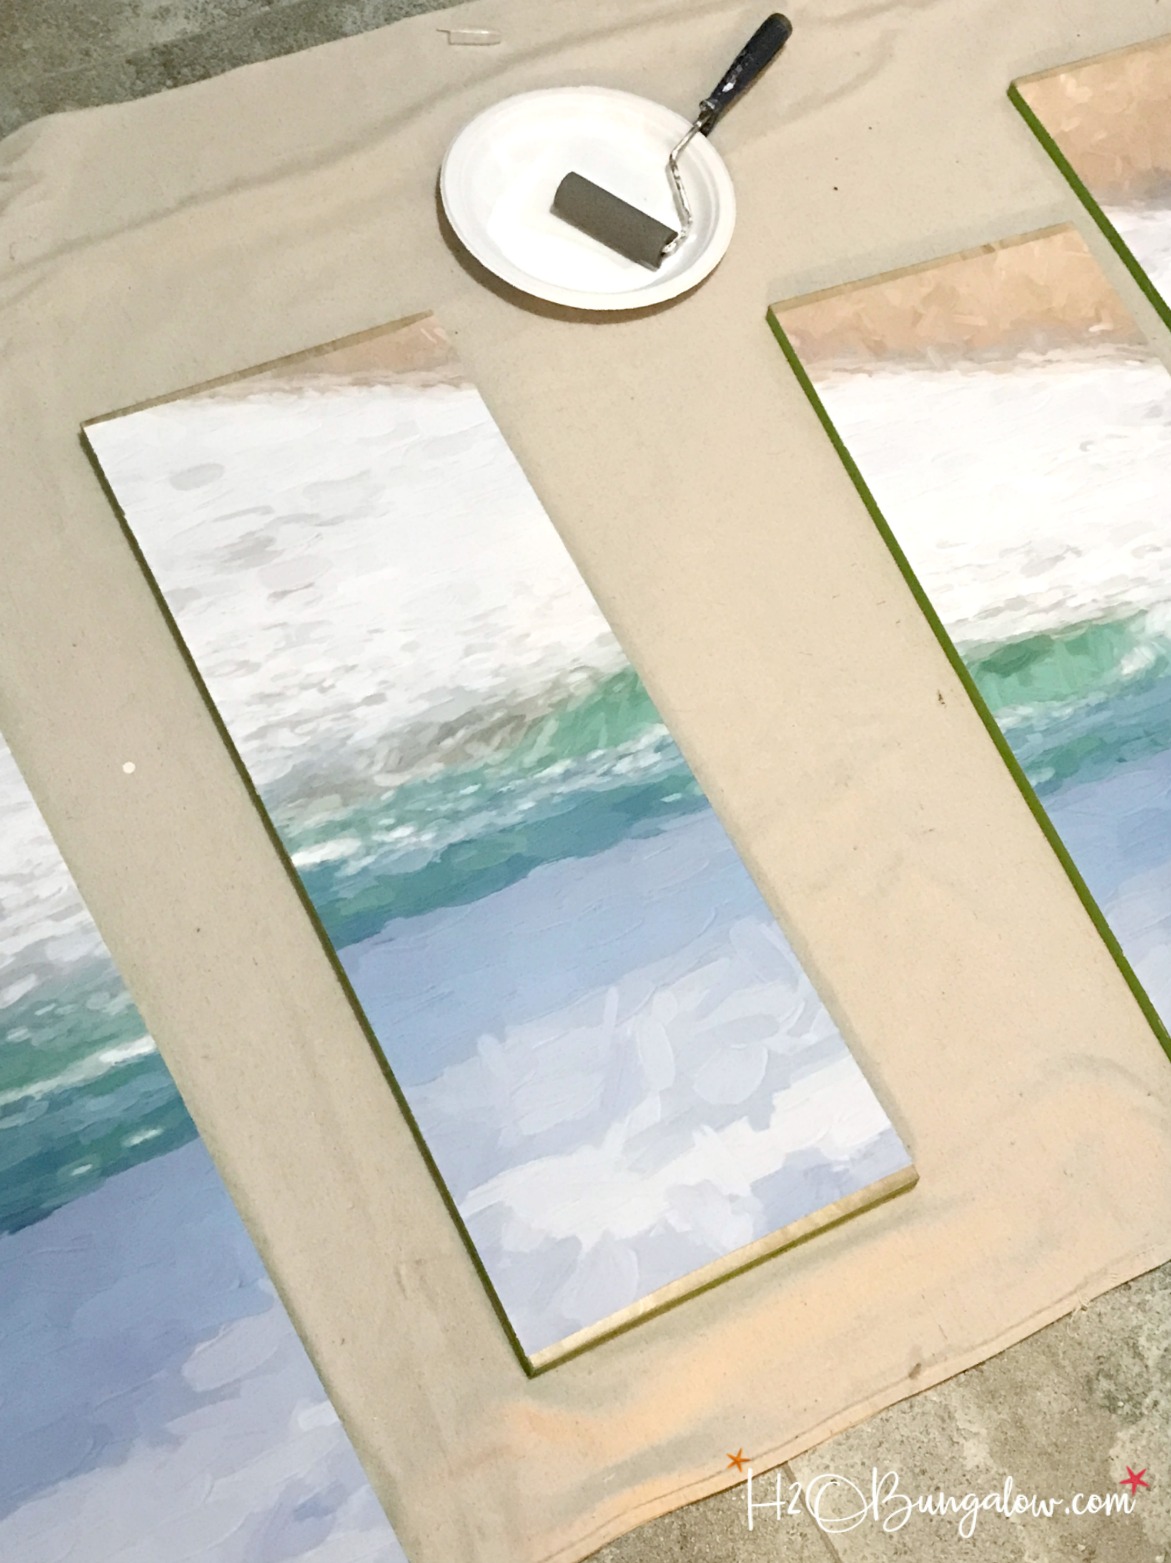
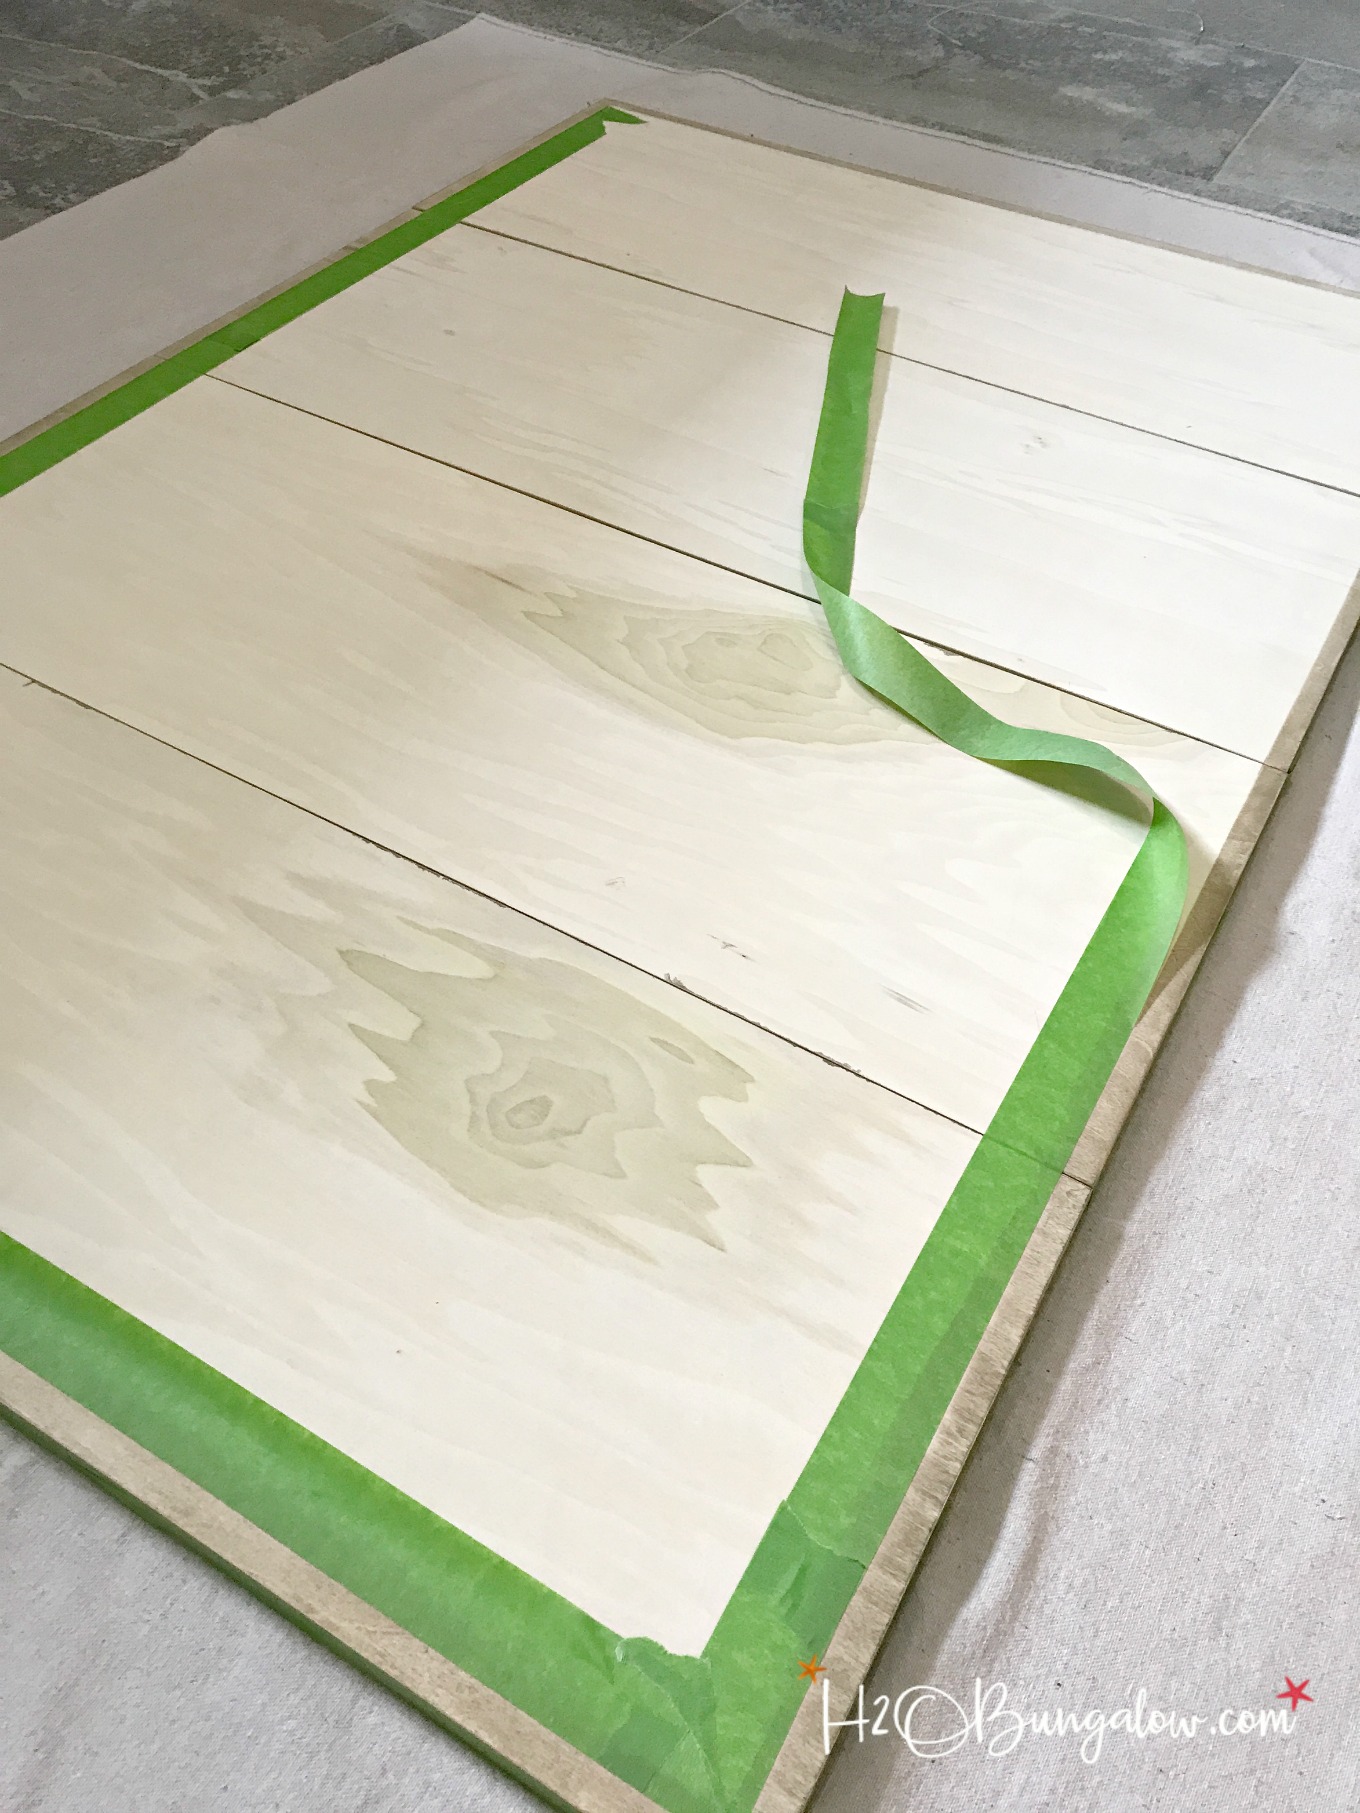
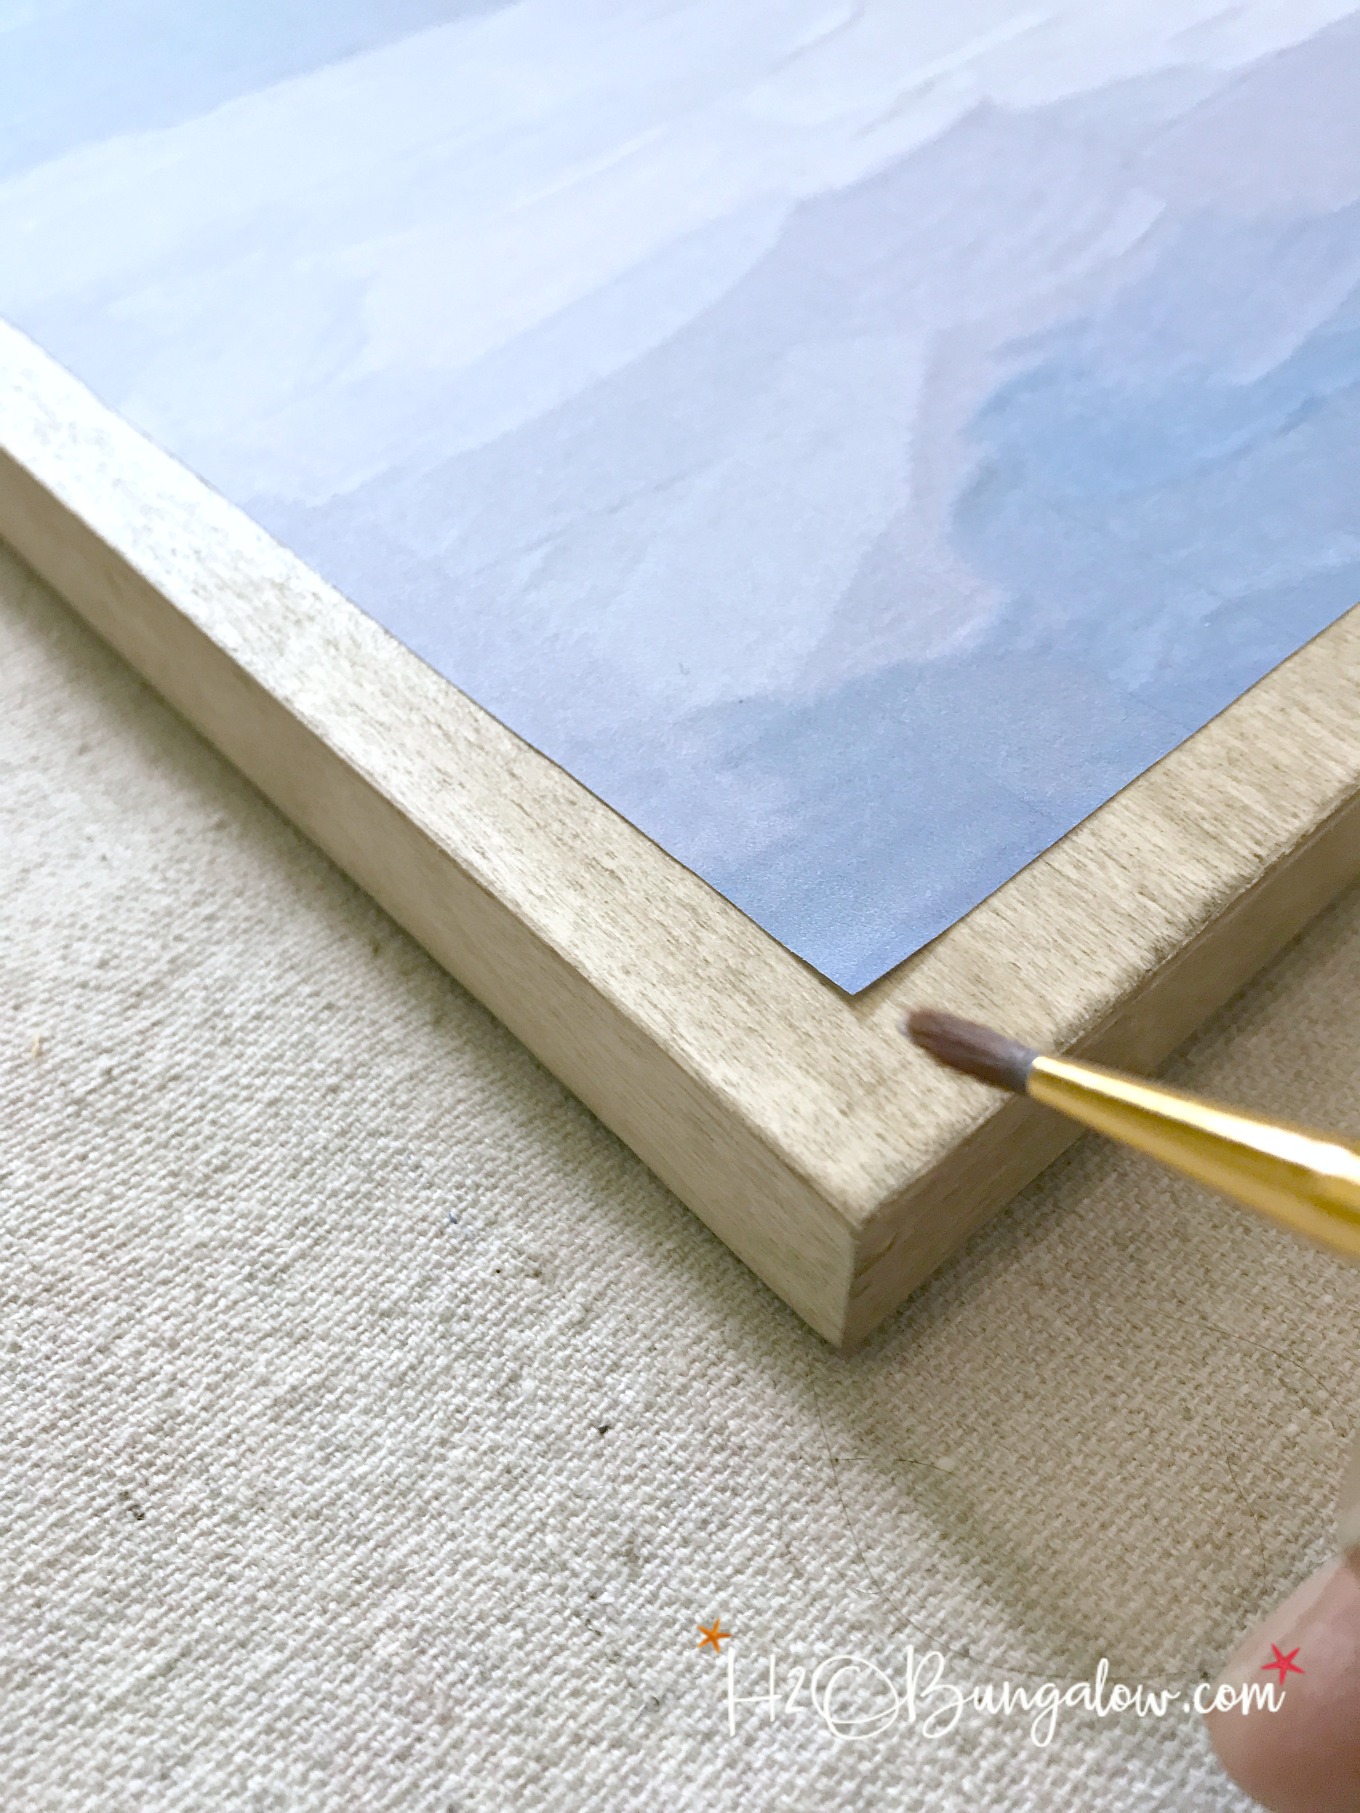
Start with a clean smooth surface. Lightly sand the wood and wipe it off. Paint or stain the edges of your wood before mounting your print.
Step Two: Apply adhesive to the surface.
Apply a light coat of spray adhesive or roll on a coat of Decoupage across the entire surface. I prefer the spray adhesive on larger projects. Decoupage works great on smaller ones like my Turn Your Photo into a DIY Faux Canvas Print project which was a lot smaller. Make sure you use enough adhesive so it doesn’t dry while you are working on attaching your poster size print onto your surface.
Step Three: Position and attach the engineer print onto the surface.
Mounting a large engineer print on wood is easier with two people, one at the top and one at the bottom of the board unrolling the print together. Position one side of the print onto the board and unroll the print a small amount at a time working across the board. You will not be able to reposition your print after part of it has adhered to the wood. Use your hands to get a good seal by applying pressure and rubbing outward to get air bubbles out. Work slowly, especially if you are using Decoupage. I don’t have photos of this step because DH and I were both working on the print and we didn’t have extra hands, just paws as Soup Can Sam the cat supervised the action. He wasn’t much help 😉 As I was saying… Start on one side with the print rolled up. Press down firmly as you work across the print.
Step Four: Trim the edges of the engineer print.
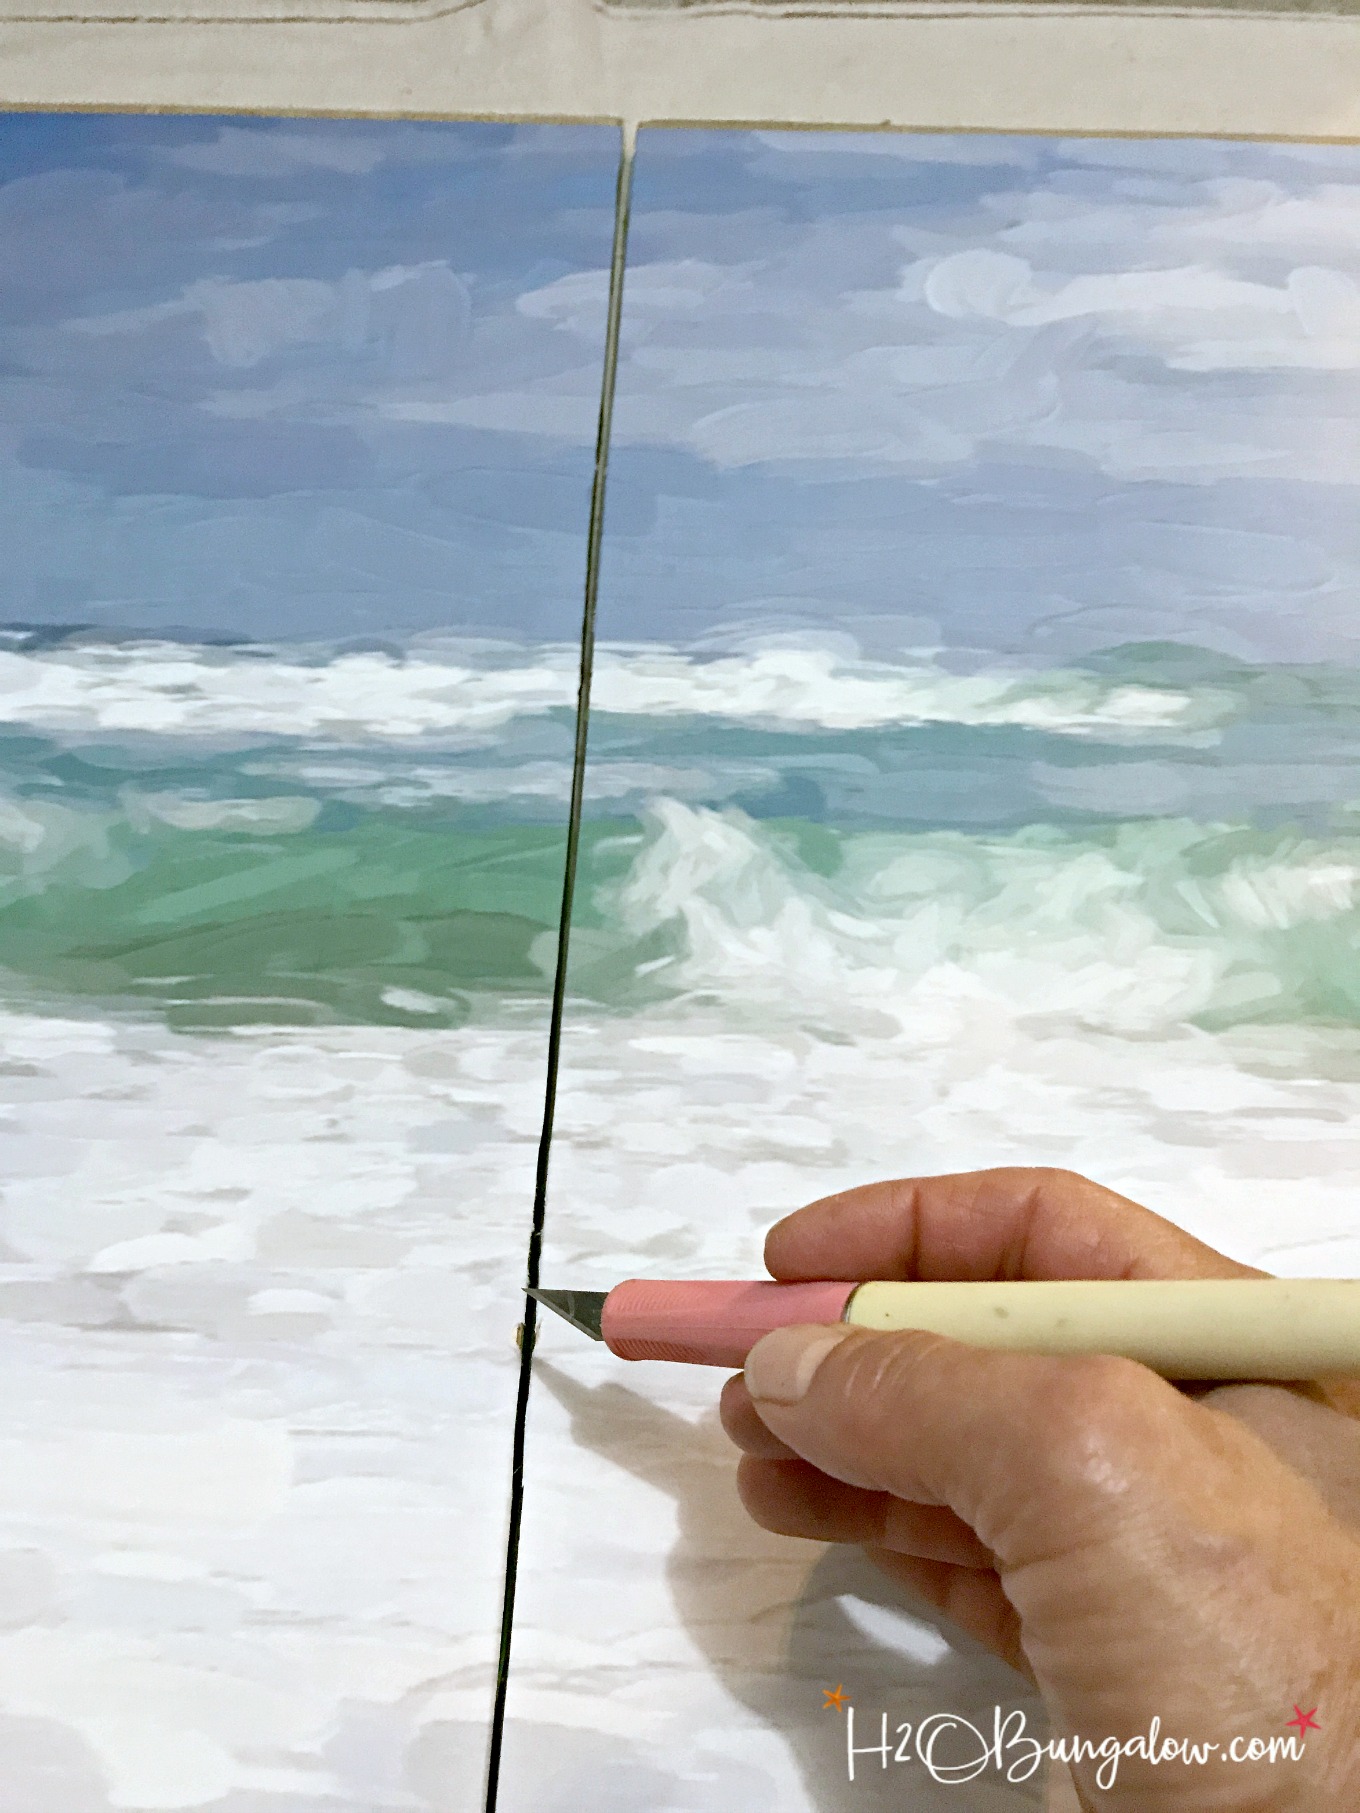
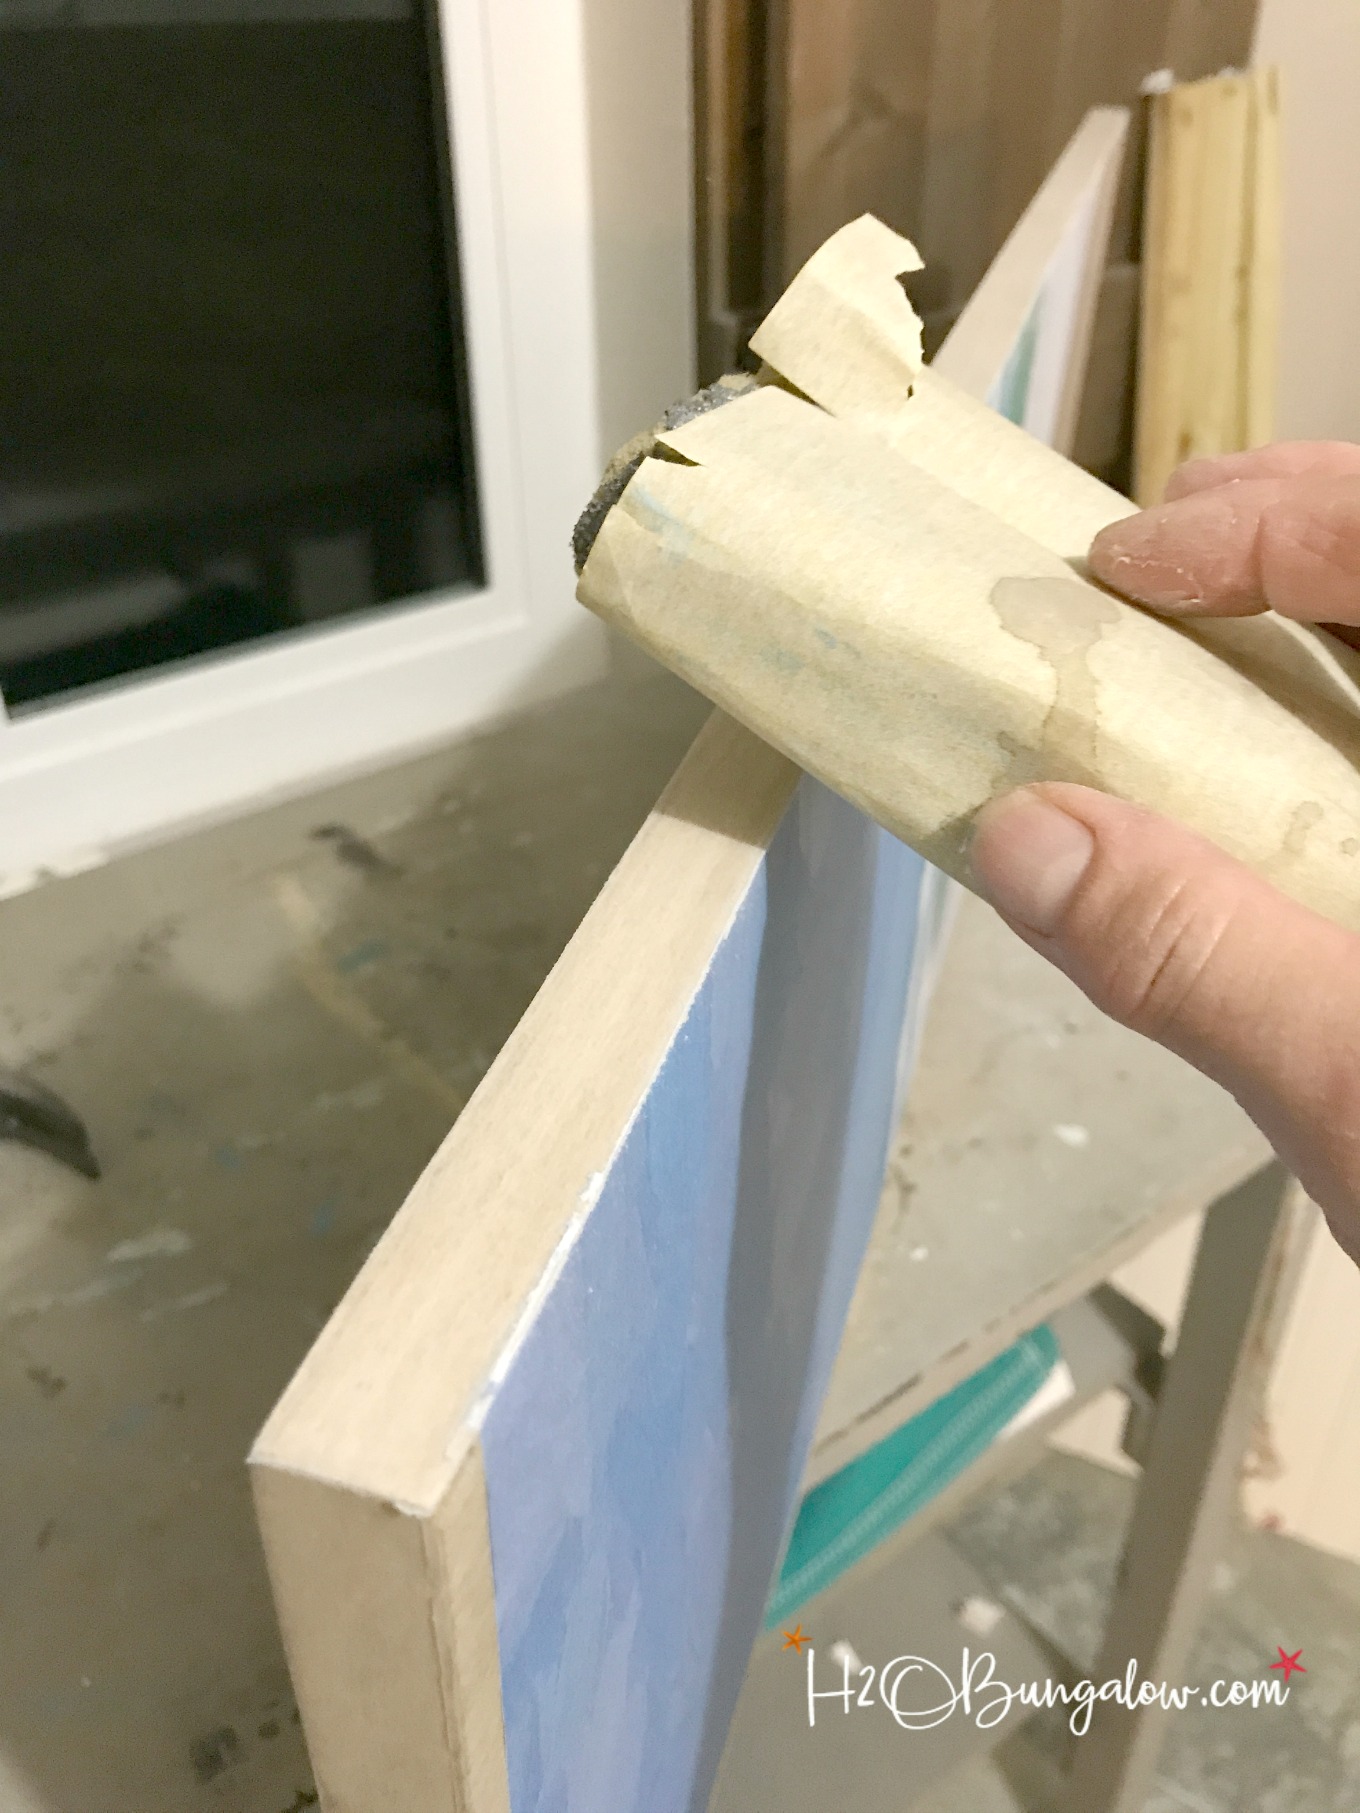
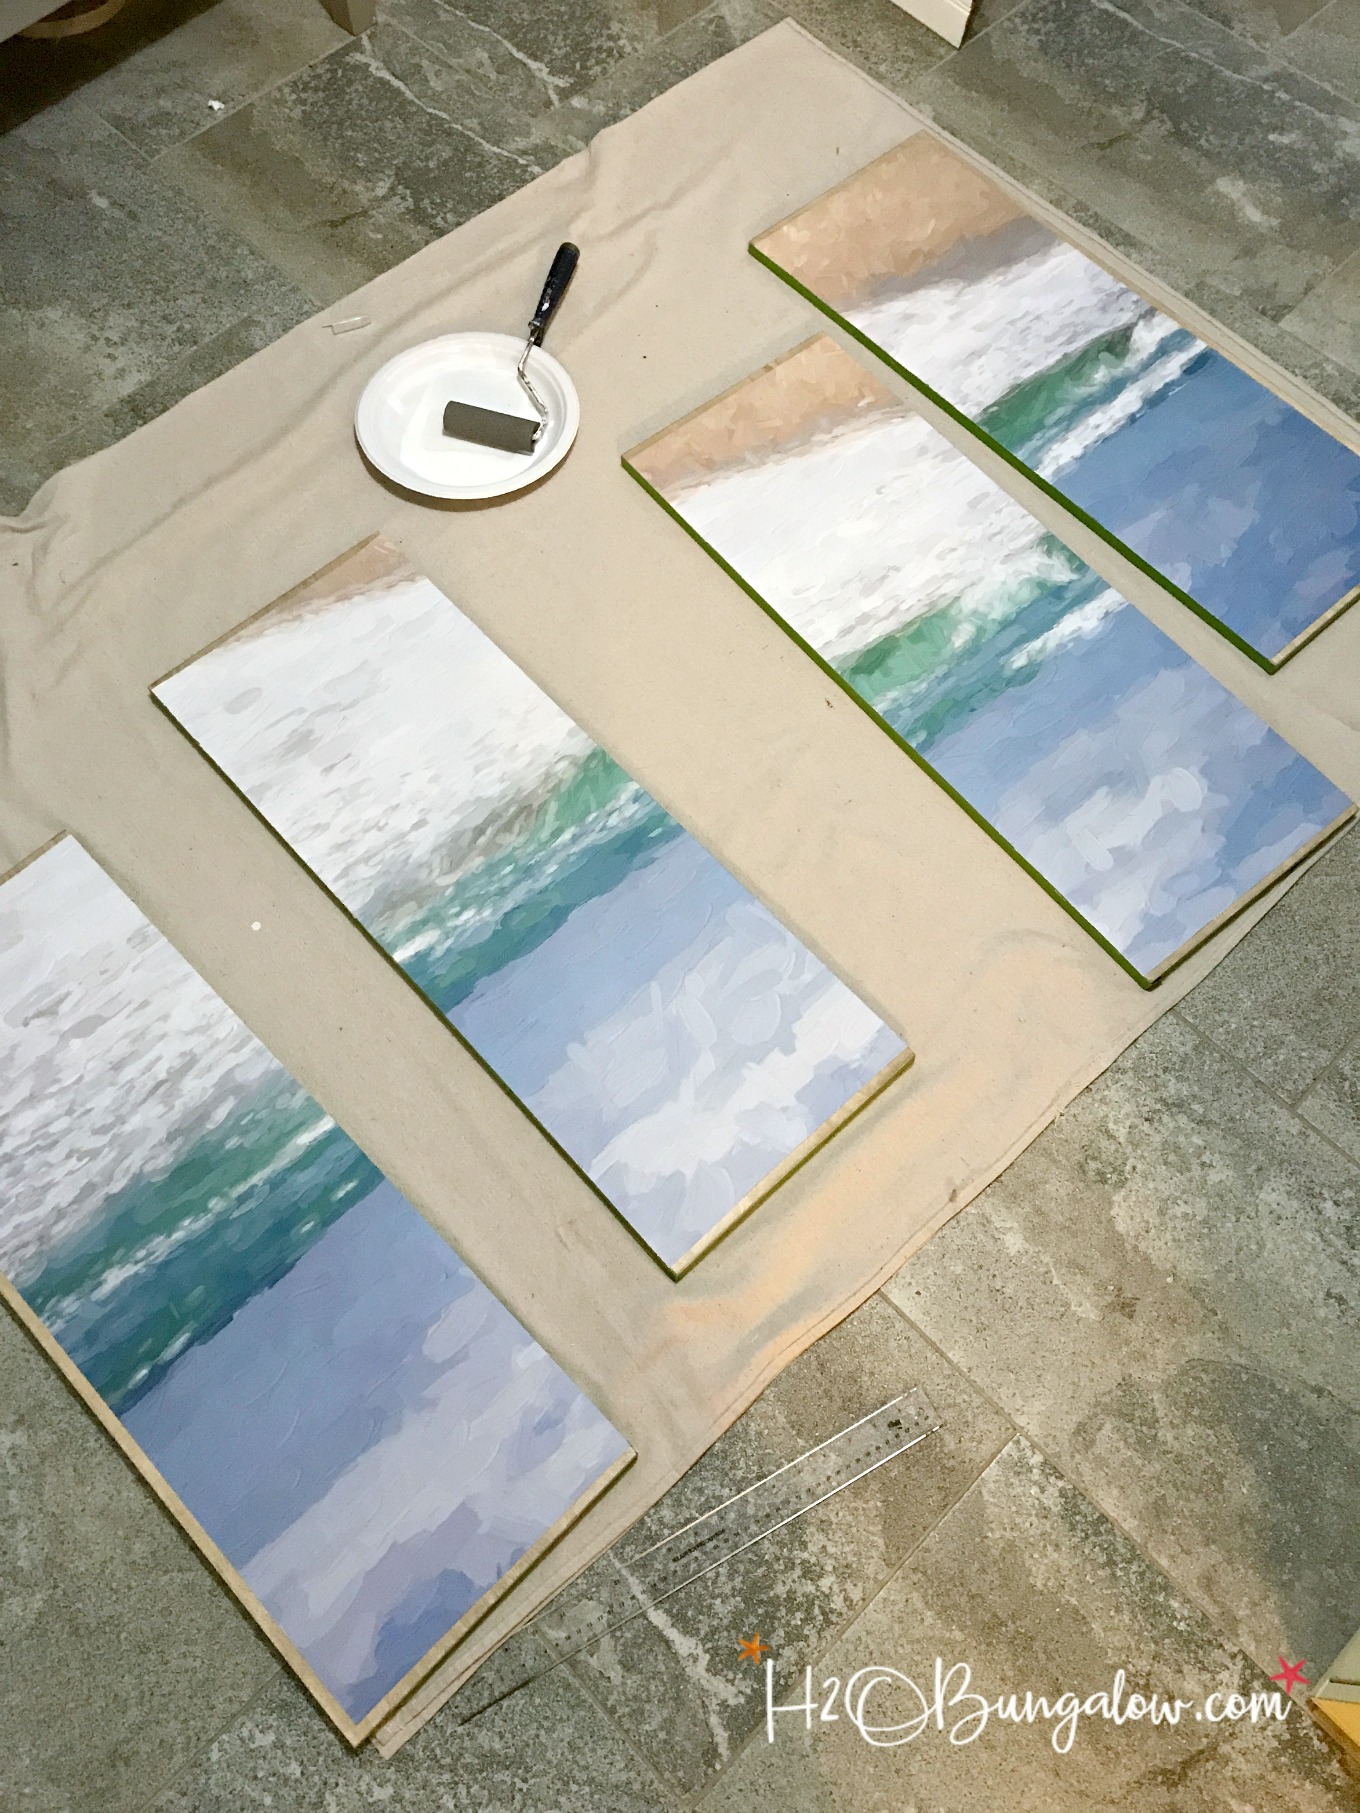
Use an Exacto Knife to cut in between the panels. It works best if the poster is almost dry. Use a 220 grit or higher sandpaper to lightly rub the edges in a downward motion to remove any extra paper that is not flush with the edge of your wood. In this picture I rubbed away from myself to wear the edges of the print off.
Let your DIY mounted engineer print dry overnight.
Step Five: Touch up as needed.
Use a small paintbrush to work decoupage under any areas that need additional glue down. Let dry before moving on to the next step.
Step Six: Seal the surface.
Apply several coats of Decoupage to the engineer print panels, letting each coat dry in between. You can texturize the surface just like I did in my DIY Faux Canvas project. You may see air bubbles pop up on this step, hopefully not, but let them be if you do. They will shrink down and not be very visible when dry. We had some and when the print dried I couldn’t see them at all. Of course when it was wet, I was panicked about my beautiful seascape print not looking good. It turned out fine though.
One you know how to mount large engineer prints, I think it’s easy to be creative with ways to use these budget friendly large prints.
I can think of so many ways to use an engineering print in home decor. Mount a print as one piece of art or over a few boards and hang them side by side along a wall or place an engineering print on the front of a dresser and cut in between the drawers. Cover a box or another container with one, make giant coloring book pages or art to hang in a frame. This is such a good way to get custom art on a shoestring budget!
Don’t forget to save this for later!
Are you wondering what to use to make an engineer print? Make a graphic with simple words, use a favorite photograph, run a photo through the Waterlouge app, or buy a digital print. I purchased my a print from Etsy. Of course that was after looking at hundreds of prints for 2 days to find just the right colors and picture. I loved it even more in person when I saw it.
Aren’t the colors perfect for a coastal room?
If you haven’t seen the finished project and how I used my engineering print for the wall mounted TV cabinet project, take a look. This project gets me one step closer to my Contemporary Coastal Living Room Makeover which makes me very happy!
Now that I’ve shared how to mount large engineer prints, are you ready to try one too? How many ways can you think up to use one? What would you use, a favorite photo or saying..maybe an abstract print like I did? Share your ideas in the comment section below!

Deborah Nelson says
Using engineering prints is a great idea. I’m interested in decoupaging engineering prints to wood panels. I’ve asked Stapes if their prints are water resistant. I am concerned about the lines of the print smearing or bleeding. They report that the prints are NOT water resistant. I use Liquitex Matte Gel Medium for my decoupage.
Have you had problems with smudging, etc? Thanks for your help.
Wendi says
Hi Deborah and thank you! Engineer prints are made with 20lb paper, about the same weight as copy paper. I’ve made several projects and none has been an issue with smearing. You’ll be fine with the Liquitex product. What you nee to gauge correctly, is the amount to put on the board first. Too little and there will be air bubbles, too much and you’ll get wrinkles in the paper. The best method I’ve used is to pour the medium onto the board and use a foam roller to distribute it evenly all over before positioning the paper at one side on corners ..unrolling as you smooth out bubbles. Press firmly. I hope this helps! Have fun it’s a fabulous project to make!
Mary West says
I just printed a black and white engineers print for my sons first birthday party. We used it to play “pin the party hat on the baby” and it was a big hit! I was able to save the print so I can hang it! I was wondering how the color versions would work on a portrait? I read that they were best for pictures with 30% color or less, so I was hesitant to print his photo in color.
Wendi says
Hi Mary! What an awesome idea for an engineer print! I don’t think a color portrait would turn out as well as you’d like, unless you are making something that looked good with a lesser quality. I think black and white was the best choice. Thanks so much for sharing your engineer print project!
Mary-The Boondocks Blog says
Wendi thanks for this great tutorial. I really love that print you picked out. It is perfect for your home and location.
Wendi says
Hi Mary! You are so welcome! I love this print too, it was even better that it was such a fabulous price. The colors in this are perfect for my living room. I knew as soon as I saw it, it was the one! Thanks so much for your super sweet note my friend!
gail says
Awesome tips Wendi! You did a fabulous job placing your print. And the one you chose is fabulous.
gail
Wendi says
Hi Gail and thank you so much! I loved this print as soon as I saw it. It’s even prettier in person too. I’m loving the potential for budget creativity with engineering prints too. Thanks so much for visiting and leaving a sweet note!
Jeffrey Michael says
Hi Wendi,
Another great post! The TV cabinet looks excellent. Quick tip: If you like the gloss look, you can spray clear acrylic on the print for a sheen. I also recommend printing on heavy-weight paper for ease-of-use during installation and bringing a mailing tube with you to the print shoppe to protect the print during transit.
Thank you for putting a link to my art at Etsy. I am having a Grand Opening sale! Get 30% OFF when you order 2 or more prints! Use promo code DECORATE at checkout!
Good luck to everyone in the Ryobi contest and have a great day!
-Jeffrey