You guys, you have no idea how hard it was to only share a few pictures of my industrial modern picture ledges I made in last weeks post. Today I’m sharing all my photos and how to style picture ledges in a gallery wall. Today’ post is part two of how to build and style picture ledges in a gallery wall. It’s easier than you think, and a beautiful way to use a collection of artwork or family photos. Below, you’ll find my best tips for making a wall vignette and how to style picture ledges in a gallery wall with a mixture of art and other items to add interest. I think a well balanced mixed art gallery wall adds character to a room and solves a common problem of what to do with a big blank wall in a room.
I often use affiliate links in my posts to help you find supplies I’ve used or for product recommendations. You can read my full disclosure policy here.
If you’re just joining in, here’s how I made my own Rustic Modern DIY Picture Ledge using rough cut cedar with fabulous chunky steel brackets I found. It’s an easy way to get a modern industrial look that’s unique as well. They look fantastic mixed into a feature wall or by themselves. Aside from adding my super soft area rug, this was the biggest decor item change in my Modern Coastal Bedroom Makeover.
So, how do you make a gallery wall? I’ll share how I put mine together and then some useful tips to create a gallery wall with picture ledges in any style so you know how to create a gallery wall with picture ledges too.
How to Style a Gallery Wall with Picture Ledges Like Mine.
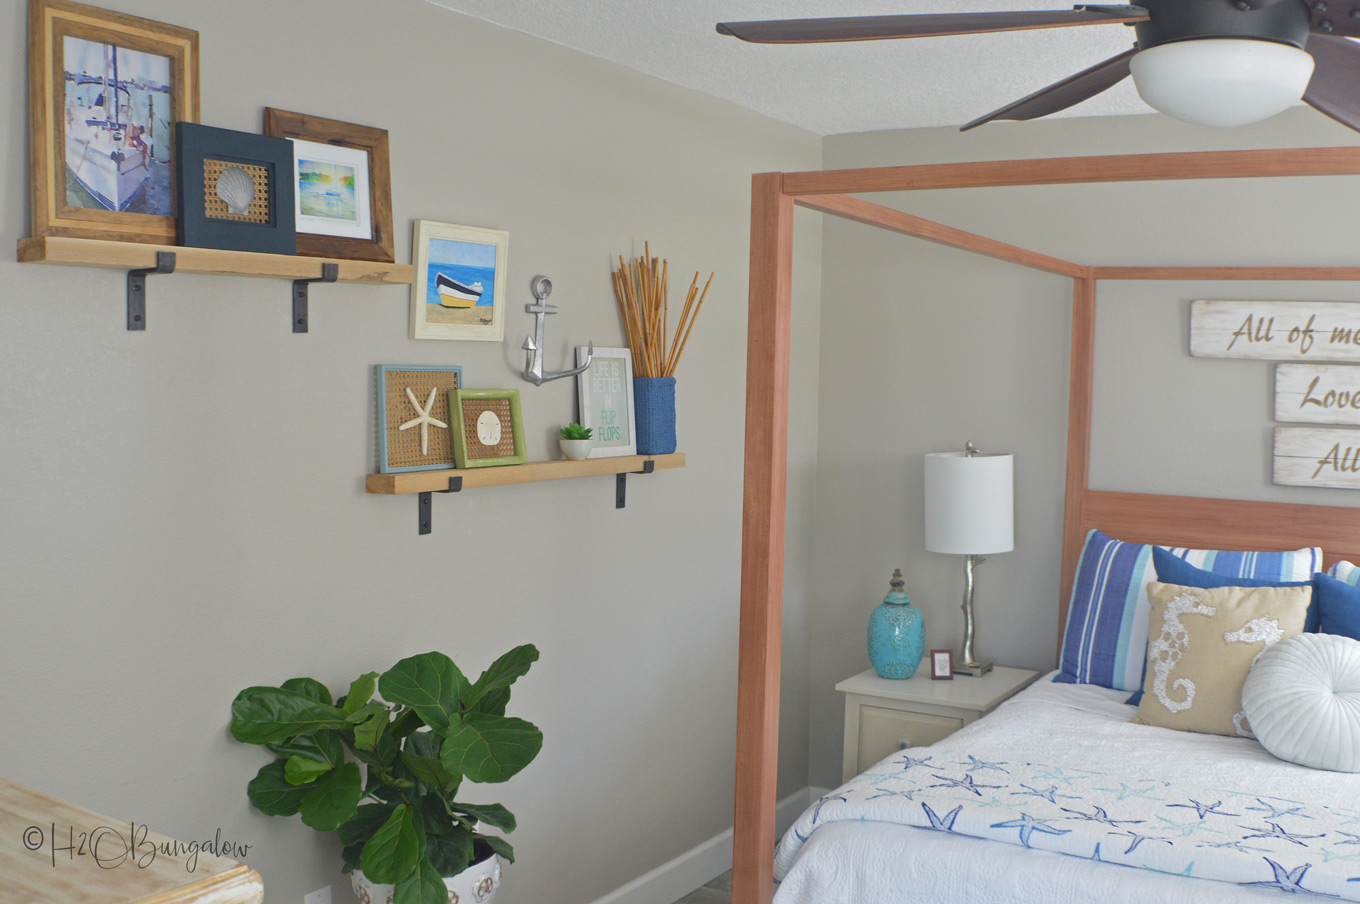
First, I started with a plan. I needed my DIY picture ledge vignette to be modern and a little rustic. I wanted to play up our love of sailing and our coastal life since that’s such a big part of our lives. I planned on using mixed textures, frames of different sizes, shapes and styles. Most of all I needed this DIY picture ledge vignette to have variations of blues because I wanted to play up the coastal blues in the room. I knew the look I wanted, I just had to put it all together.
Simple, right?
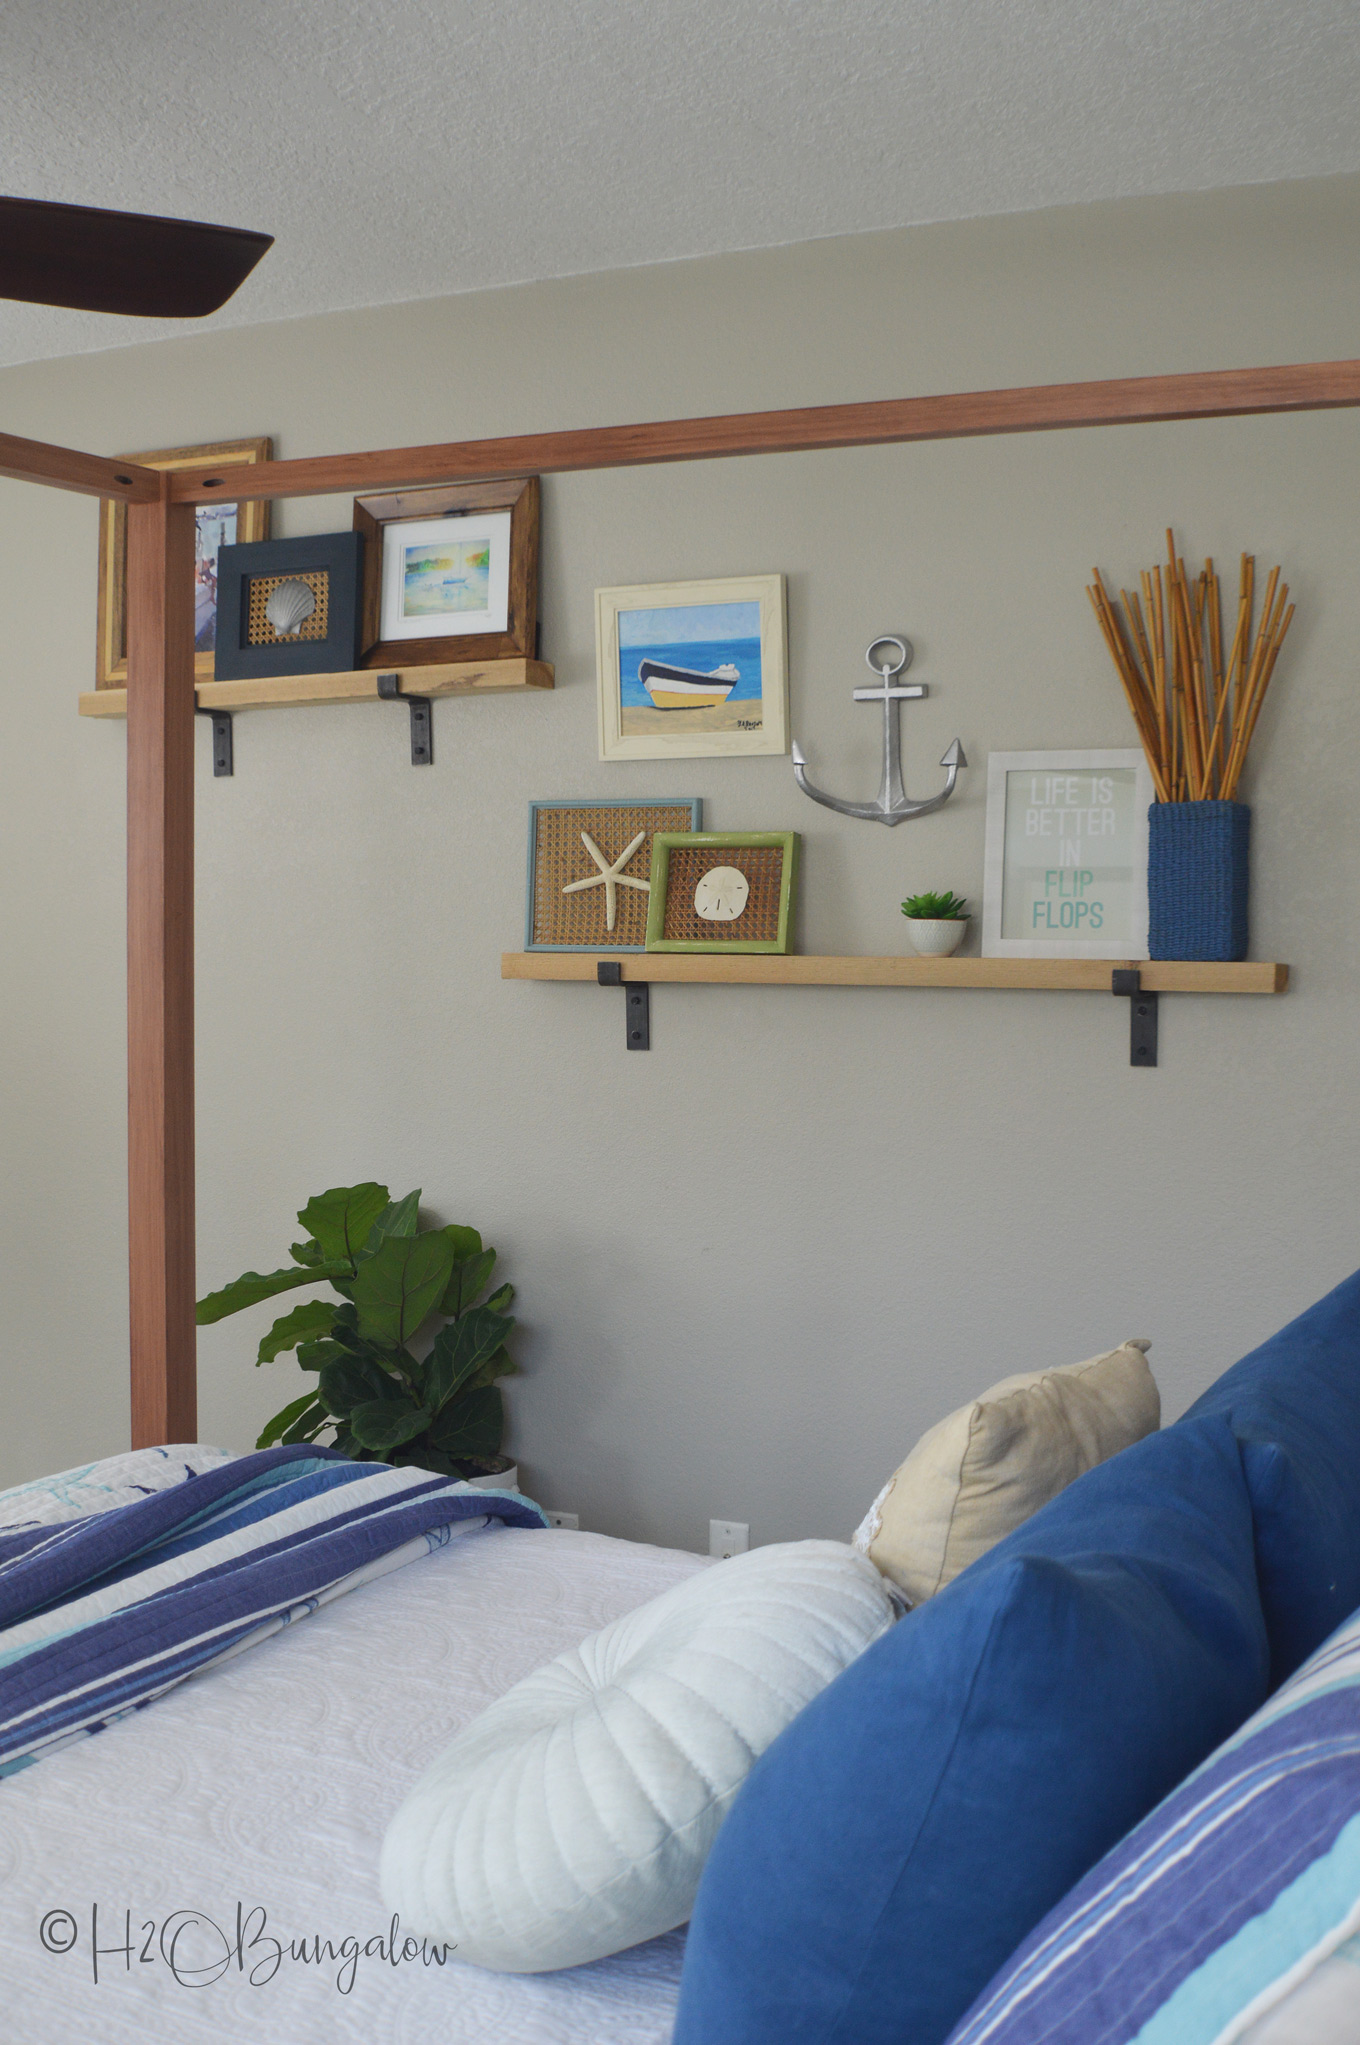
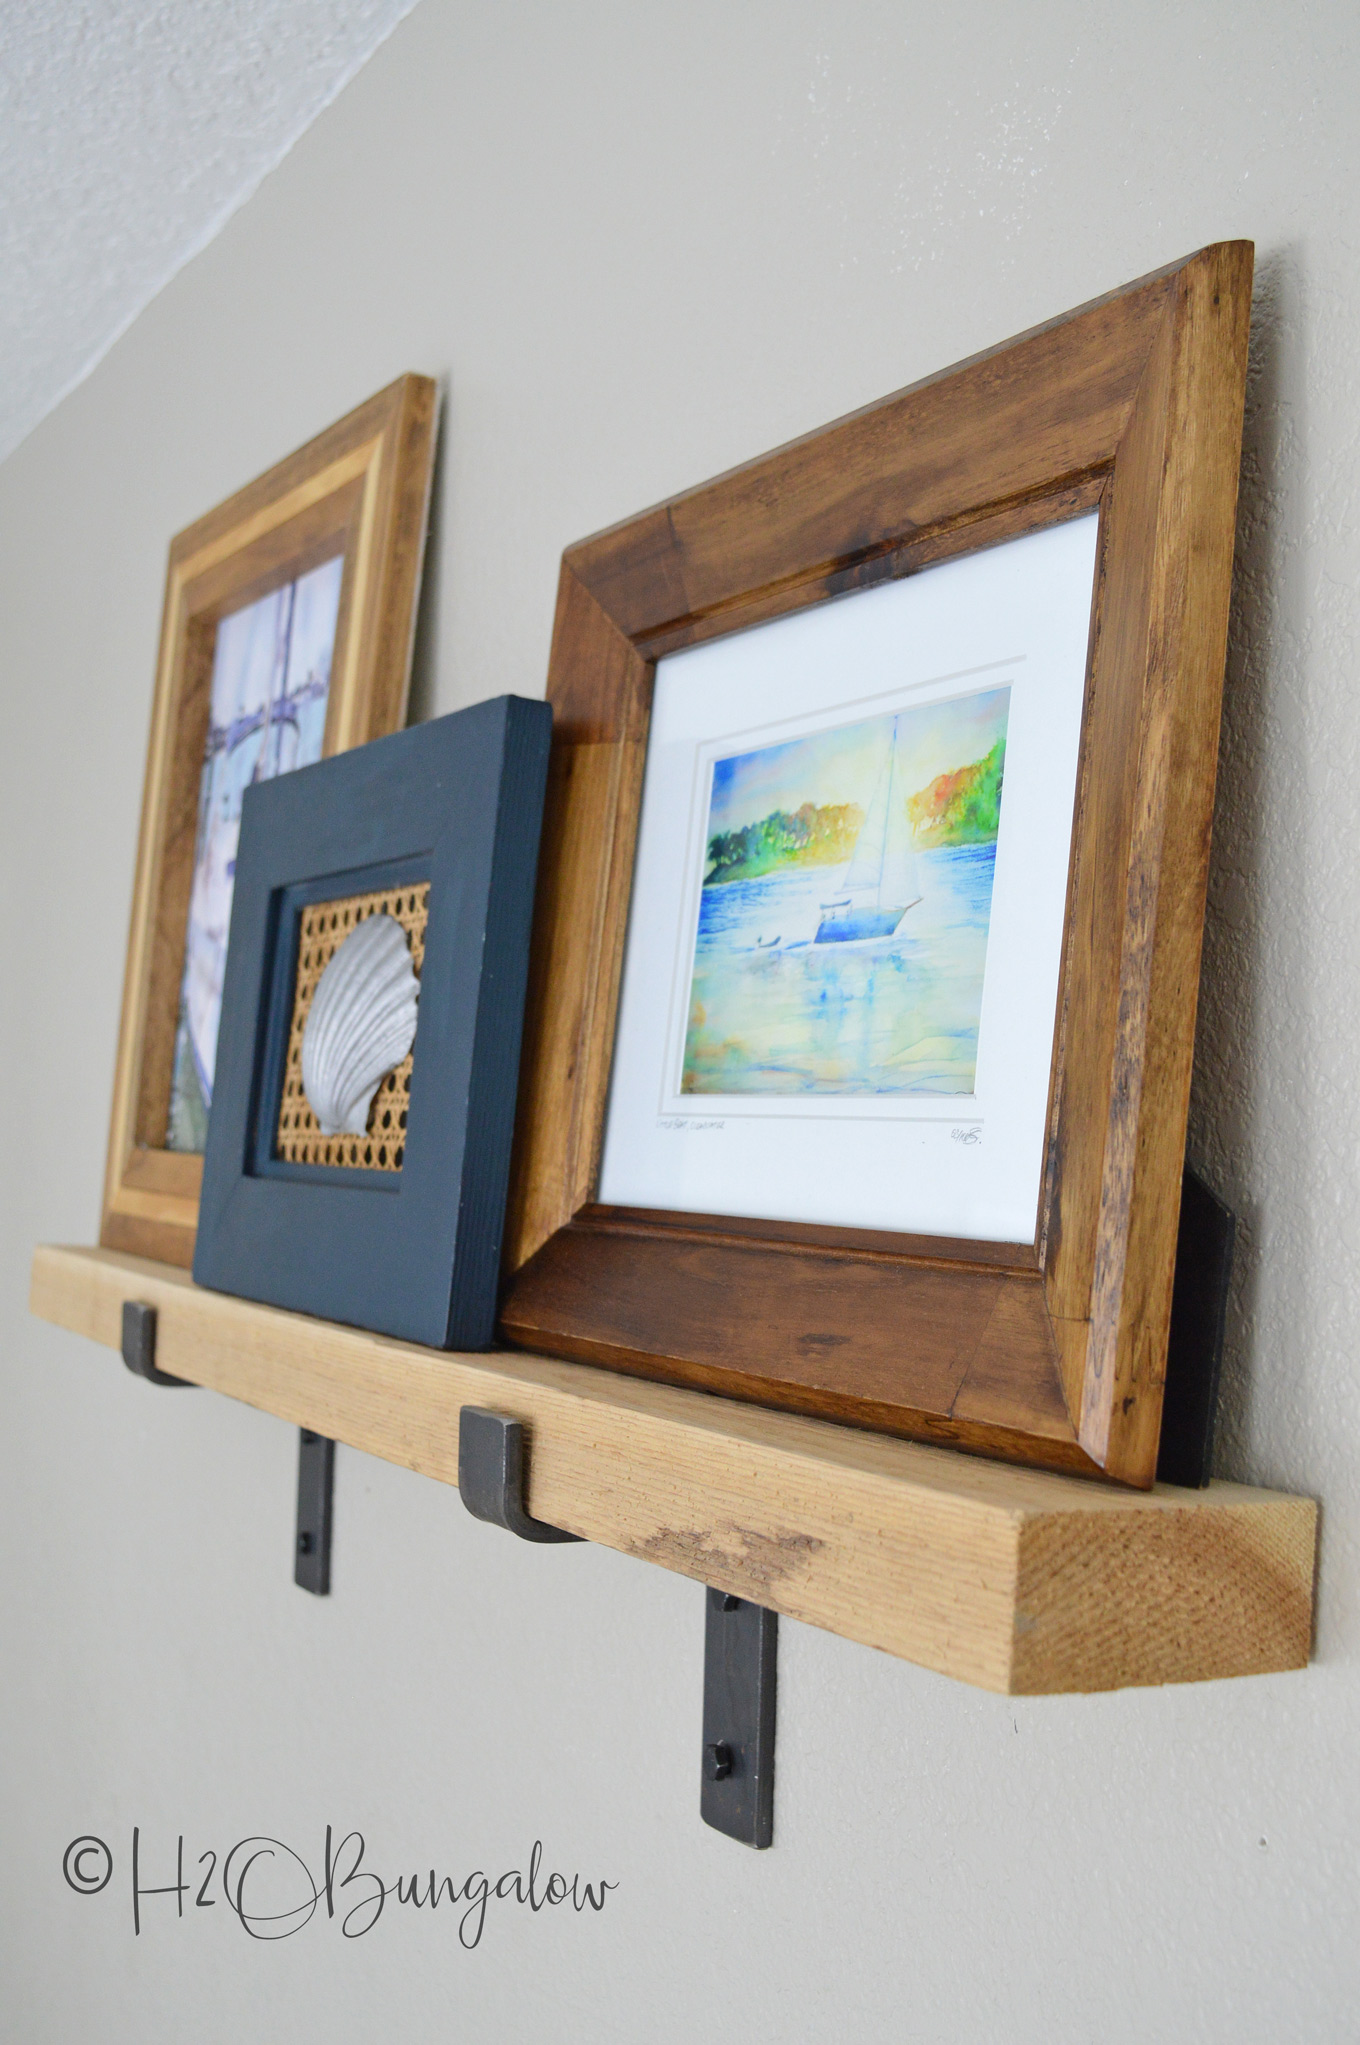
First, I shopped my house and pulled lots of different pieces together that fit our coastal and sailing theme. I started by placing the biggest items on the picture ledges first, layering smaller pictures in front of larger ones. This worked well on the short picture shelf.
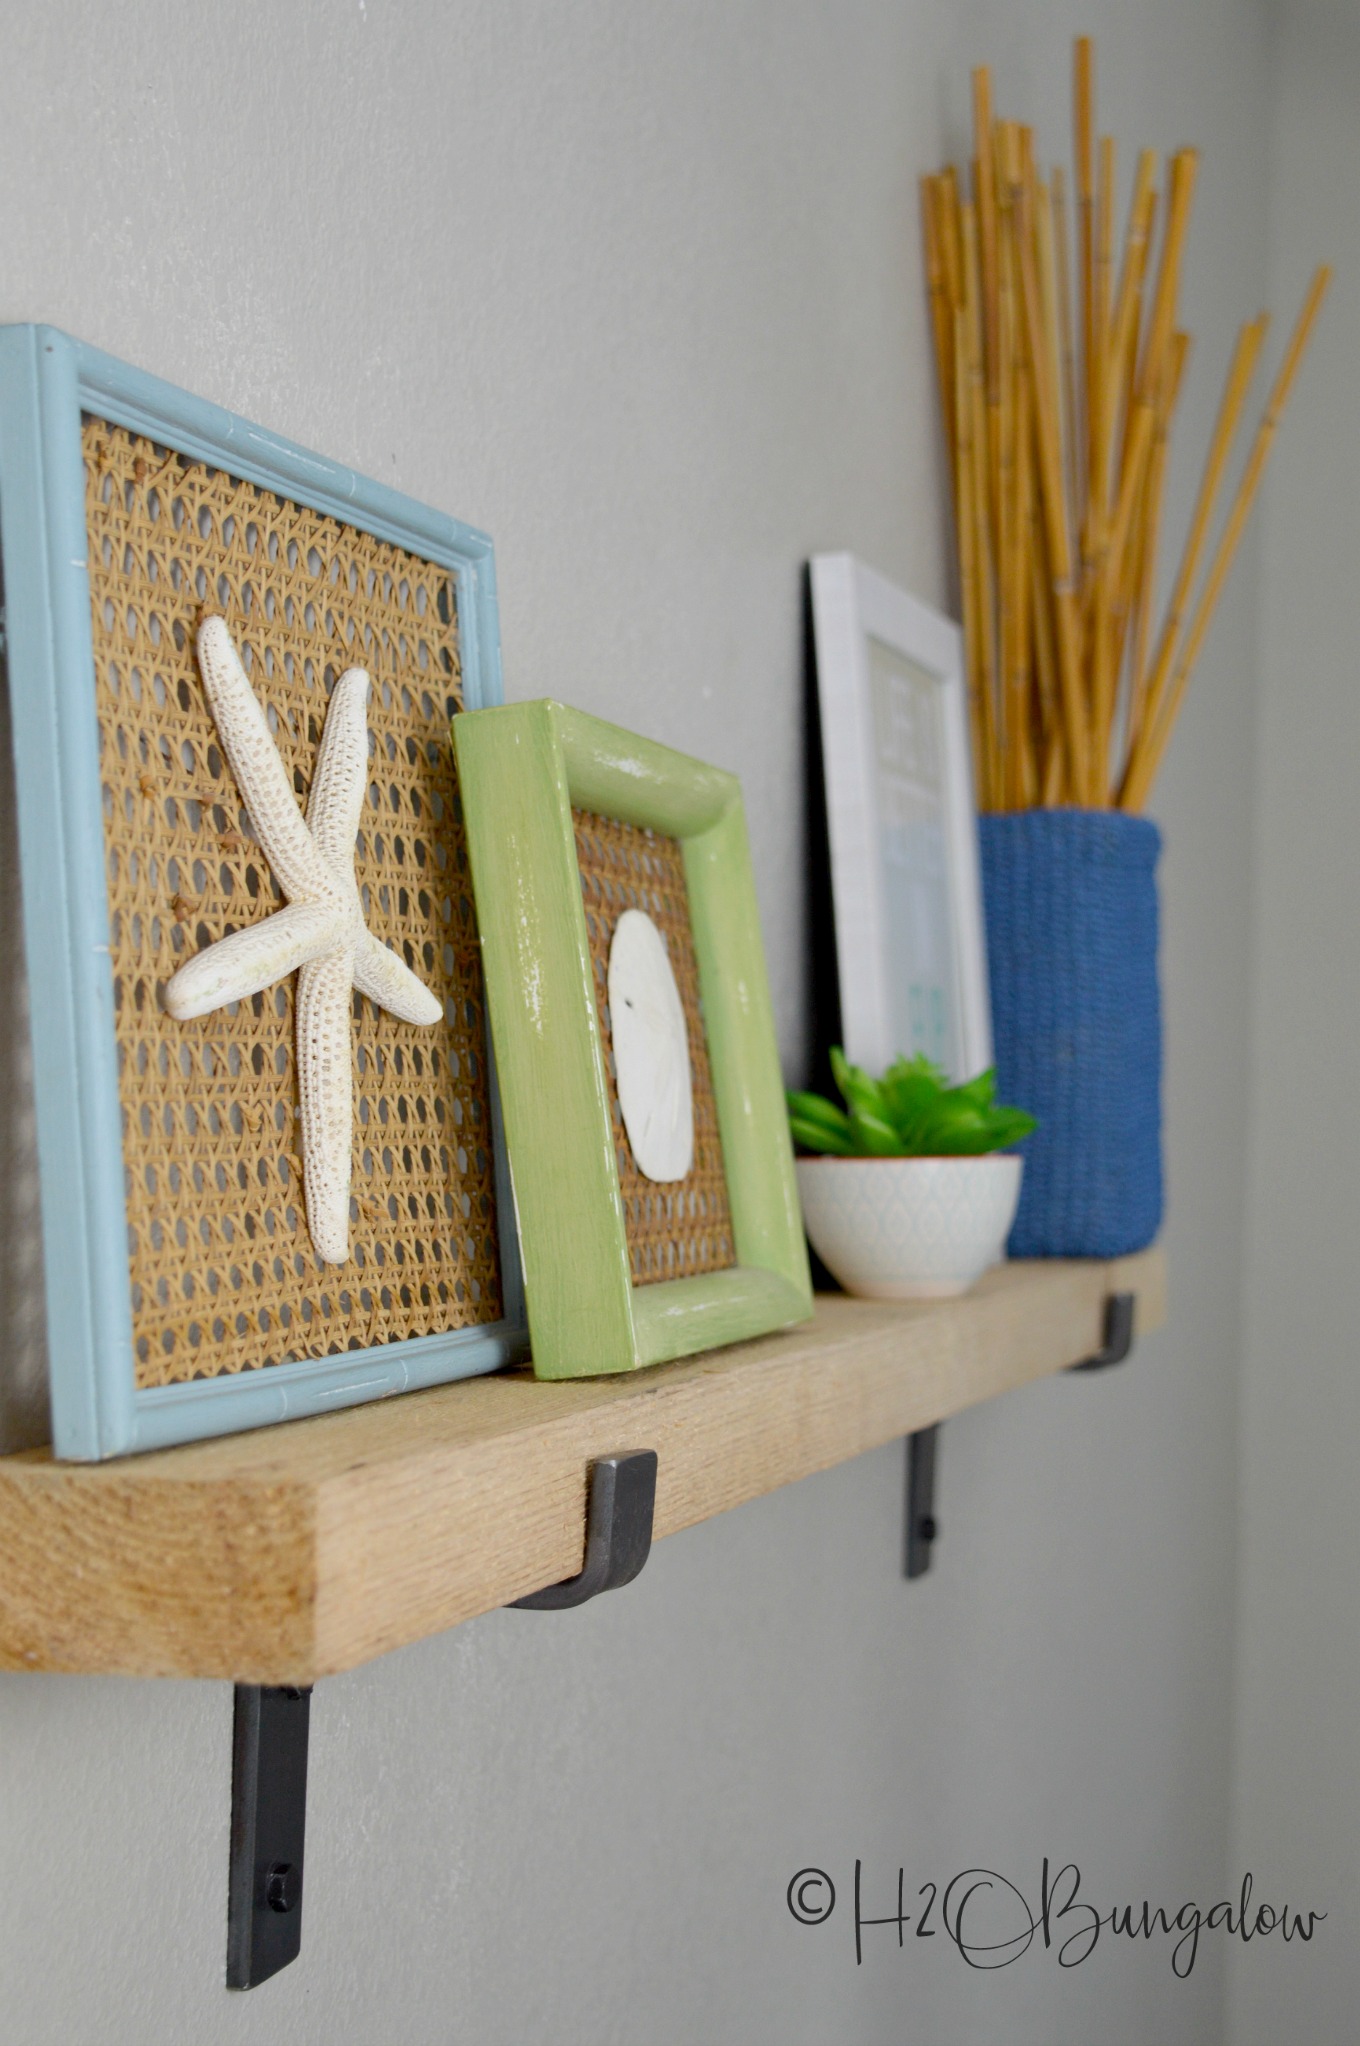
You may recognize a few of my projects. I used my Coastal Seashell Wall Art where I mounted a shell collection and then I used the front of my Hanging Hidden Jewelry Organizer too. I didn’t use it nearly as much as I thought I would, so I kept the front and tossed the rest. 🙂
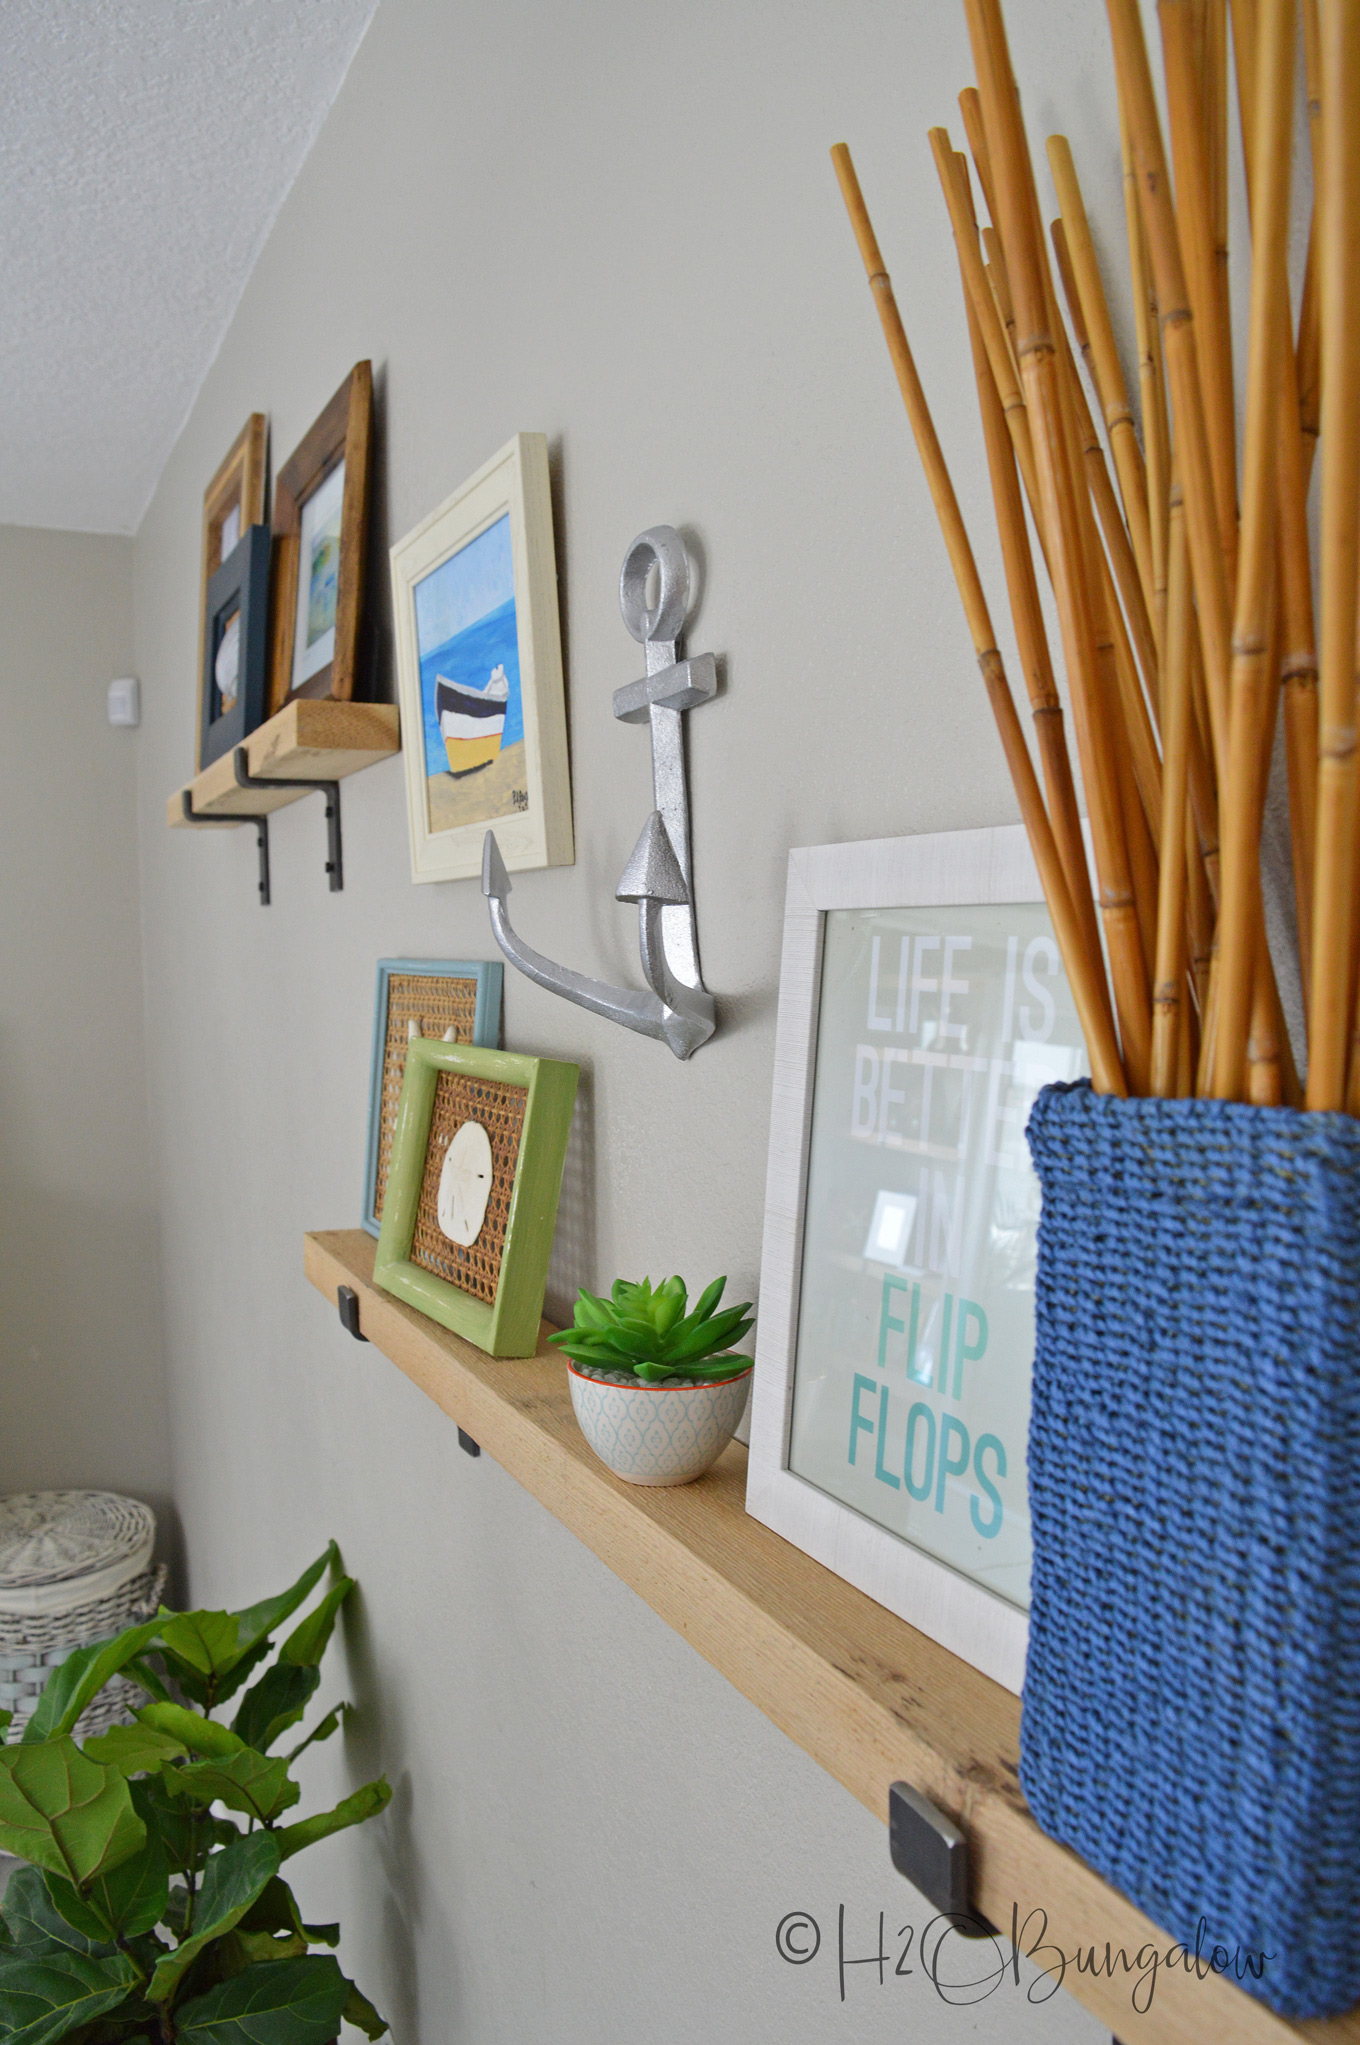
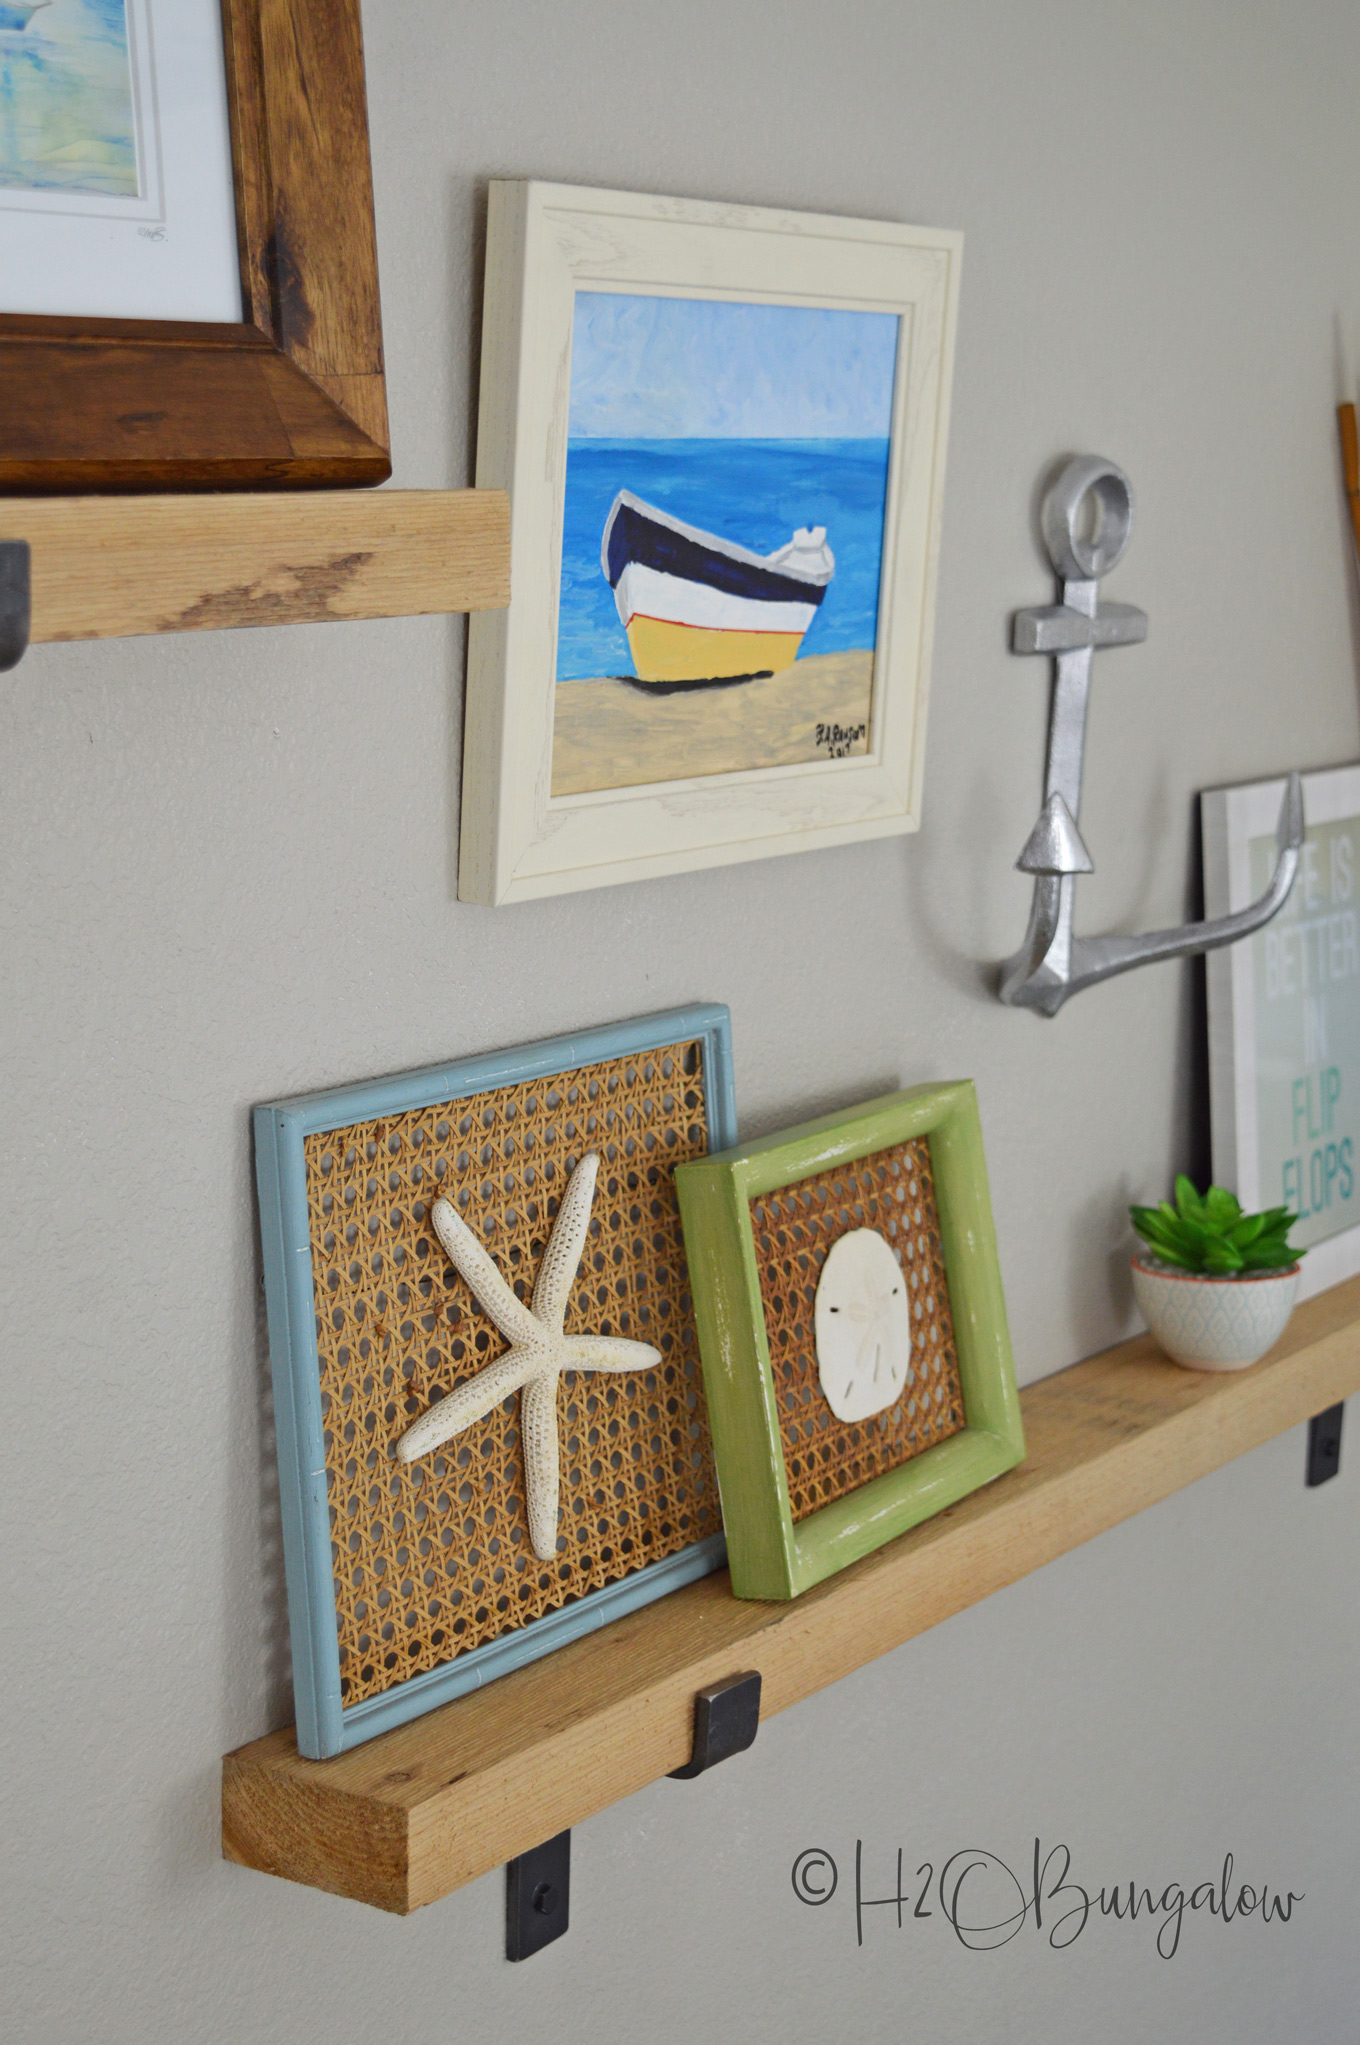
Instead of spacing everything evenly down the center of the larger picture shelf, I grouped a few more of my mounted seashells on the left and a stick vase I spray painted blue on the right. The little cactus and flip flop picture fit nicely off centered toward the left.
But, it was missing something and this is where I initially stopped.
It finally started coming together when I found a simple painting of a boat hull using lots of fresh blues in it. It was done by a local artist and was for sale at a local coffee shop. I liked the flat style of the art and kept thinking about it for like three days… Usually, if something makes an impression like that on me, I take it as a sign.
A sign to go and get it! So I did 🙂
I think it’s done in oil because it still has that fresh paint smell that oil paintings can have. Anyhoo, I used my new oil painting to visually connect the two shelves and hung it evenly in the open space between the two shelf levels.
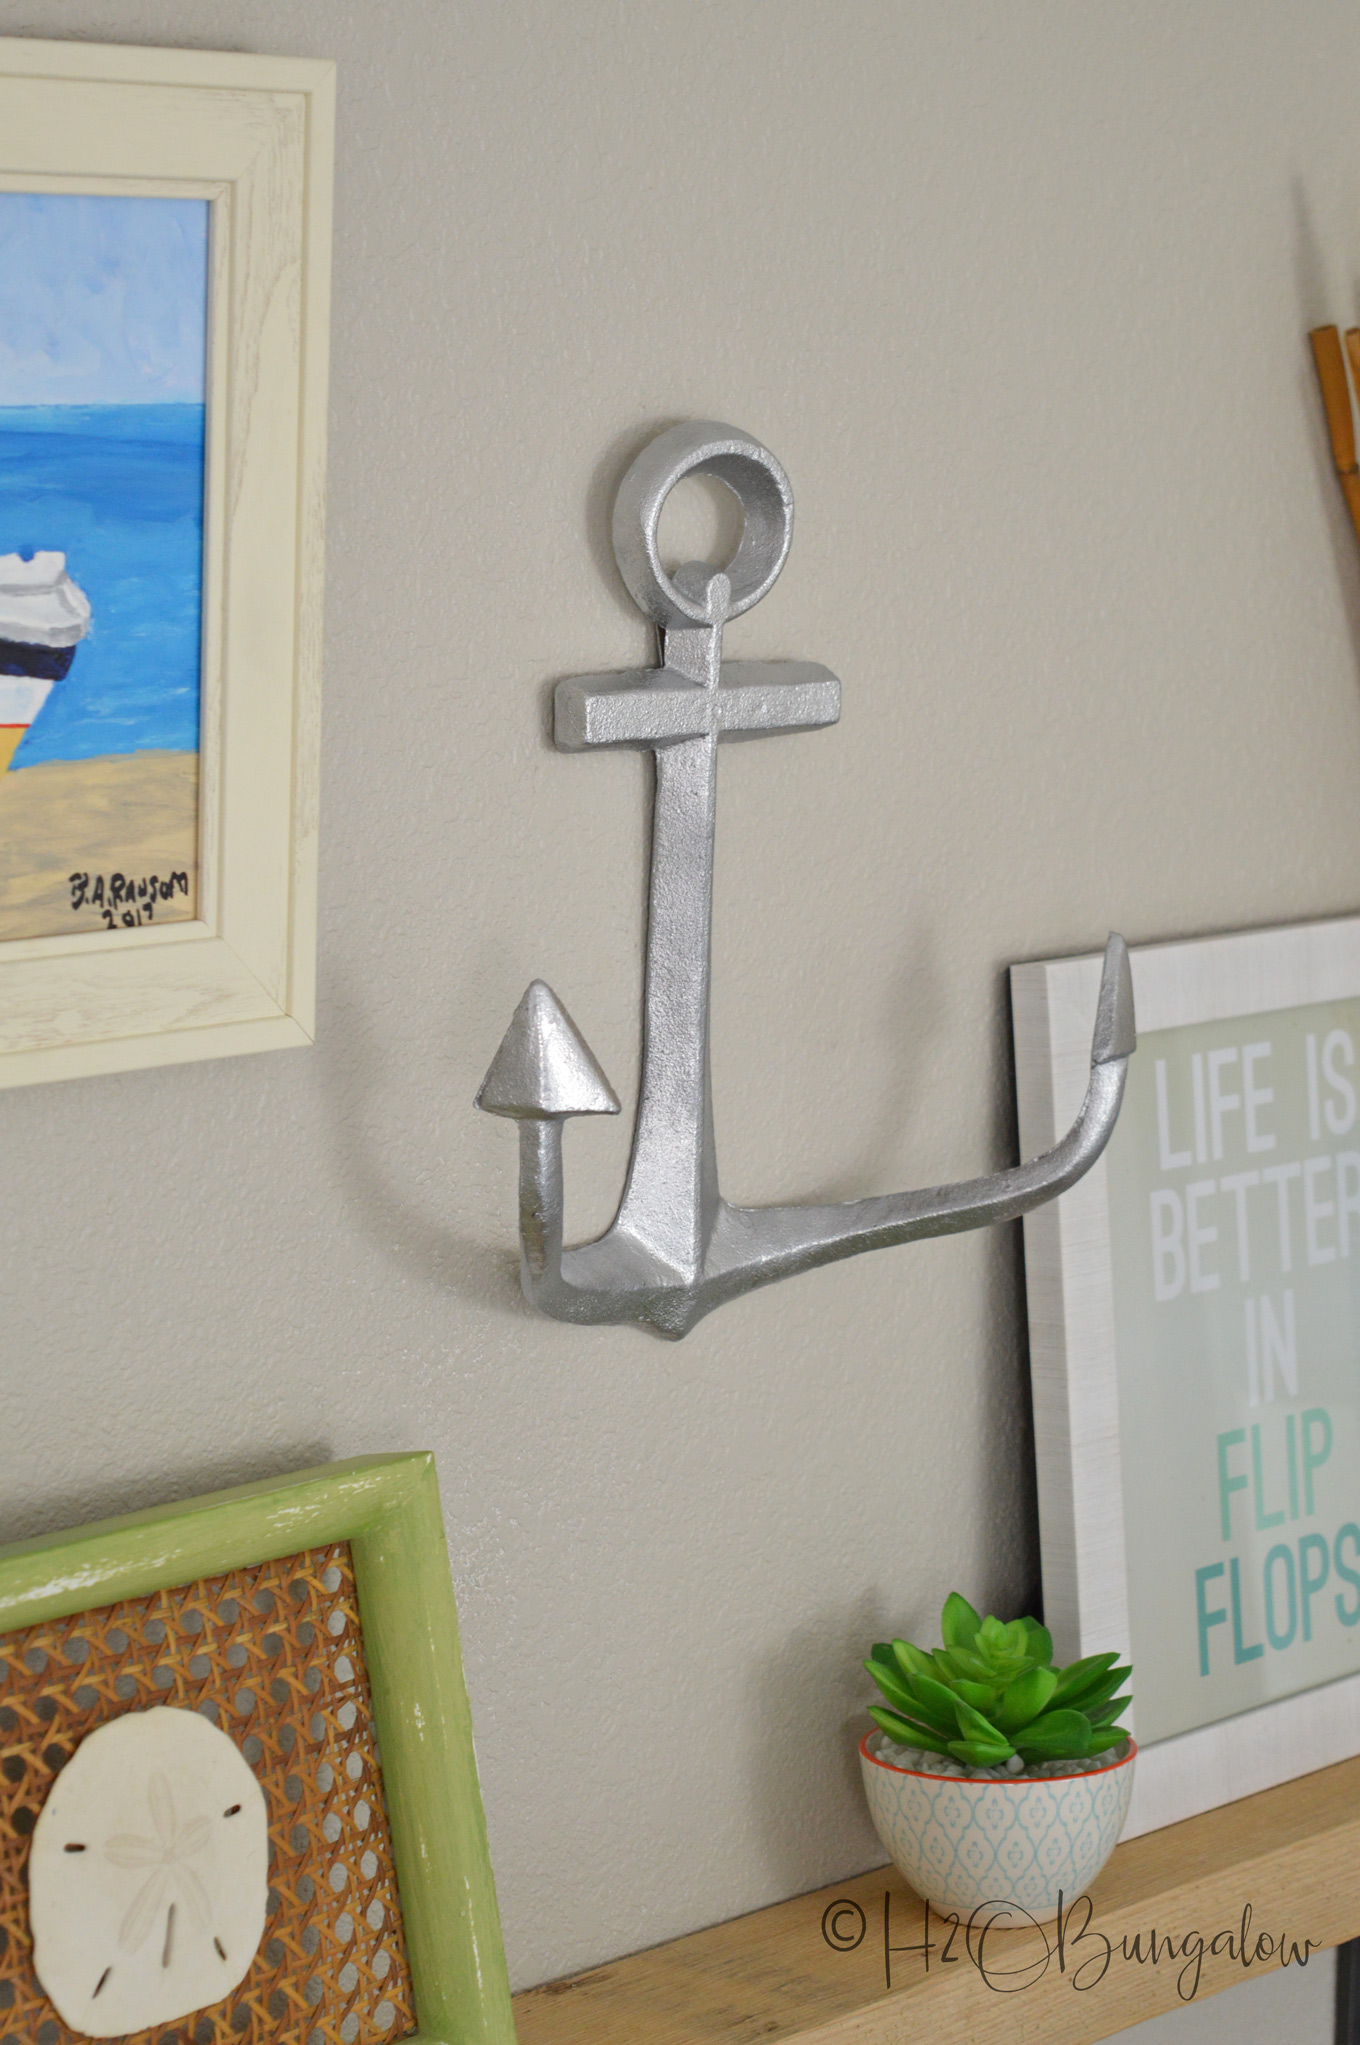
That left the space over the middle of the picture ledge open. It was perfect for my metal anchor. I’ve had mine for a while so I can’t share where it came from, but here is another nautical anchor I liked for a wall vignette too.
By hanging these two items, the two picture ledges across my wall look balanced and connected. My gallery wall has a cohesive look without being matchy-matchy. It picks up the blues I wanted to focus on in my room. The rustic industrial and modern shape of my picture ledges are also minimalist enough to compliment the simple design of my four poster bed frame I made.
Here are my favorite tips to create a gallery wall. You can use these regardless of whether or not you incorporate picture ledges.
How to Style Picture Ledges in a Gallery Wall
Start with a theme in mind. Since our room is modern coastal, I wanted to play up our love of sailing and the boating lifestyle.
Plan how much space you want to use for your gallery wall. Play with layout ideas. Longer picture ledges have more opportunity for smaller groupings. Using two picture ledges at different heights, a series of pictures ledges horizontally on a wall or two in a series at the same height on a long wall but with space in between.
Work with complimentary colors. Choose complimentary colors that pick up colors in the room.
Collect frames with interest. I used a variety of wood frames, some painted, some bare wood.
Add texture. Use different textures in frames, artwork and interest items.
Mix it up. Use items to add interest and break up the expected.
Start with the biggest items first. Position your shelves and largest artwork first and working your way down to the smallest items.
A gallery wall with picture ledges is a great way to use a blank wall. I think it’s especially beautiful when you fill it with things that speak to you, your lifestyle and passions. I hope my tips on how to style picture ledges in a gallery wall help you create a wall that’s both meaningful and beautiful.
If you’re looking for more tips and tricks on hanging artwork. Try this book on how to How to Hang a Picture. It’s full of good useful information. As always, take what you love in what you read and don’t be afraid to break the rules sometimes 🙂
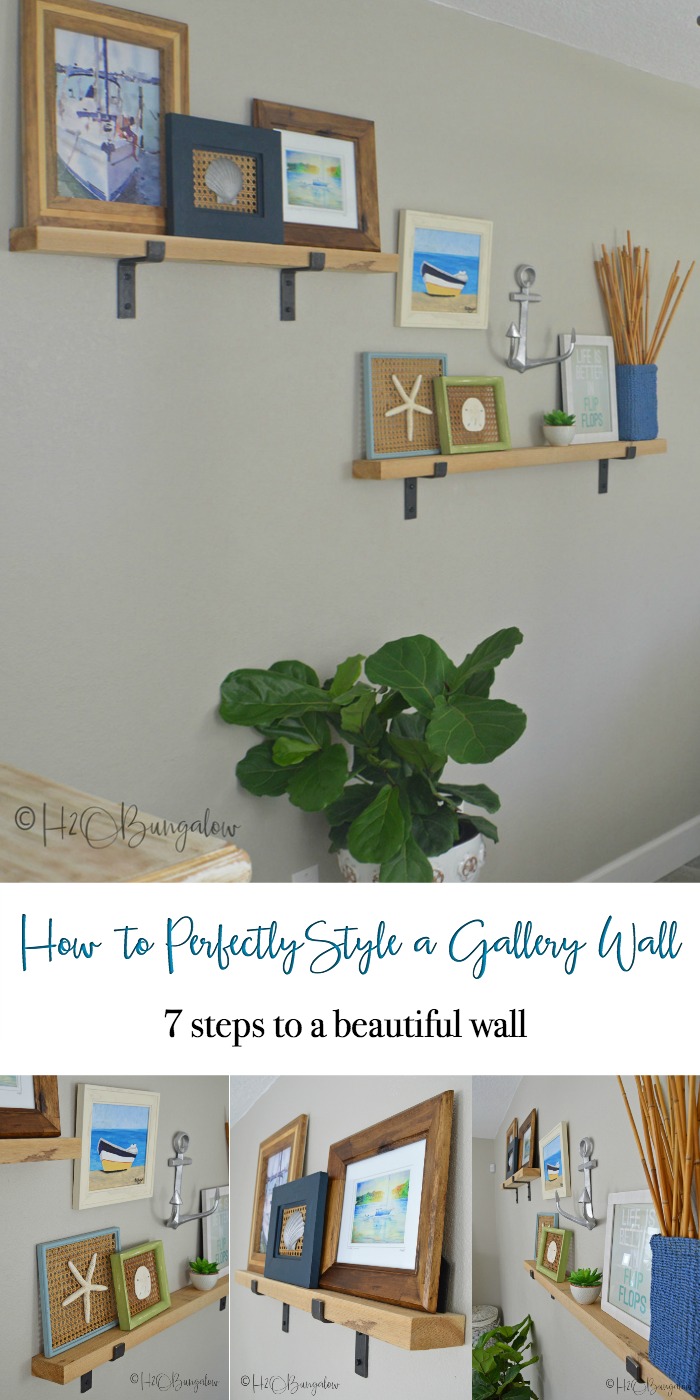
Don’t forget to pin how to style picture ledges in a gallery wall for later and share on Facebook!
I love when you guys share with me! Where would you put a gallery wall in your home and what theme would you use in it? Leave me a note in the comment section below.

Mary says
Wendi your nautical collection is so pretty up there on those shelves. Great tips on how to keep things interesting too!
Wendi says
Hi Mary! Thank you so much. I loved that the theme is boating and it fits what we love and our passion. I took a long time to figure out what we’d put together. As alway…thanks for our note and visit!
MaryJean says
Hello Wendi, I have a narrow hallway which leads to my bedrooms and bathroom. I just painted it a pale blue which the same color in my kitchen. The hallway can be dark so that was why I chose a light color for the walls. I’m thinking of putting beadboard about 2/3s of the way up the walls, but I’m stumped for what to do with the rest of the walls. There is a large wall section on each side of the hall and the rest is broken by doorways. I have a mirror on one large section. Don’t know if I want to keep it there. I also have a collage photo frame of each of sons’ weddings and a memory photo frame of my late husband. I would like to keep all or maybe move them to different areas of the house. What would you do?
Wendi says
Hi MaryJean! I love the idea of adding beadboard to your hallway! I’ve always loved a hallway for a family photo wall it sounds like you have the perfect spot for one. Maybe consider add a picture ledge or two in the style of your home. They easy to make or find ready made. Try hanging some pictures and leaning others on the wall. Consider changing out frames on some if you need to create a cohesive look and adding some new photos. Maybe you have some favorites of the grandkids? Have fun putting this together and please share a picture on our Wed share day of your walls!
MaryJean says
I think I am going with the beadboard. The more I think about it the more I like the idea. Thanks for the ideas about the photos, I certainly will post when I’m done.
Wendi says
Hi MaryJean! I think it’s a great idea and it will go well with your updated kitchen. Good job on that! I can’t get over how much larger and fresher it looks now! I’m sure it puts a smile on your face every time you walk into your kitchen! Looking forward to seeing your new hallway as well 🙂