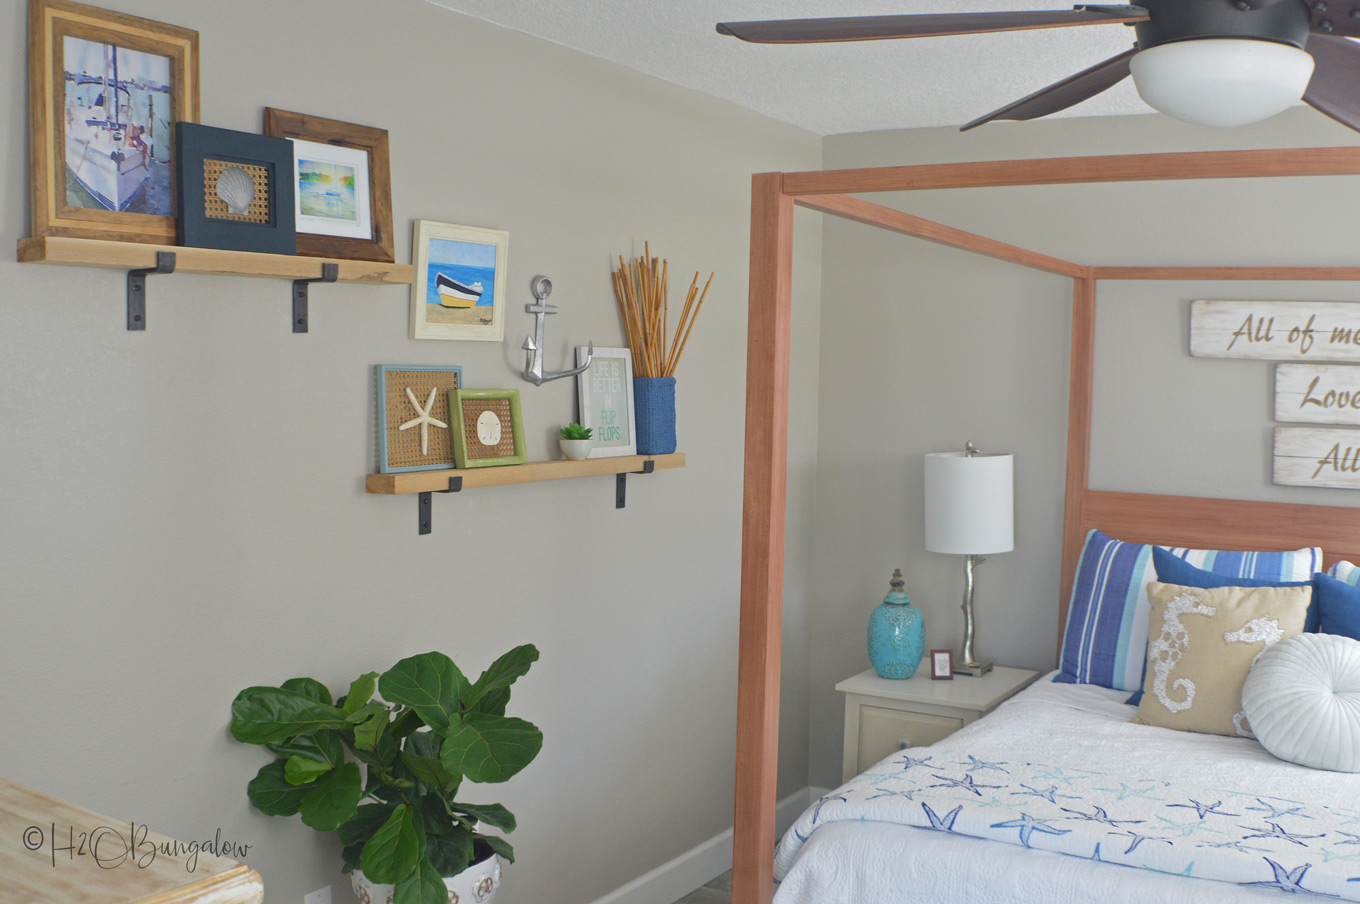
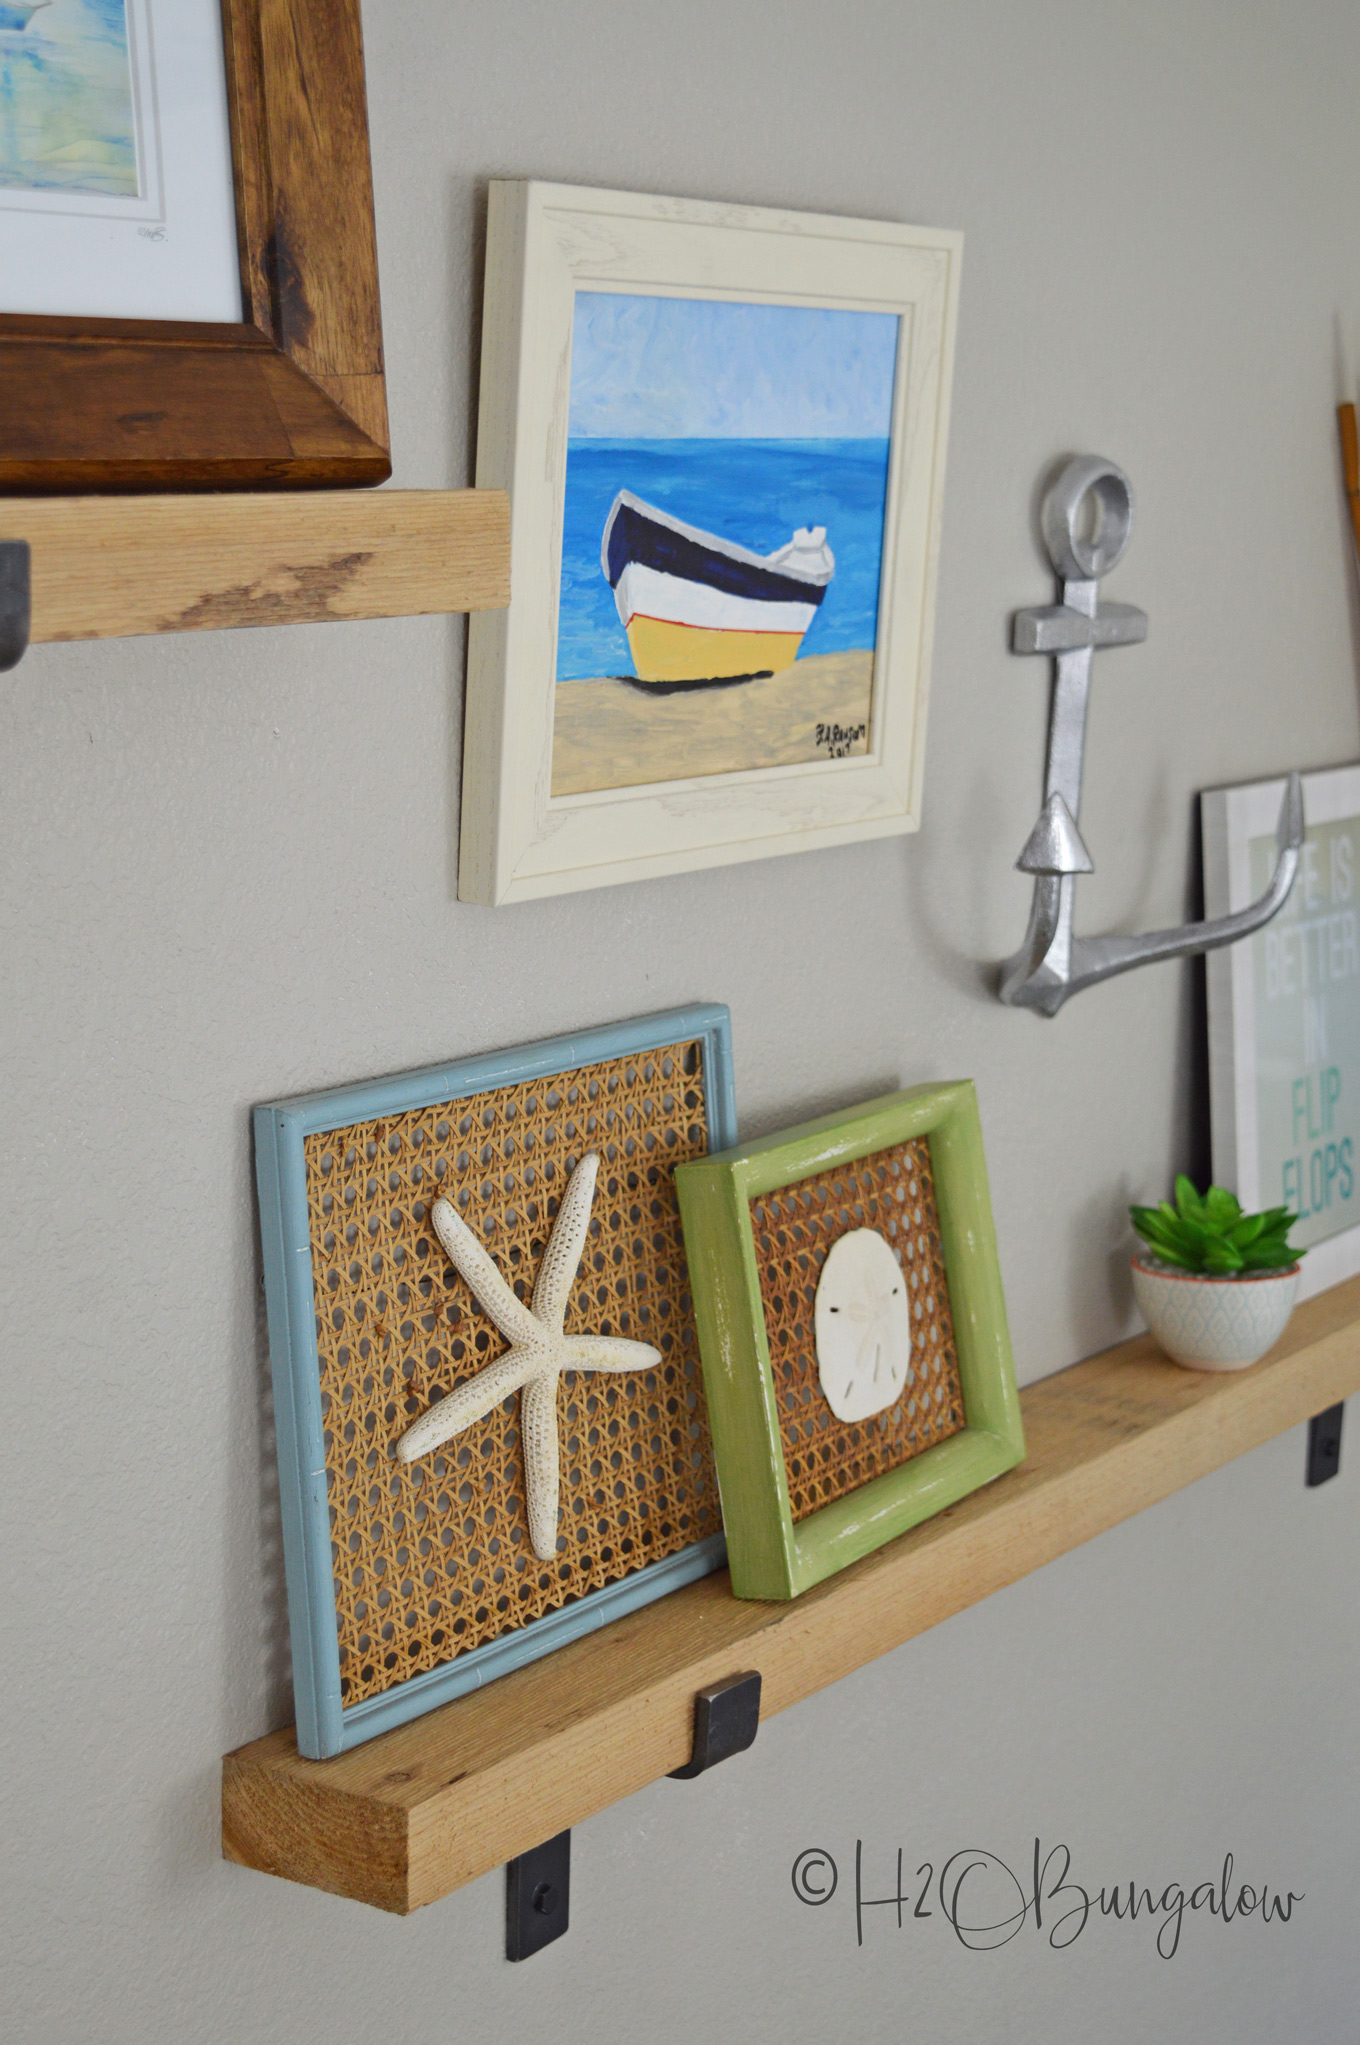
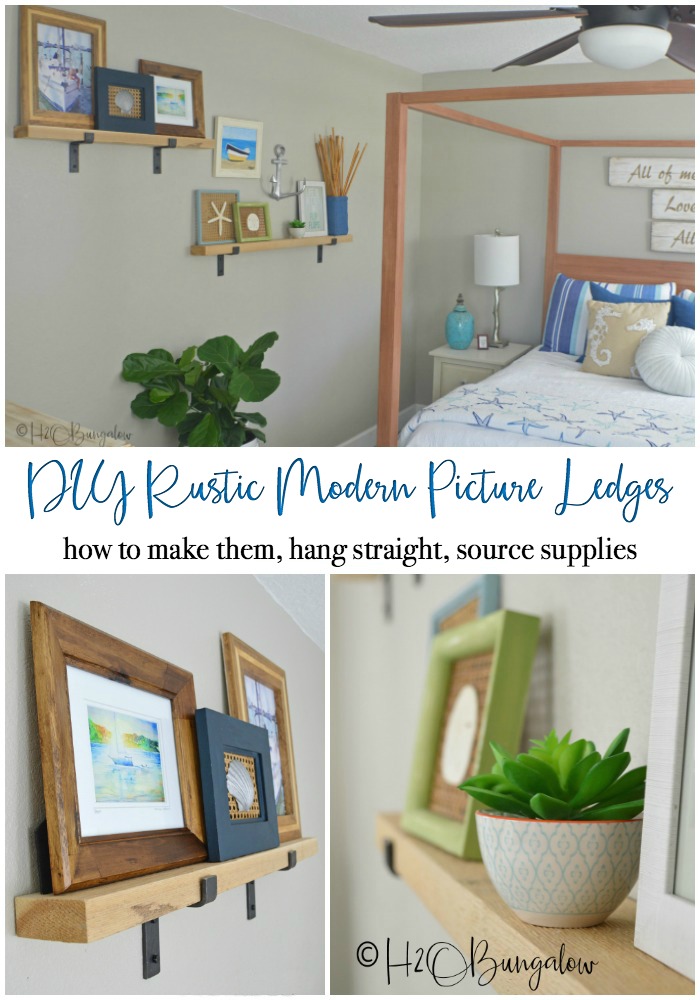
I just put the last touches on my rustic modern DIY picture ledge vignette and I’m thrilled with it! These were SO easy to make guys! I’ll show you how to make a set of picture ledges like mine including where to get the chunky industrial hardware I used. You’ll also find step by step instructions on how to hang picture ledges so they are level. Which is really important, right? My next post, part 2 shares my styling tips and how to create a wall vignette with picture ledges so you can create a beautiful feature wall in your home. If you’re looking for larger prints, check out this DIY Large Modern Inspirational Wall Art for how to create larger pieces of art.
Initially, I had everything in one post, but since I spent so much time on how to hang picture ledges perfectly even (which is really important), I figured this would be better in two posts. Also, I unfortunately don’t have any process photos. I was working quickly and by myself when I installed these and it was crazy dark in our room because it was raining at the time so decent photos would have been impossible!
Anyhoo, let’s get started…
I use affiliate links to help you find the supplies I used. You can read my full disclosure policy here.
How to Make a Modern Rustic DIY Picture Ledge
Supplies needed to make a DIY picture ledge wall vignette like mine.
- 2″ x 4″ rough cut cedar cut to 36″ and to 48″
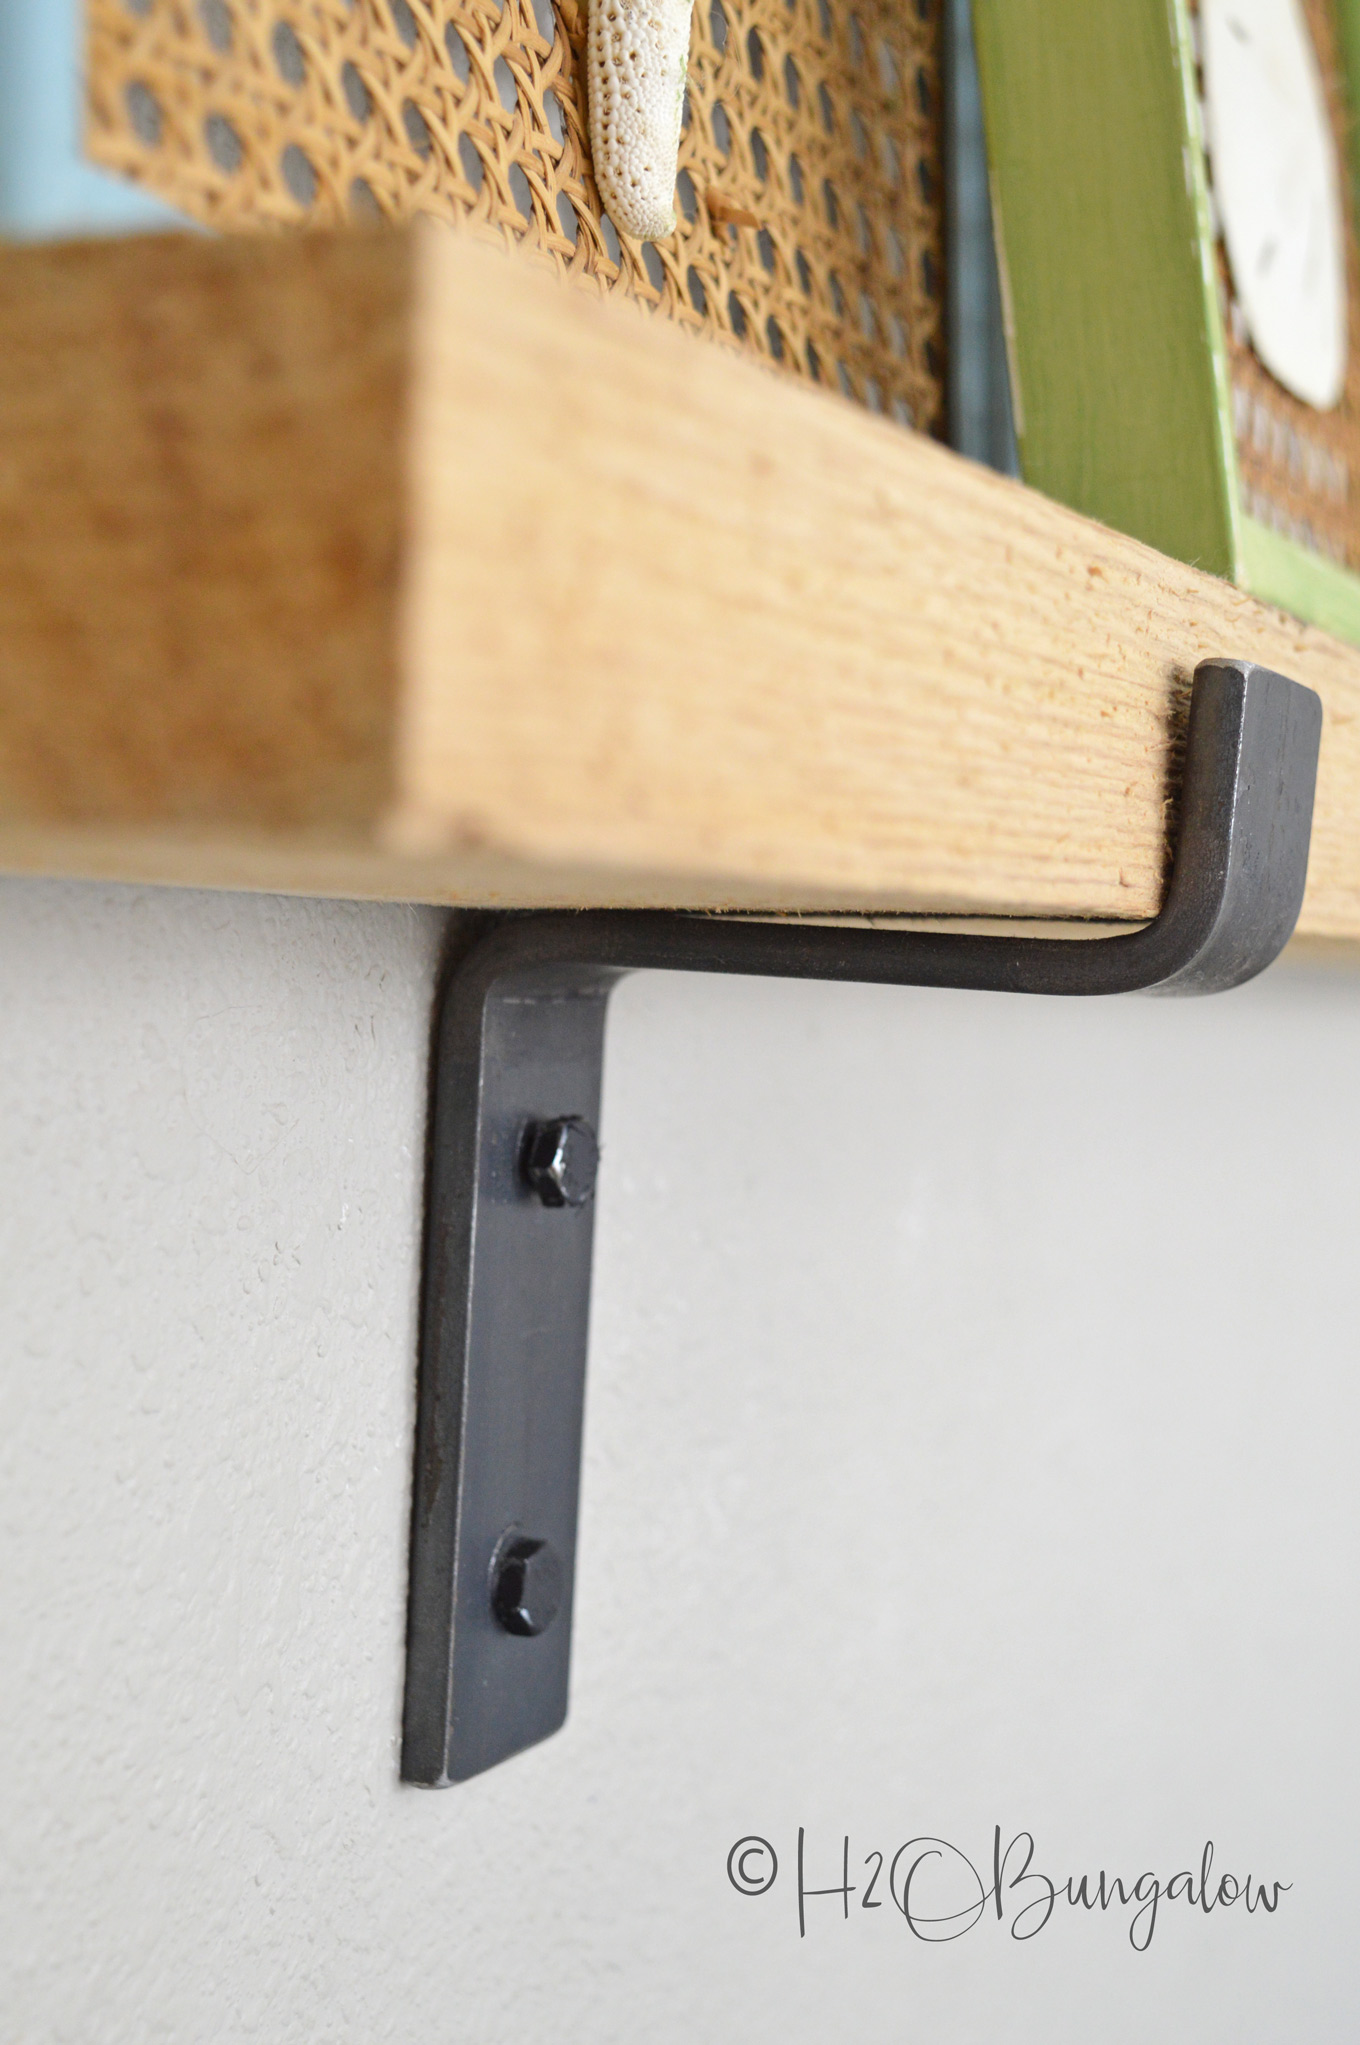
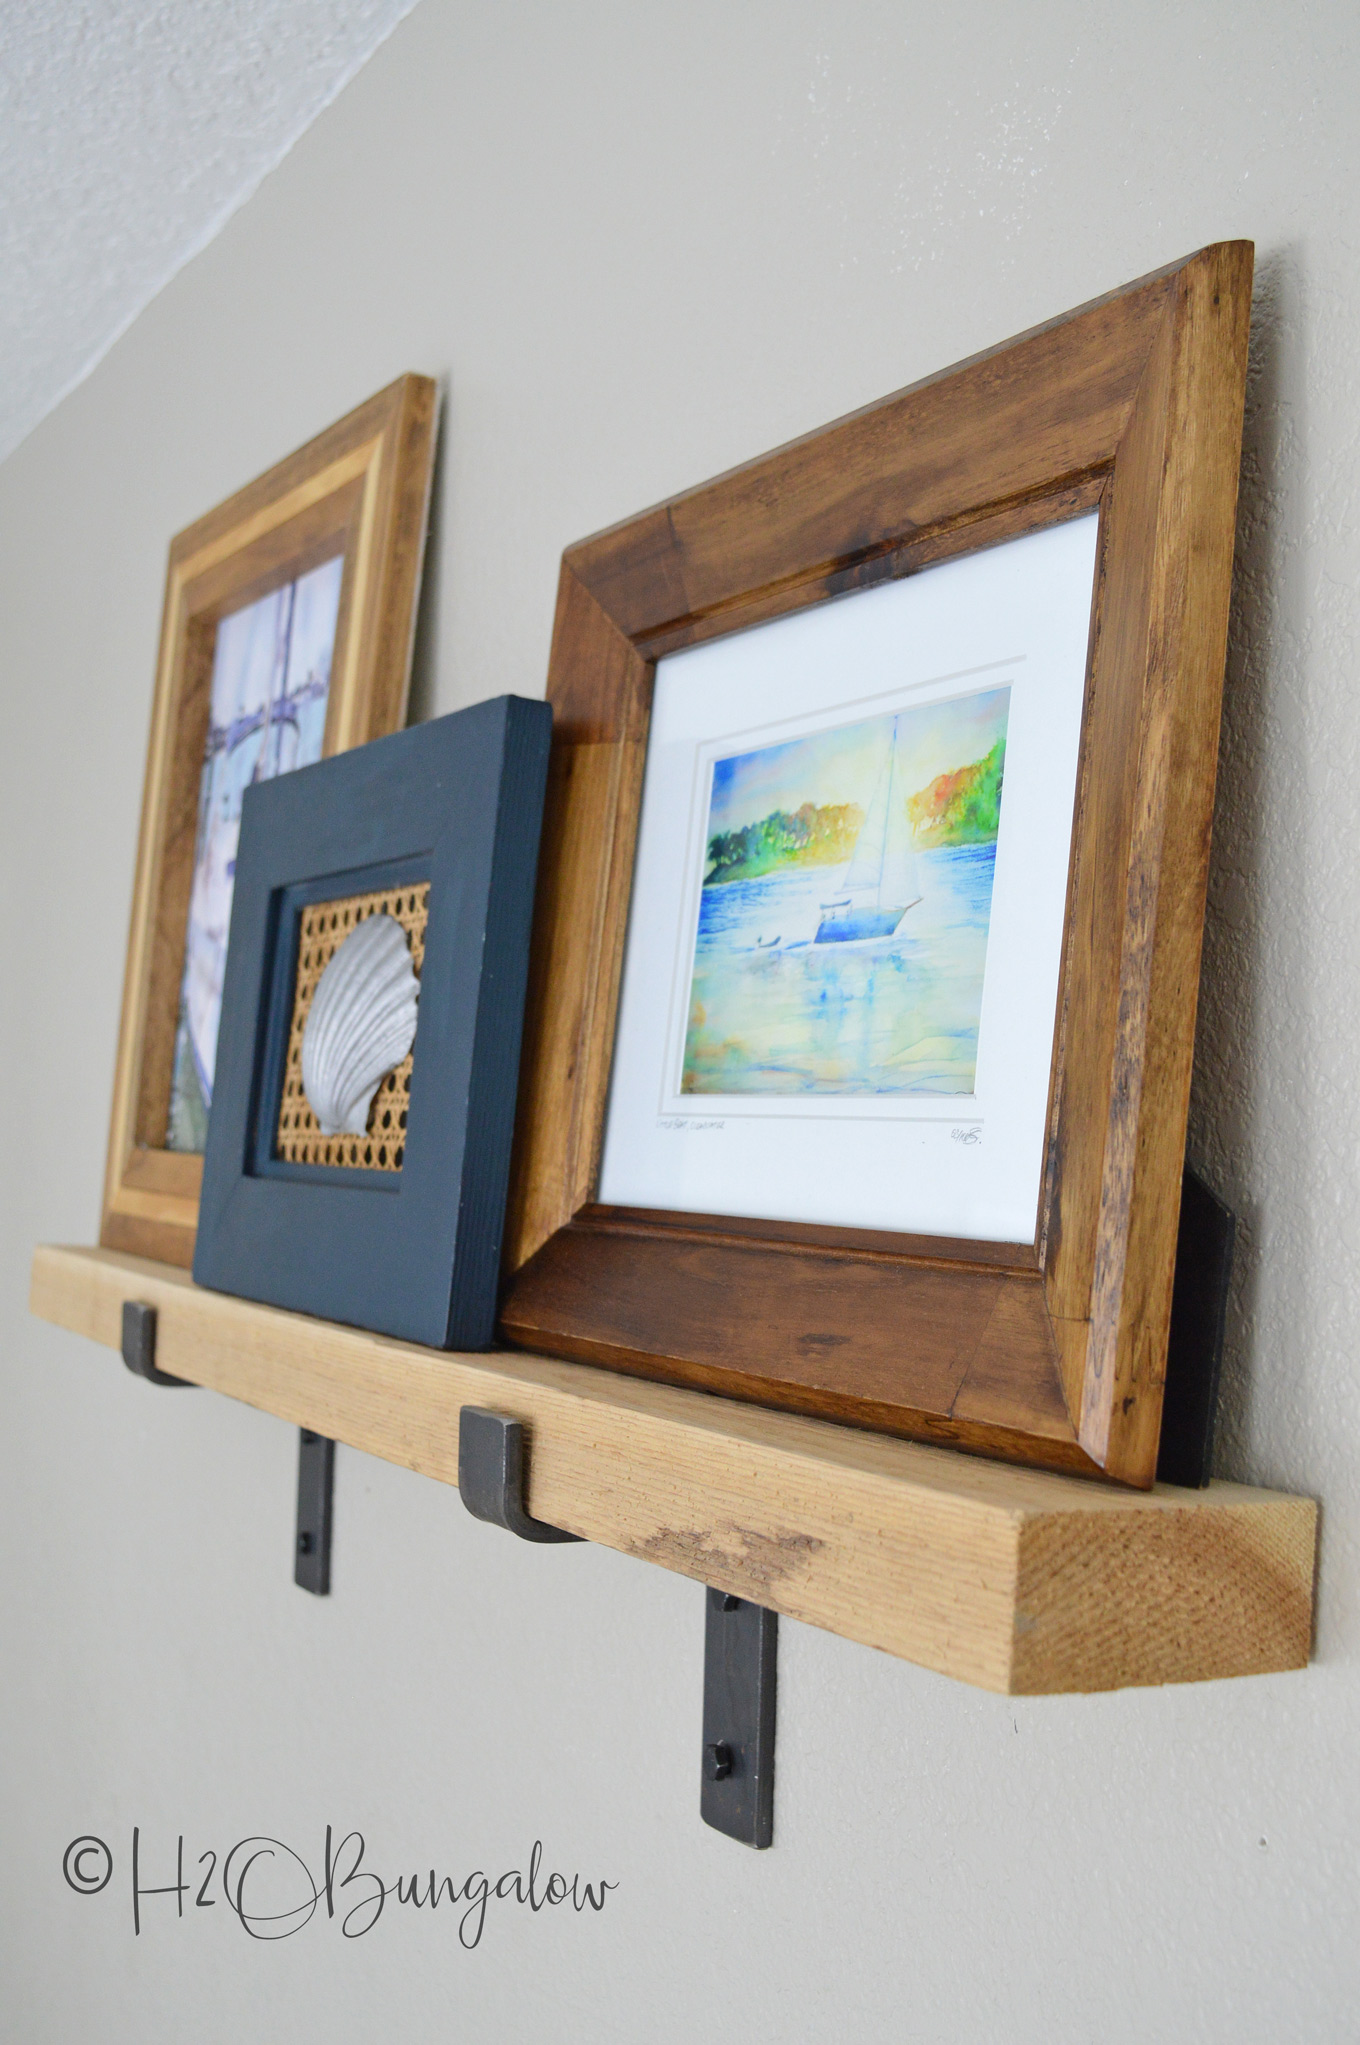
- 3 1/2″ steel waxed shelf brackets – these are the ones I ordered
- drill
- Bolts – the bolts I used came with the steel brackets I purchased. I spray painted them black to match the steel straps
- Torpedo level
- 36″ long level
- Painters tape
- pencil
I love the look of my Industrial Modern Shelves in our reading nook. I collected 21 Open Shelving Kitchen Ideas you might like. They sit just outside our bedroom door and you have to pass them to come in to our room. I liked the idea of making a smaller version of those shelves and loved the rough cut wood I used. I just didn’t want the high price tag that came with buying that chunky exotic wood. I choose rough cut cedar instead, it’s is a great choice for the money and it’s easy to find in a variety of sizes.
Step 1. Choose your wood. Do check to be sure the piece you’re picking out is straight. Hold one end and look down the length of the board to see if it’s warped or bowed. Mine was an 8 foot piece I had cut at the store for me. I didn’t seal my wood. I didn’t want it to be the littlest bit shiny. But, know that unsealed cedar will darken a little over time.
Step 2. Order your brackets. Measure your wood and send the measurements in when you order your brackets to be sure they fit well. As you may know, a 2 x 4 is NOT a 2 x 4, it’s roughly 1 1/2 X 3 1/2. The fellow from the Etsy store was great to work with. He asked me a few questions before he made my brackets so they’d be perfect.
Step 3. Position the picture ledges on the wall. Since I was making a wall vignette with more than one DIY picture ledge, I had Mr. Bungalow hold them against the wall so I could get an idea of how far apart and how much lower I wanted one than the other. I marked the wall with painters tape. Next, I figured out where the brackets needed to be located. I used a stud finder and marked the wall on the studs at 16″ apart for my upper and 32″ apart for my lower picture ledge. Be sure to use wall anchors if you’re not securing the brackets into wall studs.
Step 4. How to install picture ledges level. This step is so important! I use this method or a variation of it all the time when I’m hanging items with two hangers. See this post on How to Hang Picture Frames With Two Hooks for pictures. It’s super easy! Place a piece of painters tape on the wall the same distance apart as your brackets will be when they are in place. Put the tape directly over the mark where your screws will go and mark the tape at the screw holes. Draw a line between the two on the tape. Hold a level on the line and adjust the tape up or down on one end until it’s level. The marks are where your top screws of the brackets go in to the wall.
Next, install the shelf brackets. I installed each steel bracket by drilling a pilot hole for the top bracket hole first and screwing in the bolt almost all the way in. I put a torpedo level on the top of the bracket (where the shelf would sit) to level it and marked the spot for the second hole below it. Swing the bracket out of the way and drill the second pilot hole. Easy!
Place the wood on top of the steel brackets and your done! Whoo hoo!
Don’t forget to share my DIY picture ledge project on Facebook and pin it for later!
Anyhoo, sorry this was so long. Initially, I was just gong to show you my finished and styled picture shelves with a little info on where I sourced everything. But, then I realized not everyone knows the little secrets and tricks to hanging shelves straight or that 2 x 4’s aren’t really that size. I figured I needed to add enough details so anyone could build a DIY picture ledge and have it turn out fabulous.
Next, see part 2 of this post, How to Style Picture Ledges in a Gallery Wall and how to get a layered look with pictures and art on shelves. This was just one of many Creative DIY Shelving Ideas for Organizing and Styling your Home that’s I’ve shared on the blog. Something for everyone.
Do you have a place that a picture ledge vignette would look good in your home?

Debrashoppeno5 says
I love everything about this project. I love how the shelves look with the hardware. I love the items in the vignette. I can’t help myself, I love this project.
Wendi says
Hi Debra and thank you so much! I’m pretty proud of how the picture ledges and the gallery wall turned out. The pieces all fit well in color and form and the theme was personal, fitting right into our coastal bedroom style. Thanks so much for your sweet note and visit! I hope this helped motivate you to make some picture ledges too 🙂