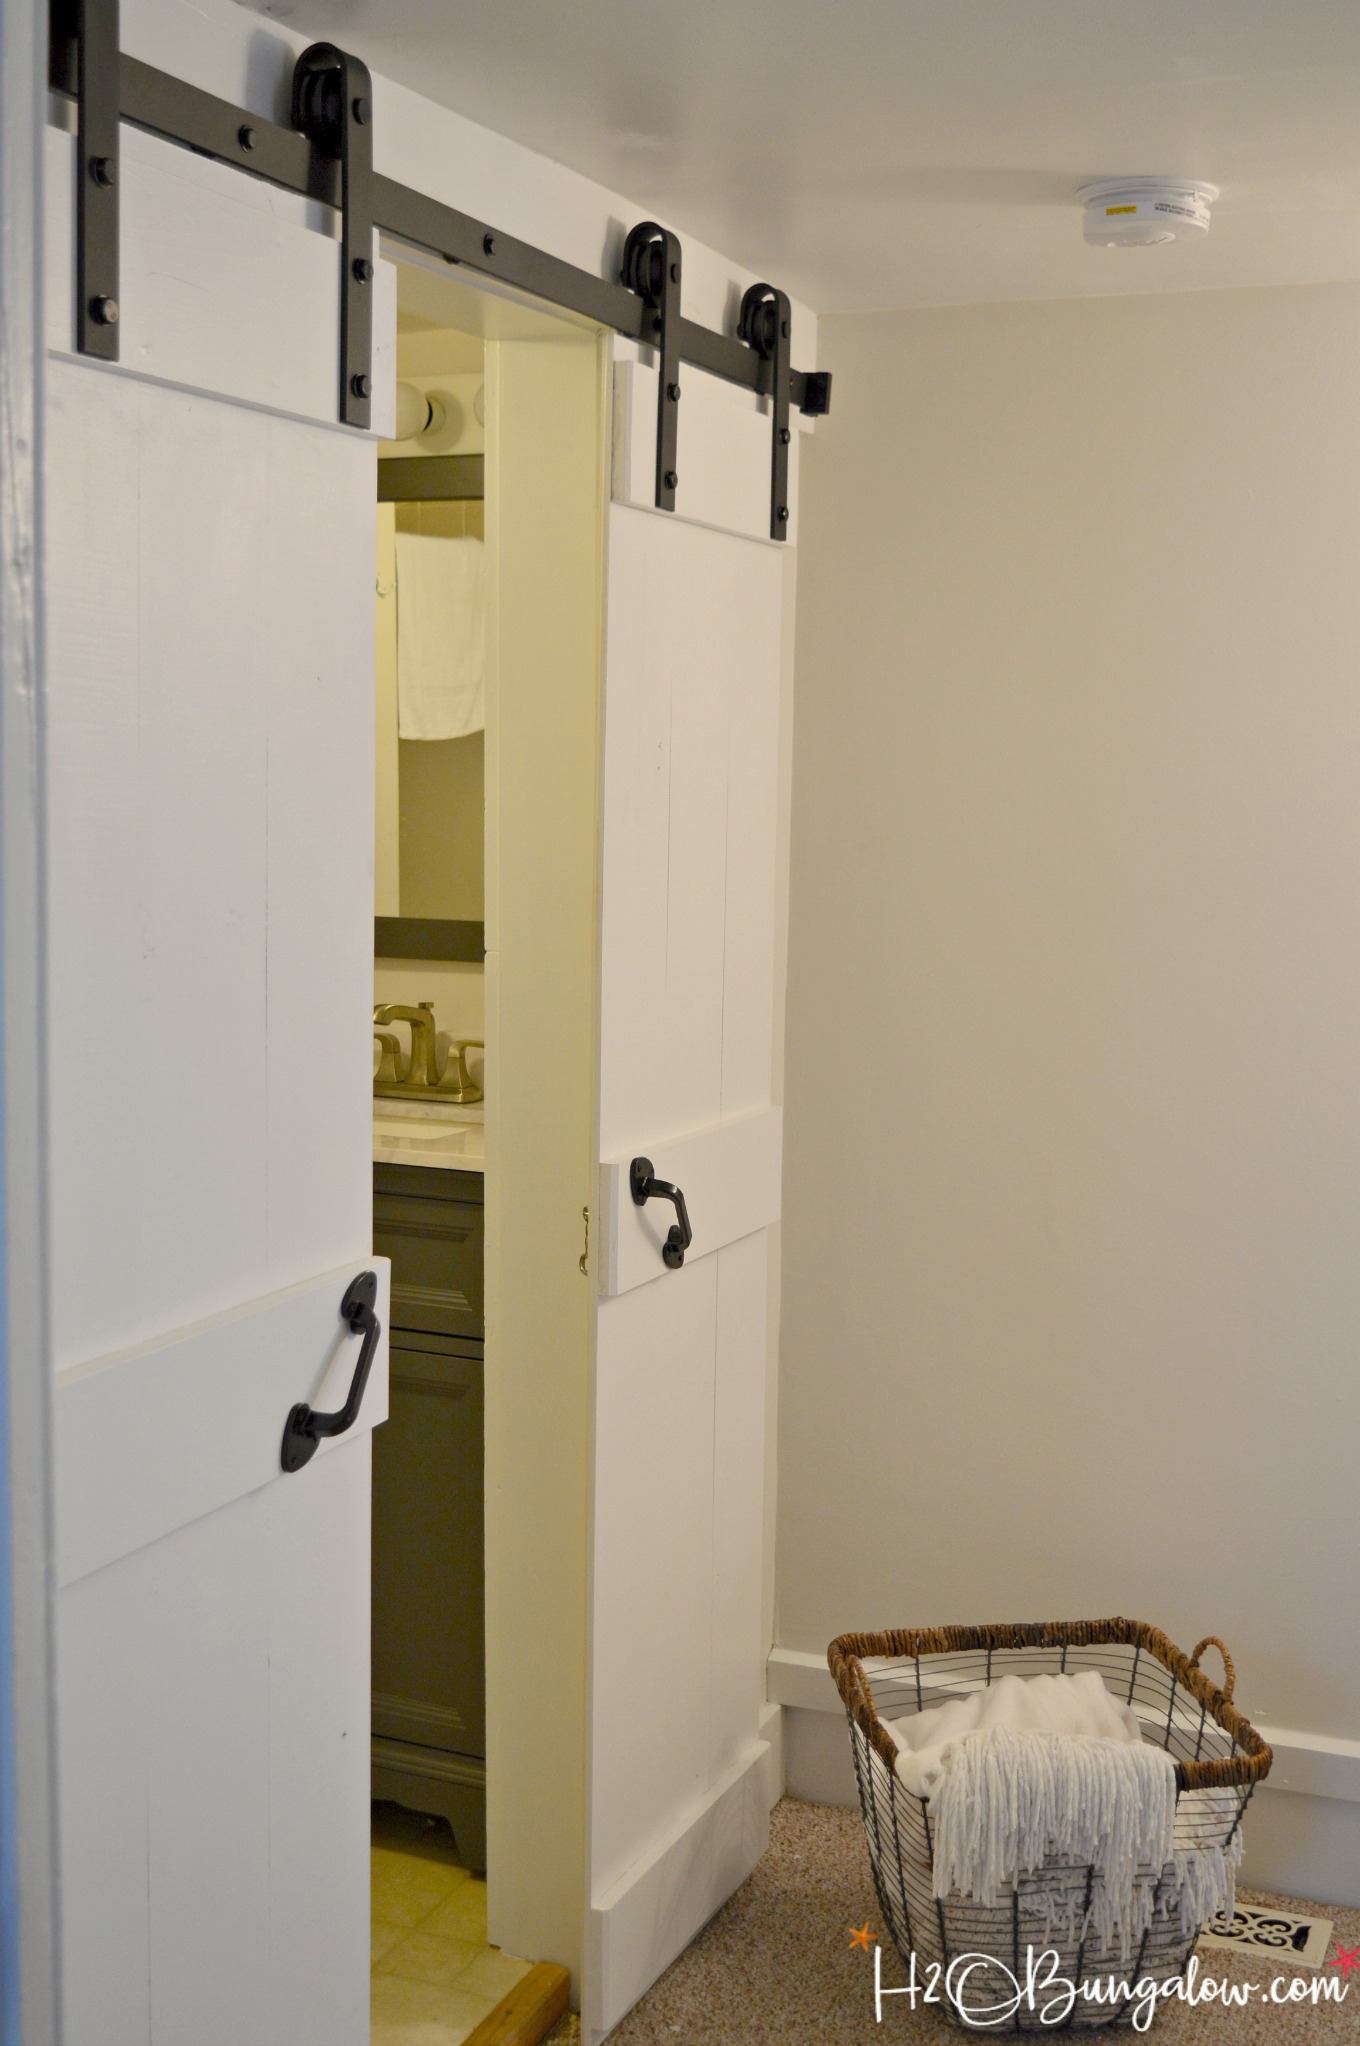
We just built a set of interior DIY double sliding bar doors for the North House. I’ve been patiently…or maybe not so patiently waiting to finish writing this so I could share my new bathroom barn door photos and the DIY double barn door tutorial with you guys. This is a project that looks harder than it is, which I love! Head over to the Home Tour of North House Lodge #52 and see the whole home.
Also be sure to check out my hollow core door makeover and my shaker cabinet door DIY!
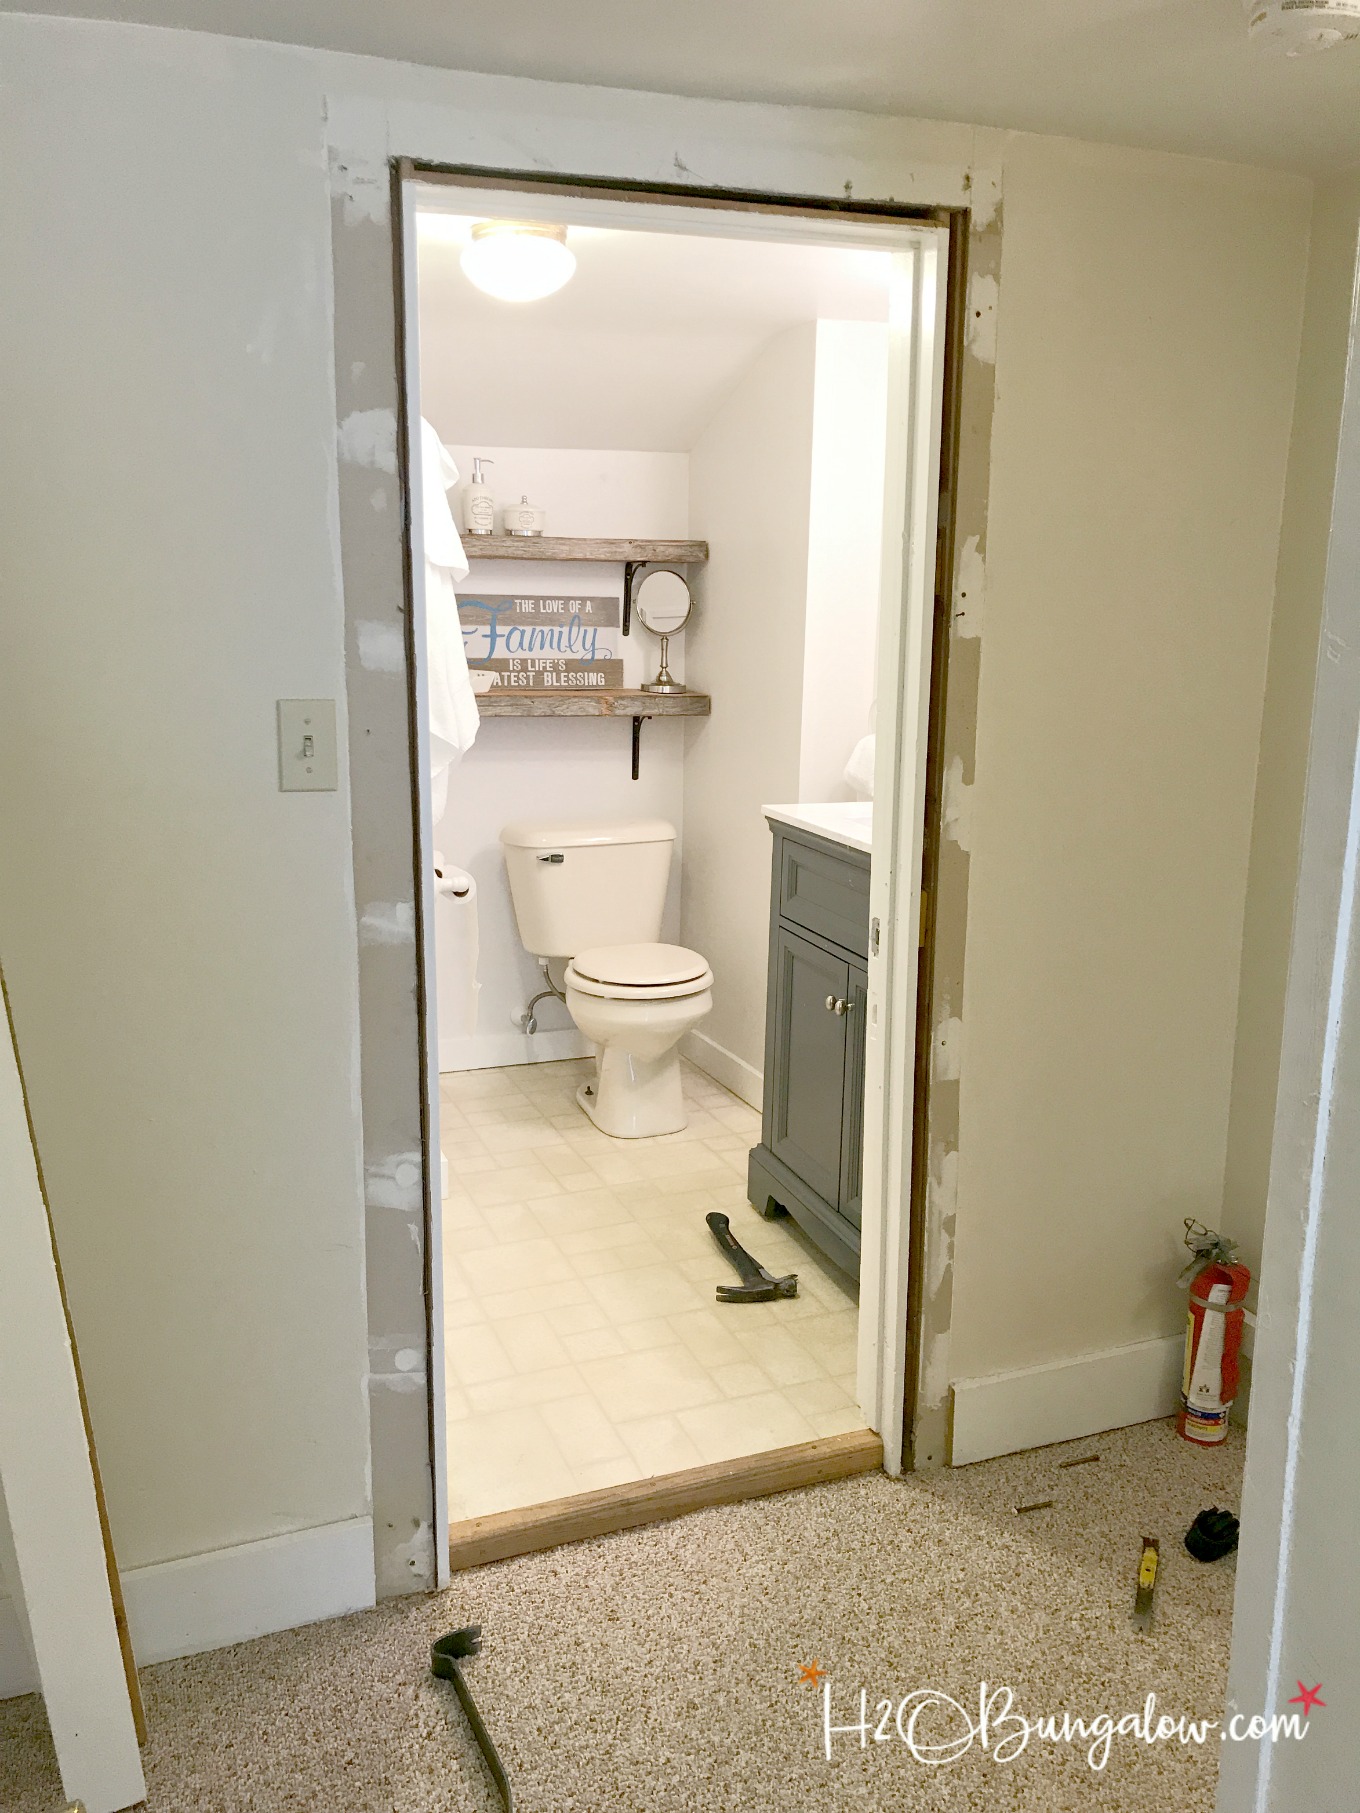
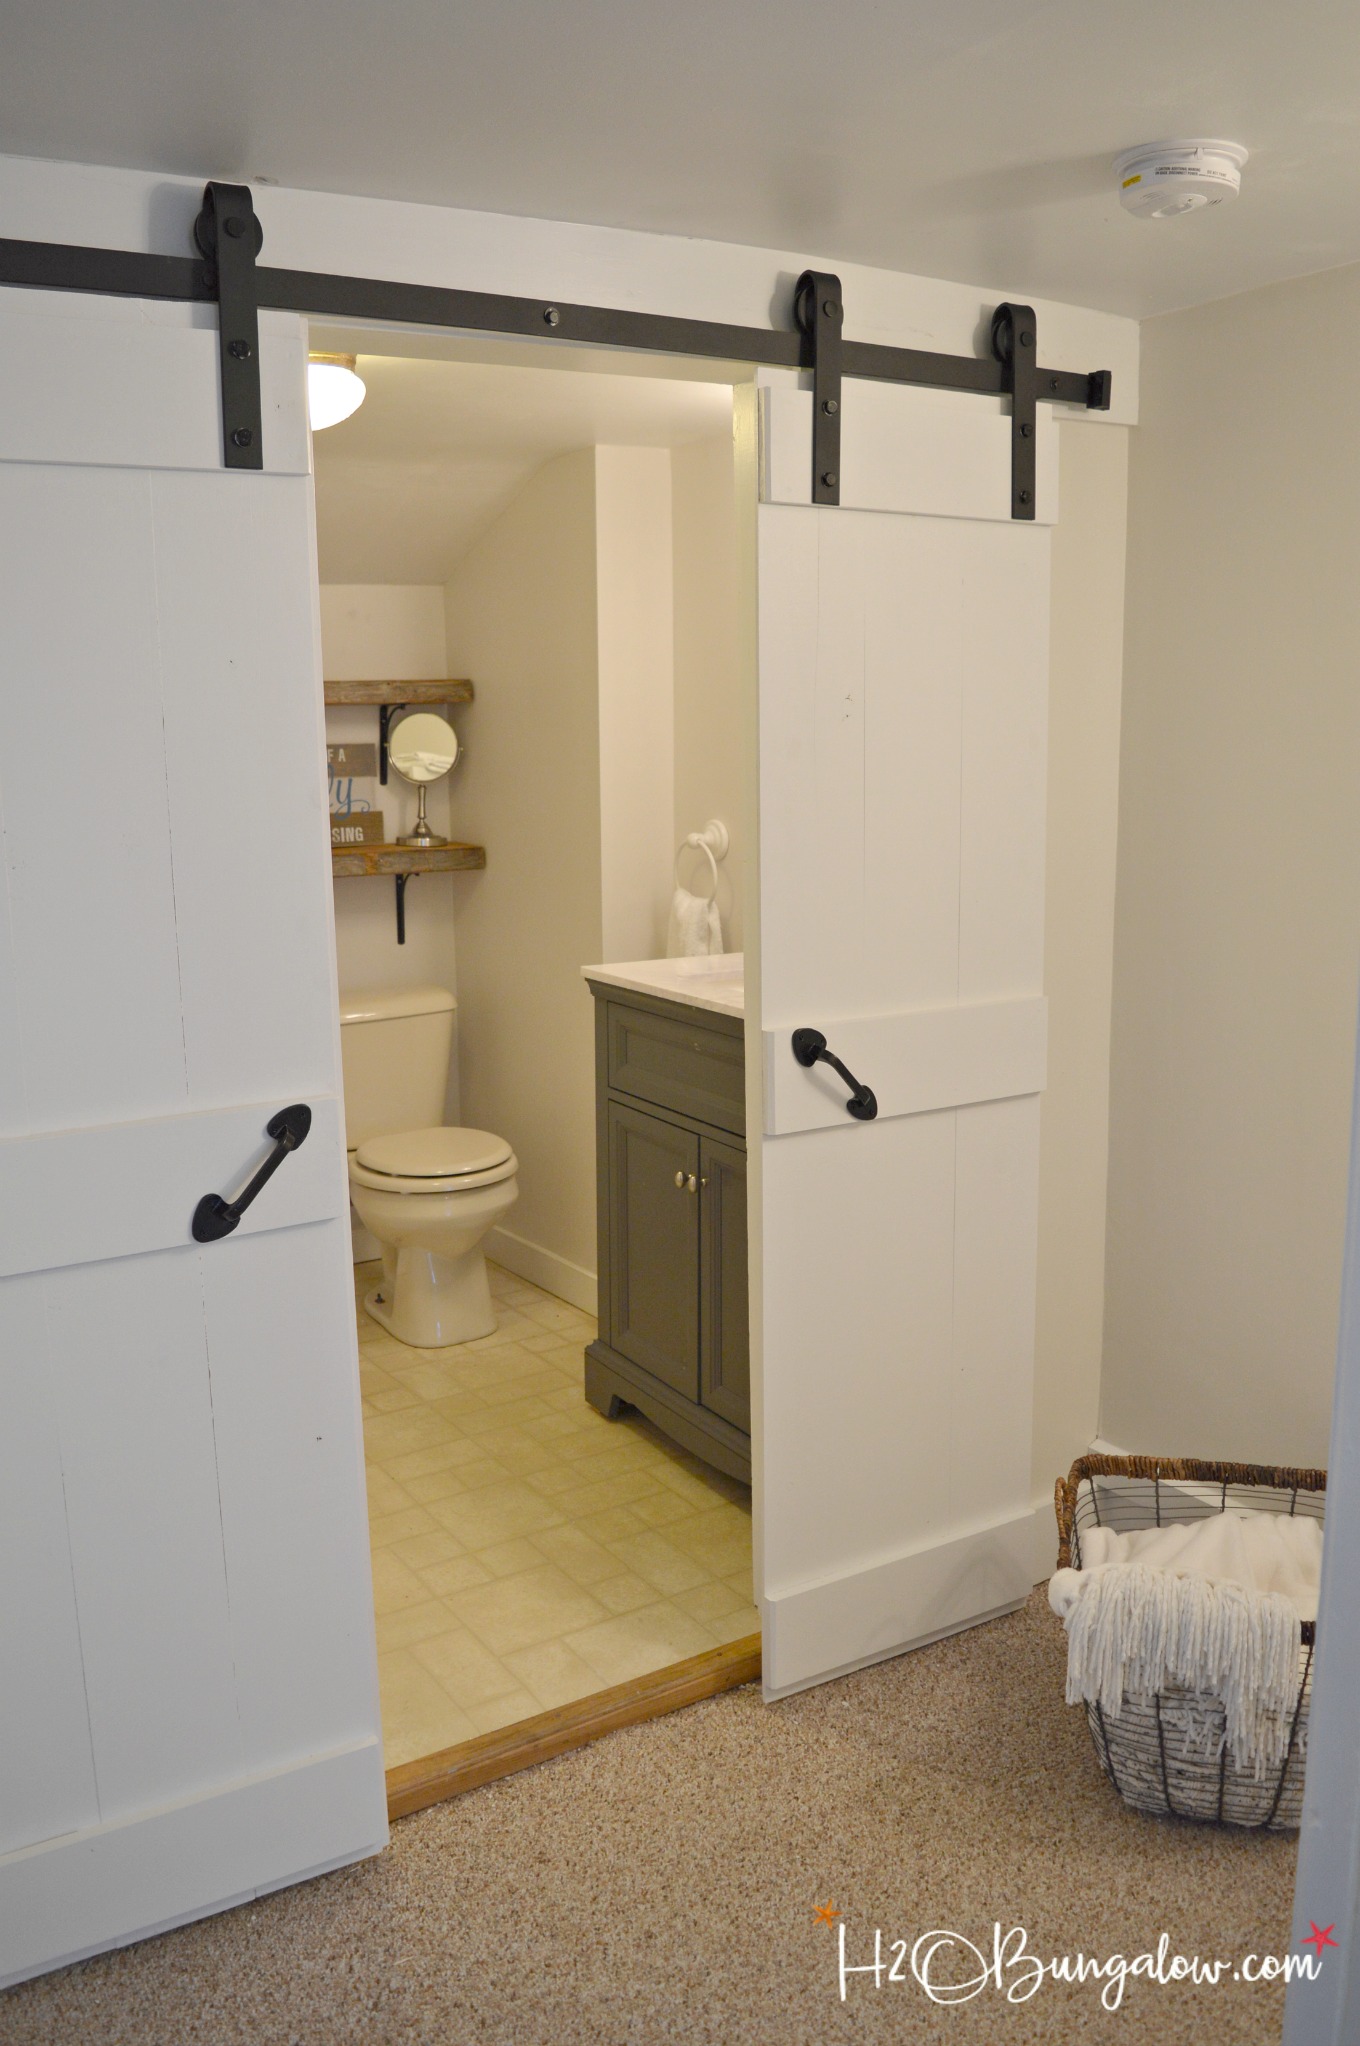
The upstairs bath in the North House Lodge has been a challenge from day one. It’s really small which is typical for houses built in the 1800-1900’s. It’s so small that when the door would open inward, half the room was blocked by the door. It can only fit a small shower, vanity and commode.
I can’t share exact DIY barn door plans with you all since this doorway is not a standard size. No worries though, barn doors are so easy to make it won’t matter. I’m sharing the most important details of making a set of sliding interior doors, the stuff you really need to know in order to make your DIY project turn out stellar. That’s all that matters, right? Get the free plans to build your own in this Beginner’s Guide to Building a Barn Door.
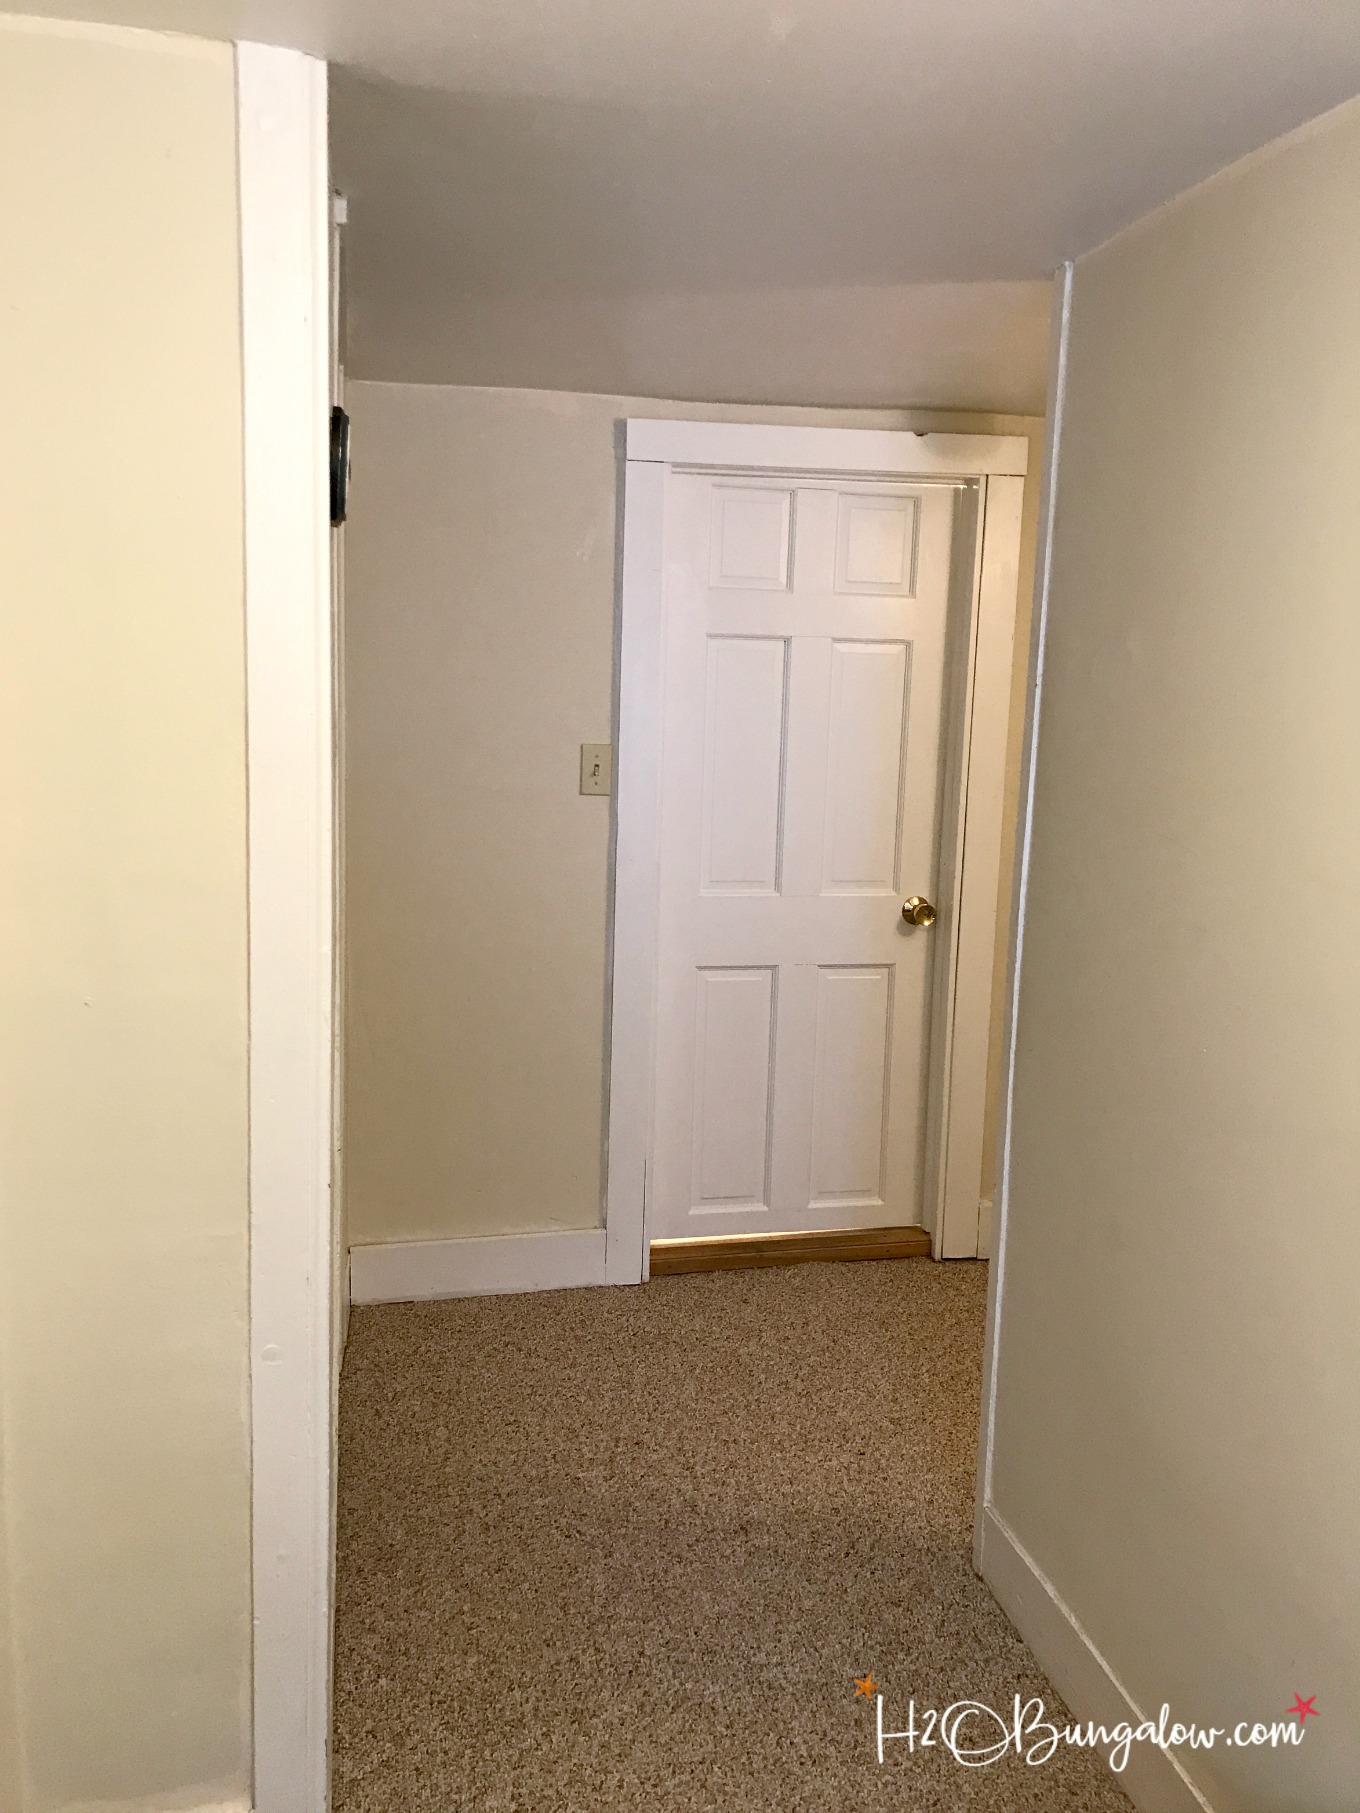
This is what we started with. Note the top and bottom of the door was cut off to accommodate the vintage door size. Fancy, right?
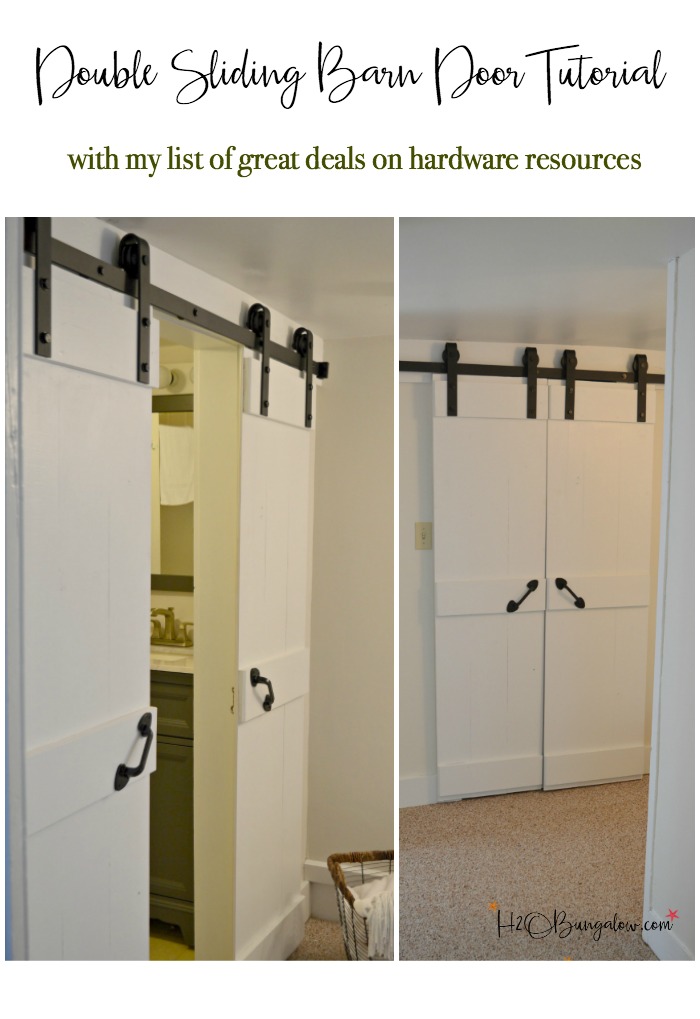
Interior DIY Double Barn Door Tutorial
I use affiliate links to help you find the supplies I used. You can read my full disclosure policy here.
Supplies needed to make a set of double DIY interior sliding bar doors.
- 6″ shiplap
- double barn door hardware I used this hardware
- 1″ x 6″ wood for door trim and cross supports on the barn doors
- exterior wood screws
- set of barn door handles
- cabin hook for interior door lock
Helpful tools
- drill
- long level
- miter saw
- bar clamps
- sander
Step one: Decide how you’ll mount the door, on a header or into the wall studs.
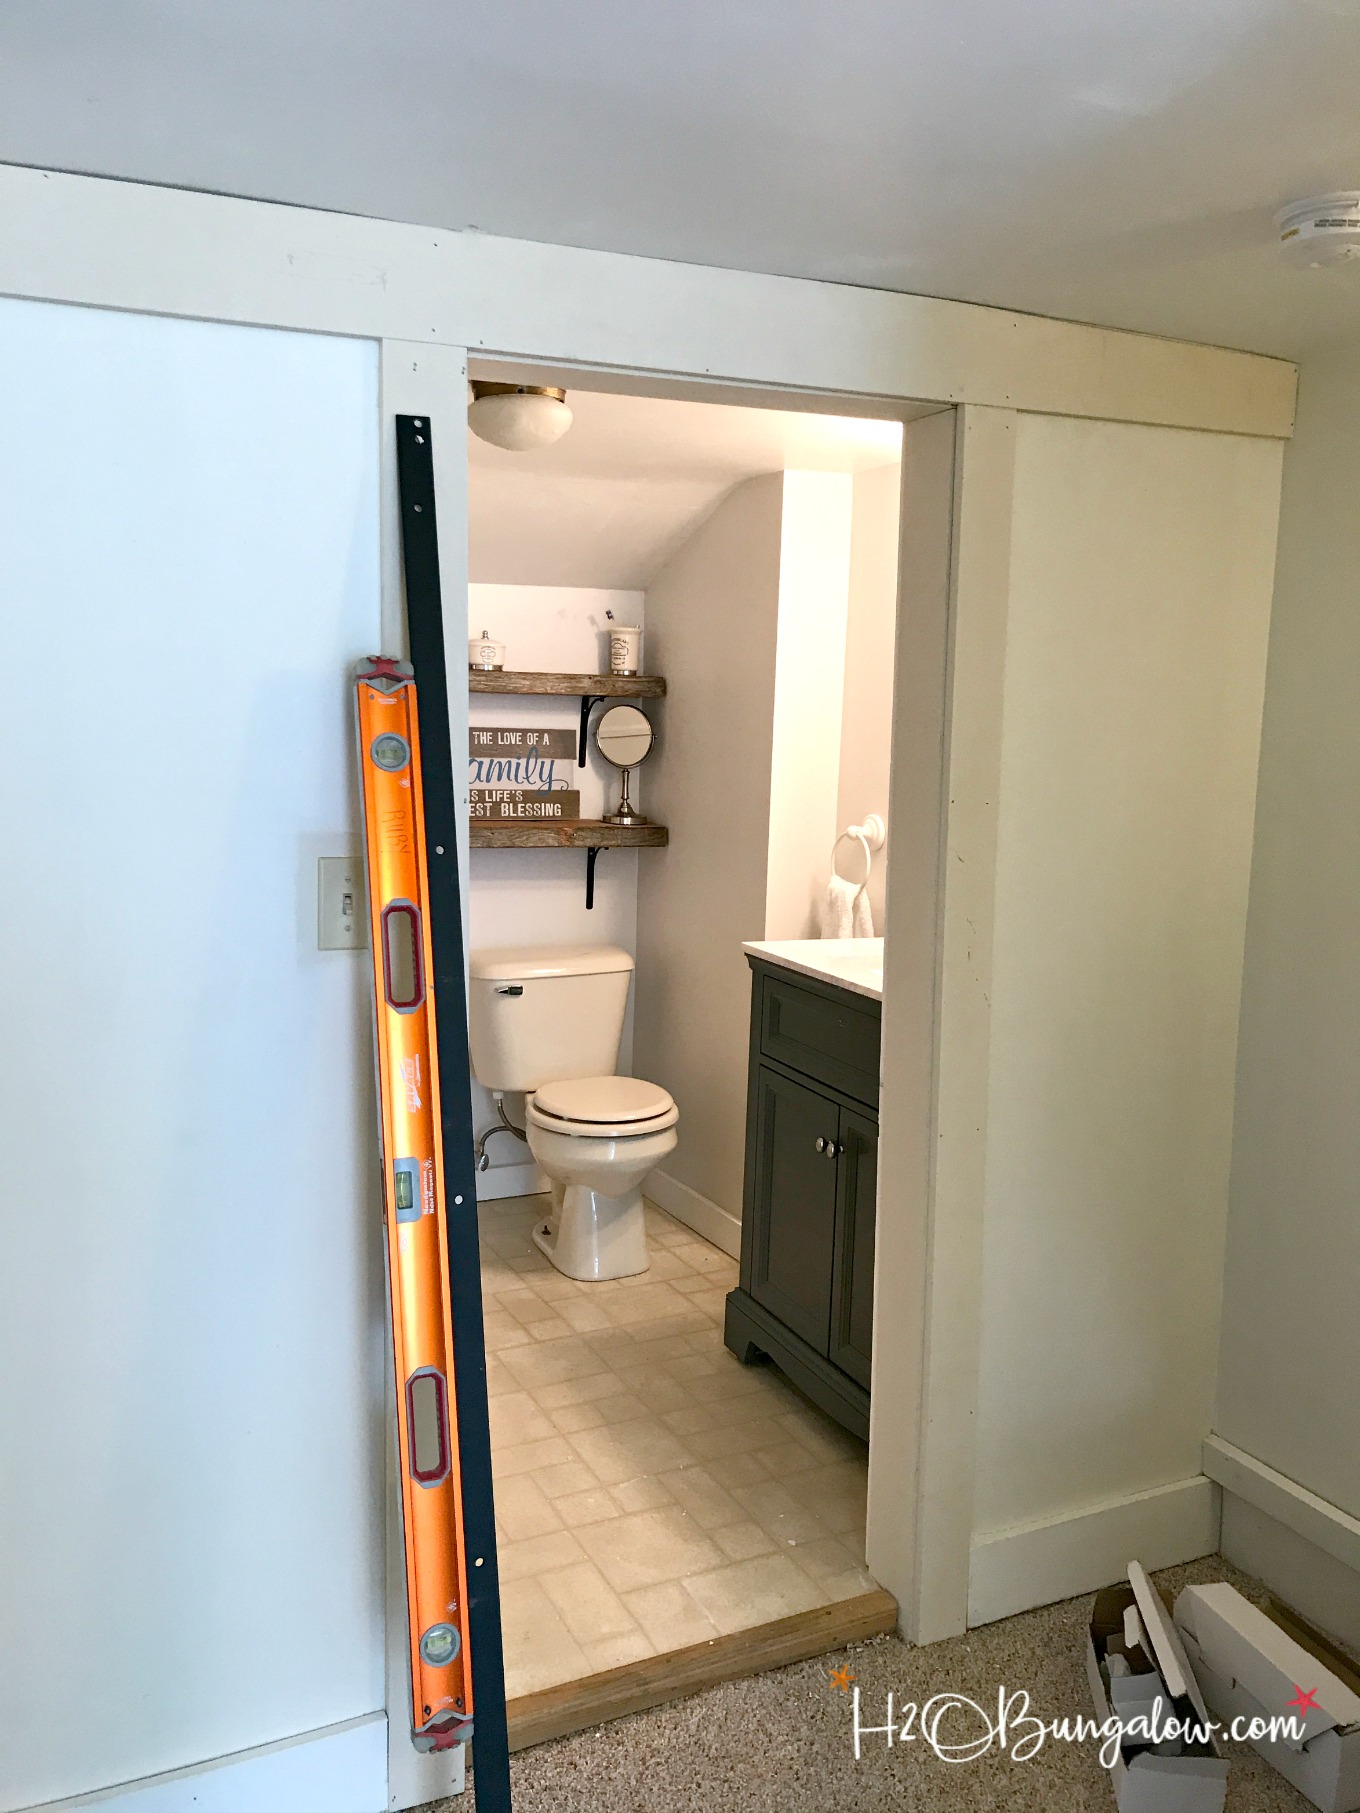
We decided to install a header board to mount the hardware on. This eliminated the need for us to use the studs to install the barn door rails at the top. To do this we built new trim around the door and a header along the ceiling.
The ceiling is crooked and so is the floor, both are typical for an old house. We had to do a bit of trimming to get a good fit to match slope of the ceiling.
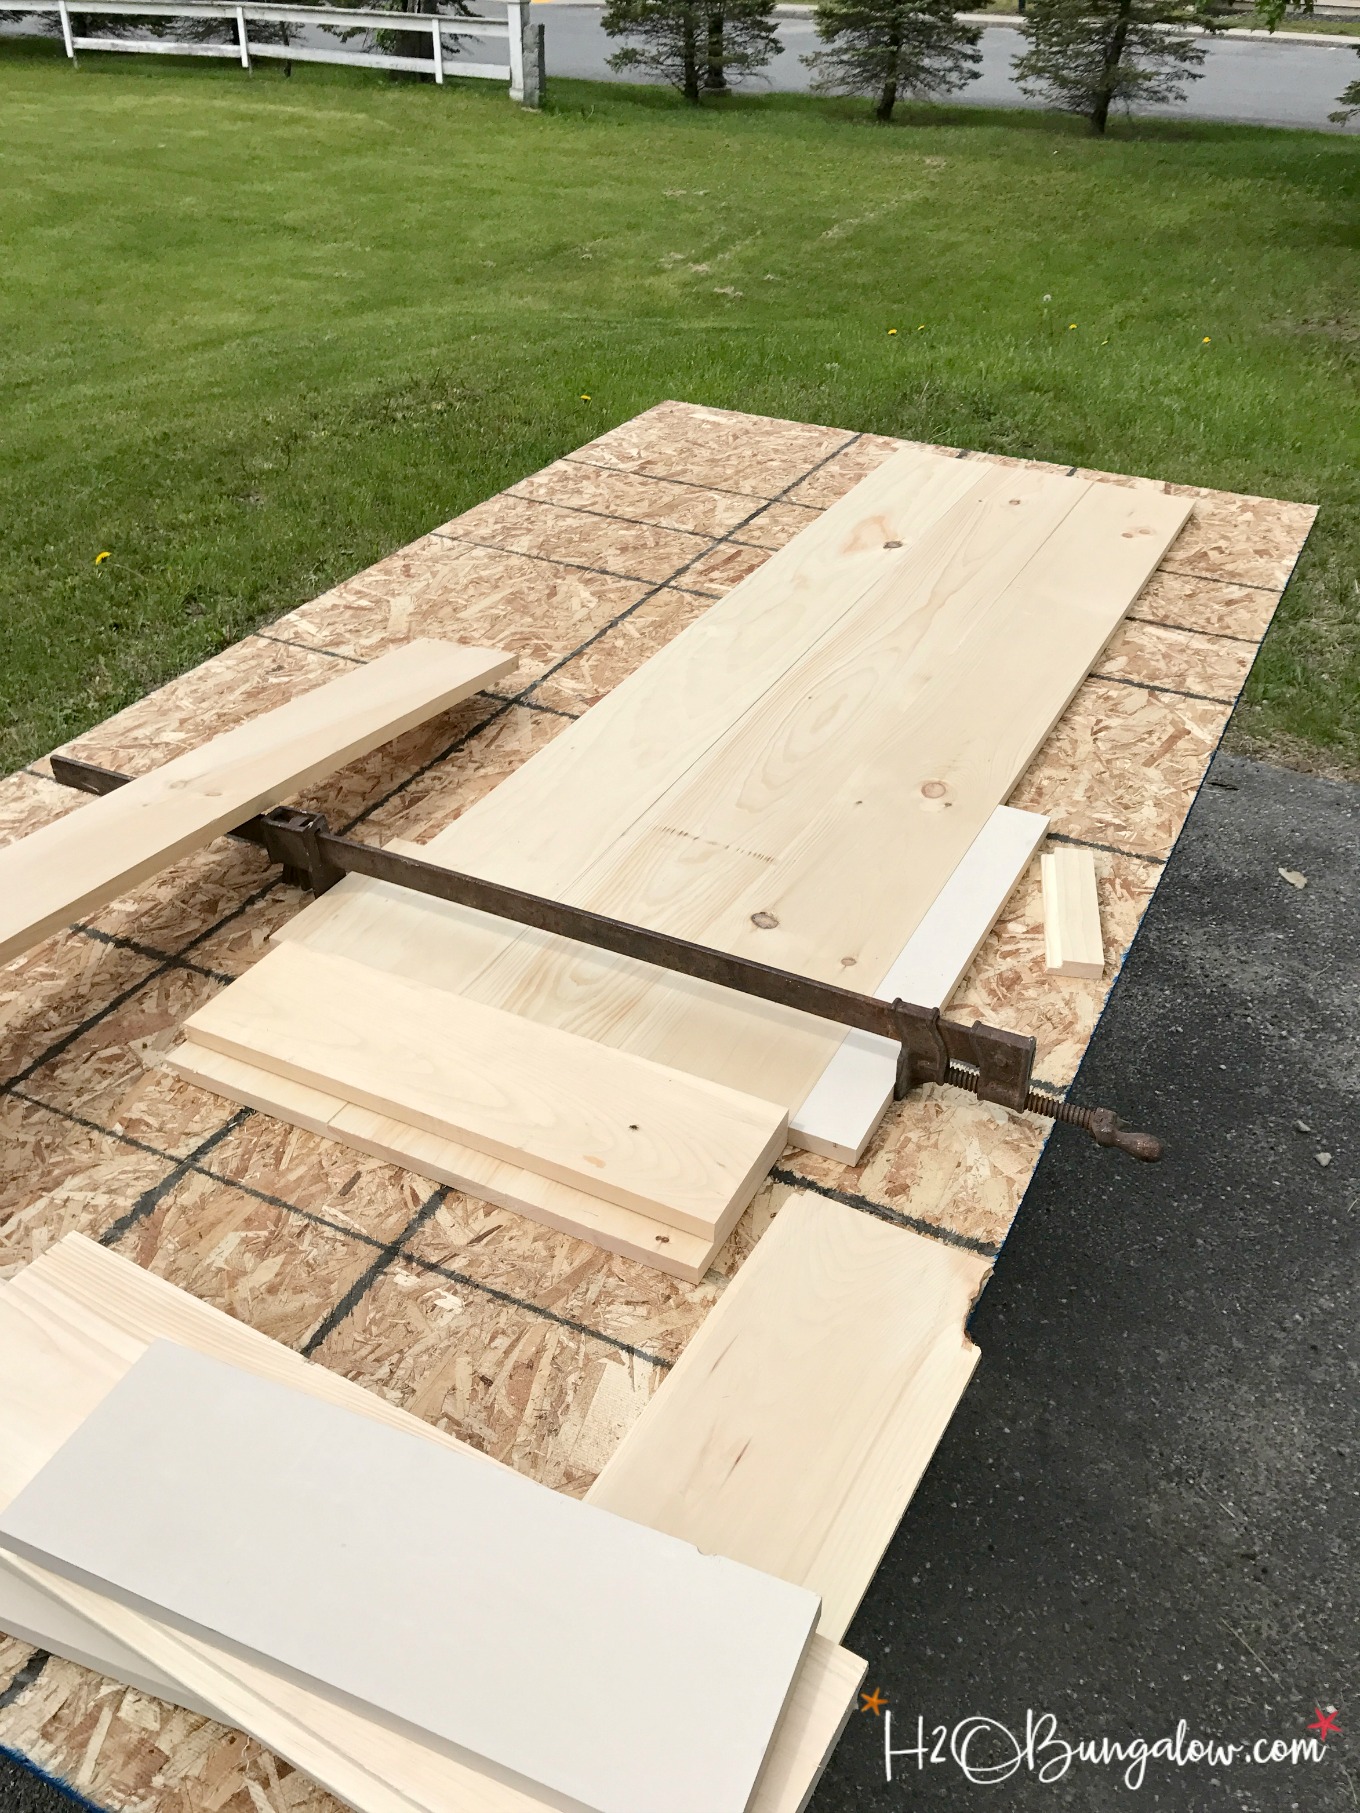
Step Two: build the double sliding barn doors.
There are lots of ways to build sliding barn doors. We used shiplap for two reasons. First, it overlapped which meant if it shrunk there wouldn’t be cracks that you could see through into the bathroom. Important for obvious reasons! 🙂 Second, we could use the overlapping wood where the two sliding barn doors closed for privacy as well. The wood planks are held together with counter-sunk screws on the three cross-boards. I used deck screws because they’d be rust resistant and this bathroom door will be exposed to moisture.
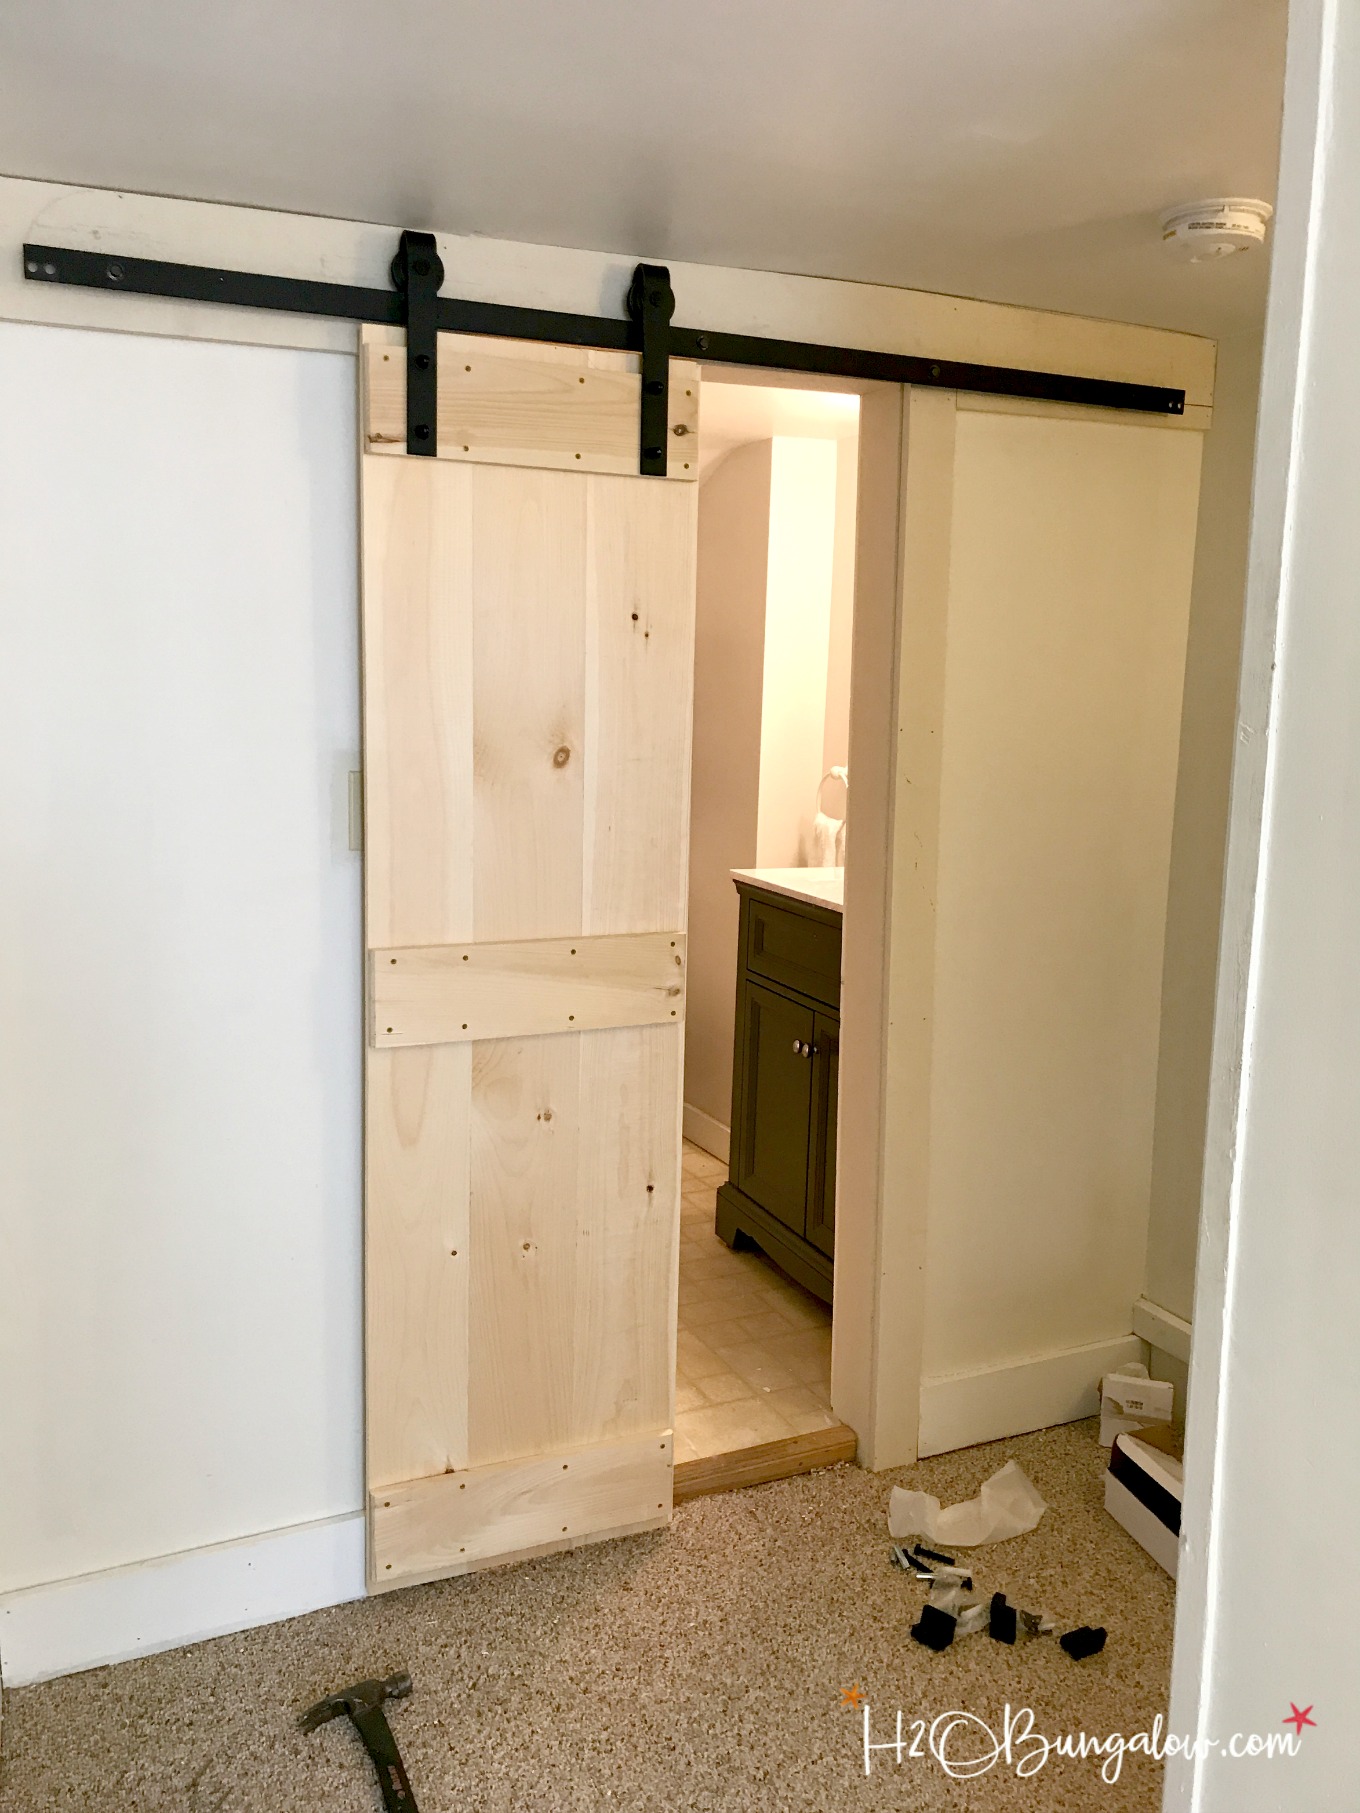
Step Three: Add the top sliding door hardware onto the door and adjust them as needed.
Dry fit your doors in place after adding the hanging hardware. You’ll need to make sure they hang straight and there are no gaps in-between the two doors when they slide shut. We had a small 1/2″ gap near the bottom when we tried the first time. We fixed this by moving one of the pilot holes up slightly on one door. The larger hole straightened the way the barn door hung and the hardware hides the goofy hole. Easy!
Do check out my link for barn door hardware. After a ton of research I found the best prices for barn door hardware for double doors or single doors and with a variety of top rail lengths to fit different size doors. I looked all over the internet before trying here.
Step Four: Paint or stain the double barn doors.
I took the hanging hardware off the doors and filled the screw holes with wood filler before painting them.
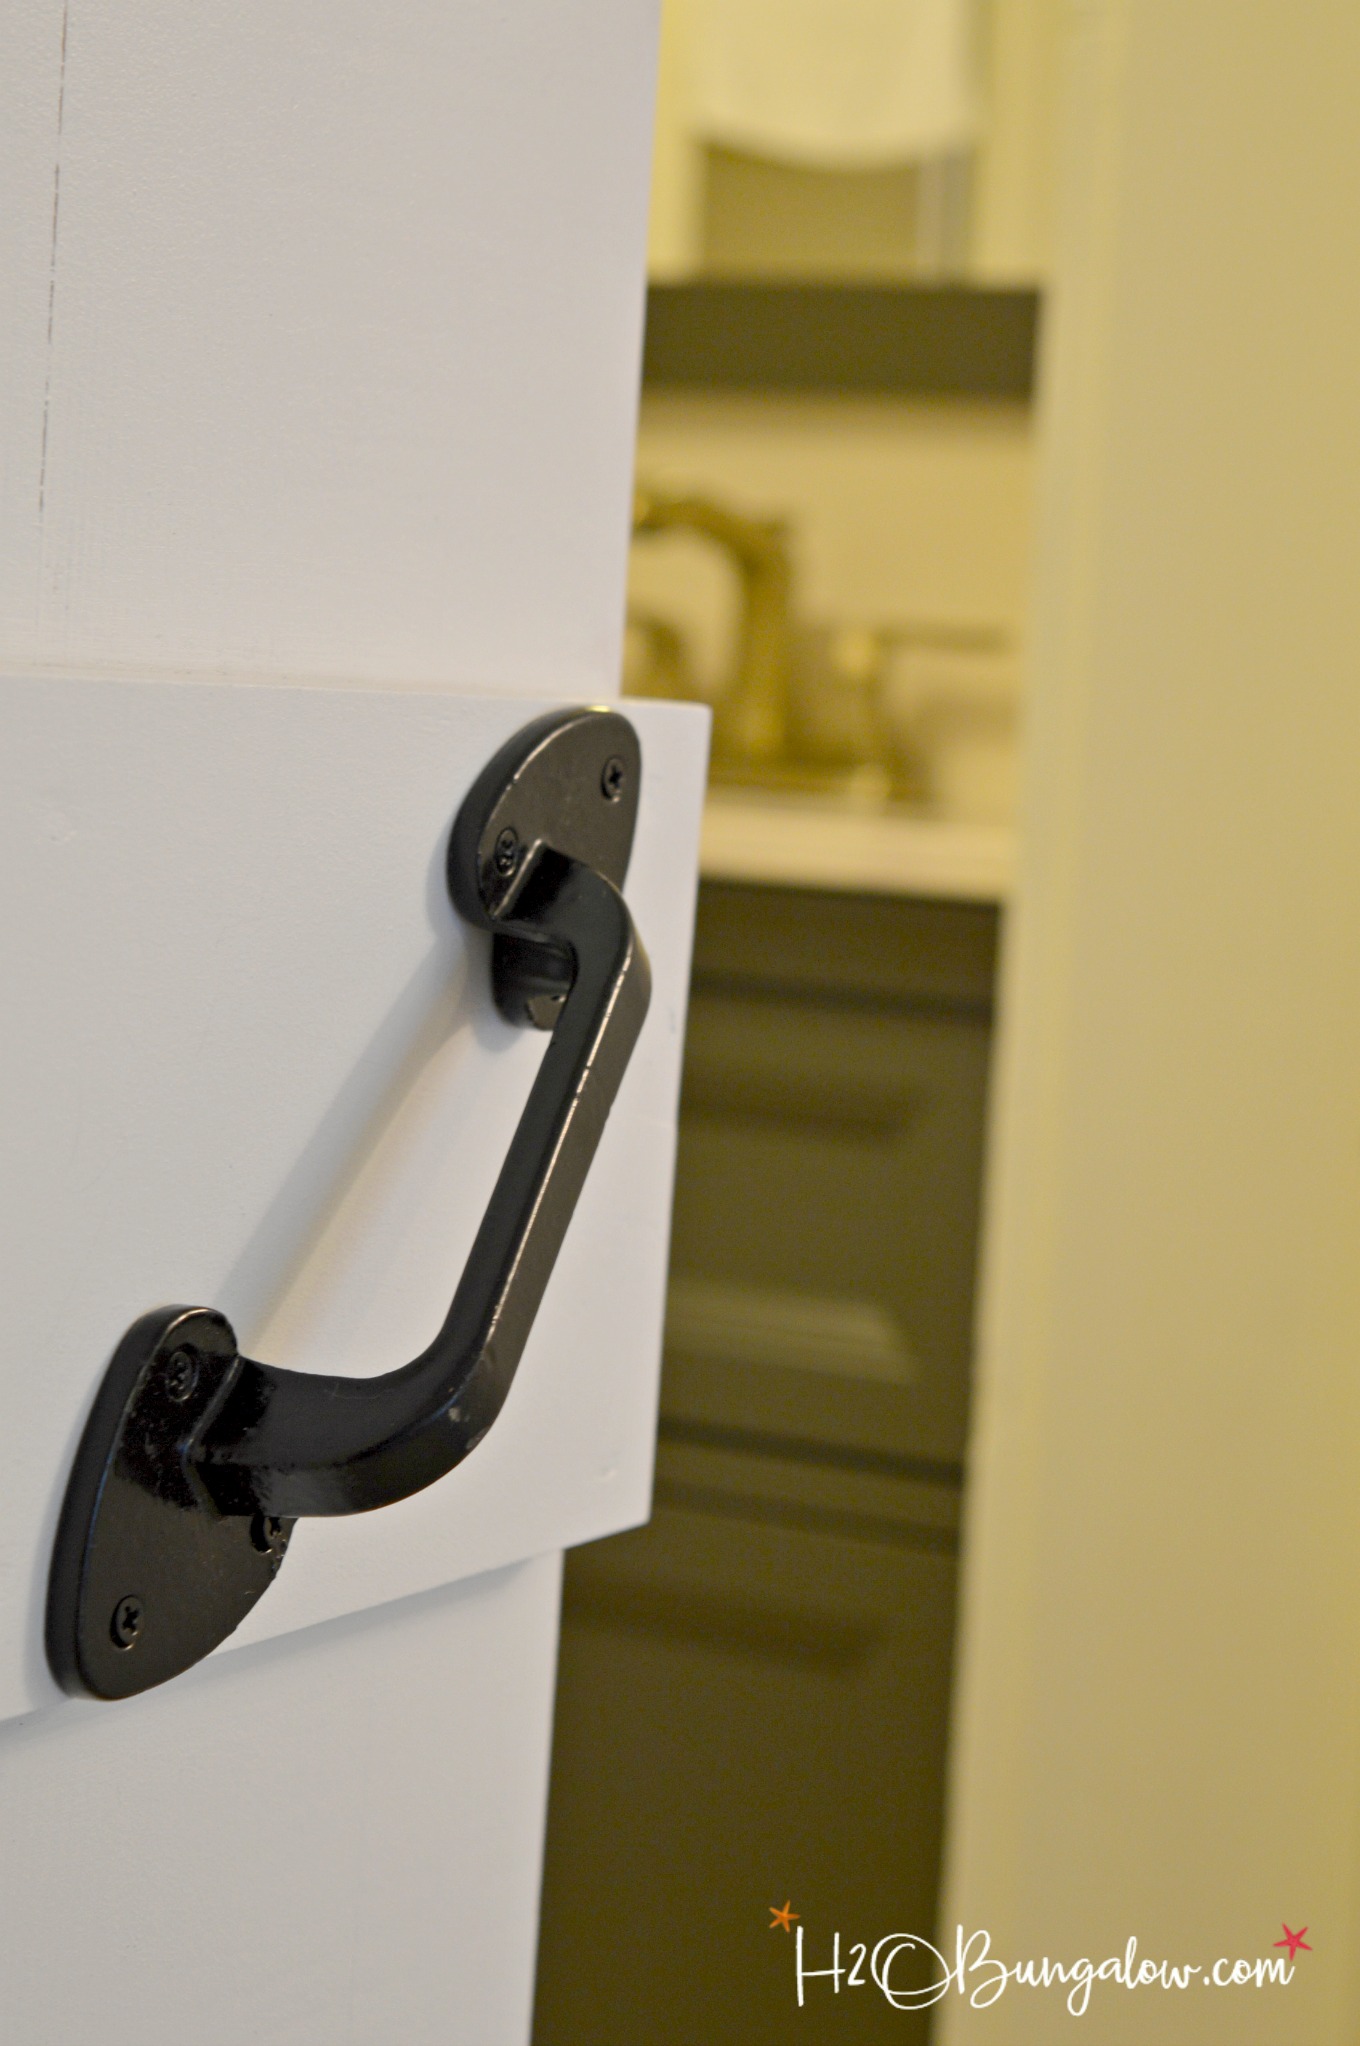
Step Five: Install the double barn door handles and lock.
The handles are set at an angle because our cross boards were a tad short to fit the handles on. After I added them, I realized I liked them better angled inward. 🙂
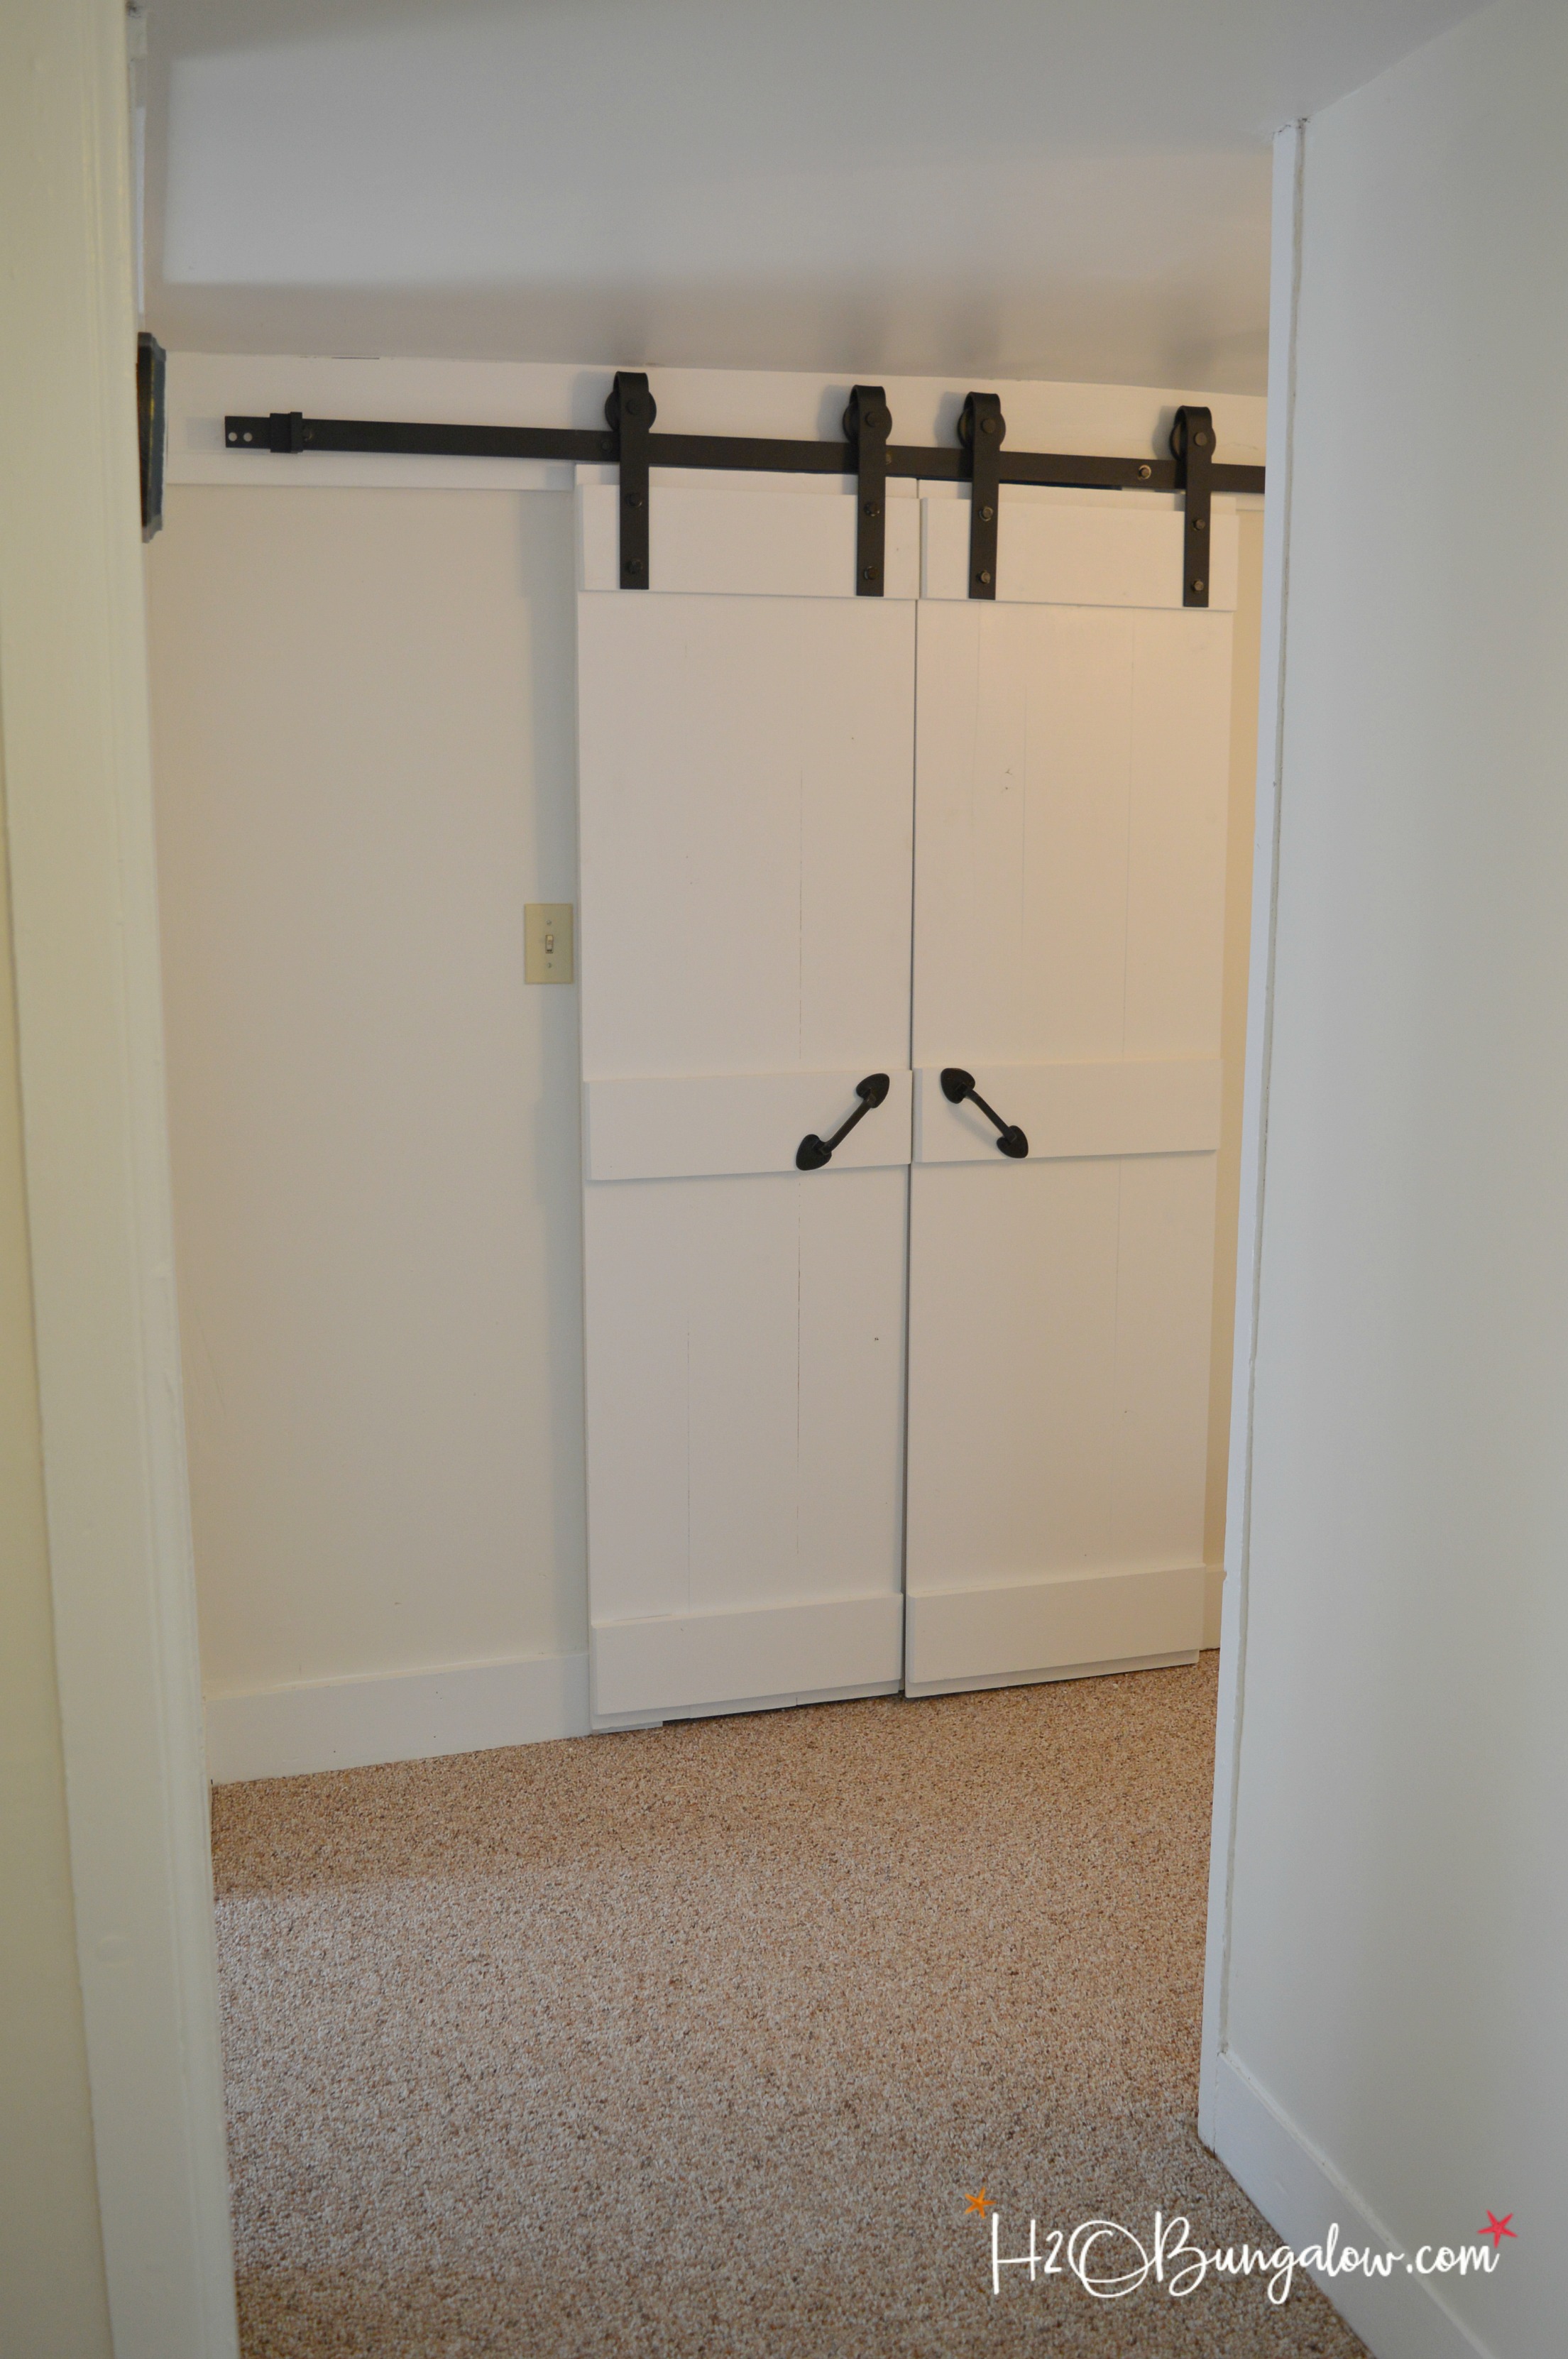
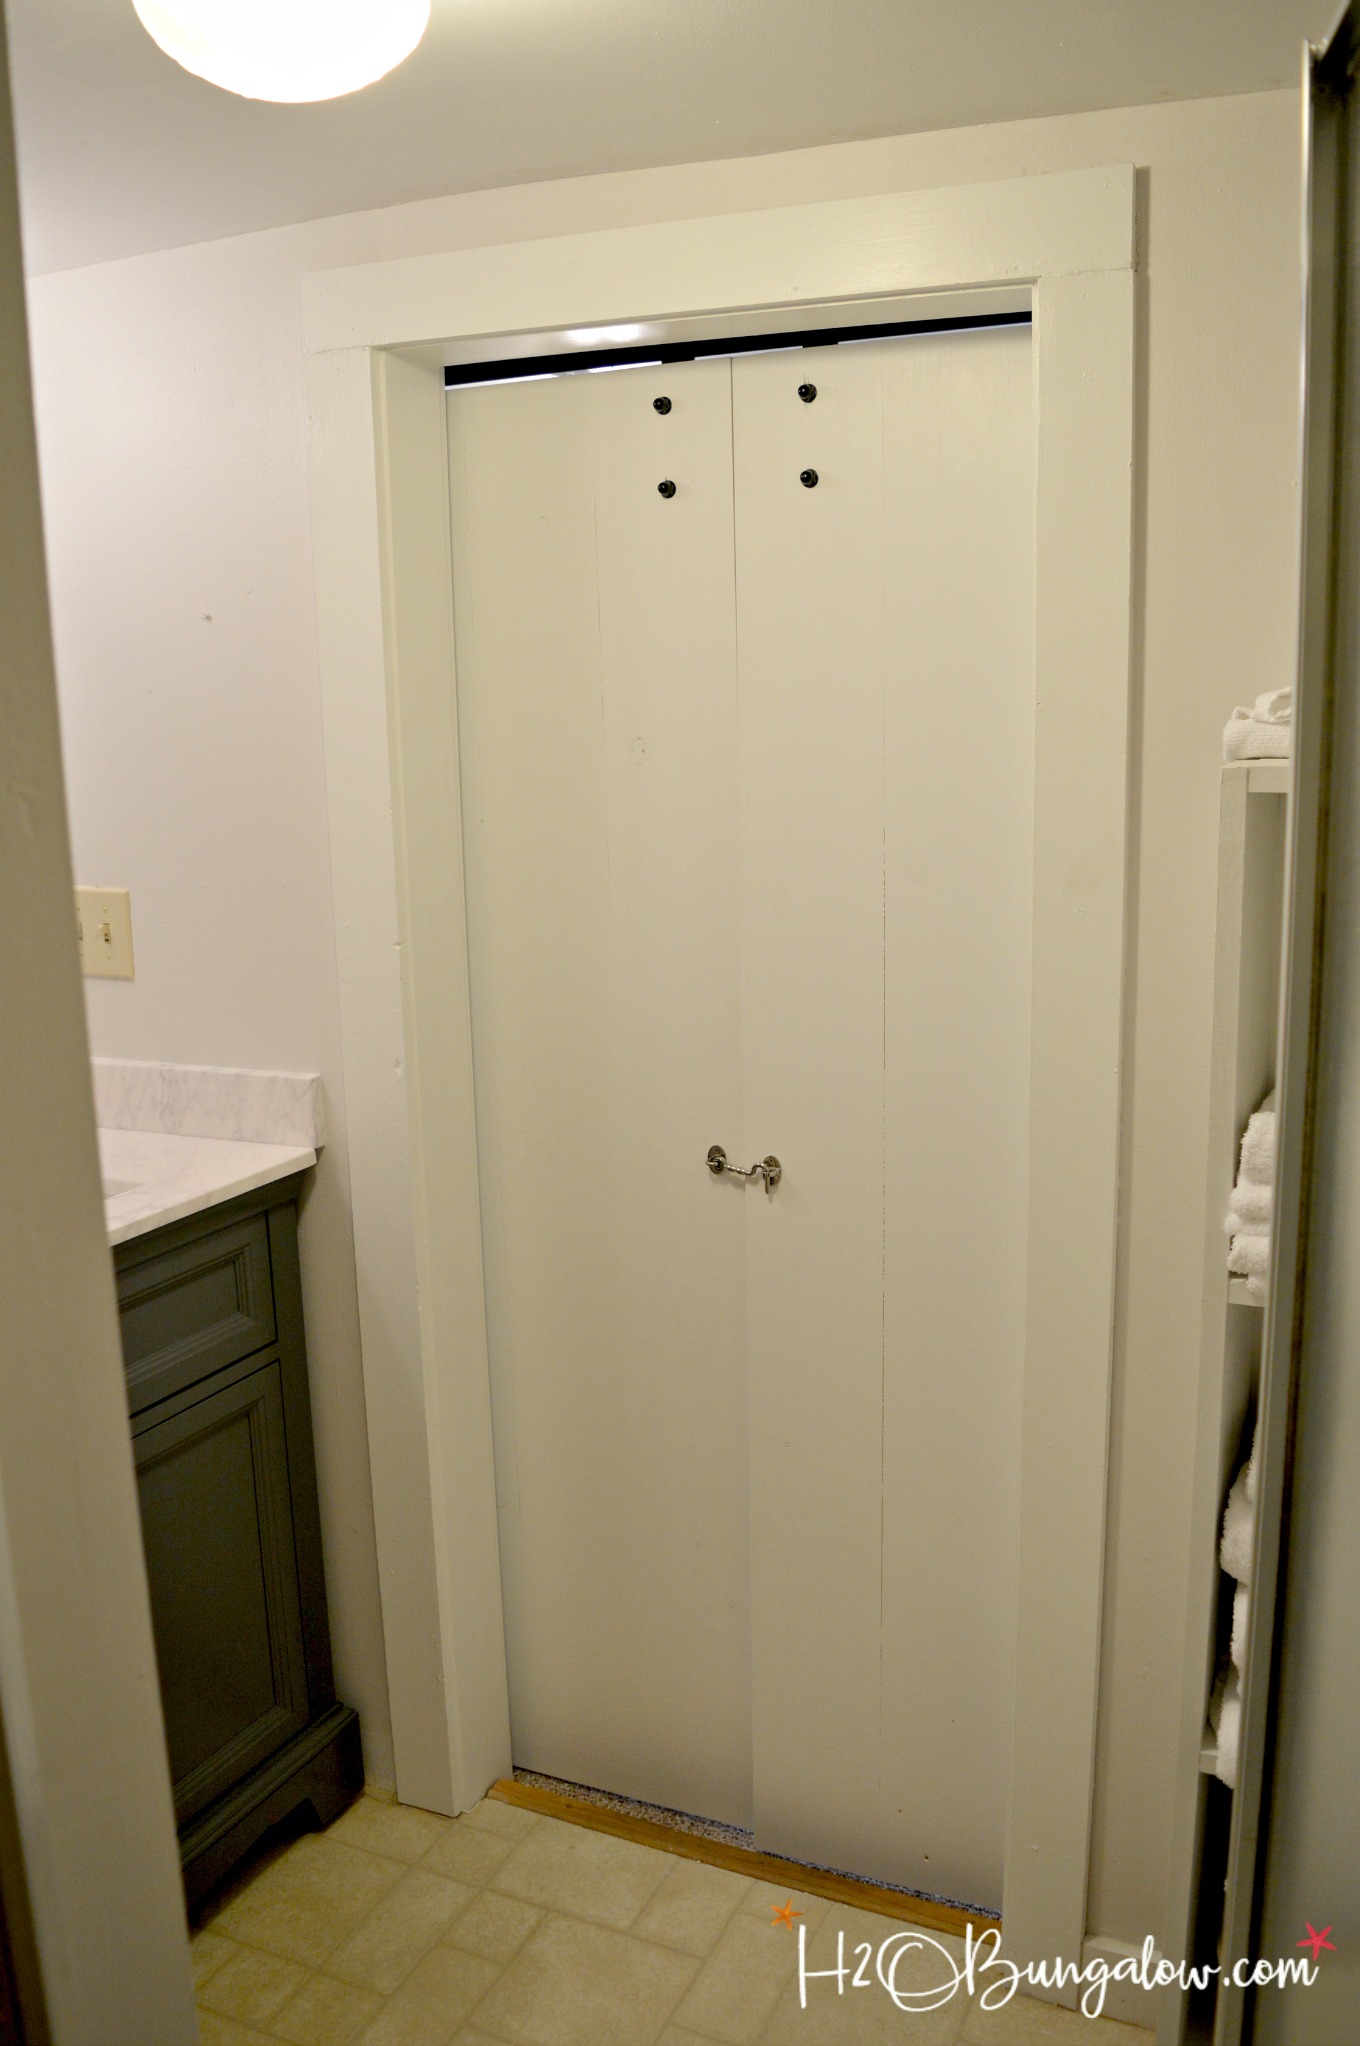
This is what the other side of the barn doors look like when they are closed. You can see a peek-a-boo view of the new vanity from my bath makeover and speed painting tutorial I shared a few months ago.
The doors do slide together flat, this picture was before we installed the bottom guides. I needed more substantial floor guides than what the barn door hardware kit I purchased came with and wanted them attached to the baseboards and not the carpet.
One of the things I love the most about this DIY double barn door tutorial is that the doors can be made in any style. Rustic, modern or farmhouse style barn doors all work the same and all hang the same. Having a door to my office has been on my wish list forever. Now that I’ve designed one set of interior sliding barn doors I know can do the next set faster and easier!
Pin it for later!
Have you wanted to add sliding barn doors to your home? Share with me below where you’d put them!
Other DIY home improvement projects you may enjoy
Industrial Shelving Chunky Wall Shelves
Industrial Media Stand With Wheels
12 Genius Painters Tape Tips for a Perfect DIY Project
DIY Concrete Counter Top Tutorial and video

caroline says
Cool! looks like a gap at top? intentional? for ventilation of nasty odors?
Wendi says
Hi Caroline,
There isn’t actually a gap at the top. The photo from inside the bathroom is looking up to show the detail and not the ceiling so it gives the impression of a gap. This house was built in 1835 and modified a lot after so we have extremely low ceilings. We have to keep the hardware and the doors shorter than what would have been in a newer home. That’s a good question though! Thanks for asking it and thanks for your visit!
Kate says
I think barn doors look fantastic in interiors, particularly for laundry rooms and washrooms. This one is particularly pretty, I love the exposed runners against the fresh white wood.
Wendi says
Hi Kate and thank you! I love how these turned out too. They opened up the space in the bath area and look good. Thanks so much for your visit and comment!
Grey Furniture says
Wow….This one is amazing. I love this double barn door tutorial. You did a wonderful job.
Wendi says
Hi and thank you so very much! The double barn doors were a good solution for the inward swinging door that took so much space away. Thanks so much for your visit!
Carol ("Mimi") says
Wow! You really did a lot of work, and the finished result is beautiful! This is such a great look for farmhouse decor. The double barn door makes a wonderful statement in your space.
Carol (“Mimi”) from Home with Mimi
Wendi says
Hi Carol and thank you! The doors turned out spectacular. They were a good solution for the inward door taking all the space. I couldn’t even reach the shelves with towels before. They weren’t so hard to make at all. Thanks so much for your sweet note!
Paula says
The new doors look awesome and I love that they save so much space in the bathroom.
Wendi says
Thanks Paula! They make a world of difference in how that little room feels. I still need a set for my office…maybe someday when I’m caught up on all of the other projects! LOl Thanks for your visit!
Marie says
Our tiny little bathroom could use these too. I think the angled handles add such character to the barn doors. Great tutorial, Wendi! pinned
Wendi says
Hi Marie! Adding barn doors was a huge space saver! Funny, I like the handles too, sometimes the oops turn into blessings. Had I measured or thought about the size of the brace boards, I would have known they wouldn’t fit. Thank you for pinning and sharing my barn doors!
Carol says
Love this look and your tutorial is awesome!
Wendi says
Hi Carol and thank you so much! It’s really not so hard of a project to tackle. Having four hands is definitely necessary though. All I have left is to finish the floor in that room, which I should have done before putting the new vanity in! Oh well eventually I’ll get to it! Thanks so much for your sweet comment and visit!
Chelle Chapman says
EEP! I thot I loved MY barn door Holy W. O. W. Batman, these are STELLAR!!!!
Wendi says
Hi Chelle and thank you!!! I wanted these in the worst way and it was killing me to wait until I had the time to tackle this project. It was worth the wait and they turned out as pretty as I thought they would. Lucky you…you’ve already got a barn door! Thanks so much for your super sweet comment, you made my day!