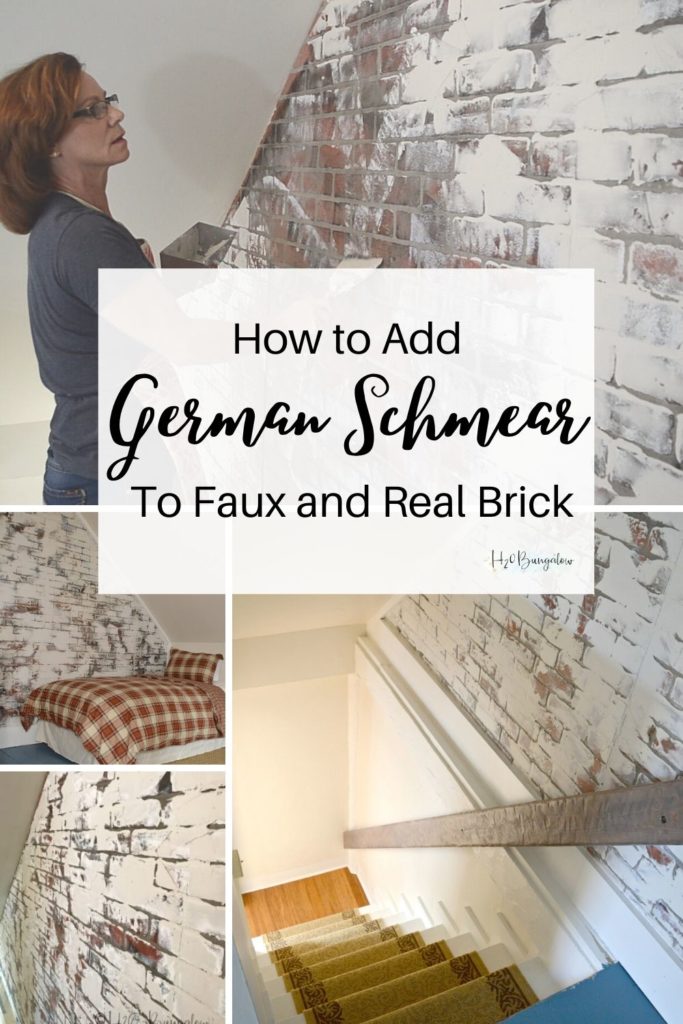
Today I’m going to show how to make a DIY German smear/schmear white washed brick wall with a tutorial and video. Basically, German smear copies the look of white morter over red brick and gives the brick a whitewashed effect. I made my German smear whitewashed plaster walls on both a faux brick wall and a genuine red brick wall so you can see how each will turn out.
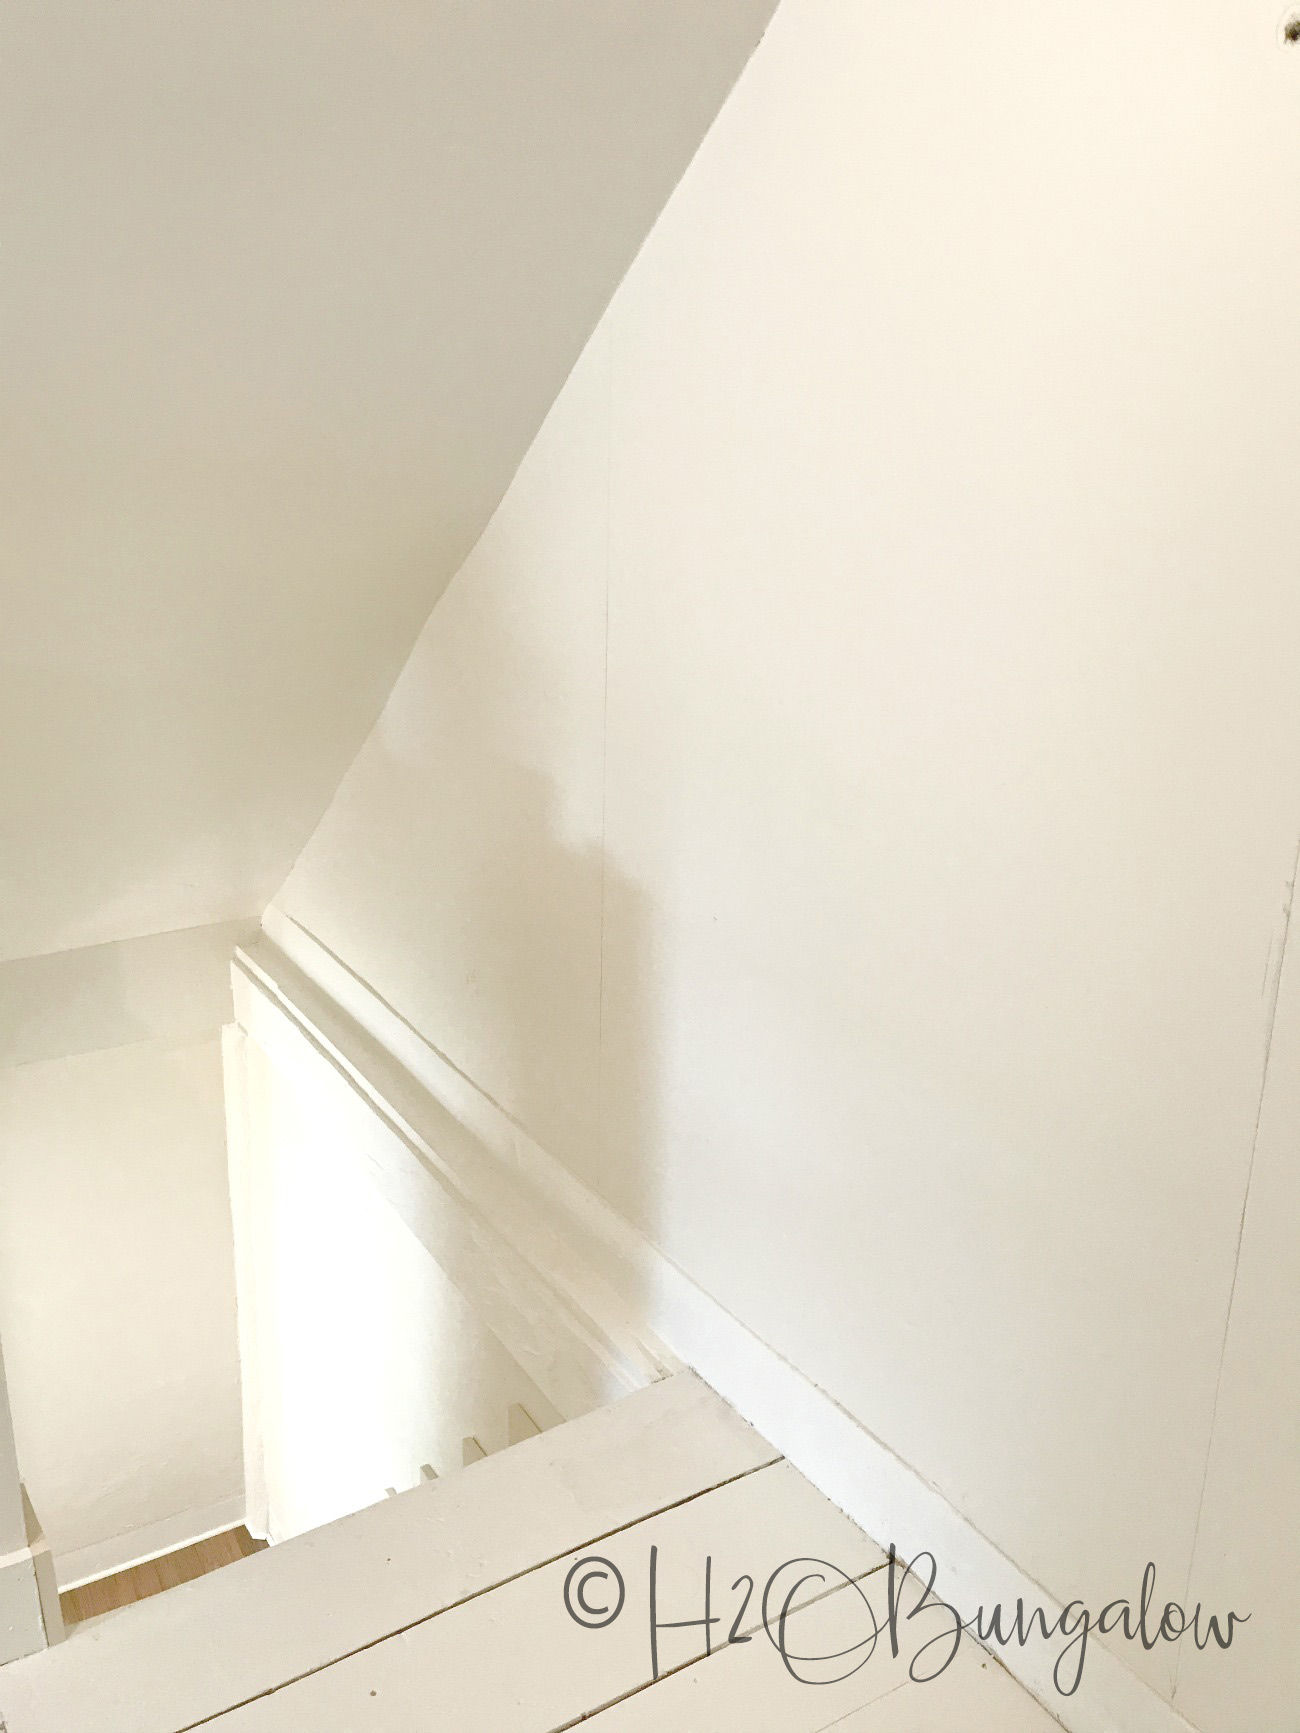
This is the entry wall to the third floor loft before I added my faux brick and German Smear. Scroll down to see how the German smear white wash look dramatically improved the stairway of the third floor loft in the North House Lodge.
Keep in mind this part of our house was built in 1835. You’re looking at the original attic and floors. This space had far too much potential not to do something totally awesome and unique on the wall.
I can’t wait to share this German smear technique with you!
This post is sponsored by Beyond Paint. This post also contains affiliate links and I will be compensated if you make a purchase after clicking on my links. Thank you for supporting the brands that keep H2OBungalow going.
What is a German Smear/Schmear white washed brick wall?
If you haven’t seen it before, you may ask what is German Smear?
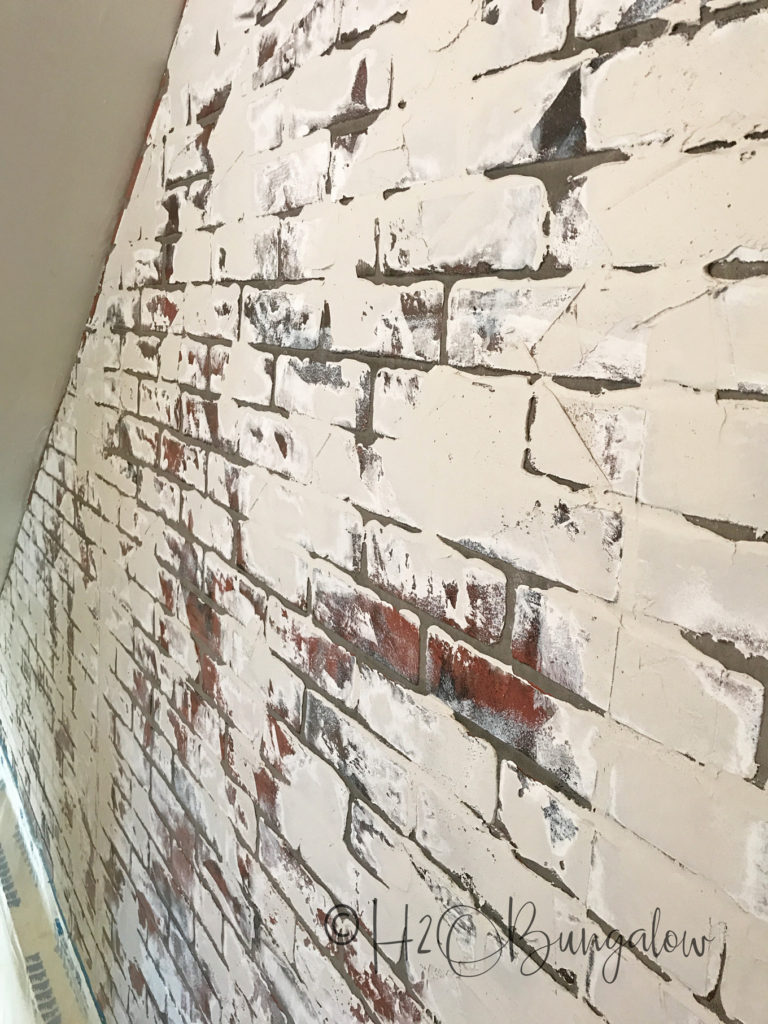
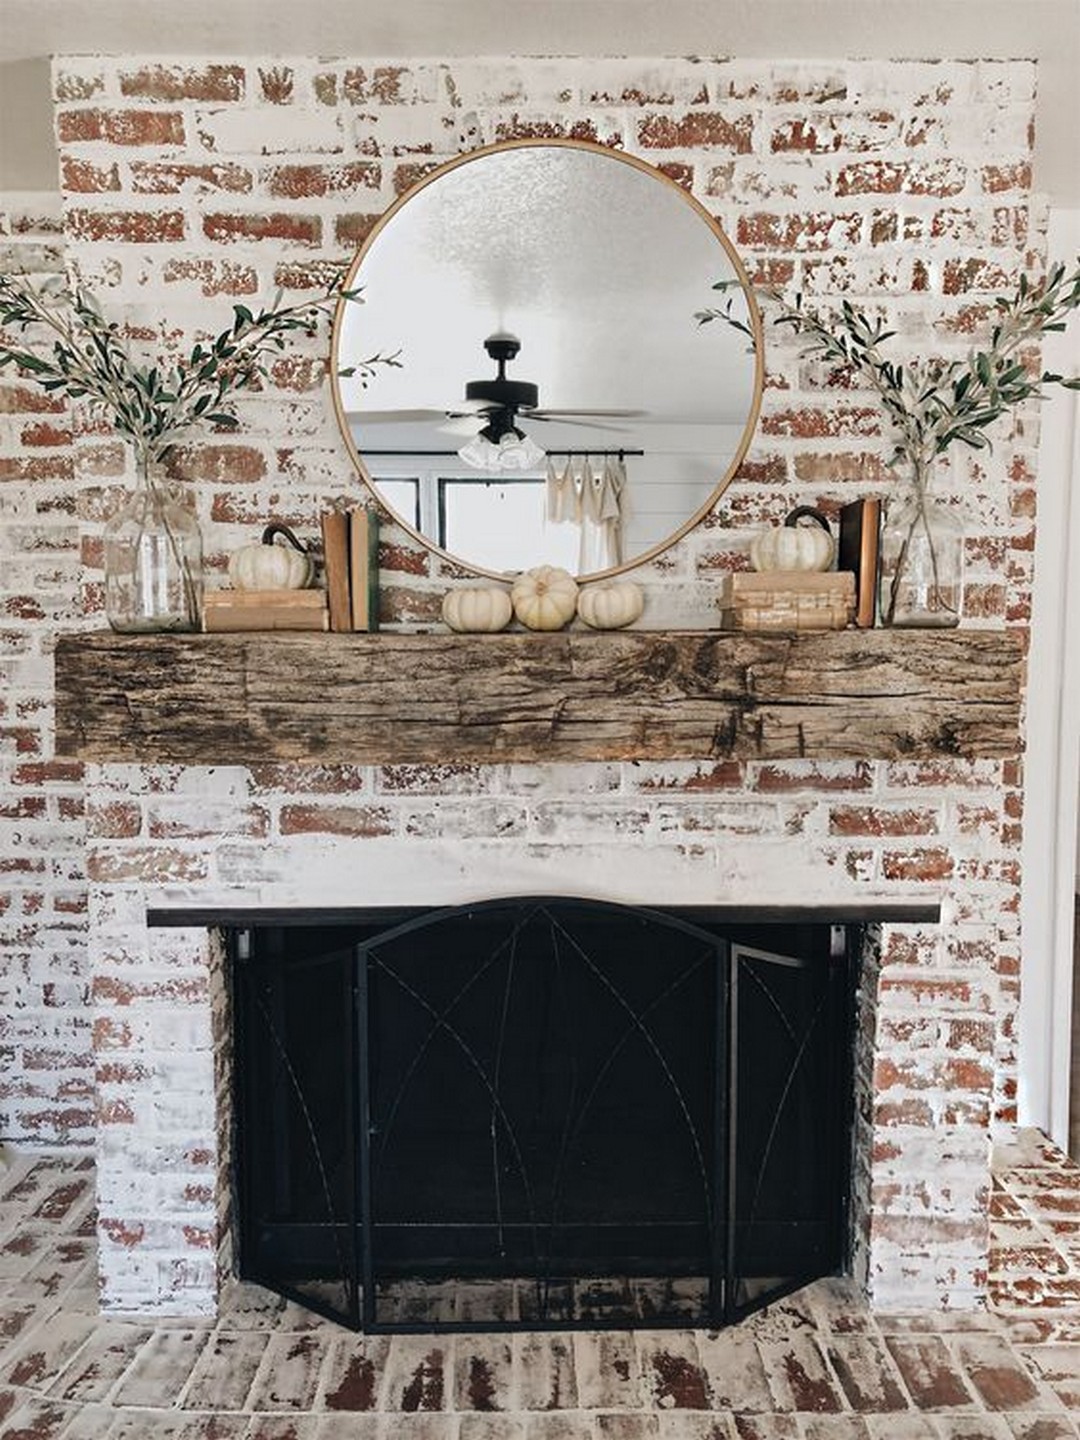
Some people might just refer to it as a white plastered brick wall which is what it looks like. German Smear is basically a morter wash over red brick. You’ve probably seen it on the exteriors of brick homes or on a brick fireplace. In our case, adding plaster over a red brick wall and the vintage fireplace chimney recreated a dimensional time-worn look on the brick.
Aged red bricks are never perfect in size or color. I wanted my brick colors to vary. This technique adds a lot of dimension and mimics old brick by layering on Beyond Paint before adding a faux morter wash and sealer to create a German smear effect on a budget.
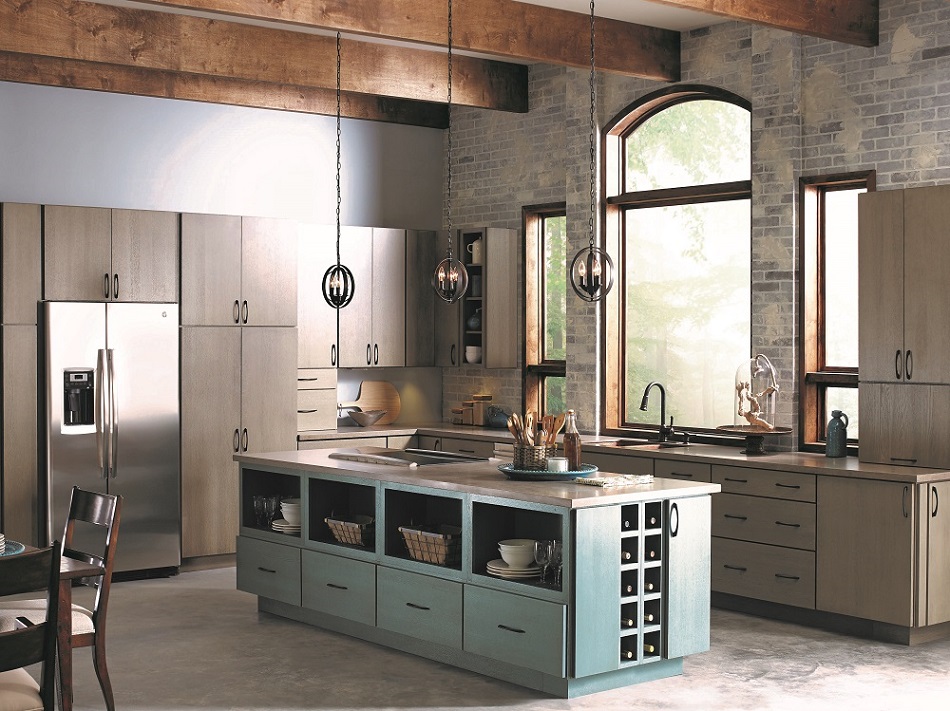
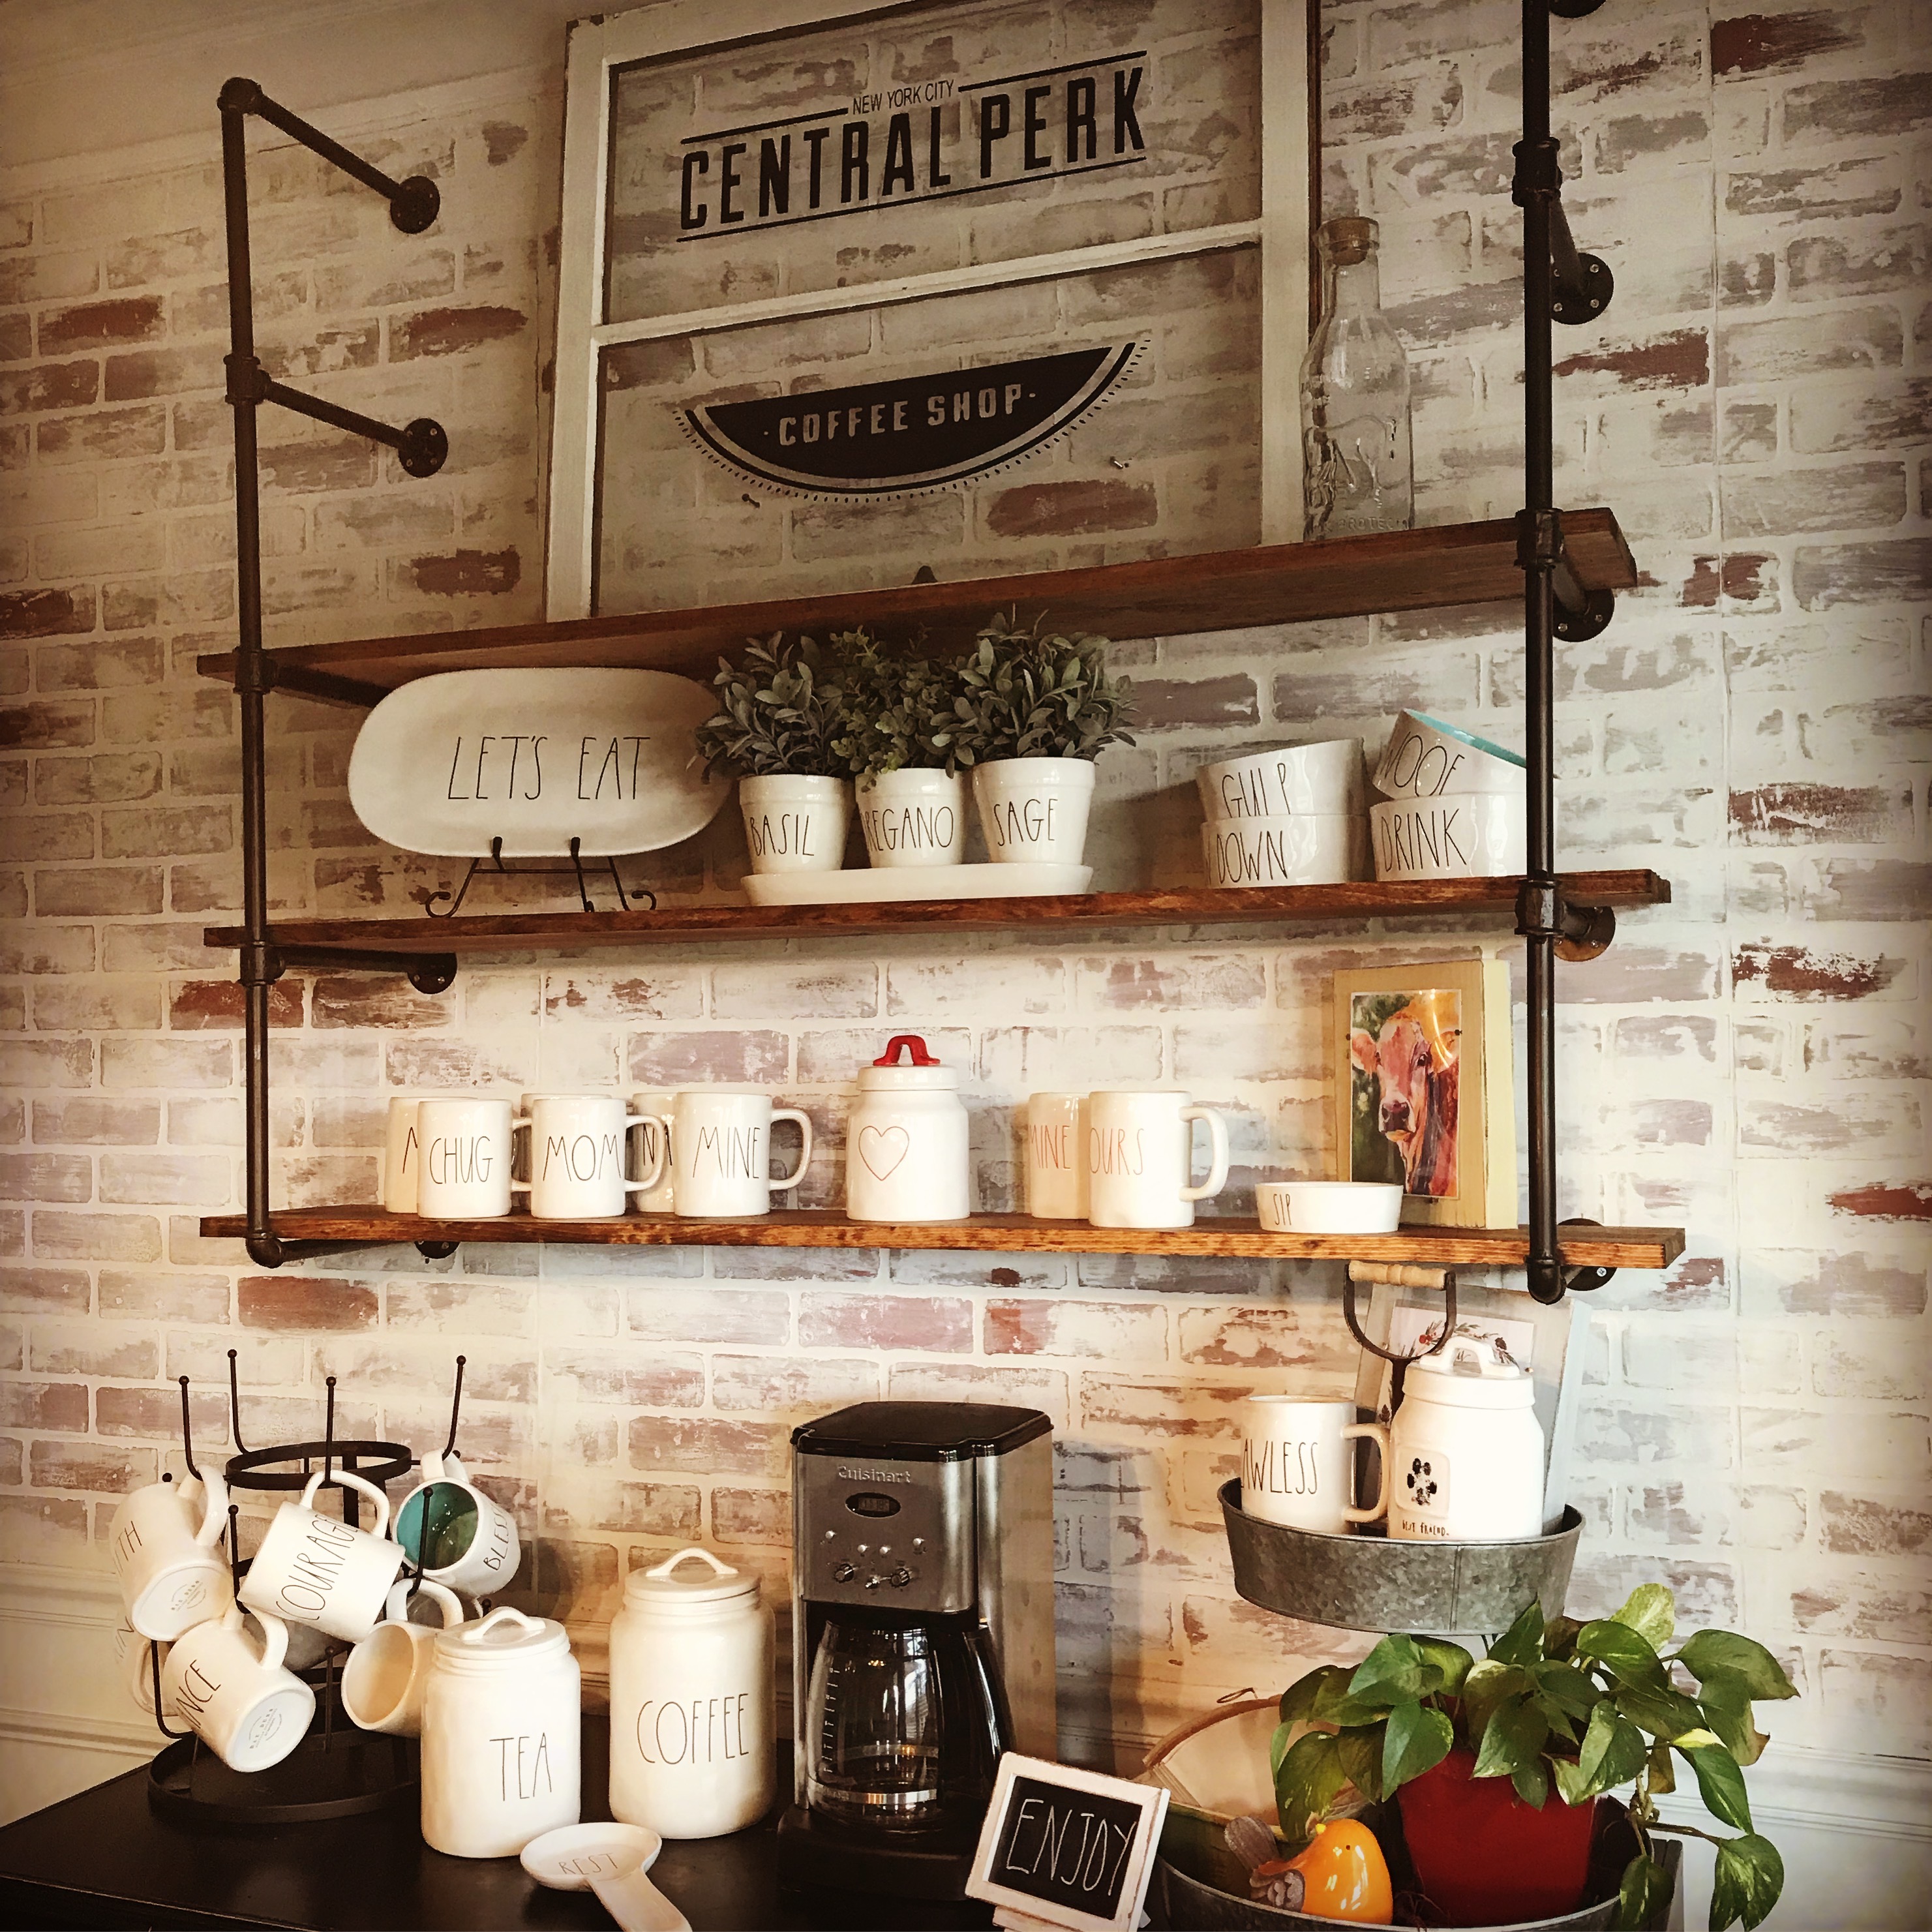
Adding plaster over brick in the German smear style completely changes a room and adds a ton of personality, texture and a big wow factor. The best part is how versatile it is. A German Smear wall looks great in a modern industrial setting, a vintage or traditional setting, add some mid-century furniture and it looks like an urban warehouse.

As an Amazon Associate I earn from qualifying purchases. I use affiliate links to help you find the products I used. If you make a purchase I get a small commission at no cost to you.
DIY German Smear/Schmear Tutorial and Video
Supplies needed
- Faux red brick panel, found at Home Depot
- Durabond or Easy Sand 90 Joint Compound
- Beyond Paint in 3 colors, Licorice, Pebble and Bright White
- Beyond Paint Sealer
Tools needed for this project
- 4-6″ foam roller and tray
- standard size paint roller and tray
- large bucket
- paint mixer paddle for drill (optional)
- 4″ or larger putty knife
- small container to hold plaster when applying to wall
- water
- painters tape
- drop cloths
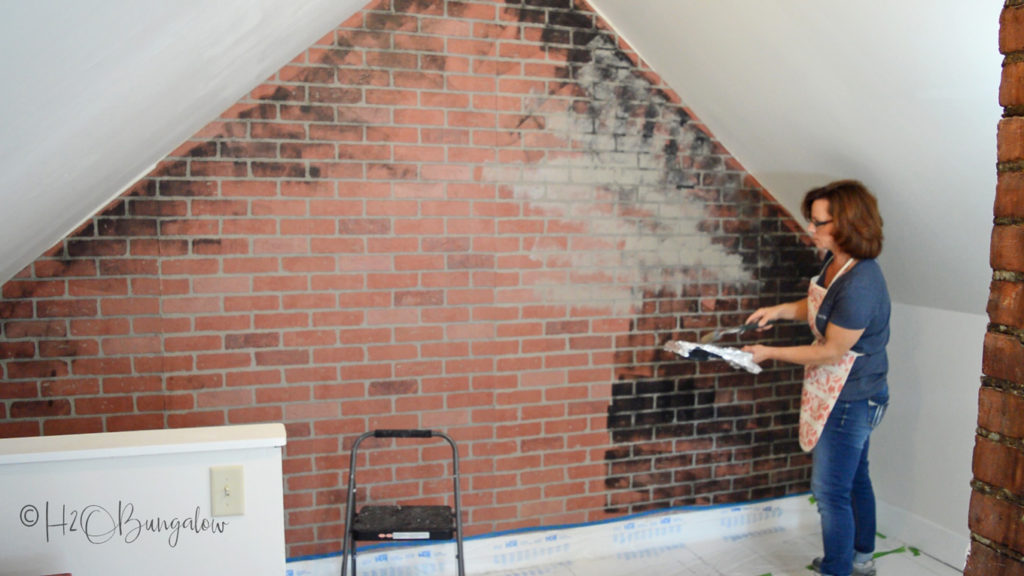
Adding a German Smear feature wall can seem like an overwhelming task. In reality, it really wasn’t. We started with about 4 sheets of faux red brick panels from Home Depot. Installing them was pretty simple, cut and nail to the studs in the wall. Once the panels were up, the rest was pretty straight forward.
Take a look at my DIY German smear/schmear tutorial video to see how white washing brick a wall can look amazing!
I share lots tips and techniques as I work through applying color over the brick and then the faux white morter in the video.
More white washed brick questions and answers you may have before tacking your own wall.
Is the German Smear technique the same for real and faux brick?
In other words, can you do this German smear technique on painted brick or real brick?
Yes, when you use plaster! Morter it will not stick to painted brick. If you are using painted red brick and it’s painted 100% all over and sealed just add the plaster white wash. Depending on how thick you apply the morter wash, the brick color will show through.
If you’re planing on doing German smear on real brick, you’ll want to seal it first if it’s old brick that was part of a fireplace or chimney. Keep in mind, old bricks get reused, your real brick may have been part of chimney at one time. Residual oils in the brick can bleed through and discolor your white plaster. Use a good shellac based product like Bin Sealer and apply with a roller or paint sprayer.
What could happen if you don’t seal the brick first?
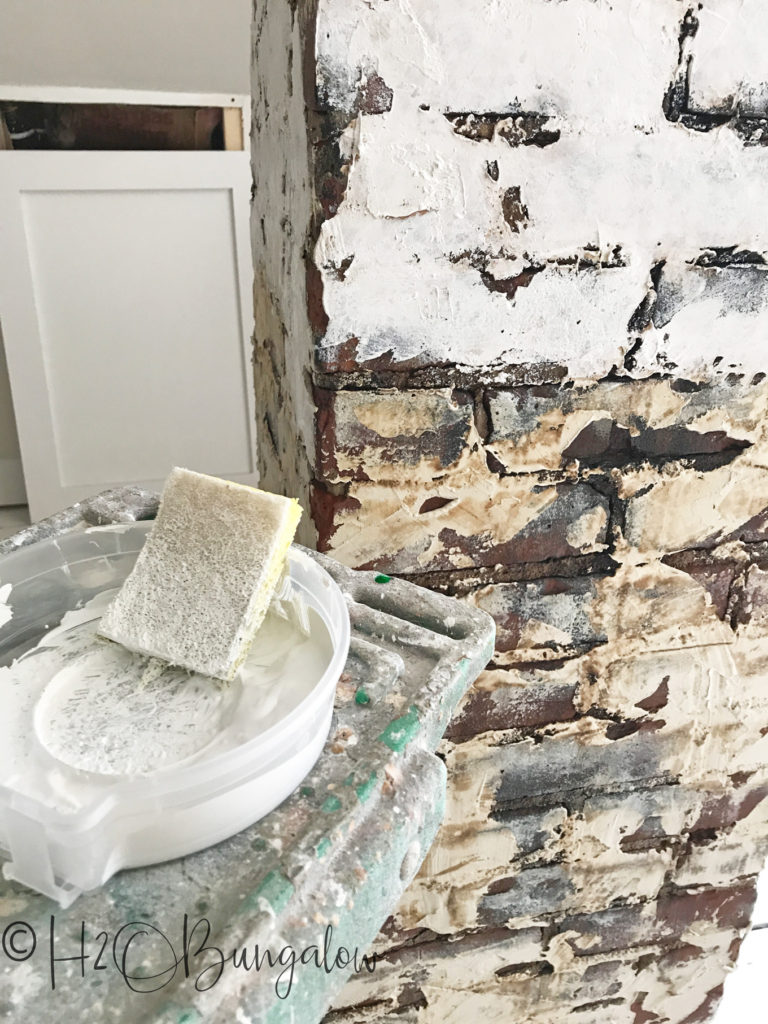
Let me show you… Ugh! The oils in the brick chimney soaked into my plaster but the next morning. Not cool!
If this happens to you too, go back and seal your brick. Use a sponge to apply the Beyond Paint, Bright White over the plastered areas. It’s a pain but turns out fine.
Do I have to use white morter or can I use any type of plaster or drywall mix?
Nope, you don’t have to use white morter on a faux brick panel or real bricks. White morter won’t stick on the faux brick board, but it will on real brick. I simulated a morter wash with joint compound.
I used Durabond 90 Joint Compound which is a drywall mud for taping and bedding sheetrock. I picked it specifically because it’s made to dry very hard and it dries whiter than other joint compounds. Some drywall mud brands will dry a bit chalky and soft, and the plaster can easily be scratched off. I wanted my German smear wall to be durable and last a long time. The best part is a big bag of this stuff is pretty inexpensive, probably under $15.
I’d recommend using a paint stirrer to mix your German smear/schmear plaster if you are doing a whole wall. Only mix what you will use within an hour, it has a one hour wet time. Watch my video tutorial to see what it should look like when mixed and ready.
Don’t forget the squirt of soap like I shared in the video!
Why did you choose Beyond Paint for this project?
I choose to use Beyond Paints because they are extremely durable, easy to use and self sealing. The North House Lodge has lots of guests and traffic. I want my finish to last. I wouldn’t have needed to seal the German smear wall if it weren’t for the joint compound I used. Last fall I spilled an entire glass of red wine on the unsealed bathroom cabinets I painted to match the kitchen in the unit next door. I though for sure they’d be ruined and I’d need to repaint them. Nope. All I had to do was wipe the wine off. No stains were left behind. Once cured, Beyond Paint is a great option for long lasting finishes.
Variations on the German smear technique
There are many subtle variations of morter over brick or a whitewashed brick wall in home decor. Here are a few popular German smear/schmear variations.
- Heavy plaster build-up over the entire wall, only the shape of the bricks will show through
- Heavy and thin in random areas
- Thin application all over except the grout lines which are all white. Use your finger to apply the joint compound in all of the mortar spaces.
- Very thin application for a mortar wash or whitewashed brick effect
Here are few examples of the German smear technique on indoor brick walls.
Thin morter application all over with random heavy morter applied.
Faux red brick panel with white wash.
Gorgeous fireplace with German Smear technique and wiped off bricks.
Now let’s take a look at my before and after pictures of German Smear walls.
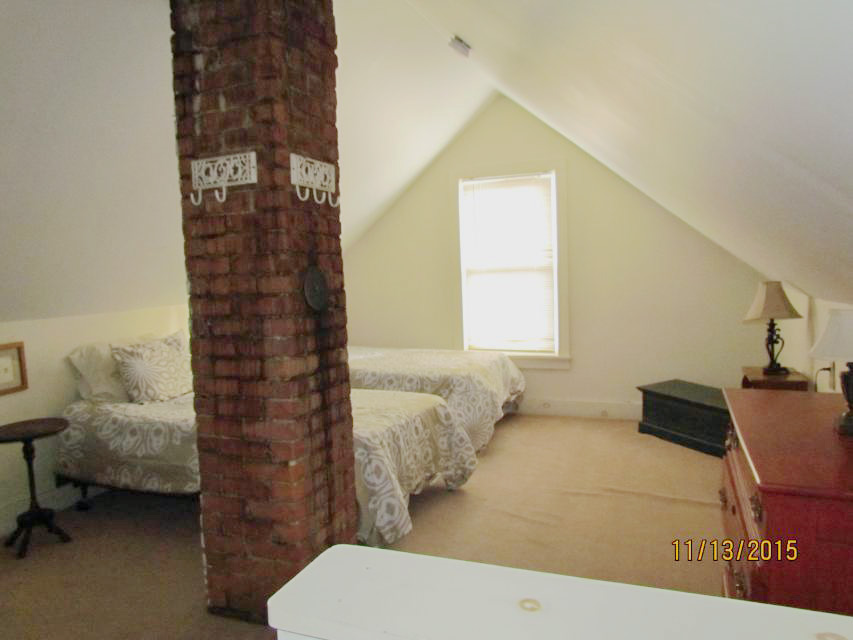
To appreciate what a difference this project made I think you need to see what I started with. This is what the room looked like when I bought the house. Yes, like most vacation rental homes, it came furnished.
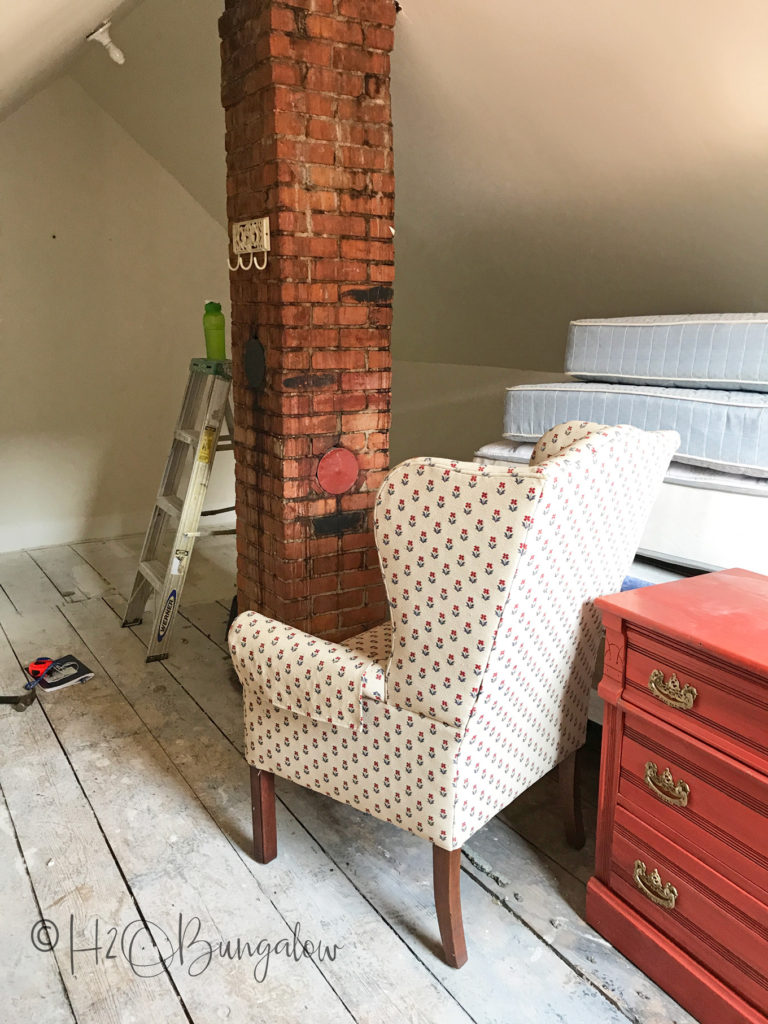
Yes! I had my hands full. This is the room as work was underway…
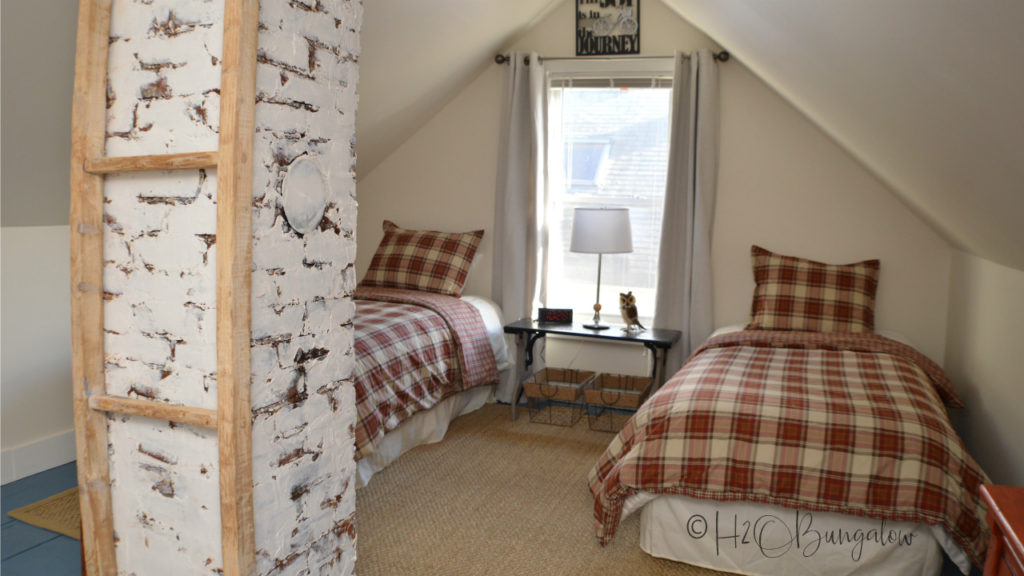
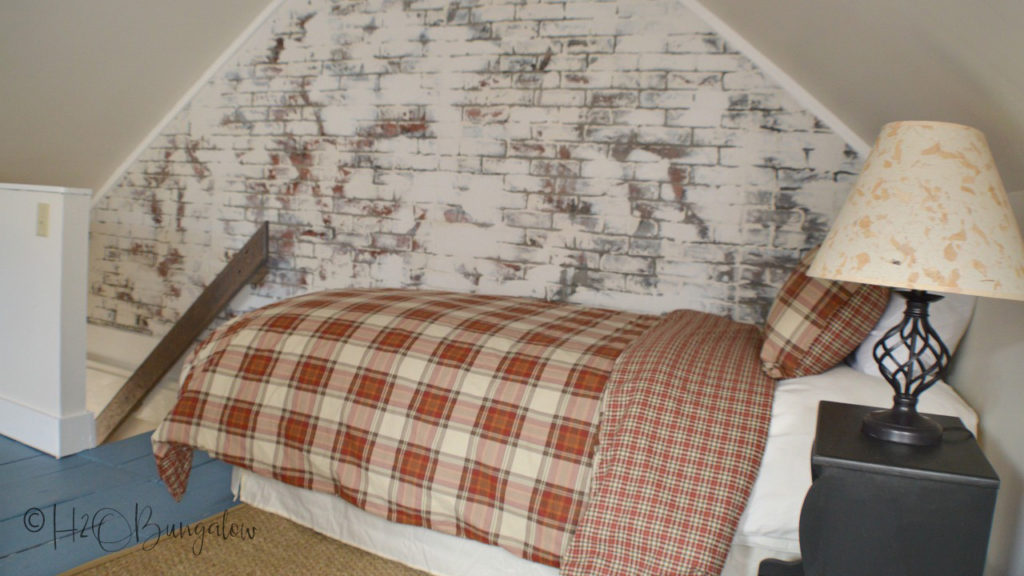
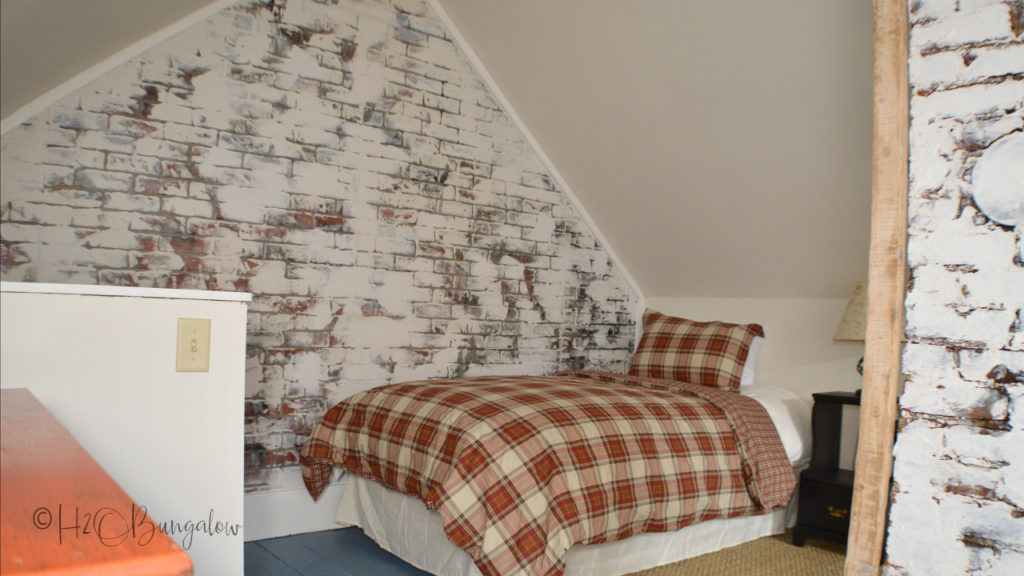
Here’s the third floor loft after I finished my German Smear brick project. You know the chimney is real red brick.
You may recognize a few of my DIY projects in this room. The $10 Blanket Ladder I made hanging on the chimney. The vintage bench turned bedside table project in the back of the room was also done with Beyond Paint.
It blends beautifuly with the faux red brick panels I added.
The original floors were too damaged to refinish. See my tutorial on how to paint wood floors.
Yes, I’d do it again. Adding a German smear wall was not hard.
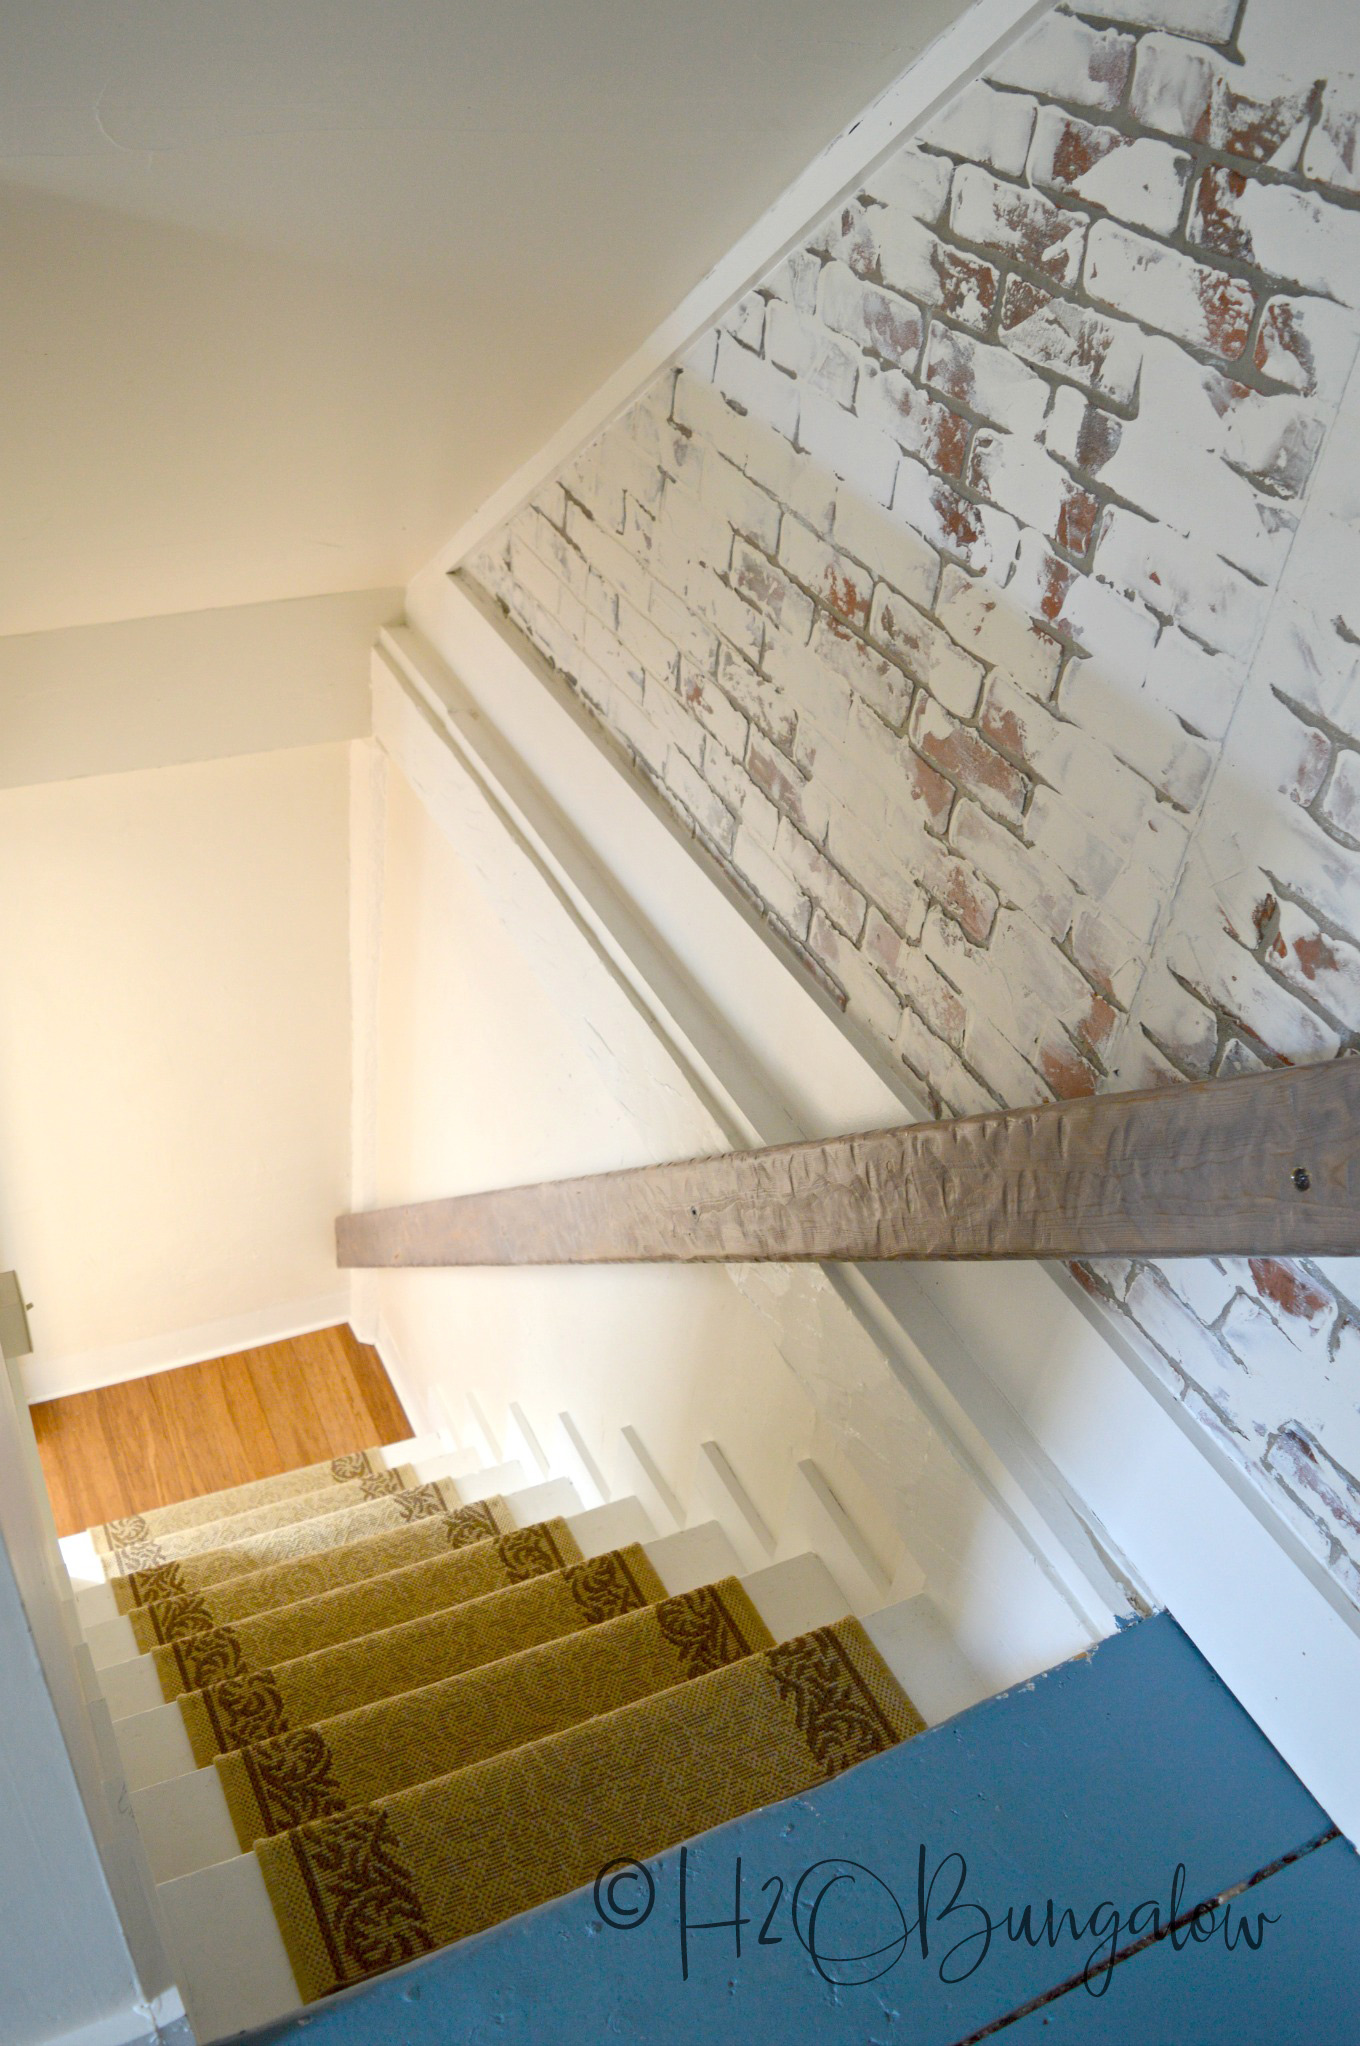
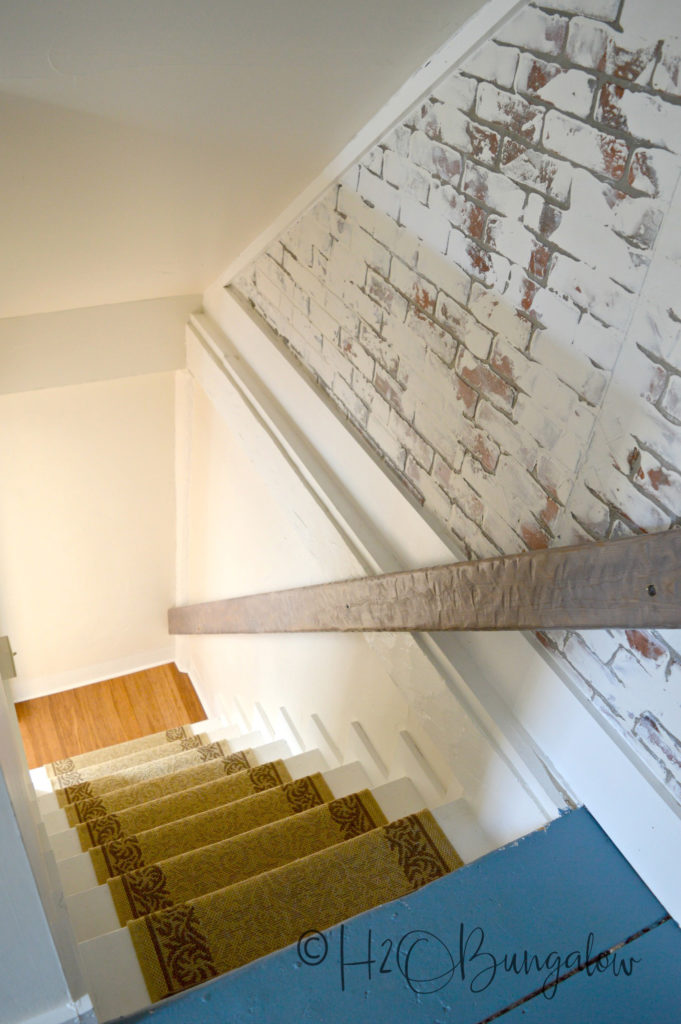
I especially like the steps leading up to this loft bedroom with the white washed plaster.
Pin this for later and share on facebook!

I love working with Beyond Paint on projects.
Over the past year you’ve seen several different painting DIY projects I choose to use it on. It’s easy to work with and very durable once cured. Here are just a few of my favorite ones 🙂
Step by Step Guide to Paint Kitchen Cabinets
Easy Blue Painted Dresser Makeover
Vintage Folding Bench Turned Side Table
You can learn more and find other project tutorials on the Beyond Paint website.
One of my biggest challenges in the North House Lodge is creating fun rooms with plenty of personality to welcome our guests. On the other side, I try to share DIY projects that you guys might want to try in your own spaces. I think my DIY German smear/schmear tutorial hit the mark in both categories. Do you agree?
Come and check out the North House #54 Home Tour for more inspiration.
Is there a space in your home that would look fabulous with a German smear style plastered wall?

Jessica says
Hi! Thanks for the tutorial. We’re about to start our fireplace but are a bit confused on which sealer to use. You state in the video and in the written part of the blog to use a shellac-based sealer, but then linked to a water-based sealer (based on the amazon product description). When searching for a true shellac-based, clear sealer, I’m having trouble finding one.
Could you provide clarity and/or any tips on finding the right one?!
Thank you!
Jessica
Wendi Wachtel says
Hi Jessica,
That’s a good question. I used the shellac to based sealer to seal the tar and other fireplace oils because they bled through the white. If you need this try Bin Sealer Clear. If you’re just sealing the German Smear and are not worried about bleed through from old bricks then any water based clear sealer will work. Be sure to choose a mat one though. Have fun with your project!
lynn champion says
I would like to do a German Schmear on my kitchen island, the base of it. Would it be durable enough if it were kicked with little ones sitting on a chair?
Wendi Wachtel says
Hi Lynn!
Thant’s a good question! I think if you applied it thin enough it wouldn’t chip off. But, the German Schmear done with the Durabond isn’t going to take to washing well. So if you’d plan on washing it to remove kick marks I think it won’t hold up. I hope this helps and good luck with your project!
Christene Robertson says
I want to do this on my backsplash and countertops. They are tumble type stone. Would it be possible to do this treatment? No money in budget to gut and replace with granite countertops and backsplash. Thank you!
Wendi Wachtel says
Hi Christene,
You could do this on a backsplash. If you do, I’d recommend sealing it very well so you could wash it off. I don’t think it would be a good solution for a countertop though. Good luck on your project!
Carol says
My brick wall has been painted over but crumbling in some areas but mostly cream color. I would like to get the German smear look but I need more color contrast. Any suggestions will be helpful.
Thank you
Carol
Wendi Wachtel says
Hi Carol!
That’s a good question on how to get contrast on painted brick. I’d probably repaint the entire thing with a realistic red brick color and then do the German Smear technique over that. I’d say on the crumbled brick area, paint over that as well. If you’d like to repair areas of it, I’d try using Bondo or something similar to patch the areas that need it before painting over it. Good luck with your project!
Alaine Edgar says
can I use Venetian plaster on faux brick panels…
Wendi says
Hi Alaine,
As long as it dries hard and white, I don’t see why not. I’d try a test panel first to be sure. If it works well, please let me know and I can add a note to the post that it will work too! Good luck with your project!
Alaine Edgar says
How much beyond paint do I need to buy for 3. 4c8 sheets of faux brick panels.
Wendi says
Hi Alaine,
That’s a good question! I think you’d be fine with the smallest size of the paints. It goes pretty far. Have fun and good luck with your project!
Elizabeth Armstrong says
Hi Wendi,
I love the German smear. If you inherited a pre-painted brick, could you still do the German smear? The paint is black currently. Can you just repaint it and then do the German smear or do you have to strip the exist paint? Just curious if you could answer either of these, your tutorial was very helpful!
Thanks,
Elizabeth
Wendi says
Hi Elizabeth and thank you so much! To answer your question yes, you can still do this on pre-painted brick. The lazy girl in me wouldn’t strip the brick first because it’s too much work. Depending on the color of the brick, I might paint it again in the colors of real brick or add a heavy paint layer first in a brick color before layering on the other colors. The end result really is beautiful! I hope that answered your question. Let me know if you have any other questions… Be sure to share your picture on my Wednesday share day on my Facebook H2OBungalow page! I love when I get to see someone’s project that I helped inspire!! Thanks so much for your visit and good luck.
Ivory says
So beautiful I love the changes you made, What a difference!!! I have a question, where did you find tge twin comforter, I love them. Exactly what I am looking fr,
Wendi says
Hi Ivory! You have good eyes! I love those twin bed covers too. Fell in love with them the moment I saw them. Thanks for reminding me I need to make a resource page/post for the North House. LOL Here is a link (affiliate link) to the ones I bought https://amzn.to/2IFe2BV I love the quality of them too. Very nice cotton that washes well. Good luck & send me a pic if you get it!
Michelle Leslie says
Absolutely beautiful Wendi. We have a wall in our upstairs lounge that’s been screaming for a faux brick treatment and your video explains everything so well. I can’t wait to get cracking. Thanks so much
Wendi says
Hi Michelle and thank you so much! I love everything about this project…how easy it was to do and especially how beautiful the walls look now. I’m glad you liked the video, this project was one where a video really helped a lot. Please share a pic when you make one of these too!
Audra @ Renewed Projects says
Hello,
Thank you for the video. Quick question and I apologize if you already stated this and I missed it, but why the squirt of soap?
Wendi says
Hi Audra! You’re welcome, I’m so glad you liked the video and tutorial. Yes, I should have explained about the soap.Thanks for pointing that out, because I did forget. It helps the plaster mix better and dry better without as much of a musty smell that usually goes along with drywall mud. Thanks for your visit and asking a great question!
Audra @ Renewed Projects says
Hello,
Thank you for getting back to me. I was wondering if it was for the smell. Good to know it helps it mix better, plaster can be so clumpy! Great tip. 🙂
Wendi says
You’re welcome Audra! Glad I could help!
Linda at Mixed Kreations says
It’s beautiful Wendi! That is what I have been wanting to do to our fireplace. Thought that it would lighten up the room, plus I love it. Would really like to do the whole outside of the house with the German Smear, but that ain’t gonna happen. LOL Will have to settle for the fireplace!
Wendi says
Hi Linda! Lucky you to have a fireplace! I wish I’d have known about this technique in TX. Our home had a huge brick fireplace and this would have made it a showstopper. You’ll see another fireplace I made-over next fall using this technique too. Enjoy your project, I know it’s going to look awesome!!
Mary says
Such a great project Wendi, it adds interest and texture to the room and makes it all around cozy!
Wendi says
Thank you so much Mary! This was one of my gem of a projects from last fall in VT. I knew the room could be something special with the right decor. The big brick wall was the cornerstone for the style. It may be one of my favorite rooms at the North House yet! Thanks so much for your visit & note my friend!