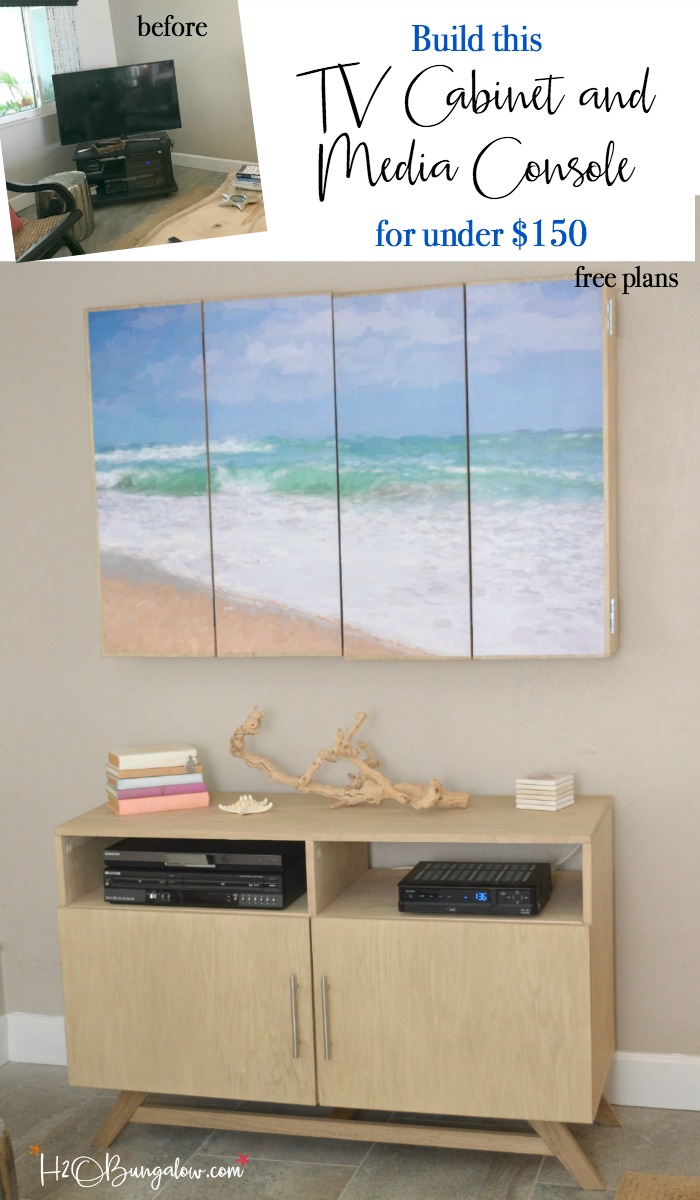
Did you guys happen to notice there was a gorgeous new media cabinet under the TV cabinet when I shared my painted chair makeover the other day? I’m over the moon with excitement about my newest build project, this DIY media console with free plans.
I was challenged to find a way to house our electronics after moving the TV up on the wall. I didn’t like the look or the price tag of what I’d seen on the market so I built my own. Guys, I made both of these for under $150!
I had plans drawn up for you ll after I built this media cabinet correcting any items that needed to tweaked. To me, building with plans is a little like sewing with a pattern. You can do this! The important points are to make precise cuts and follow the directions. Easy peasy…
How To Build a DIY Media Console
Supplies needed to build this DIY media console.
Materials:
- 1-1/4” pocket hole screws
- 1-1/2” screws
- 2-1/2” screws
- iron on edge banding
- Two sets of magnetic cabinet pulls
- Two sets of hidden hinges
- Two cabinet pulls
- Wood glue
- Sandpaper
- Finishing supplies
Lumber:
- 2 – 1×2 at 8’
- 1 – 1×3 at 4’
- 1 – 4’ x 4’ sheet of 1/4” plywood
- 1 – 4’ x 8’ sheet of 3/4” plywood
Tools need to build this DIY media console
- miter saw
- table saw
- Kreg Jig
- drill
- jigsaw
- edge banding cut tool
My email subscribers get my plans and downloadable items for free. Subscribe below and you’ll be directed to a page to download your free copy of my plans. To save the plans, left click on the file and save the pdf file to your hard drive.
If you’re already a subscriber please fill out the below too. Don’t worry, you won’t get 2 emails!
Even though I’m sharing plans to make this DIY media console, I think its helpful to see process pictures. Here’s how I built and assembled my media console.
Step One: Cut, finish and pre-drill pocket holes.
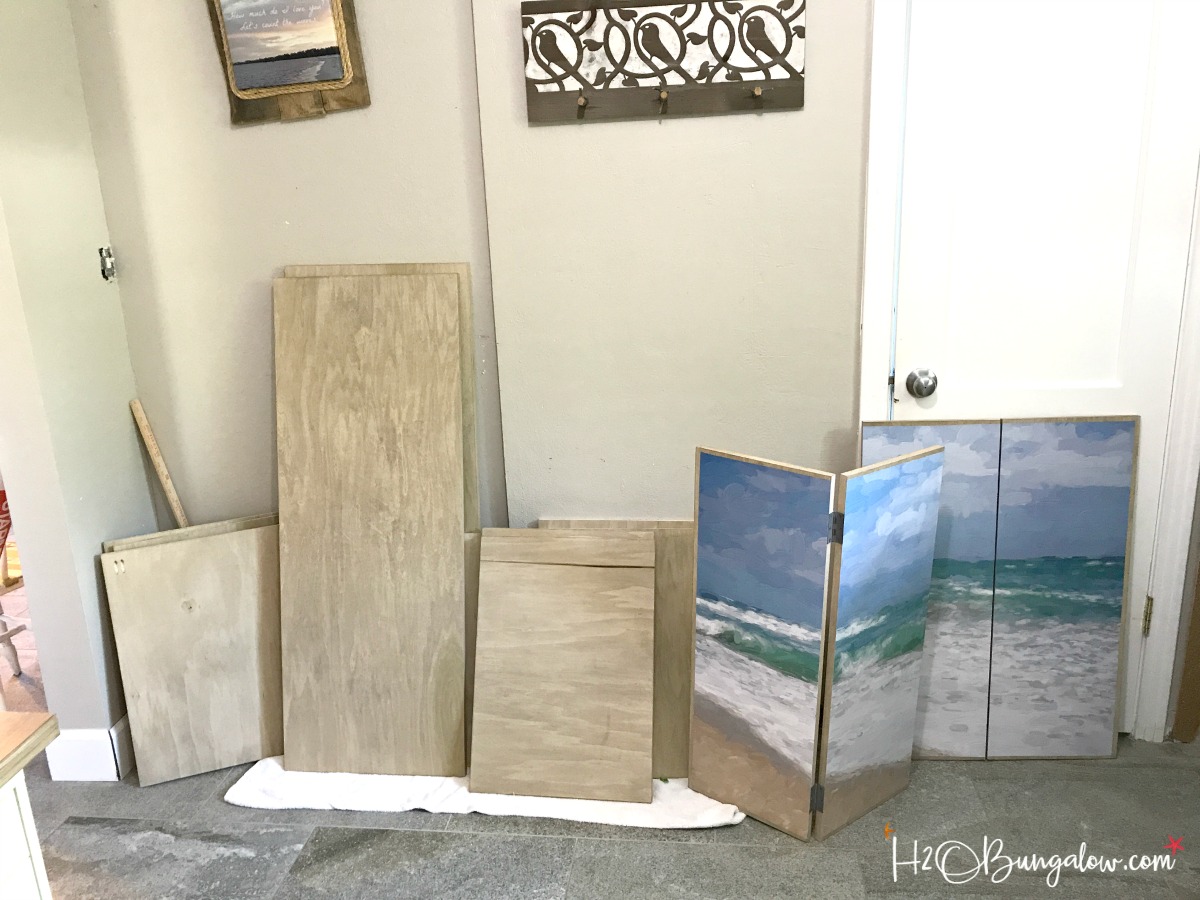
It was easier to cut and finish all the pieces for the media cabinet at once. Assembling everything was a little like assembling a piece of furniture from Ikea. I’ll share how to get the finish I used on both the TV cabinet and this media console soon.
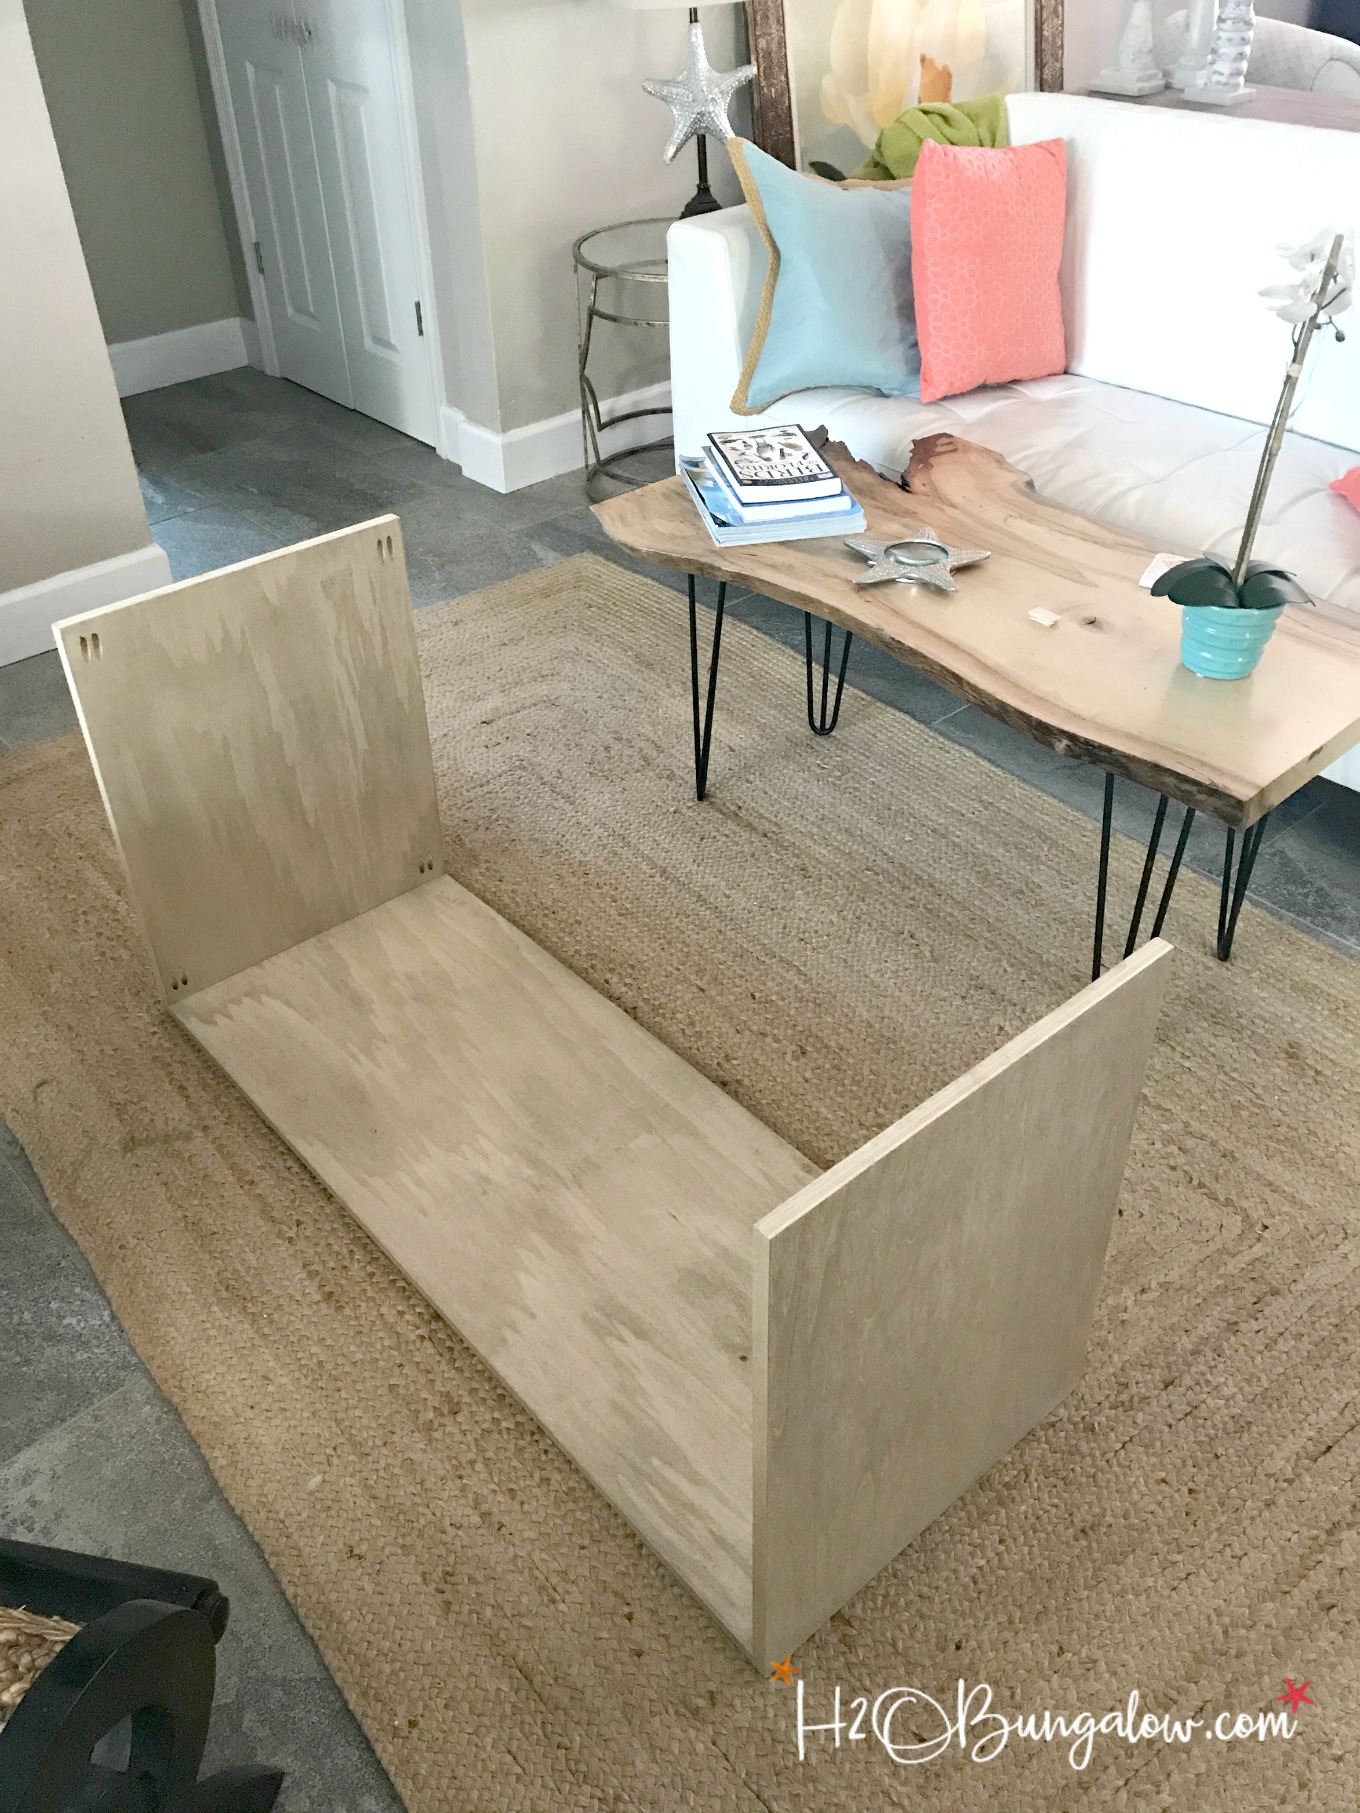
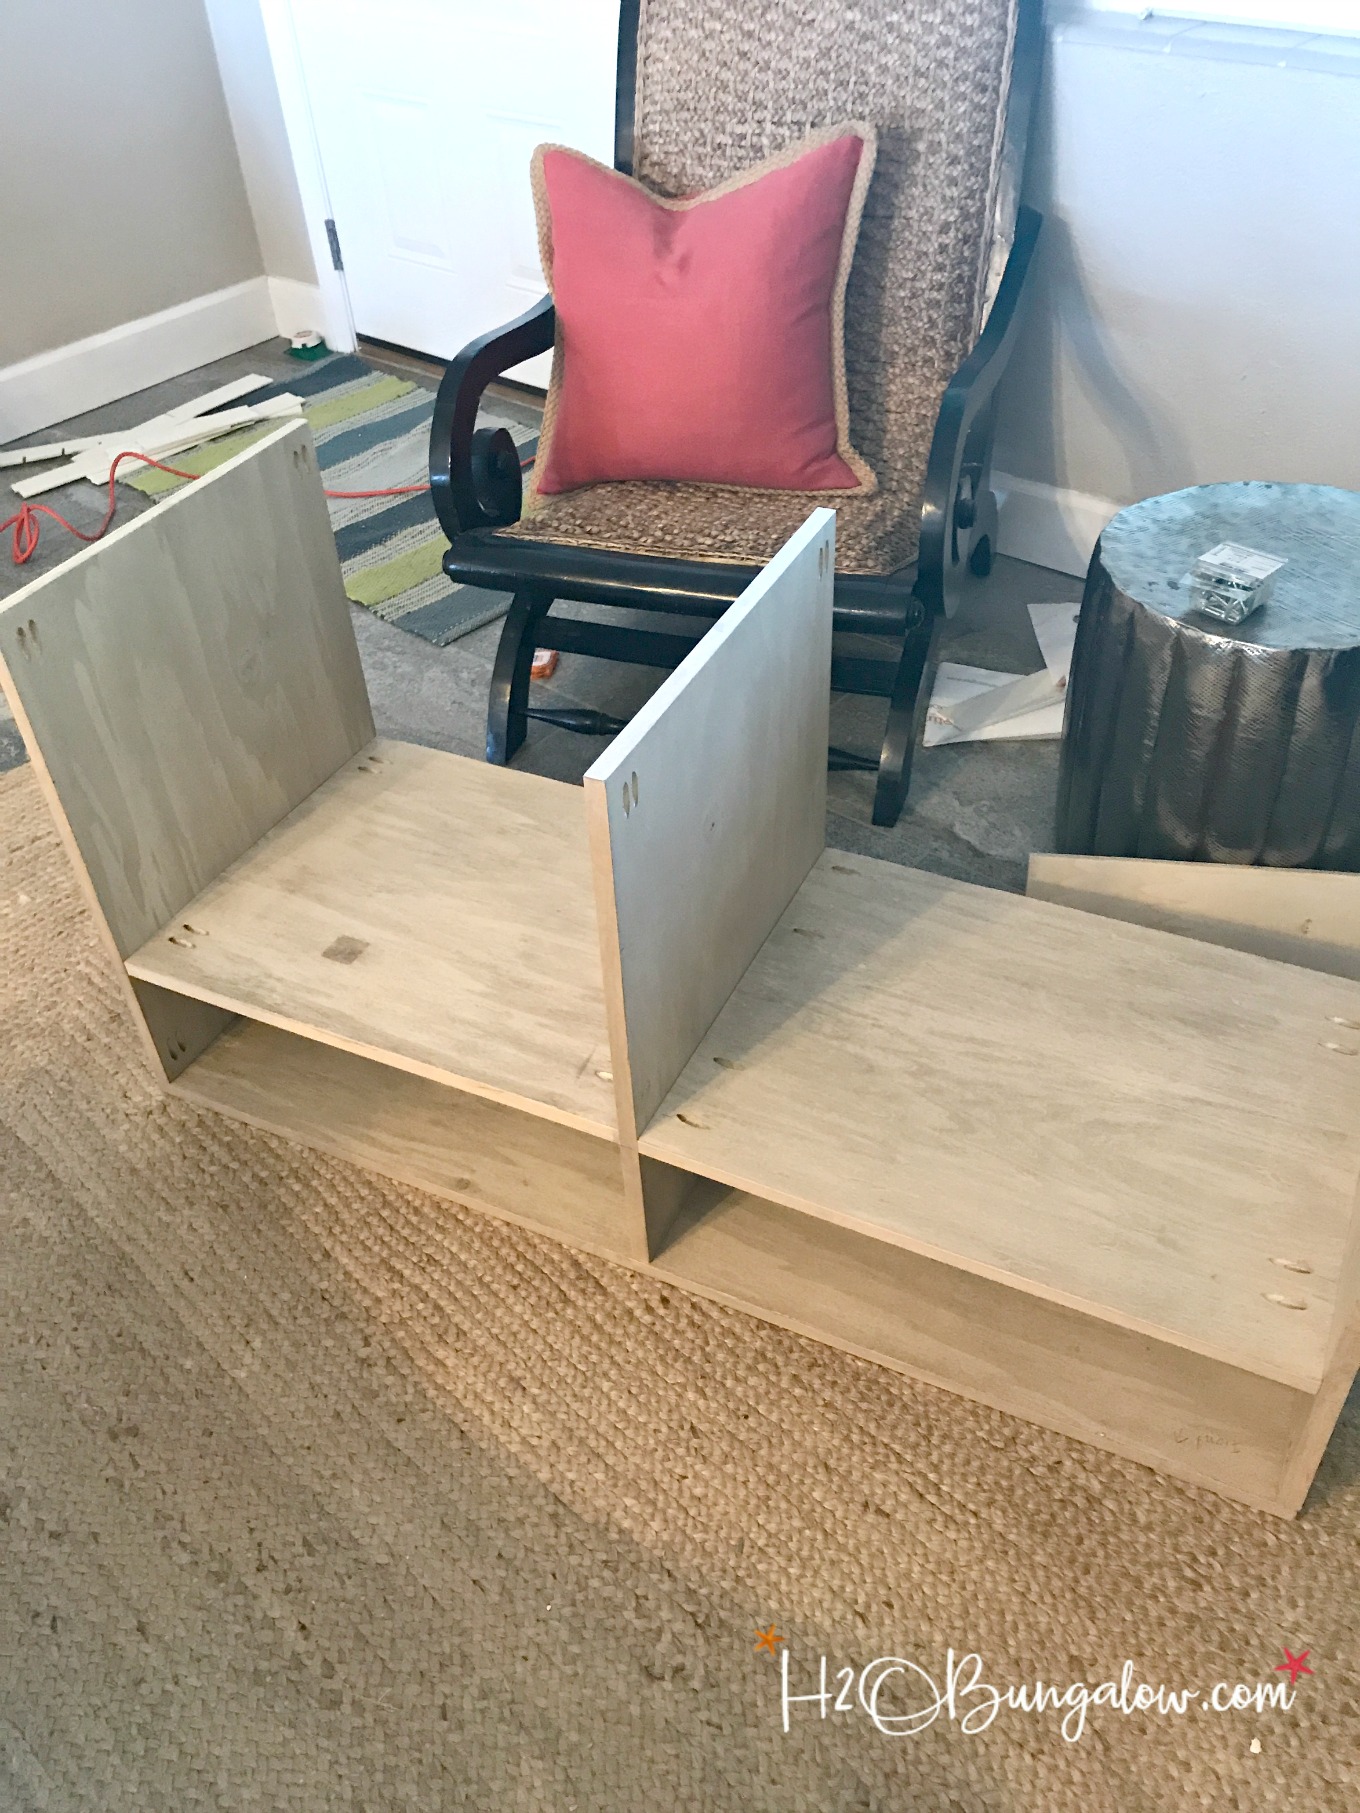
Step Two: Begin assembling the pieces. Start from the top down. Place the top on a flat surface, add the sides and center divider. This way most of the pocket holes won’t be seen.
I made light notes in pencil on the all the finished pieces of the media console. It helped me tell which sides were the front and back as well as the top and bottom. Yes, I assembled it indoors, it was close to 100 degrees and humid outside!
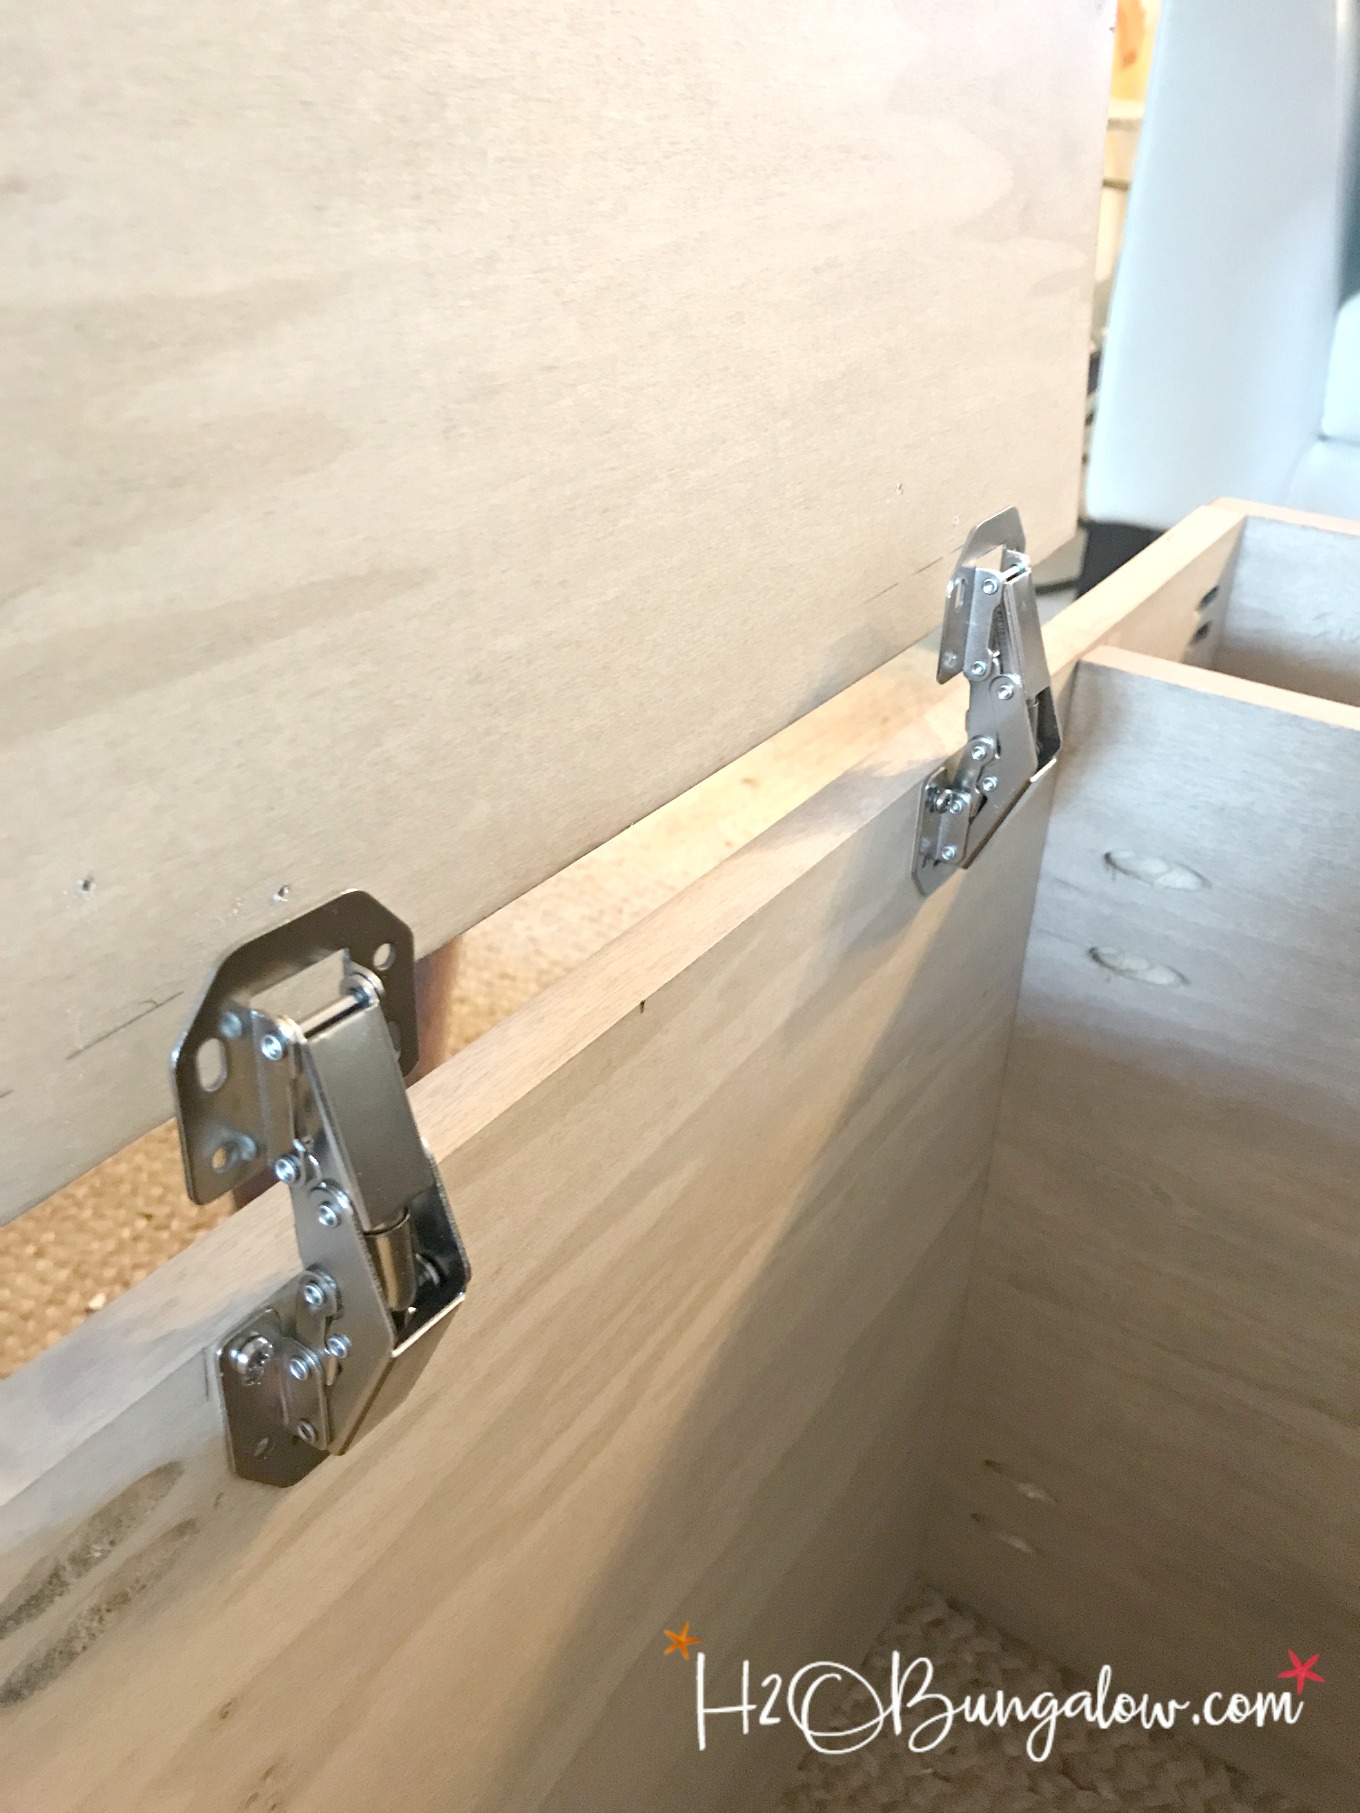
Step Three: Add doors and inside hidden door hinges. Follow the instructions that come with the hinges. Unlike standard hinges, they are easy to adjust after installing them.
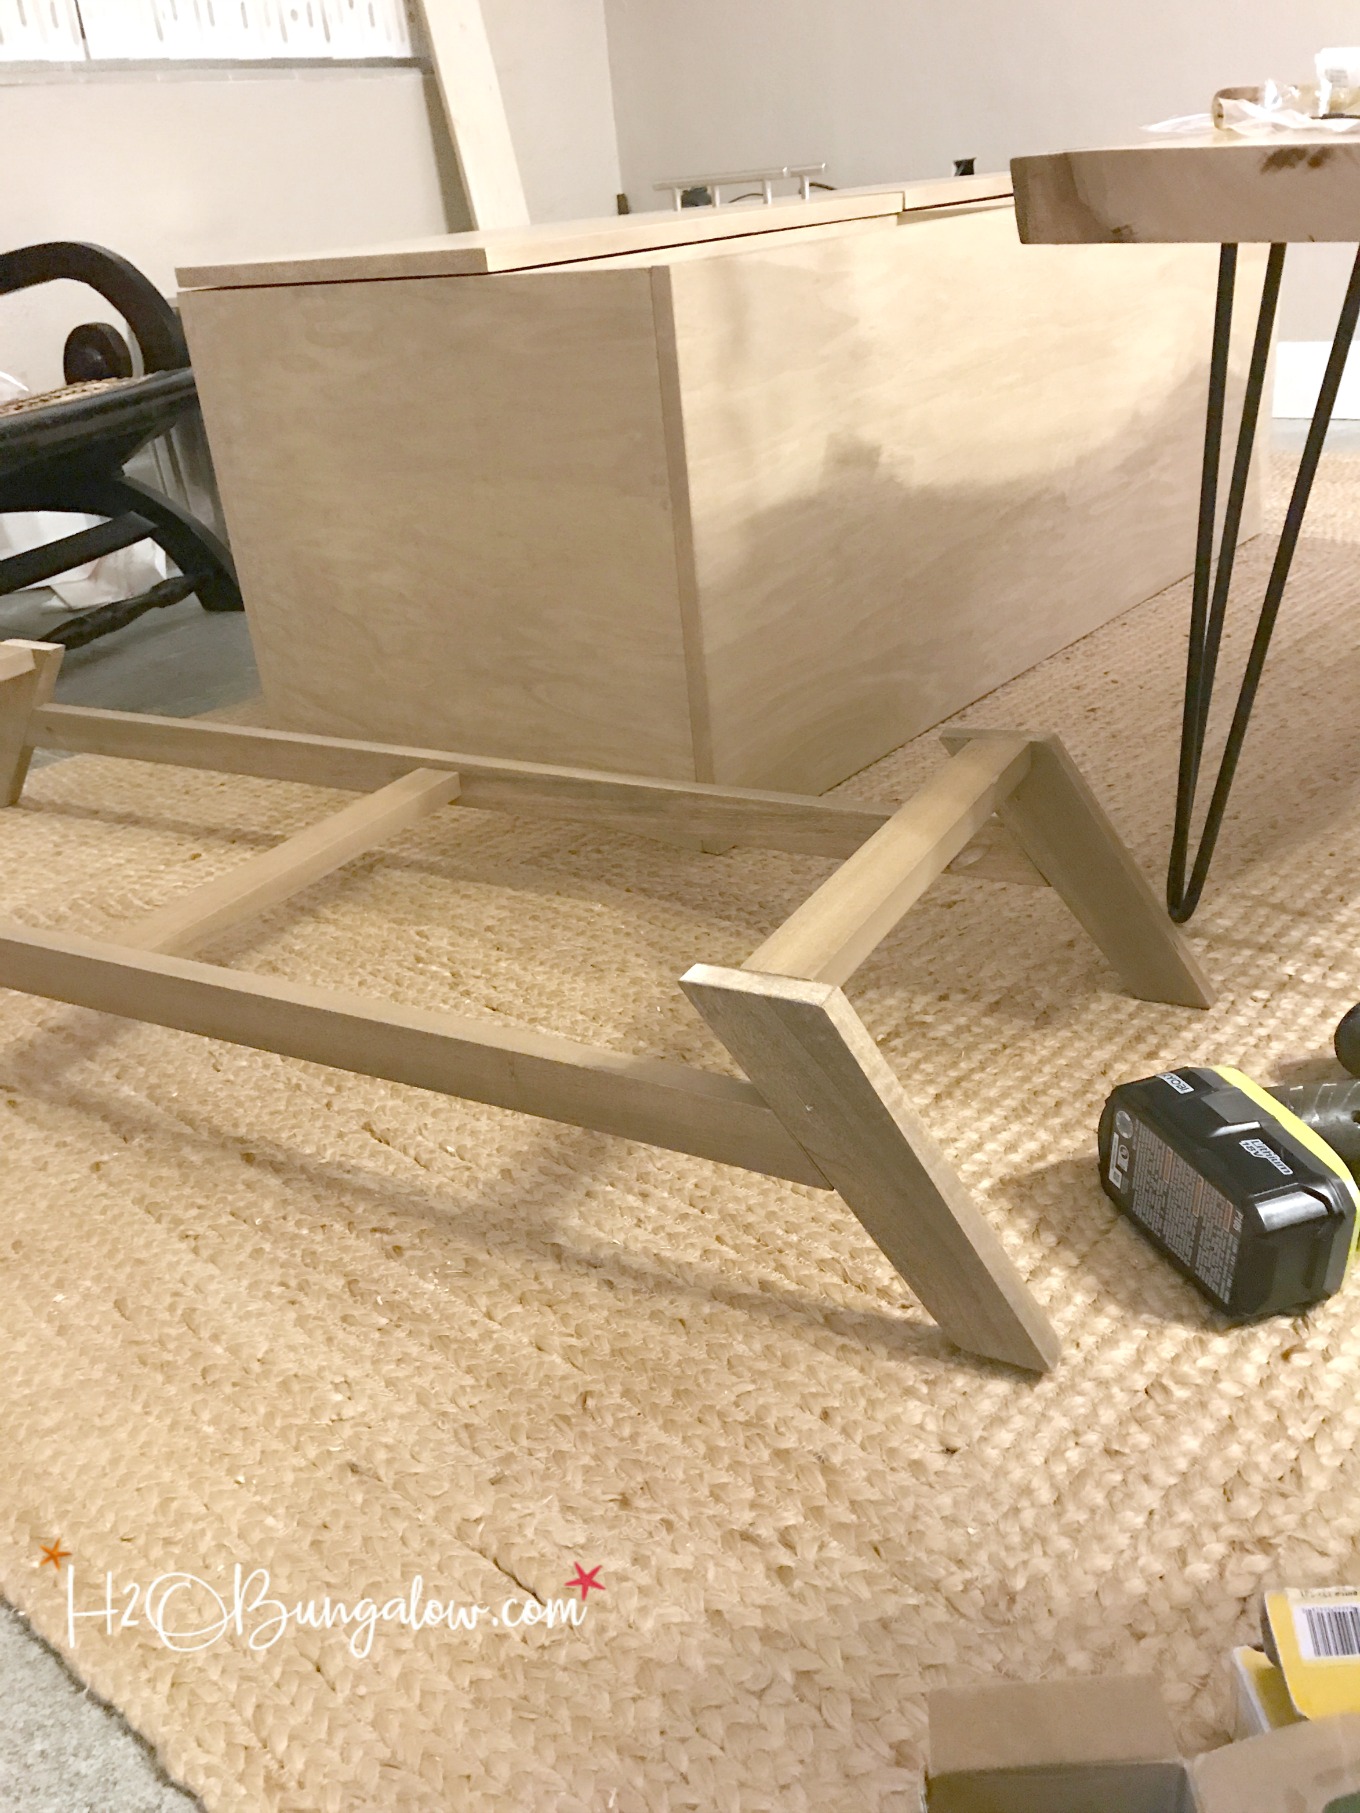
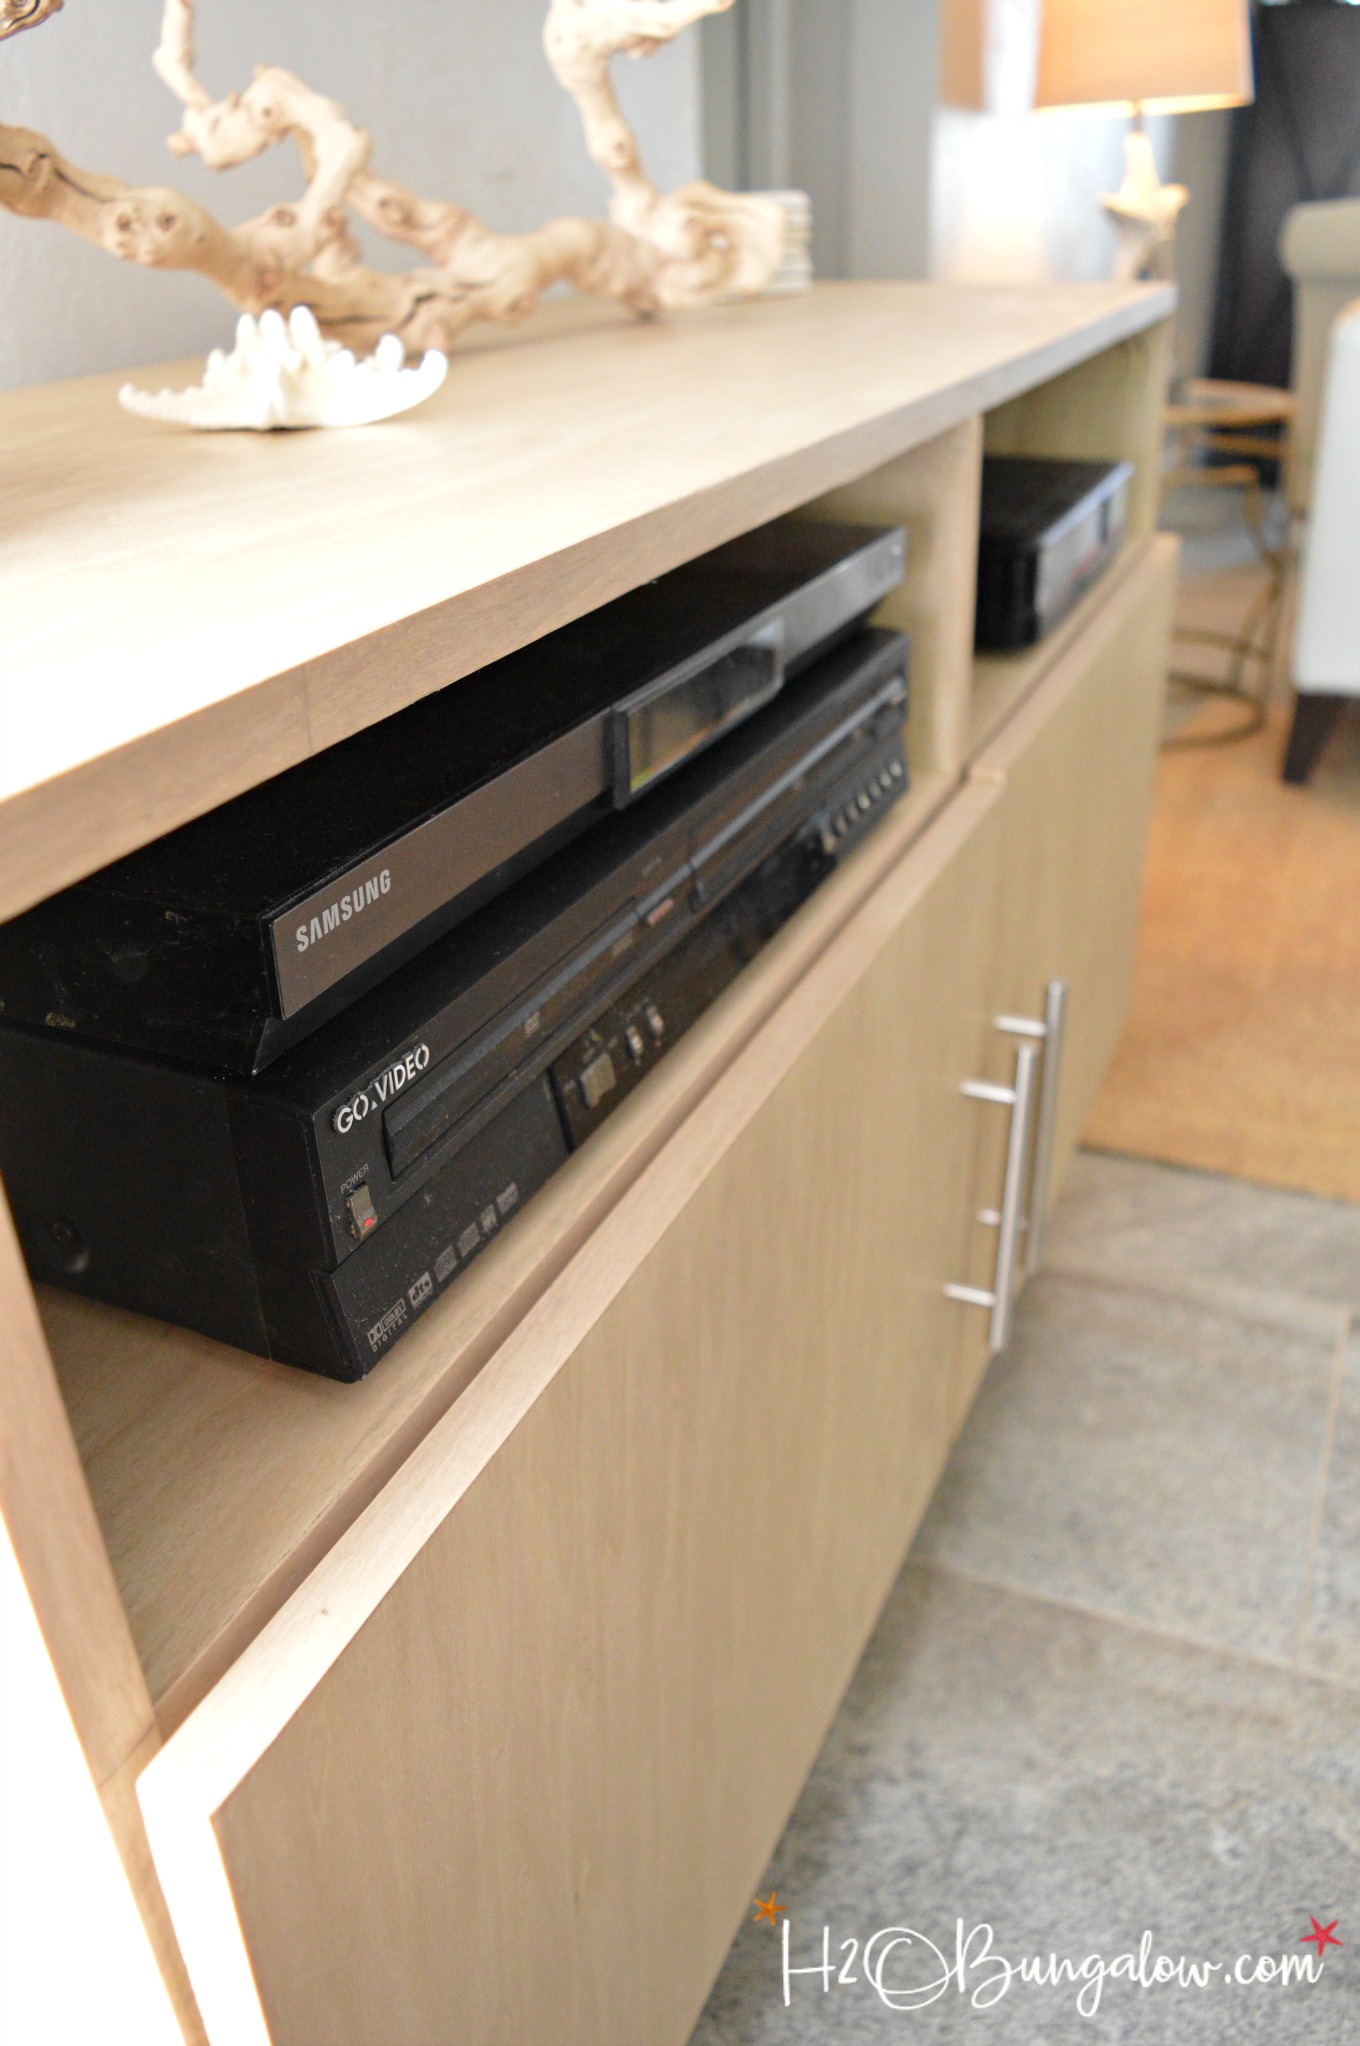
Step Four: Assemble the media cabinet legs. One of the things I love about this design is if a contemporary media console is not your thing, you can easily change out the legs and the knobs for a different style media cabinet.
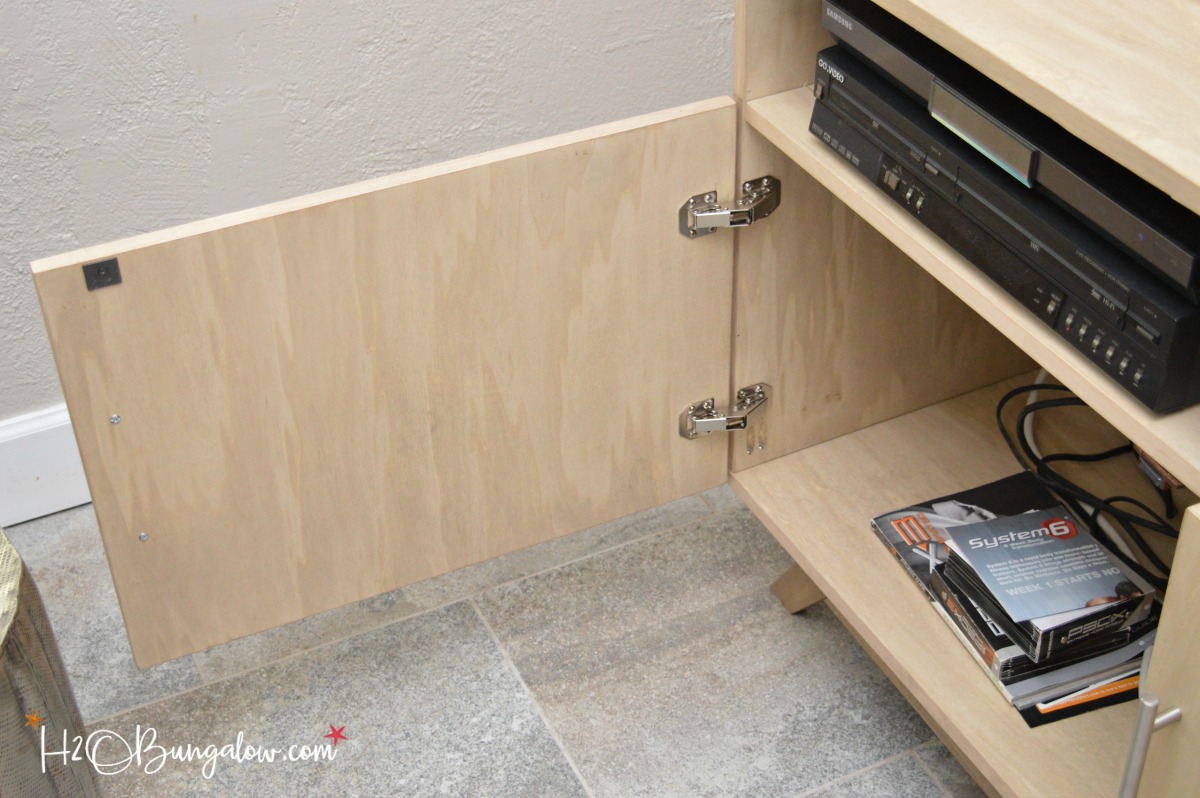
Step Five: Add the magnetic catch closures.
You can add a backing to the bottom cabinet part of this media console if you want. I didn’t have time but probably will when I get back to FL.
This console is perfect with my new Wall Mounted TV Cabinet. I share free plans for this project too if you want to build both 🙂 These two pieces fixed my decorating challenge of how to not let the TV dominate our small living area.
My living room makeover is coming along nicely. One of my other favorite DIY projects in this photo is my Hairpin Leg Live Edge Coffee Table.
I see a few more decor projects in the living area…
I repurposed a bed headboard to make the pillar candle holders and that gorgeous pedestal bowl on my sofa table.
My Come Sail Away Pillow was a quick DIY project.
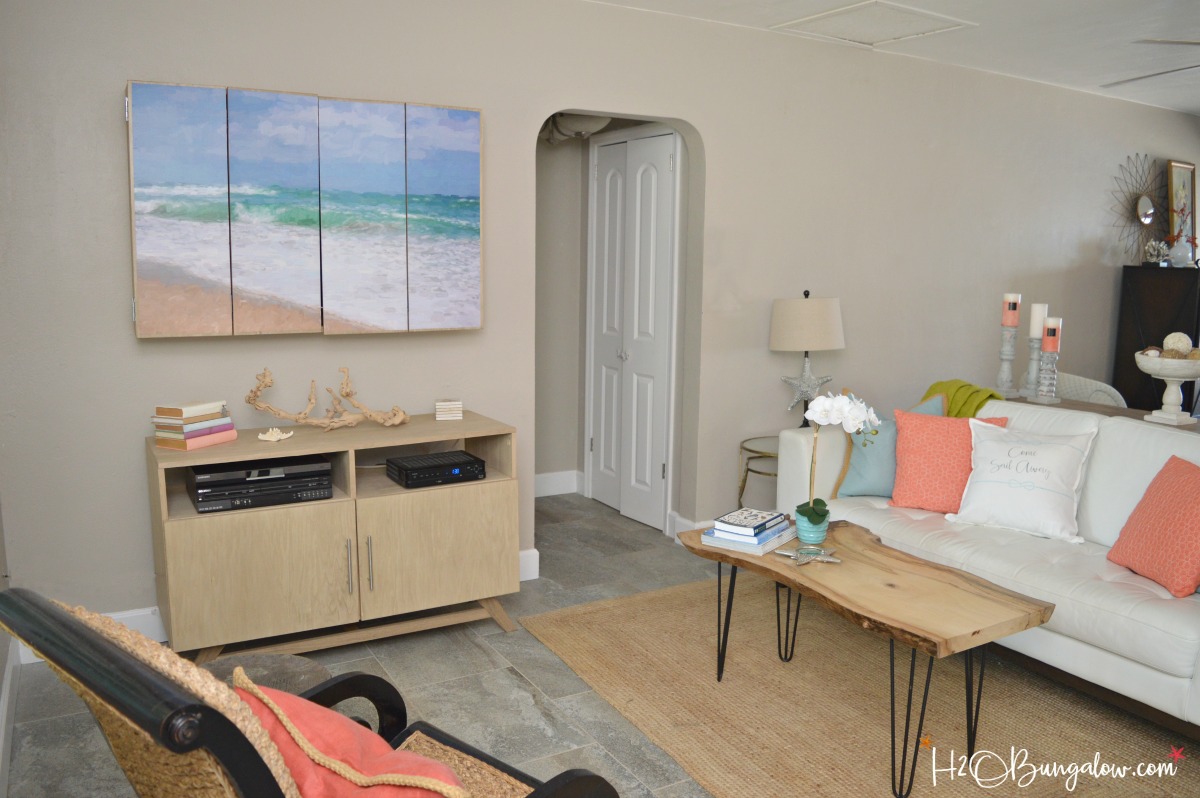
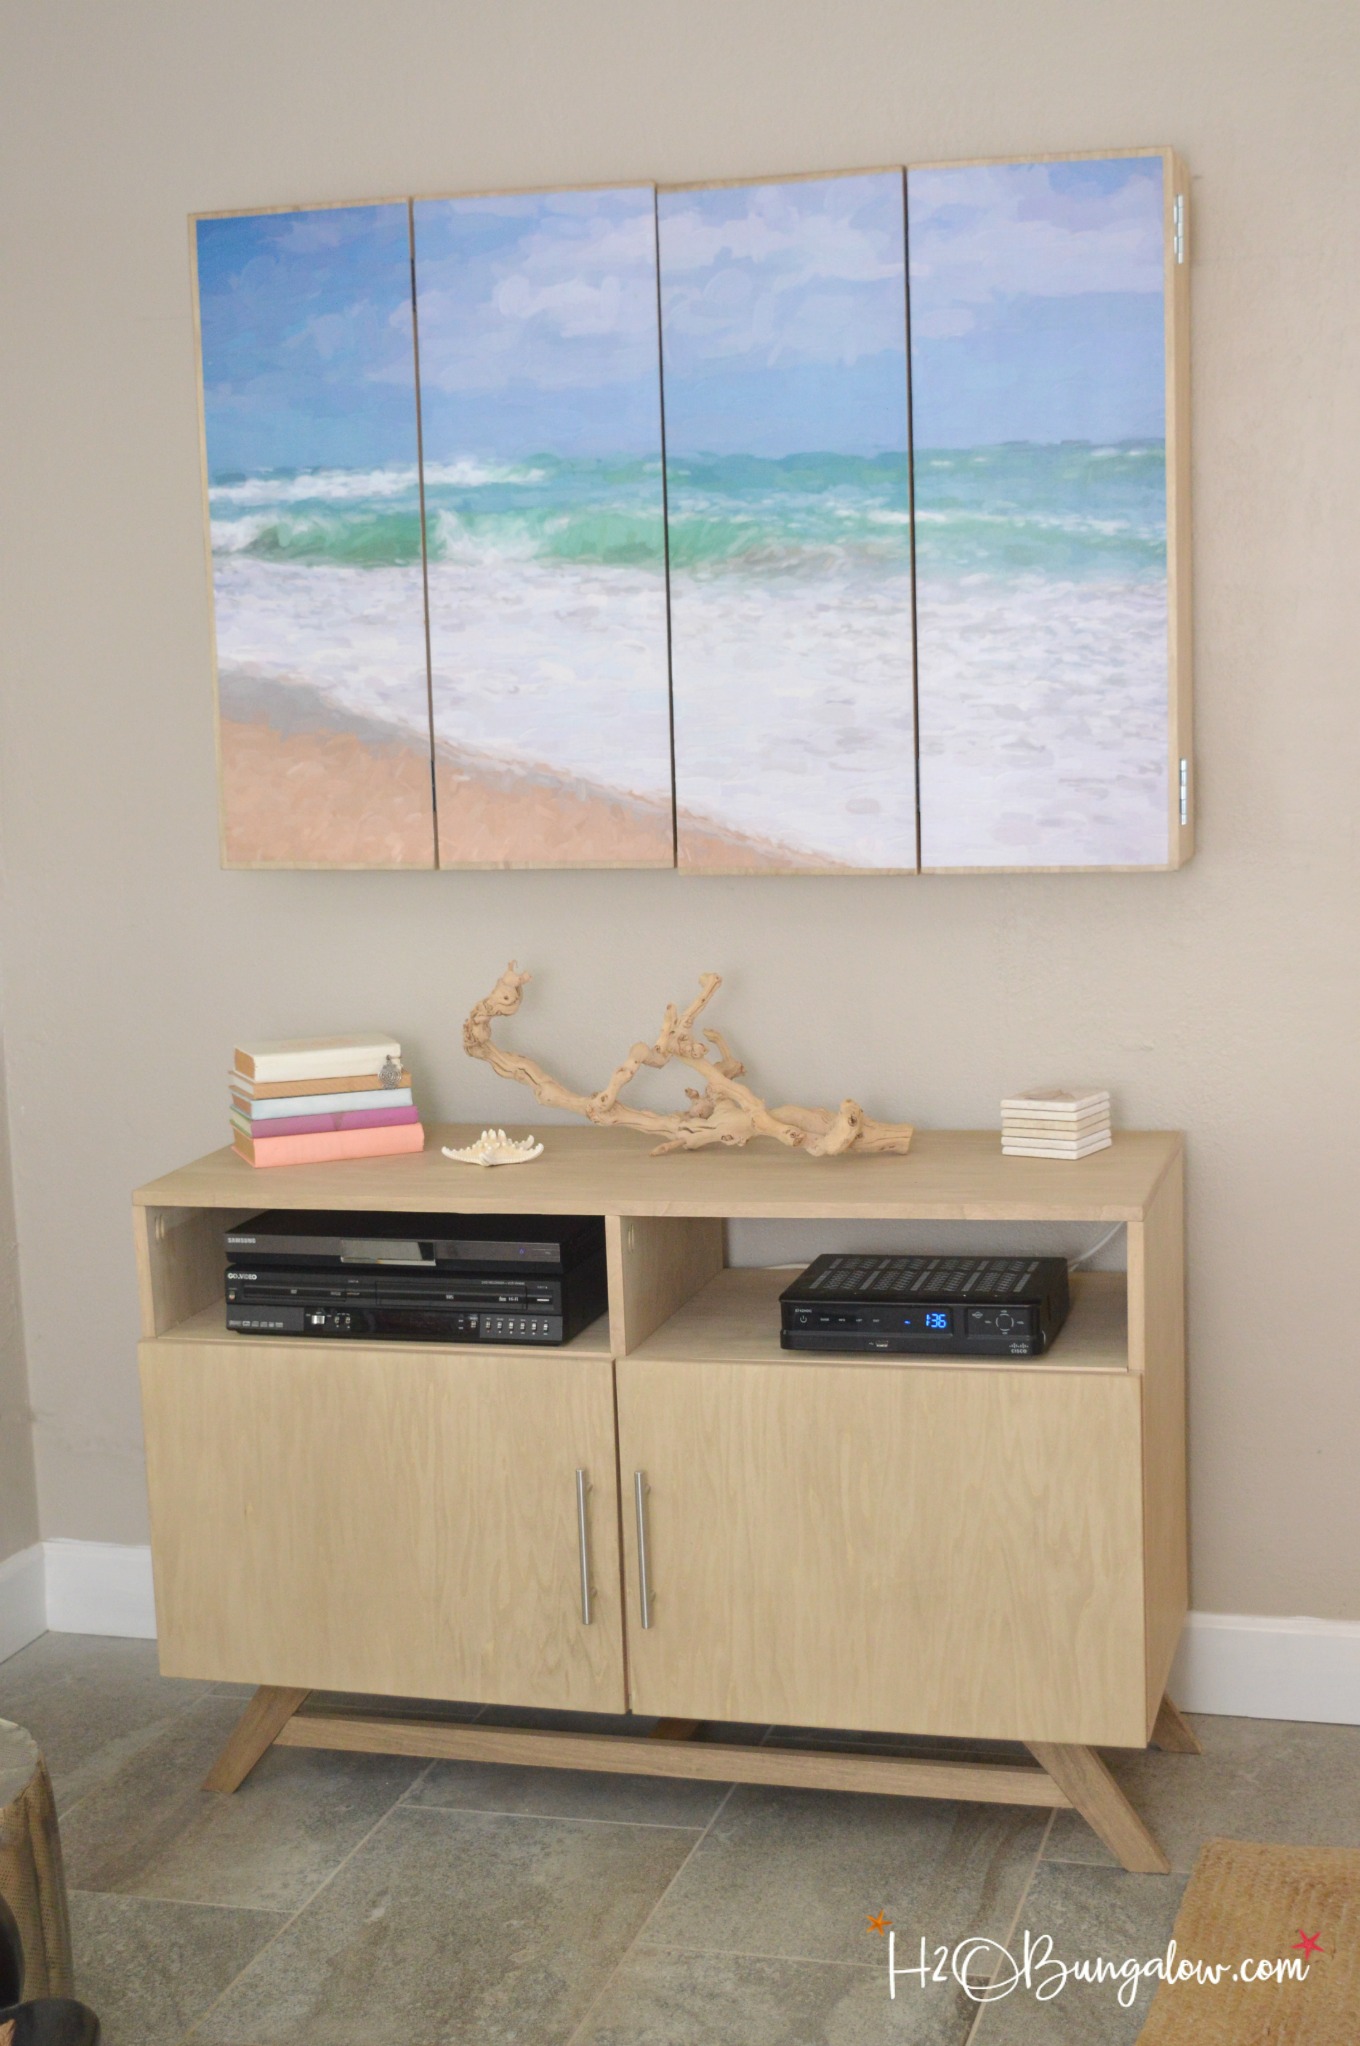
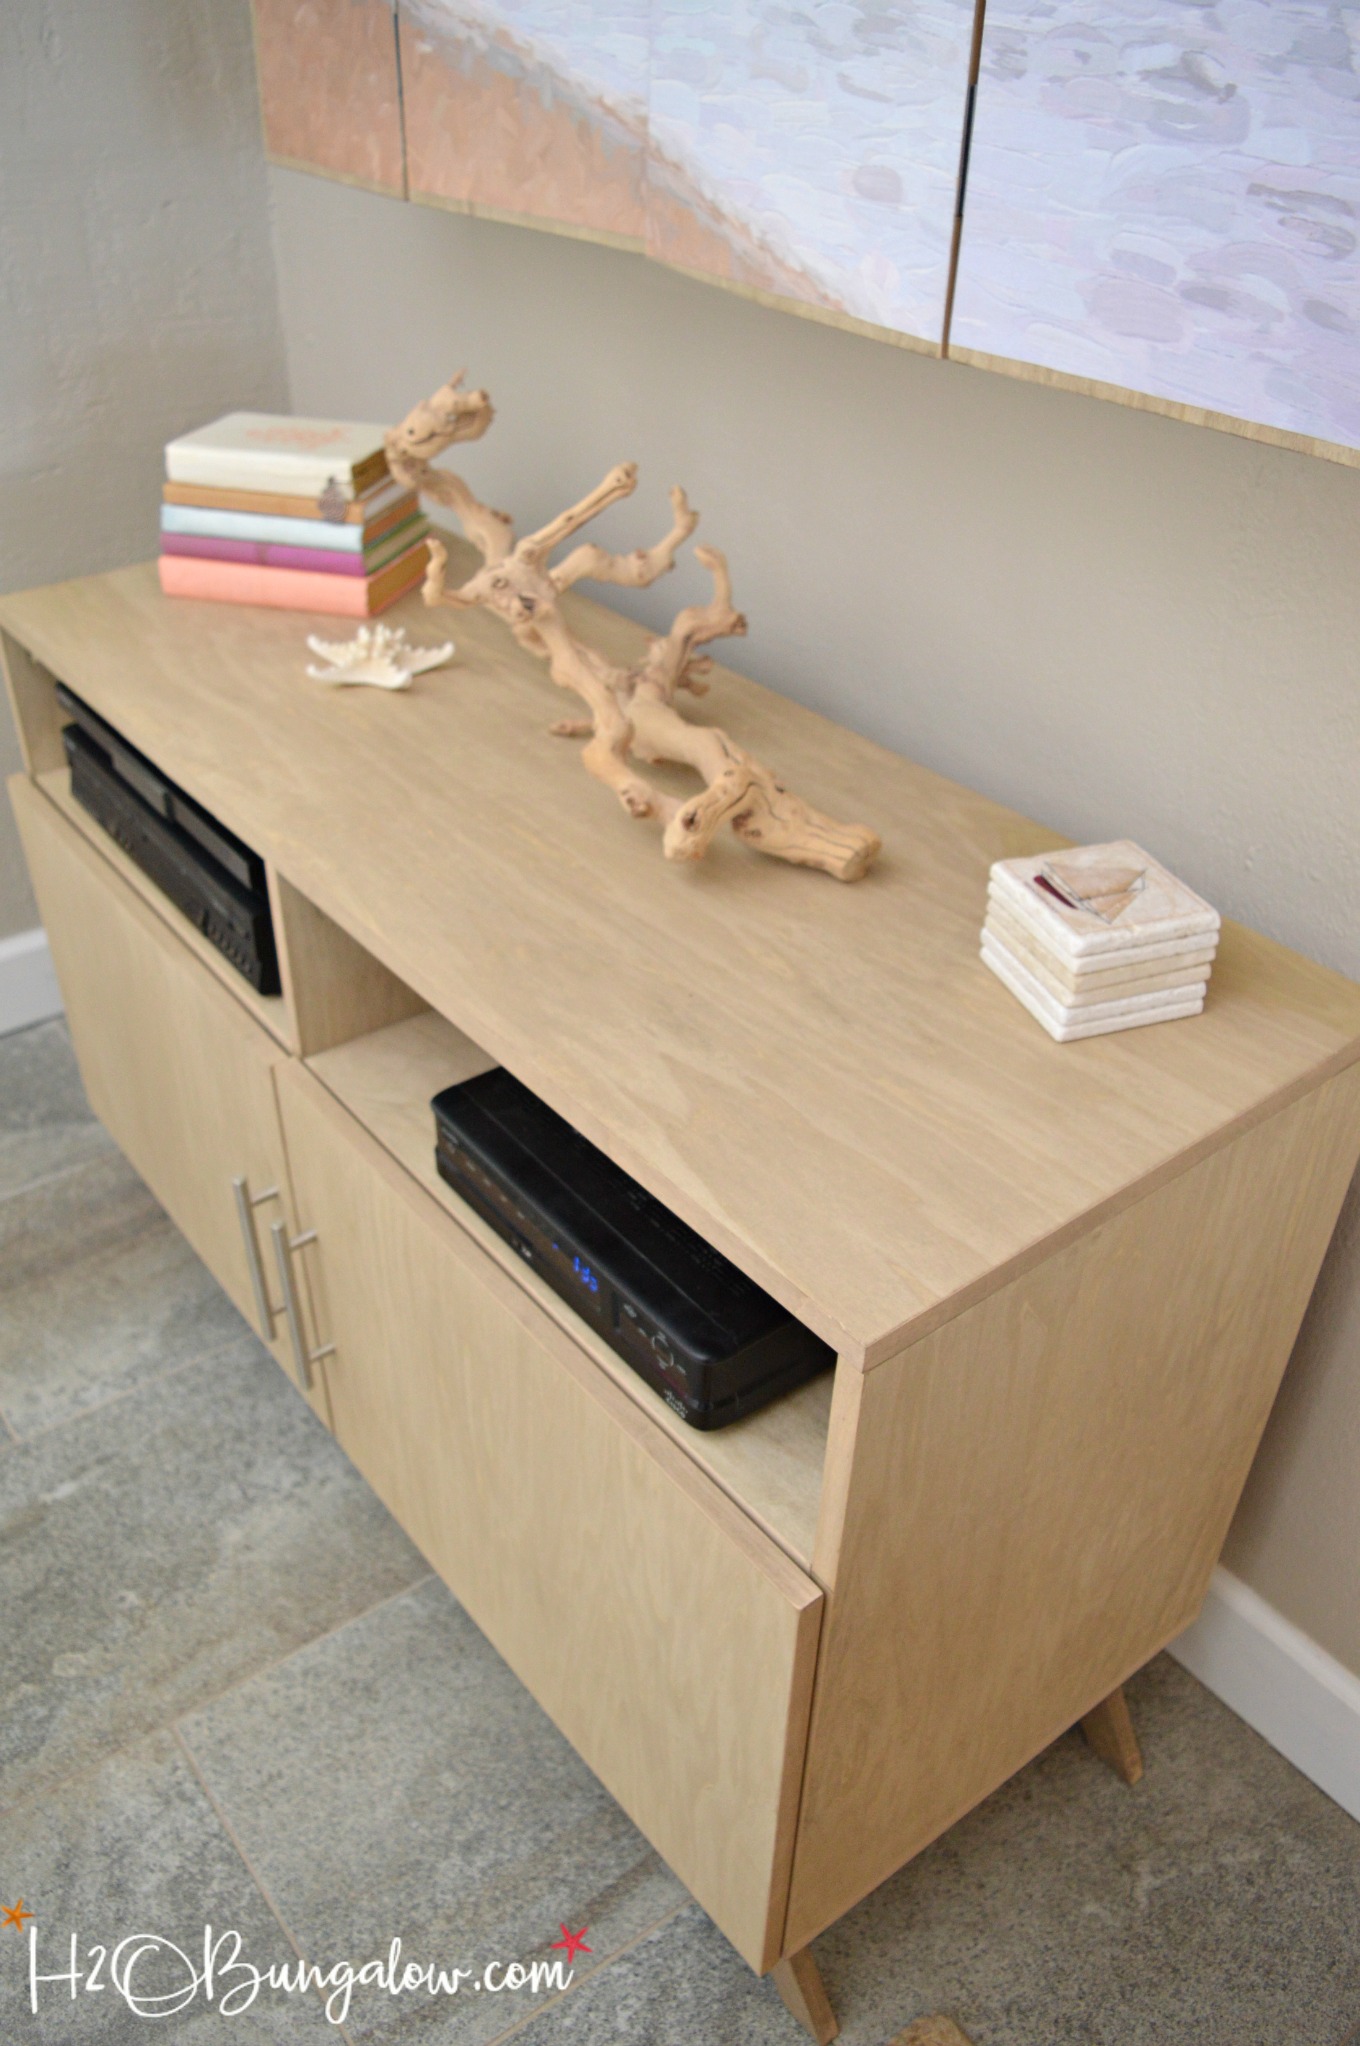
The best part about this DIY media console is I made it to fit exactly on that wall. Look at those legs! Aren’t they fabulous? I stained them a few shades darker than the rest of my DIY media console so they’d stand out.
I love how the contemporary style of the doors and how they cover the media cabinet.
The finish is just the right amount of color and wood grain. Perfect for our contemporary coastal style and small space.
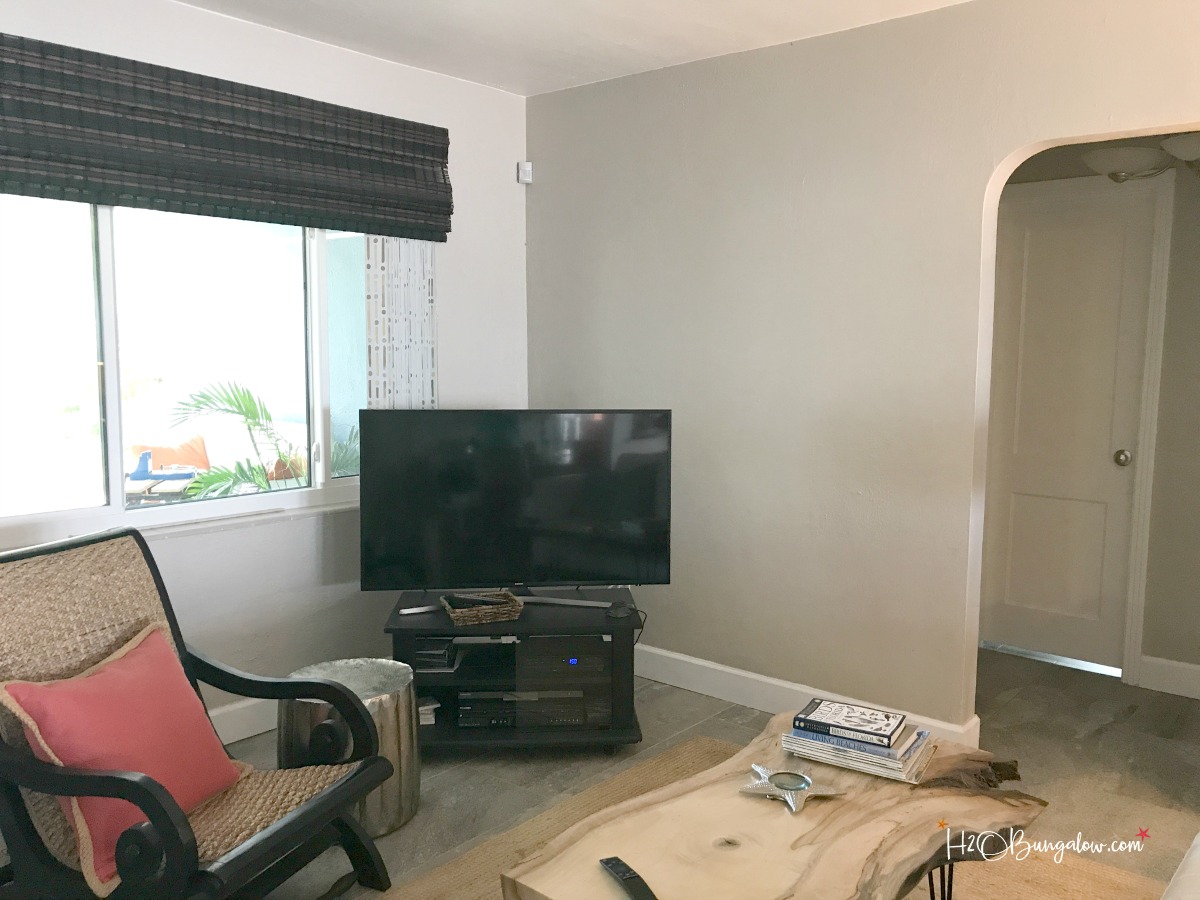
What do you think? Do you love my DIY media console as much as I do? I think you will if we look back a few short weeks ago to what I started with!
I’d love it if you pinned this project for later or shared it with your friends on Facebook!
I’m still smiling over the fact that I built both the Wall Mounted TV Cabinet and this DIY Media Console for such a low price!
Do you have a TV problem like I did too! Share yours below!

Susan Bedard says
Hi Wendy
The console looks great! It changes the entire look of the room.
Keep up the great work and all the super ideas you post!
Love your blog!
Wendi says
Hi Susan and thank you! It’s been a process updating this room. We love the TV cabinet with the media console. It completely changed the way the room looks! Thanks so much for your note and I hope to see you soon! ..Let’s both be in town at the same time! LOL
Serena @ Thrift Diving says
Great job, Wendi! I love the natural finish of the cabinet. And those coral pillows on your sofa?? Love those pops of color!
Wendi says
Hi Serena and thank you! I’m so happy with the way the two pieces turned out, even more that they were such a good deal! Thanks so much for stopping by and leaving sweet note!
Mary-The Boondocks Blog says
Wendi this is so impressive. It looks like a piece right out of the MCM era. Those pretty legs speak to me. And it looks great underneath the TV cabinet.
Wendi says
Hi Mary and thank you so much! Since I was building the TV cabinet I figured I might as well build the matching console too. It was fun designing and building a piece! Thanks so much for your sweet note and visit!
Marie says
Girlfriend, you can rock the power tools – this media cabinet build is awesome! Love the MCM vibe too.
Wendi says
Hi Friend! Thank you! I LOVED working on this project 🙂 It was fun designing it and building it wasn’t too hard either. Thanks so much for stopping by and leaving me a note!
Vanessa says
Wendy, it’s fabulous! I’m a sucker for anything that has a bit of mid-century flair, but here you’ve paired that flair with your own style beautifully! I love it!
Wendi says
Thanks Vanessa! It’s cool to see the mid-century paired with a coastal vibe, isn’t it? I’m leaning a little towards contemporary in this room. It fits the small space well. Thank you for your note!