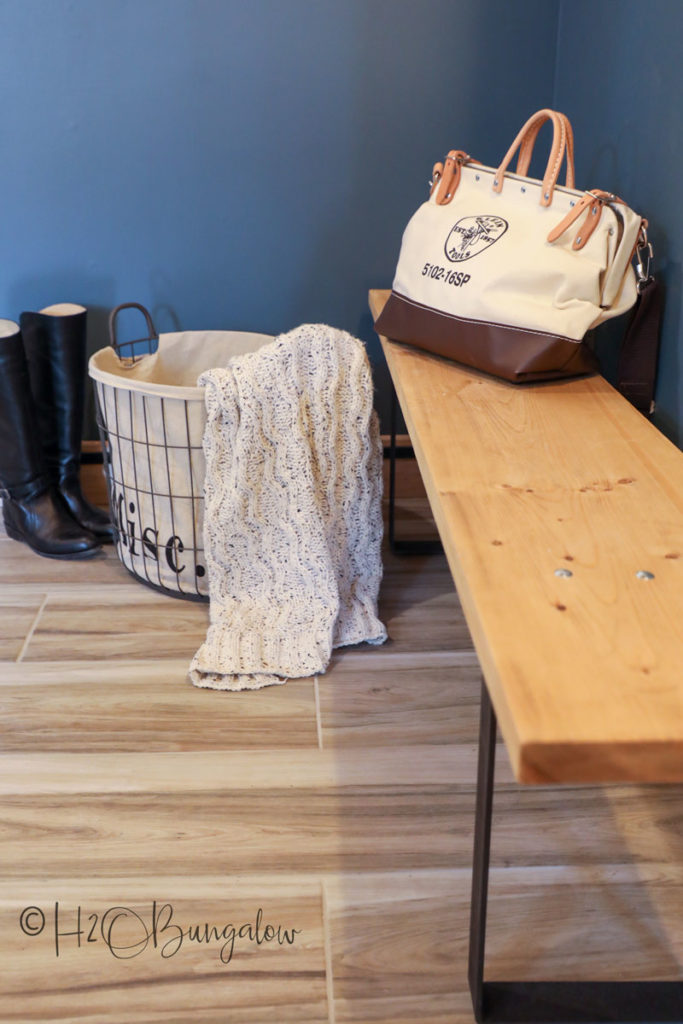
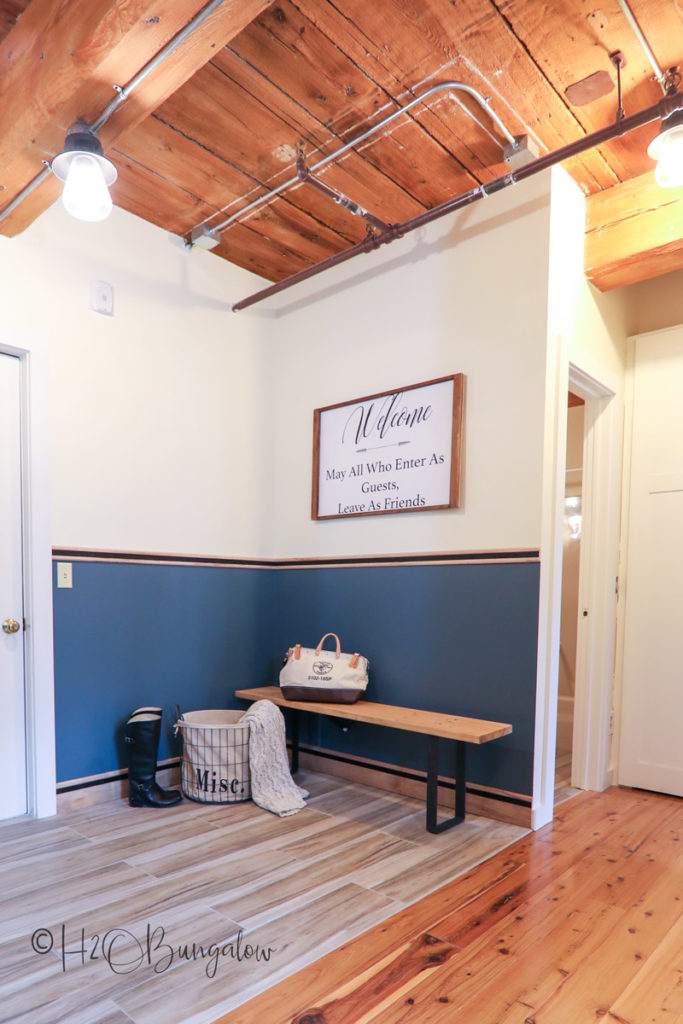
I made this DIY mudroom bench in an afternoon and I only used two tools to build it. A sturdy bench by the door is useful and cozy! Shouldn’t every home have a place to take off coats and boots, hang a purse or drop a shopping bag by the front door? I share below how easy building a mudroom bench can be.
If you’re looking for more mudroom bench ideas, you may also like my$20 DIY Rustic Modern Bench Tutorial I made for the North House Lodge. Another favorite is my DIY Twin Headboard Bench Tutorial.
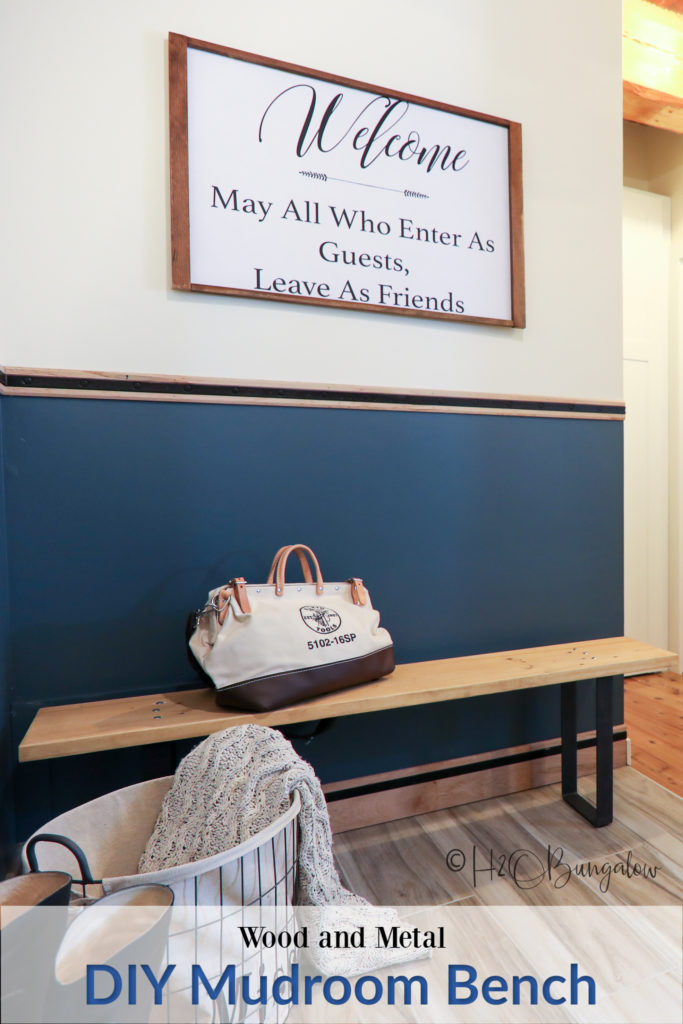
I’ve made several different kinds of benches in the six years I’ve been blogging and DIYing with you guys. I built a few and show how to makeover a bench in several tutorials too. old benches that would all work well in a mudroom or entry hall. I’ll share more links to my other projects at the end of this tutorial.
How to Make a DIY Mudroom Bench
Supplies to make a DIY mudroom bench
- 1 x 10 @ cut to length desired and finished
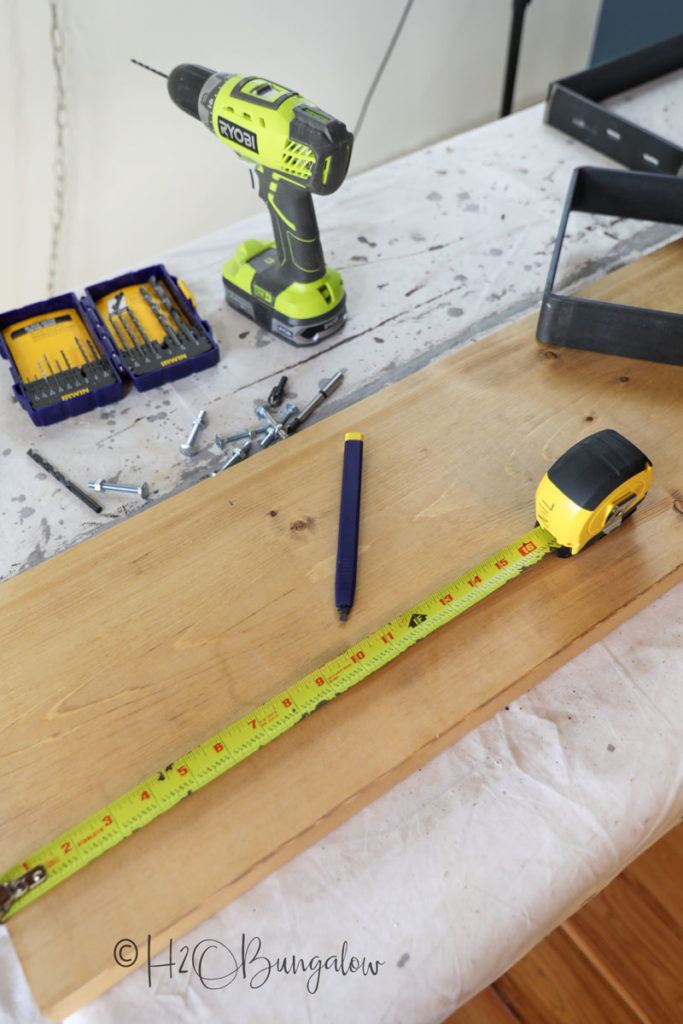
- 2 – metal bench legs They come in different heights and widths. This is what I used.
- 6 – 3″ carriage bolts and nuts
- Drill
- Drill bit
- Countersink bit
Step 1. Make the bench seat.
Purchase a length of 1 x 10″ to fit your area. Mine is 60″ long. Sand the wood well and add a micro-bevel on all of the edges so there are no sharp edges.
Tip Box: A micro-bevel by running a sander over a sharp edge of wood to make
Finish your bench top with whatever you’d like. I only gave my board a coat of tung oil which is the same finish I used on the shelves in the kitchen and by the wall mounted TV. If you plan on using a clear poly, a modified water-based application would be a good choice. See it in my Live Edge Coffee Table. It’s a durable finish that lasts well. If you like the look of raw wood you may like my Wood Wax Finish I used on a vintage dresser.
Step 2. Drill pilot holes for metal bench legs.
Measure the same distance in from each end to mark the leg positions. Mine are about 10″ from the end.
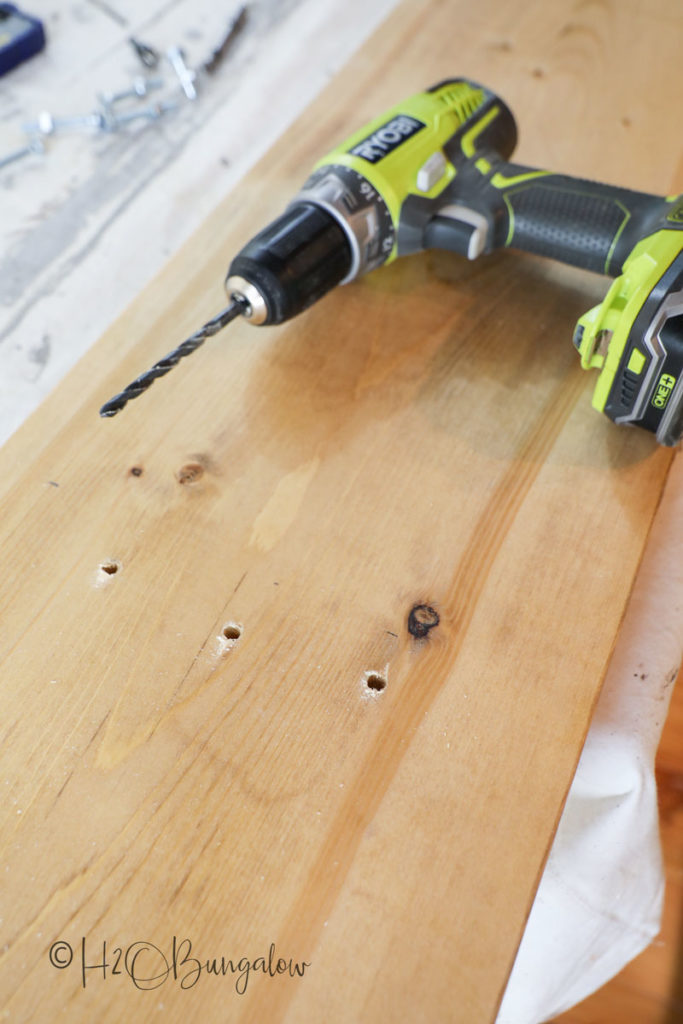
Line up the metal bench legs , mark and drill pilot holes for the brackets. Drill from the wood bench top in case the wood splits a bit on the other side of the bench top at the exit hole.
I’m not sure why my bench legs came with the center holes slightly off center but they did. If that bothers you, OI think the bench would be sturdy enough with just the two ends being bolted.
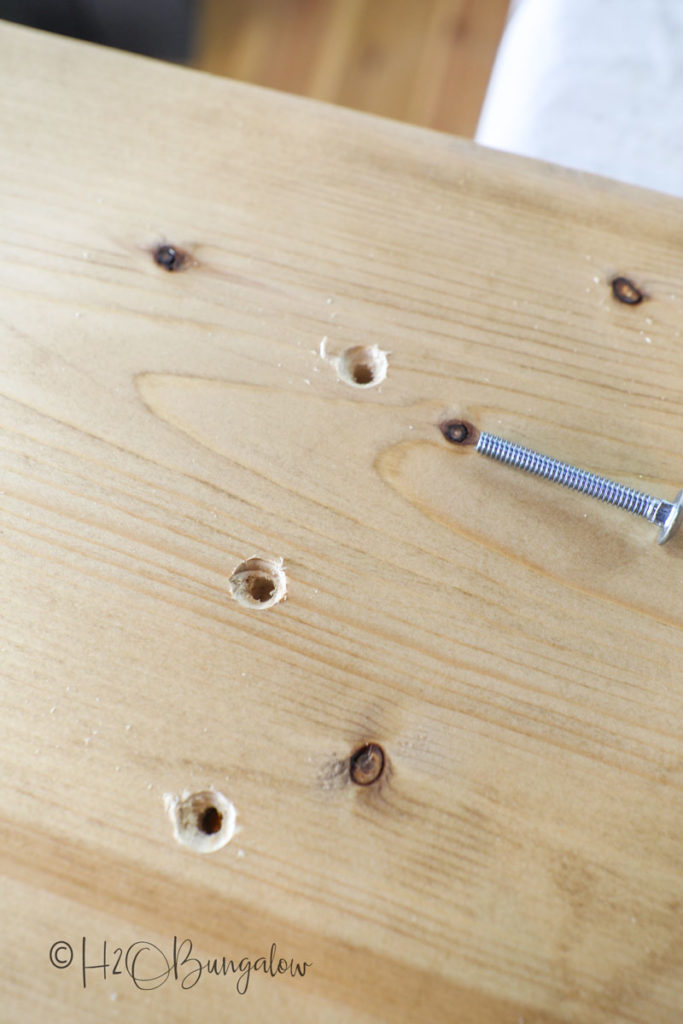
You’ll want the carriage bolts to lay flush on your DIY mudroom bench so they don’t scratch anyone and aren’t uncomfortable. You’ll do this by countersinking the bolt holes at the top of the bench. This only applies if your bolts look like mine below and have a non-threaded section just under the top.
Step 3. Add bench legs.
Secure the bench legs onto the top. Thread the carriage bolts through the top of the bench, the metal legs and secure them with the bolts. Tighten as needed.
That’s it friends! This easy DIY mudroom bench would look great anywhere! Use it as an entry bench or even make a smeller version and place it at the end of a bed.
Don’t forget to pin this easy DIY bench for later and share with your friends on Facebook!

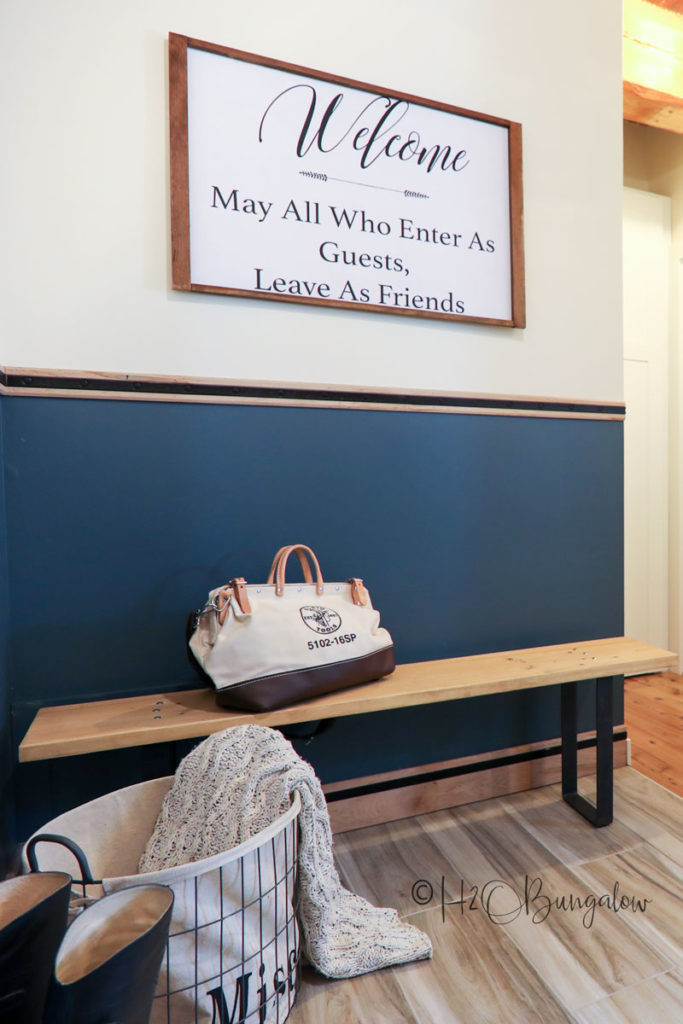
Building a custom bench for this mudroom was the best way to find a bench to fit this space.
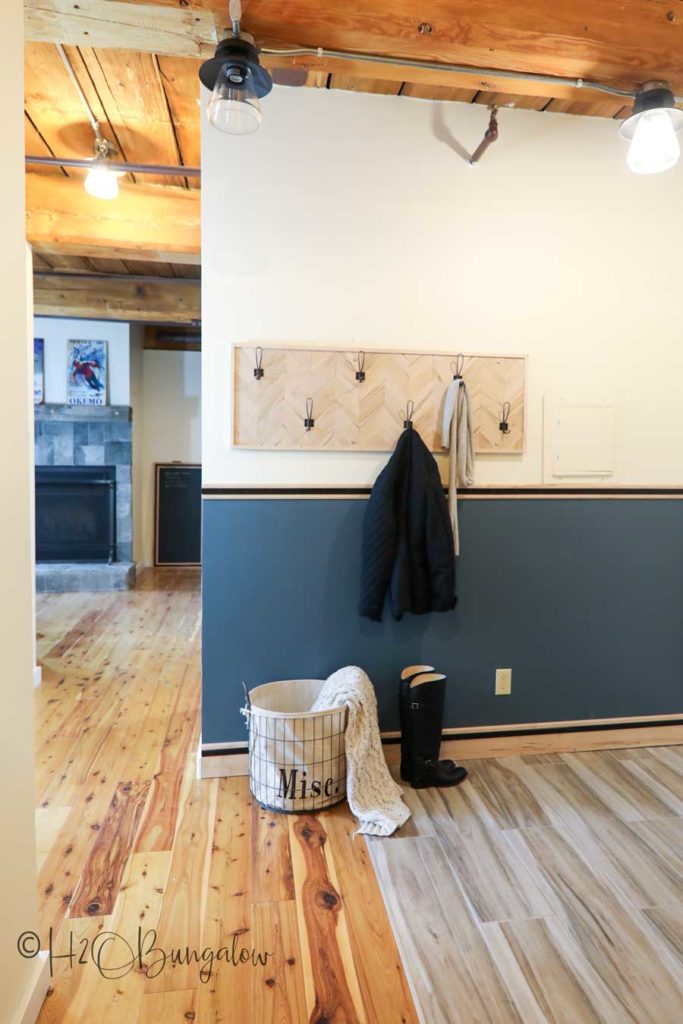
I chose the tung oil finish to compliment the gorgeous spalted maple molding on the walls, you can see my source in my Modern Rustic Mudroom Entry. You can find free plans fort this DIY Chevron Coatrack in my post.
Bottom line, if you have a hard to fit space the best option may be to build a DIY mudroom bench. This is an easy to build bench that looks amazing.
Want to see more bench projects?
If you’re looking to build a bench
This Simple DIY bench is easily scalable fir different sizes
This DIY headboard bench was my first attempt at using power tools.
It’s still around but looks a bit different now. Here’s the whale bench makeover I did a year or so a go to freshen it up.
DIY Mudroom Bench
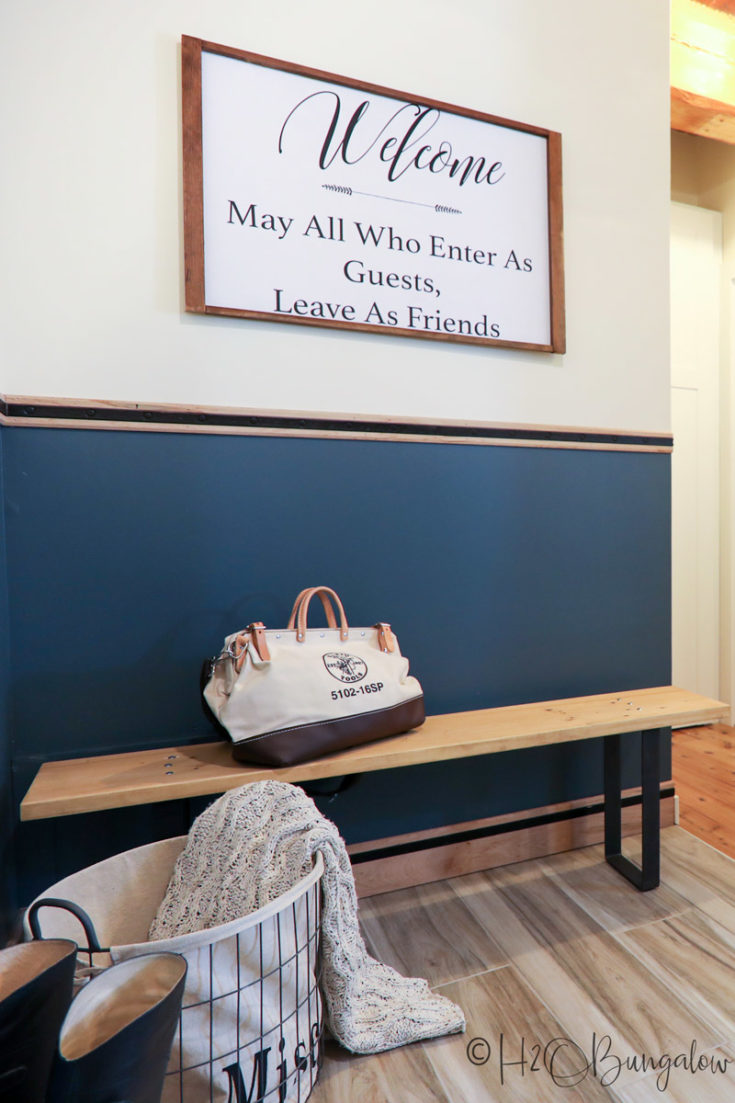
Build a modern DIY mudroom bench in an afternoon with only 2 tools. Tutorial to make a custom size bench for the beginner woodworker that's trendy and cool.
Materials
- 1 x 10 @ cut to length desired and finished
- 2 - metal bench legs
- 6 - 3" carriage bolts and nuts
Tools
- Drill
- Drill bit
- Countersink bit
Instructions
- Sand the wood well of your 1X10 board and add a micro-bevel on all of the edges so there are no sharp edges.
- Apply the desired finish to your bench top and allow to dry.
- Measure the same distance in from each end to mark the leg positions.
- Line up the metal bench legs , mark and drill pilot holes for the brackets.
- Secure the bench legs onto the top. Thread the carriage bolts through the top of the bench, the metal legs and secure them with the bolts. Tighten as needed. That's it!!
