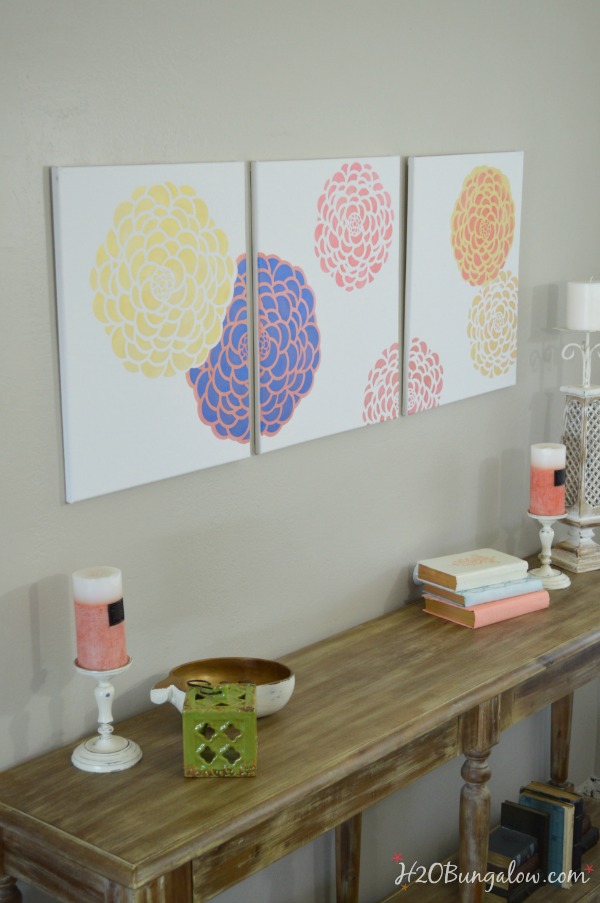
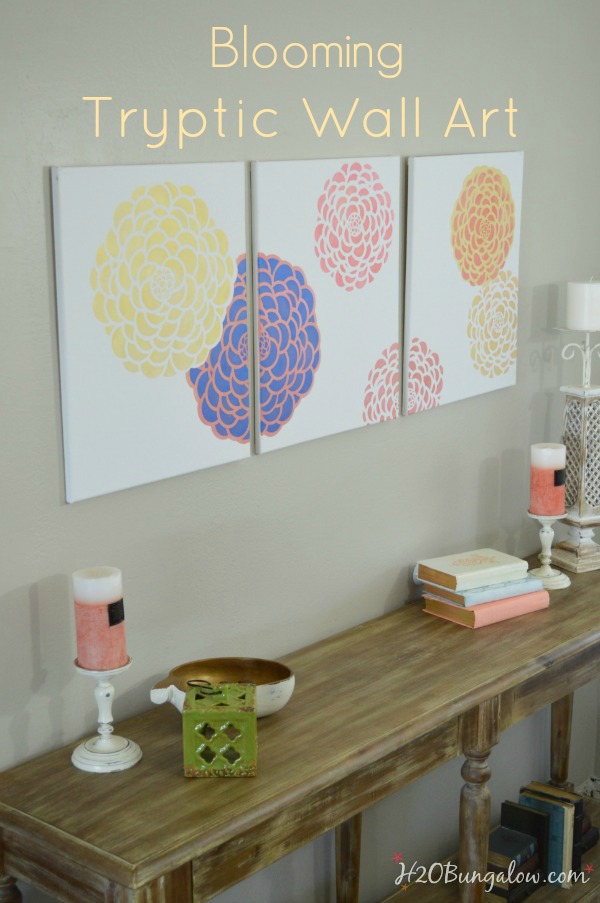
I have a trio of bloomers for you today. No… I don’t mean the cute ruffled undergarments girls used to wear, but I caught your attention, didn’t I? I mean a colorful blooming tryptic wall art project to pretty up your walls. I’ve always loved tryptic or three paneled art. Especially with images that span two or more panels. If you don’t want stencils, you might like this tutorial for creating DIY large Modern Inspirational Wall Art.
I think tryptic wall art is just plain cool. Does anyone still say that or am I dating myself?:) But they are pricey in the art galleries. Mass produced ones are sometimes still pricey, or so blah that it’s not even a consideration. Plus, I don’t know about you but the more specific I get when I’m looking for the perfect something for my house, the less likely I am to find it or find it with a price tag I’m willing to pay. So, how do you fill a wall space with cool art and not break the bank?
Get creative and make your own tryptic wall art, of course!
As soon as I saw the Bloomers Stencil from Royal Design Studio, I knew exactly what I wanted to do. It had all the components I needed to create a beautiful tryptic wall art series with the colors I wanted, and the price tag I was willing to pay:)
How To Make Stenciled Tryptic Wall Art
Here are the supplies you’ll need to create your own tryptic wall art and a few variations of how I used the stencil pieces.
I use affiliate links to help you find the supplies I used. You can read my full disclosure policy here.
- Royal Design Studio Stencils: Bloomers Floral Stencils in Wall and Furniture Sizes
- Royal Design Studio Stencil Cremes: Shimmer Pink, Royal Blue, Orange Ice and Bright Gold
- Good quality stencil brushes most of the work I did was with a large size on this project
- 3 – 11” x 14” stretched plain white 16 x 20 canvases , the 6 packs in my link are super deals.
- Painter’s tape
Step 1: Designing your stencil layout
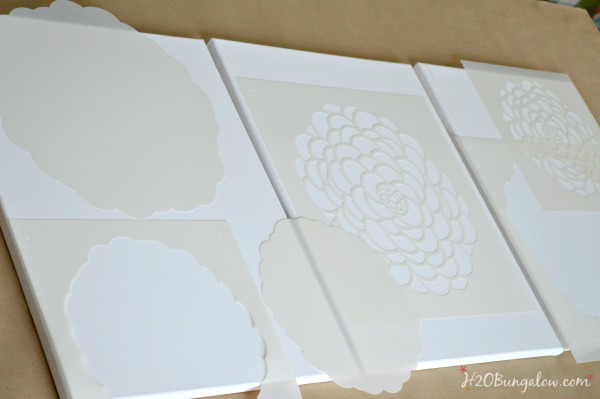
Unless you want a different background color, there is no need to paint your canvases. They come primed with a layer of gesso that is a nice white color. The fun of working with a tryptic is splitting your design over a few canvases that will hang a few inches apart from each other. Design the layout by playing with and positioning the Bloomers Floral Stencils across the three canvases until you get a look you like.
Step 2: Stenciling Flower Variations
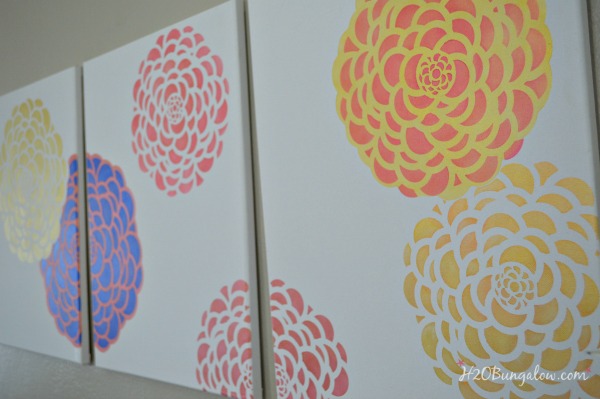
A. Bloom with a background color – Secure the Bloomers stencil outline with painters tape and fill in the background color. For best results, apply the Bright Gold Royal Stencil Creme in a very thin layer by gently swirling on the paint with an “almost dry” brush. Apply paint to just the tips of your stencil brush and off load any extra paint by dabbing a paper towel to ensure your stencil brush is dry.
Allow the base coat to dry before layering the flower stencil that fits into the base cutout on top and stenciling with a different color. Here I used Shimmer Pink Royal Stencil Creme over the Bright Gold.
B. Layered blooms – Secure bloom “shield” under a section of another flower bloom before stenciling the partial flower bloom. The area covered by the shield will be blank. Next, fit the Bloomers stencil in the void left by the shield and stencil with a color of your choice. I used Orange Ice and Royal Blue Royal Stencil Creme for these colorful blooming flowers.
C. Stenciled bloom on white background– Secure a Bloomers Stencil onto the canvas with painters tape and paint.
D. Positioning a bloom across two canvases – Simply put the canvases side by side, secure the bloom stencil with painters tape and carefully stencil your design across both panels.
Next fund a blank spot on your wall and hang. You can make this in less than an hour.
Pin this for later!
You guys know I love stenciling for home decor projects. here are a few of my favorite DIY decor projects made with stencils too.
Sailboats and Stripes DIY Nautical Accent Chair
How To Stencil Vertical Blinds
White and Gold Distressed Damask Dresser
Whenever I can I’ll make my own home decor and even wall art. It’s fun and I can make it fit my style so much easier than searching the stores. Besides, why not save your cash for something you can’t DIY!
Do you have the perfect spot for a wall tryptic art set?



Emma says
These are beautiful! Stencils have been a big help for me, not being able to draw myself and all, lol!
Wendi says
Hi Emma, Thank you 🙂 I’m not much of an artist either when it comes to drawing. I’ve grown to like stencils a lot. I’m always discovering new ways to use them in my home and with home decor. Thanks so much for your visit!
Erlene A says
Very pretty! Your tutorial is so clear and I’ve always wanted to create something like this. Thanks for sharing it on Merry Monday. Pinned.
Wendi says
Hi Erlene and thank you! It’s such a unique way to make budget art for walls. Especially since you can pick colors that compliment your own color scheme. Thanks so much for hosting, and your visit!
Emily @ Recipes to Nourish says
Love this idea! Just saw it on Motivation Monday Linky Party. Pinned it.
Wendi says
Thanks so much Emily. My tryptic turned out just as nice or better than most I’ve seen in the stores, plus I used colors that compliment my house. Thanks for your visit!
Rita A says
Love your color combo! It would look great on my yellow walls in the hallway right next to the bedroom!
Wendi says
Thank you Rita! I think it would look awesome in a hallway too:)
carmen says
I love this idea and it’s beautiful. If I don’t win it, I will definitely make it.
Wendi says
Good for you Carmen! I loved this project too. It’s easy to make too. I’ll have the widget thingy select a random winner on Monday morning 🙂
Marie@The Interior Frugalista says
Oh my these are gorgeous Wendi and what an awesome giveaway! I love the beachy colors you used too. Heading over to your facebook page now!
Wendi says
Thanks Marie! I enjoyed making them and figured someone else could enjoy them in their home 🙂
Richella Parham says
BRILLIANT use of stencils! I love the idea of creating your own tryptic. You’re a smart cookie!