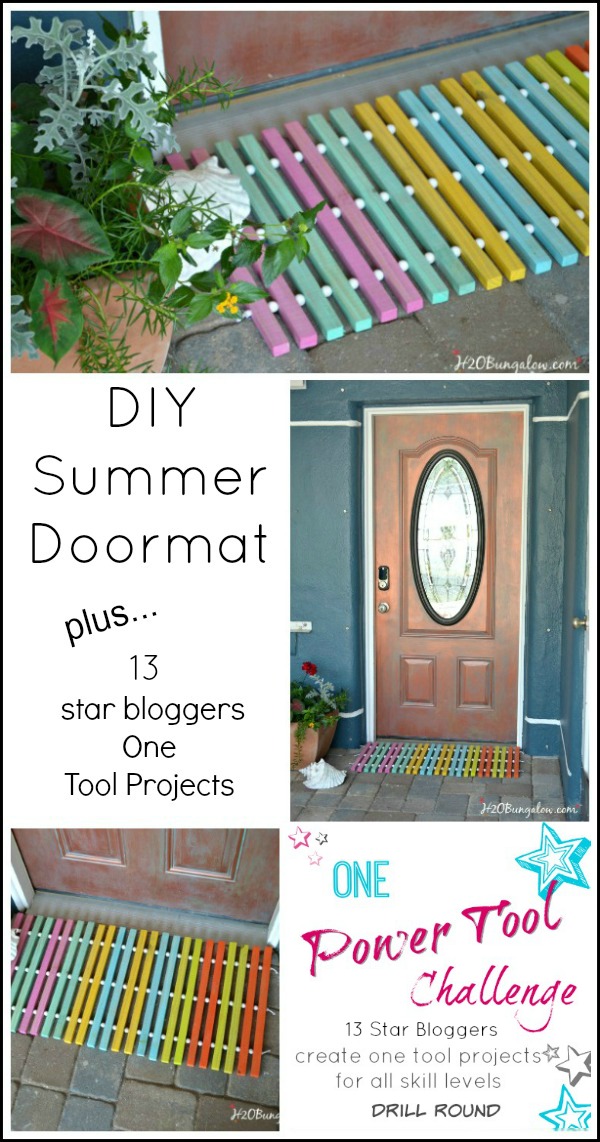
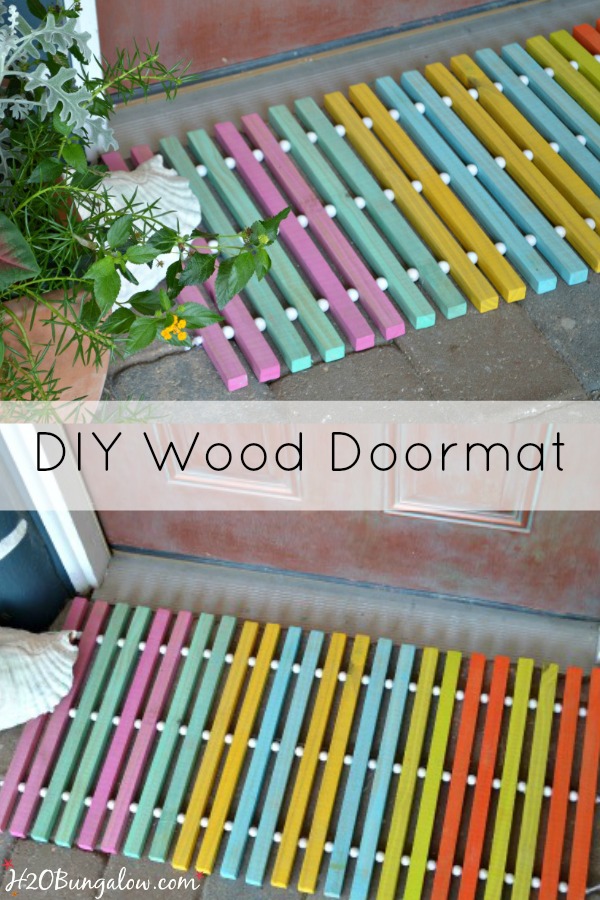
A few years ago, back when I was first blogging I tried something that scared the heebie jeebies out of me. But I did it anyway. I did it to prove to myself that I could. I did it because I hated being held back, left to work within someone else’s time schedule and convenience. What has all this got to do with my gorgeous DIY wood doormat for the One Power Tool Challenge?
Everything.
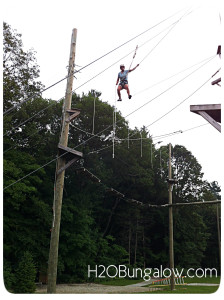
That’s me up way up on that high wire. I’ve always been very… VERY afraid of heights. So much so, that I had trouble changing light bulbs in ceilings. I did this to prove to myself that I could overcome what I choose to overcome. I won’t fib, I was scared. I didn’t fall ,and I didn’t quit…
 I wrote a short post on stepping out of your comfort zone when I got home. A few little power tools were nothing to be scared of anymore! My first DIY project was adding on to my pantry shelves. They came out pretty good, I had no idea what I was doing, they only wobbled a little, and we still use them today. I’ve since built our bathroom vanity, patio tables, drawer organizers and do lots of little tasks around the the house on a regular basis.
I can’t begin to count how many women and readers I chat with who feel timid about learning to use power tools. You can do it too! Start little, start simple. For some, using a drill for little things around the house and an occasional creative project is the end goal. Others may want to learn more. Do what feels right for you and at a pace that makes you comfortable.
Today, along with a group of extraordinarily talented DIY bloggers, I’m sharing not one, but several “one power tool projects” that beginners could tackle with awesome results.
Let’s get started 🙂
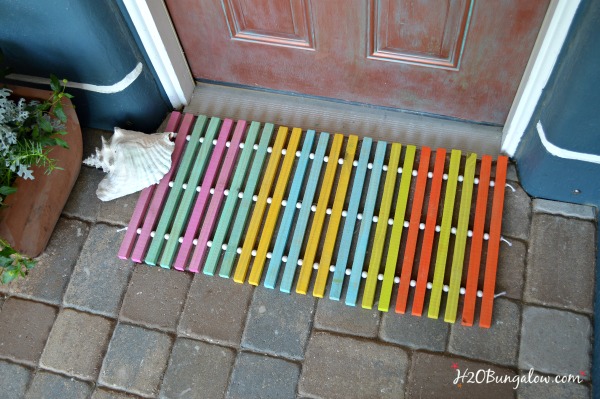
My DIY wood doormat is and easy one day project. I made this one 18″ x 36 1/2″ to fit our front door.
Supplies list:
- 24- 1″ x 1″ @ 18″ long. You’ll find 1″x 1″ wood in the trim section by floor molding in your local big box store.
- 69 – 5/8″ round wood beads. Find them at Michaels.
- 1 5 feet of 1/8″ braided nylon or polypropylene cord.
- Handsaw or have your local big box store cut your slats to size.
- power drill and drill bits.
- tape measure
- medium grit sandpaper
- paint
- sealer
- paintbrushes
- paper for the template
- sharpie or pencil
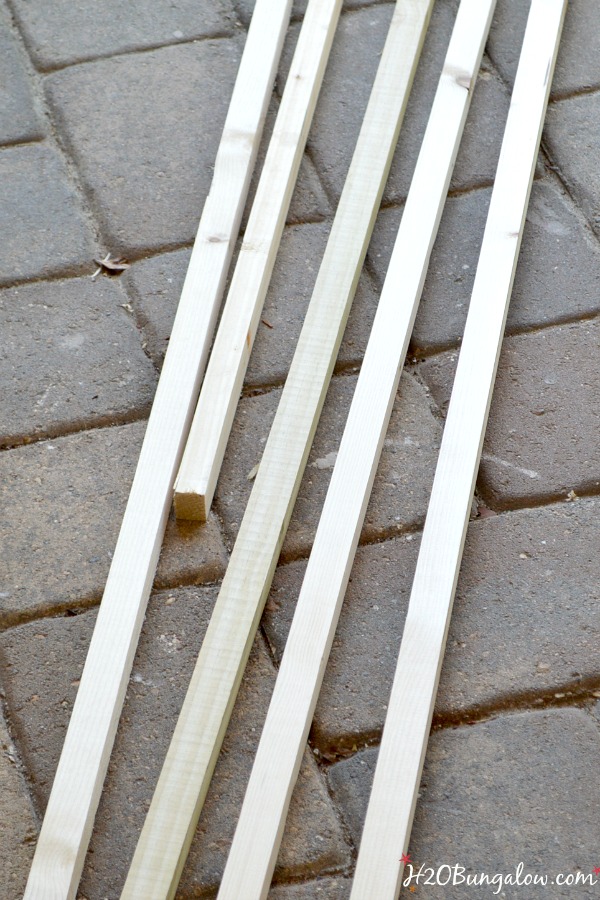
This DIY wood doormat is super simple to make. This is what the 1″ x 1 ” wood looks like when you bring it home. I had Home Depot cut these down enough to fit in my car. I used a handsaw to cut my 24 wood slats at 18″ long each. Use a little sandpaper on the ends to smooth any rough spots.
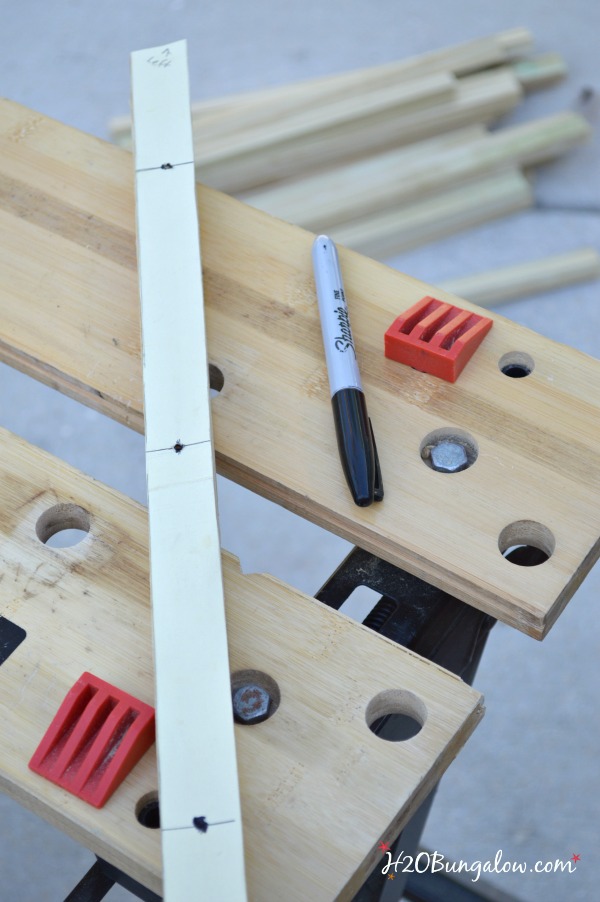
Make a paper template the length of a 18″ slat. Mark three inches in from each end and the middle. Put a hole in the spots where you’ll drill the holes for the cord. Mark all the slats using this template.
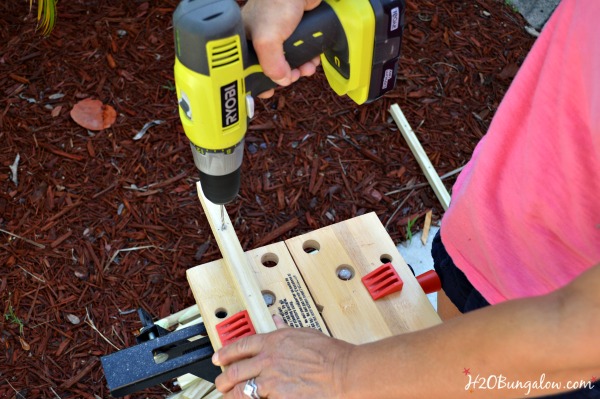
Next, you’ll make the holes for the cord to fit through. I started drilling with a much smaller drill bit than the diameter of the cord and made pilot holes first. That’s a lot of holes, right? It wasn’t so bad because when I followed with the drill bit the size I needed my holes to be, the holes were super easy to make!
Choose a drill bit big enough for your cord to fit through the hole it makes.
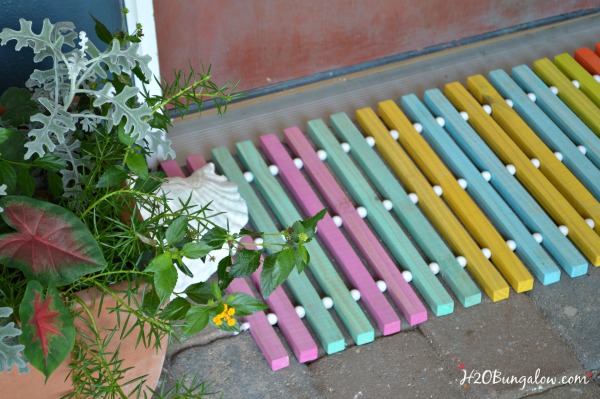
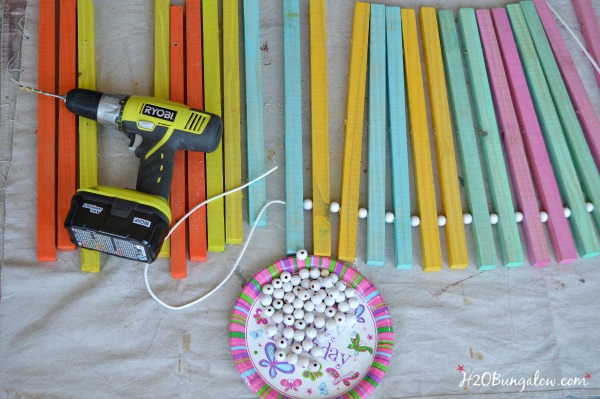
Paint and seal your wood slats and beads. String the wood slats with a bead in between. So simple! I kept the drill handy for a hole or two that needed a little widening to fit my cord through….just put the drill bit in the hole and wiggle it around to open up the hole. I know, that was not a techie description. But I wasn’t feeling techie..it’s hot as can be outside here in Fl already, so I sat on the floor by my back window and assembled this in the air conditioning. tsk..tsk.. yes, I do bring tool projects indoors. At least the not too messy ones 🙂
Wrap a piece of tape around the end of your cord to make this task easier!
Tie a knot at each end when you’re done and seal it with a good weatherproof glue. That’s all there is to making a DIY wood doormat.
Do you love it? I do! I painted our front door copper last year and I still love it. See how to faux paint a copper door here.
This area is in need of some bright and cheery seasonal color. I think this DIY wood doormat made a huge step forward. I keep opening up the front door to look at it 🙂
It’s time for me to share more doable one tool DIY projects from a star line-up of talented bloggers. Take a look below at their One Power Tool Projects. This is one talented bunch. These projects are easy to make and a great place to start if you’re game to pick up a power tool and step out of your comfort zone.


Sandy says
lovely doormat but I can’t believe no one has how to paint all of those beads.
Wendi says
Hi Sandy. The beads weren’t hard to paint…, drilling all the holes, well, that part was tedious! LOL Thanks for visiting:)
Krista @ the happy housie says
Thanks for sharing this with us at the Outdoor Extravaganza link party Wendi – I am featuring you tomorrow on my blog:)
Wendi says
Krista! That’s wonderful & thank you:) This doormat was loads of fun to make and the bright colors look super at the front door. Thanks again!
Robin says
I LOVE this! I’m actually screaming I love it so much ! Thank you for inspiring us at Shabbilicious Friday xo
Wendi says
Robin… Thank YOU & you’re welcome:) This is probably one of my favorite projects ever. A little tedious to make, but worth evevry minute of it!
Lou Lou Girls says
Hello Gorgeous! This looks incredible! Thank you so much for sharing it with us. Pinned and tweeted. I hope to see you tonight at 7 pm, so we can party with you! Lou Lou Girls
Wendi says
Thank you! I always try to make your party!
Virginia Fynes says
This is pure genius!! great job, and love all the colors you chose!
Wendi says
Thanks Virginia! It would be very pretty next to your colorful outdoor planter I’ve seen all over lately 🙂 Thanks so much for your sweet comment!
Susan the Farm Quilter says
Love this!! How did you get the cords tied tightly enough to keep everything looking great and staying in line?
Wendi says
Thank you! That part was easy. I just pulled them tight and made a knot at the end. It was easier than it might sound. I didn’t have any good glue, so I hot glued the knots:) Hope you make this project!
Emily @ Two Purple Couches says
Wendi, I just love this idea!! And the colors you used! I’m featuring you at today’s Creative Spark Link Party; hope you’ll link up with us again this week 🙂
Wendi says
Whoohooo! Thank you so much! I loved your party & thanks for hosting too:)
carolyn | homework says
This is the most fabulous door mat I’ve ever seen. The colors are perfection! I’d like to invite you to share this project or any of your projects on The Inspiration Board at my blog homework. I’ve been hosting my party for over 4 years and would love for you to add me to your link party list.
carolyn : homework
Wendi says
Hi Carolyn! Thanks so much for the kuddos on my project & the invite to your fabulous party:) I did stop by & will absolutely add your party to my list! Have a great day:)
Jenny @ Women With Intention says
Love this idea! 🙂 Thanks for linking up at Women With Intention Wednesdays!
Wendi says
Thank you so much! Great party too!
Marie says
Wendi this is so fun and functional! I love the addition of the beads as spacers! I definitely need to make one of these since our current welcome mat is still Halloween, lol. Thank you for sharing!
Wendi says
That’s too funny! I think you’ll love having one of these by your front door. The beads were a last minute idea to brighten up the project. Thanks so much for stopping by!