Today I’m sharing how to hang string lights video and tutorial. It covers just about everything you want to know before starting on your outdoor string light project. Plan ahead and save time by choosing the right method and hardware to hang string lights and pick the best lights for your backyard lighting project.
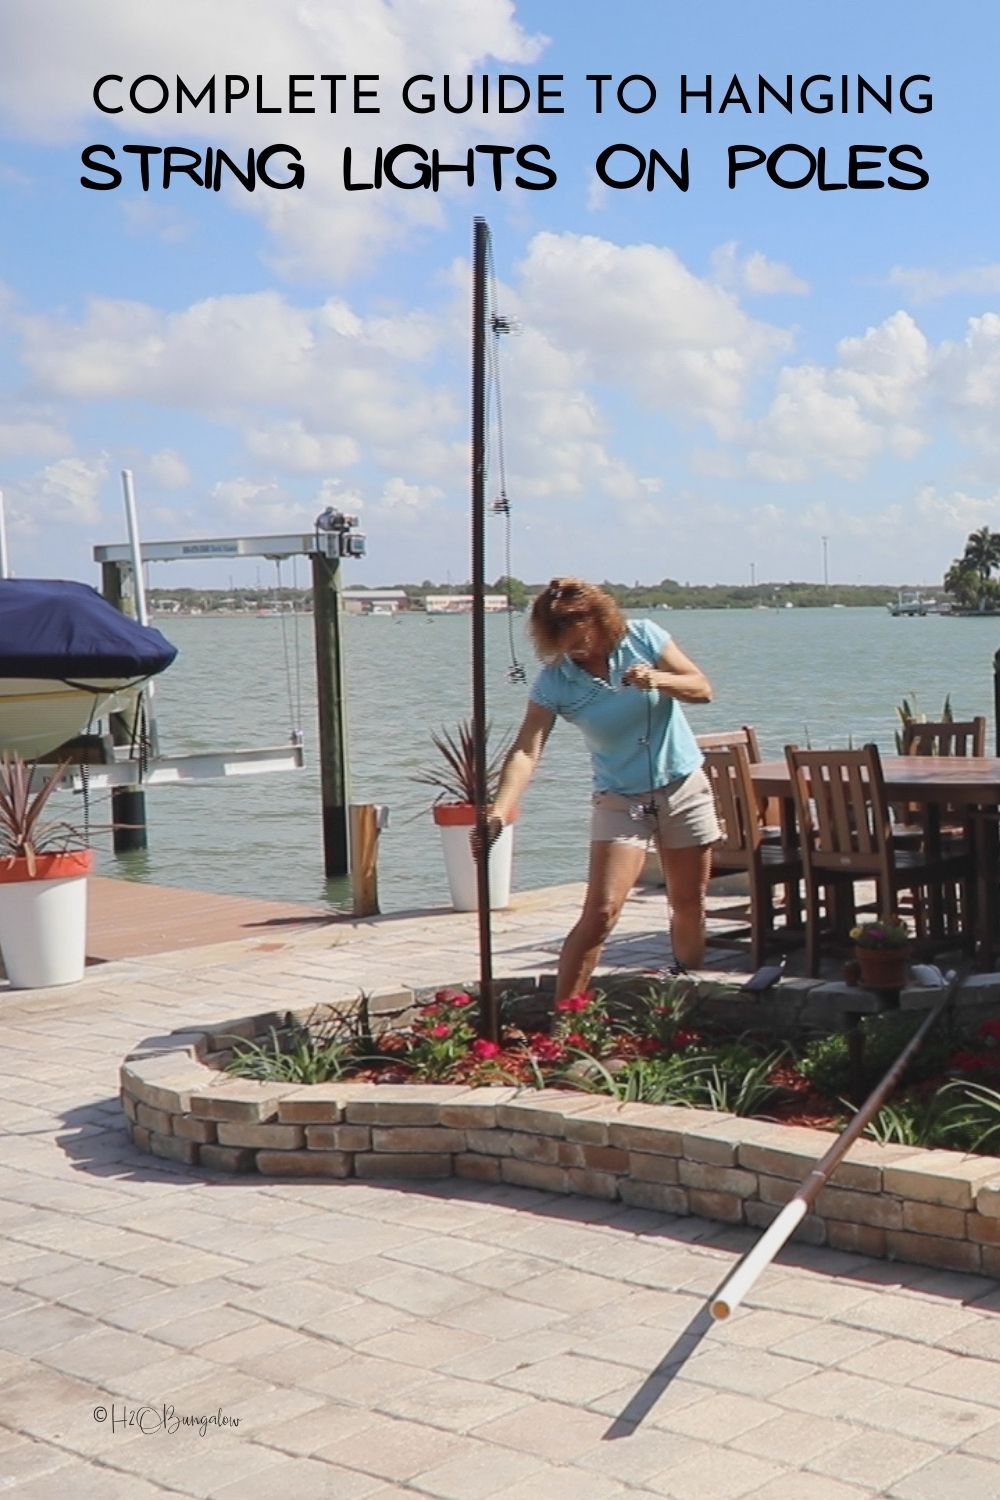
I used lightweight in-ground removable posts for my new outdoor cafe lights project but cover other ways to hang lights below too.
Lighting options have also changed in the last few years and solar LED cafe lights for outdoor use are a good option. I used the old fashioned need electrical plug and screw in glass light bulbs, incandescent string lights for my first DIY Outdoor String Lights on Poles project I made a few years ago. This time around I used LED solar string lights.
Since I’ve worked with both types, I share photos and the pros and cons of LED solar string lights and incandescent string lights below.
This post contains affiliate links, as an Amazon affiliate I earn a fee from qualifying purchases at no additional cost to you. Thank you for supporting H2OBungalow!
How to Plan an Outdoor String Light Project
Step 1. Planning your outdoor cafe light project.
Things you’ll want to think about when planning to add outdoor string lights.
- How big of an area do I need to cover? The larger the span in between the light posts or connections, the stronger the hanging method needs to be. Also, the larger the area the further apart your light bulbs can be, 4 ft vs. 2 ft.
- How durable do they need to be, will your string lights stay up year round or will they only be used for an event?
- Do you need one strand of lights or more? Will they need to connect end to end?
- How bright do you want your outdoor string lights?
- What will you hang your lights on? Will you use a structure, trees, poles, or a combination of methods?
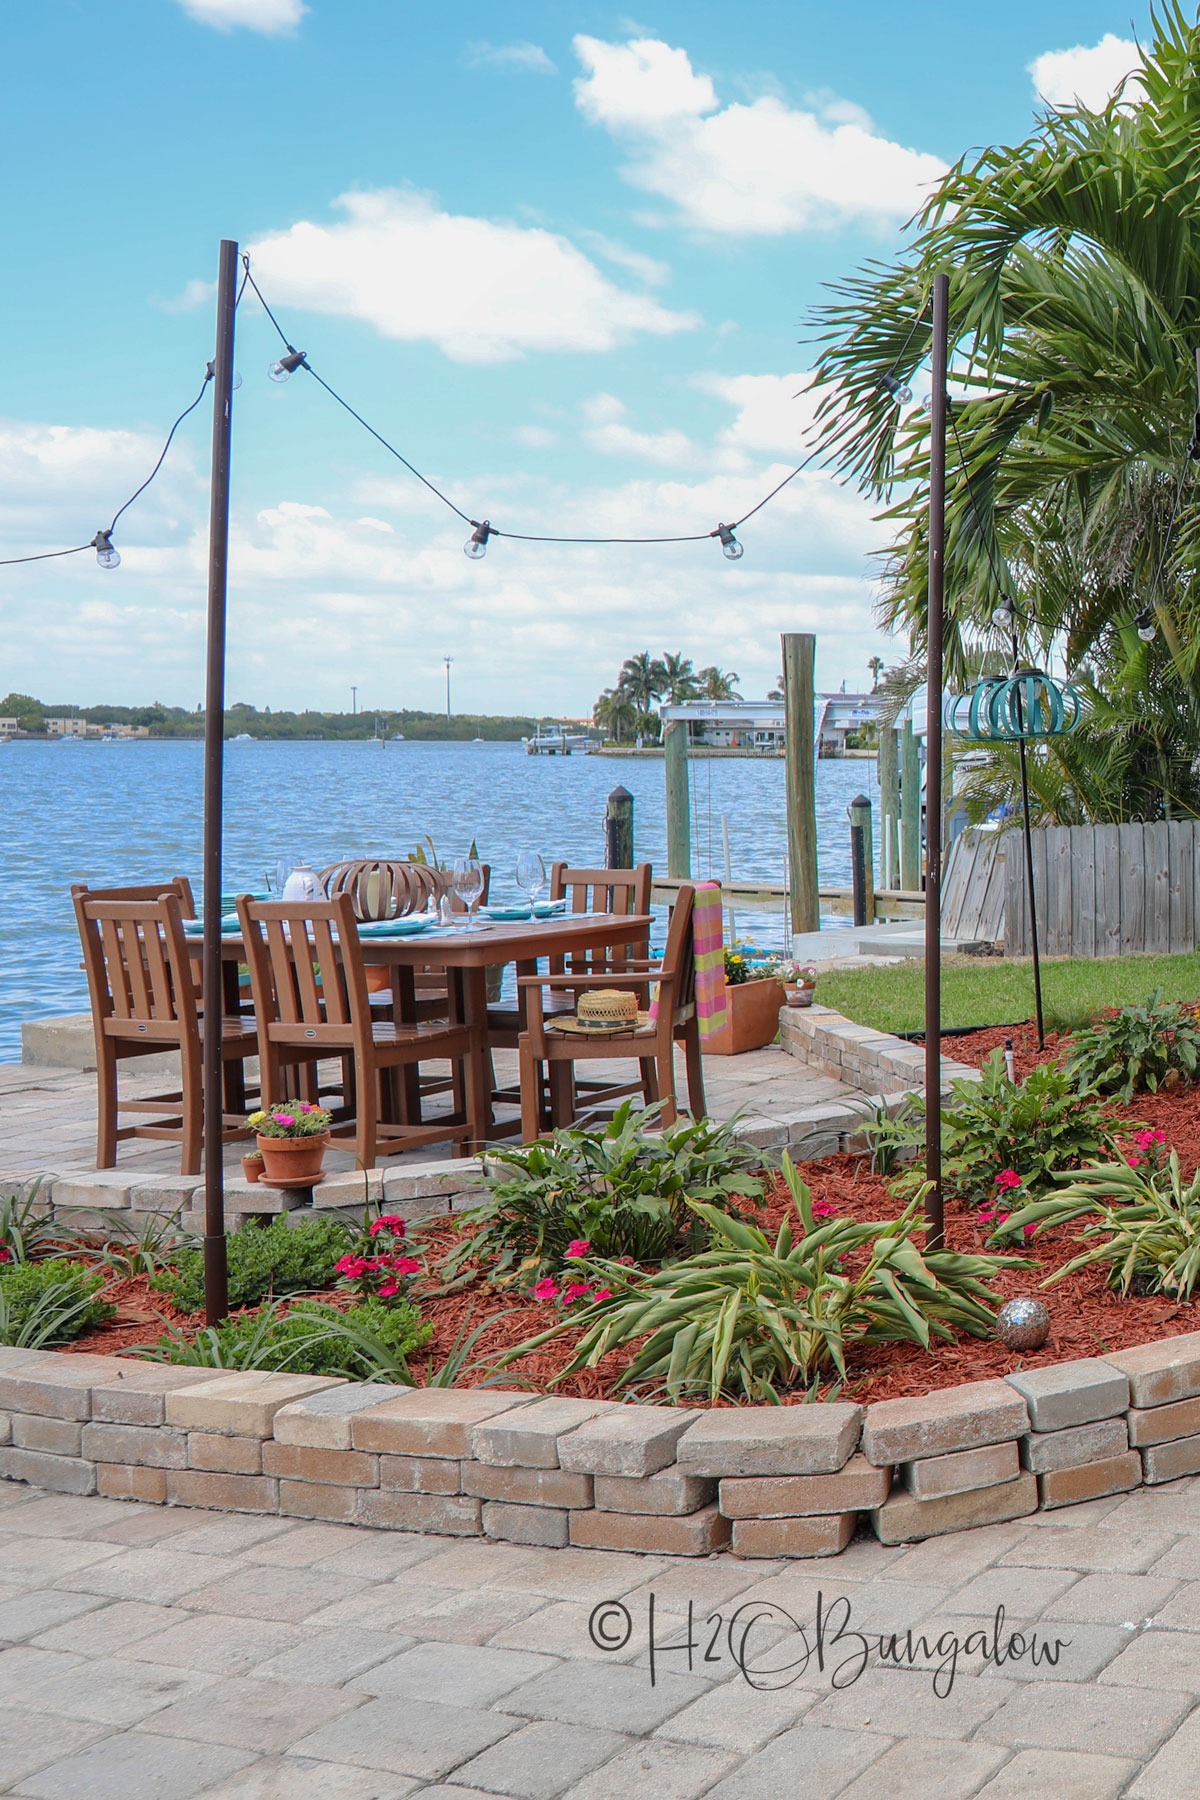
Step 2. How do you hang outdoor lights on walls or other surfaces?
It’s easy to hang string lights from tree branches or attach them to tree trunks. Of course, most people don’t have trees perfectly lined up to hang string lights and need to use a combination of methods to hang their outdoor lights. You can attach string lights on poles, or posts like I did for this project and I’ll share how to make lightweight but strong DIY removable posts for lights below.
Other ways to hang string lights when you don’t have trees:
- Attach string lights on a stucco wall or brick with a masonry screw anchor like a Tapcon bolt. Use wire to hold the string light to the bolt in the wall.
- Hang string lights on a pergola or other structure with cup hooks or decorative metal planter brackets. This would look pretty on a house or fence too.
- If your space is longer than 10 feet between posts or connections, they lights will sag in the center. You may need to hang your lights higher to avoid tall people walking into them. Another option to keep the string lights from sagging between posts is top thread a wire rope through the top loop above each light and secure it with a hook and eye metal turnbuckle to take up the slack. This hanging method works best when you can add a lot of tension to the wire from both sides like hanging in trees or a tree and a house.
- If you are using a deck or wood fence to hang string lights, attaching a pole to the fence or deck with a hook at the top to suspend the lights works well.
- Freestanding posts can work great if you don’t have a lot of wind and the bases are weighted down well. Half-barrels work great since they have a wide bottom and you can also make them decorative planters. My DIY String Lights on Poles project is perfect if you want moveable poles. If you get high winds they will fall over though. We get 40-60 mph winds at times which meant I couldn’t leave my lights up all of the time.
Incandescent vs. solar LED string lights
There are lots of options when it comes to string lights. I used the plug-in type with glass screw-in bulbs for my first patio lighting project and this time I opted for plastic solar LED string lights. Here are the pros and cons that I see between the two.
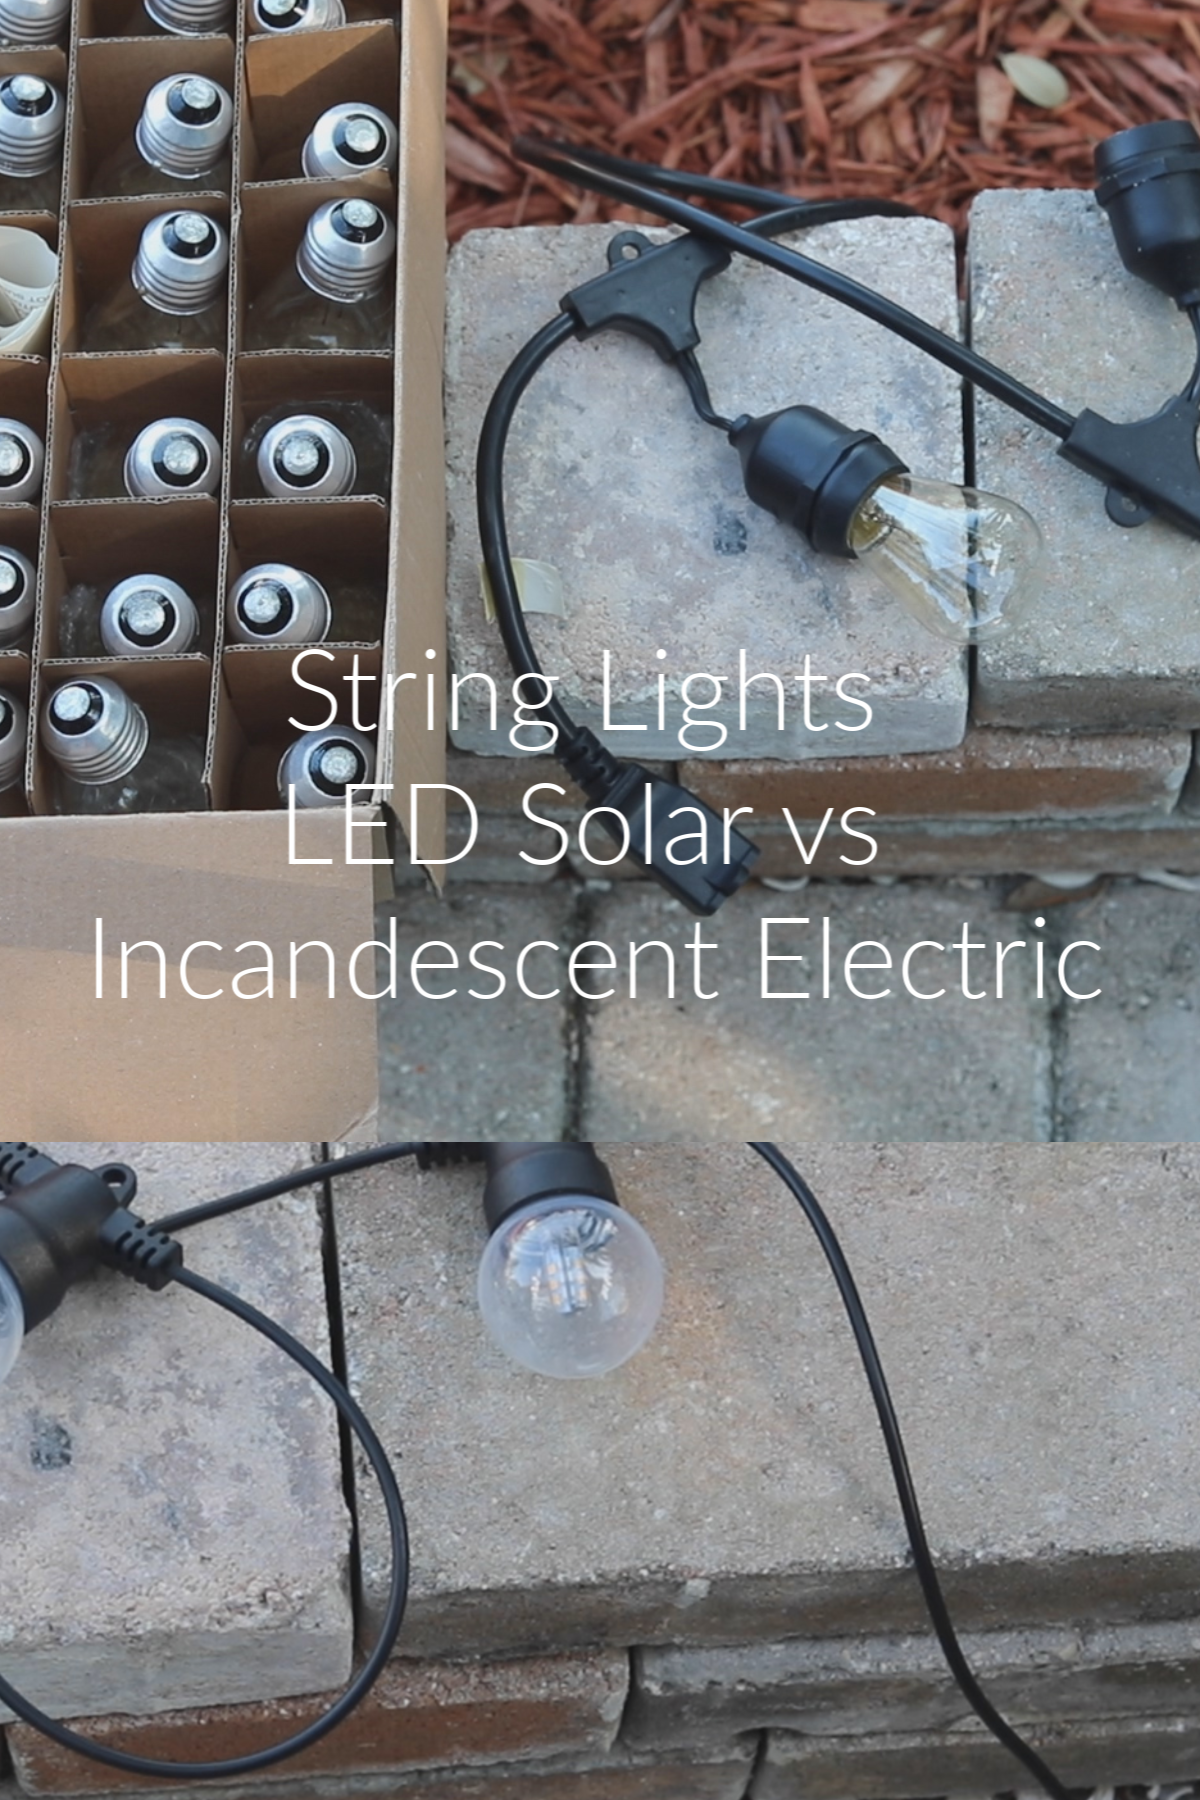
- Solar lights are not always as bright as incandescent lights.
- Solar LED string lights are usually plastic which is great for outside. Incandescent lightbulbs are usually glass which can be a mess to clean up if one breaks, but it’s nice that individual bulbs can be replaced.
- Incandescent string lights are usually heavier.
- Incandescent lights can be connected end to end for a longer string run.
- Both are similarly priced.
When you’re shopping for outdoor string lights, pay attention to the number of bulbs each string has and the distance between the lights! If you have a small area like around a dining table, you’ll want the lights to be spaced closer like a 2-foot span between lights.
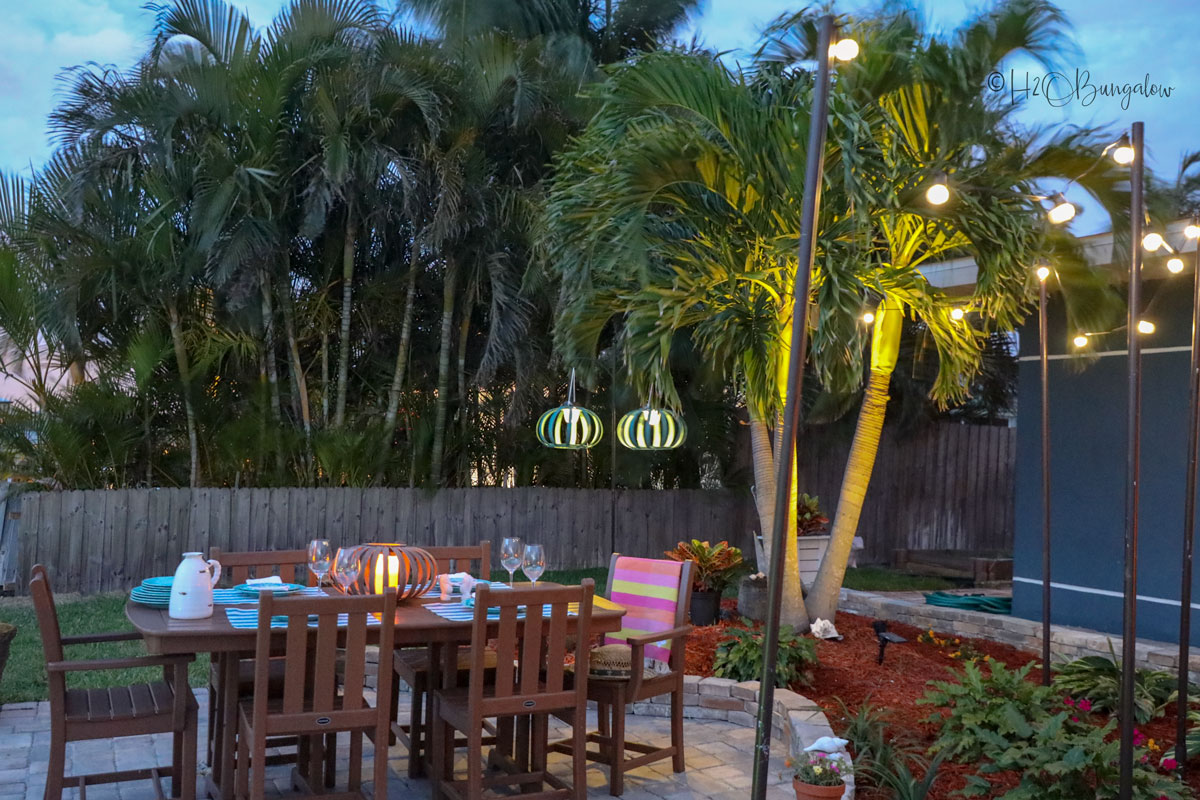
Decorative styles of string lights available
I found a few cute string light options besides plain bulbs on a wire. I think these are fun if you’d like a fun twist on plain lights.
How to Hang Outdoor String Lights
You’ll see in my video how I used LED lights and a combination of DIY poles and our palm tree to hold my string lights. They’ve already held up well through a pretty big storm with high winds and none fell off the hooks. The lights are plastic so I’m not worried about them breaking if they should come off the posts.
I compare and show close-up pictures of the incandescent glass bulb and my new LED string lights at the end of the video so you can see how they look.
Click here to follow me on YouTube!
Supplies I used to make removable string light poles.
Save time getting these supplies! I’ll note and link which items came from Home Depot. You can click the link and order the supplies/quantity you need and they can have the order ready for pick-up at will call. I had Home Depot cut my 1 1/2″ PVC (sleeve for the ground) in half so it would fit in my car.
Home Depot Items:
- 10 foot pvc poles 1 1/2″
- 4 foot pvc poles 1 1/4″
- 1 1/4″ cup hooks
- quick setting concrete, 1 bag per 2 holes
- spray paint, outdoor rated for plastic
- Tools Used
- Post hole digger
- 2 ft level
- measuring tape
Step 1. Dig post holes
Dig post holes roughly in a 3:1 ratio. For my 10 foot poles, I dug my holes 3 feet deep, 7 ft of the posts are above ground. If you plan on mounting your outdoor string lights on wood posts in the ground, or are using metal post sleeves instead of pvc, stick to the 3:1 ration and use and full bag of quick setting concrete per hole.
You can see how I anchored 4 x 4″ posts in my How to Build a DIY Hammock project.
Step 2. Measure and cut the PVC sleeve
Cut the 1 1/2″ PVC pole to five feet, this will be the sleeve.
Step 3. Set the light post
We used a two quart pitcher of water and a half of a bag of quick setting concrete per hole. You’ll see in the video how we poured and mixed the concrete together. Use a level to adjust the PVC sleeve or post so it’s straight.
Step 4. Paint post and add hooks
Paint the string light post and sleeve with the brown spray paint. Use a drill and make a pilot hole, screw the hooks onto the end of the PVC post.
Step 5. Hang lights
Hook the string lights onto the post and slide the light post into place in the sleeve.
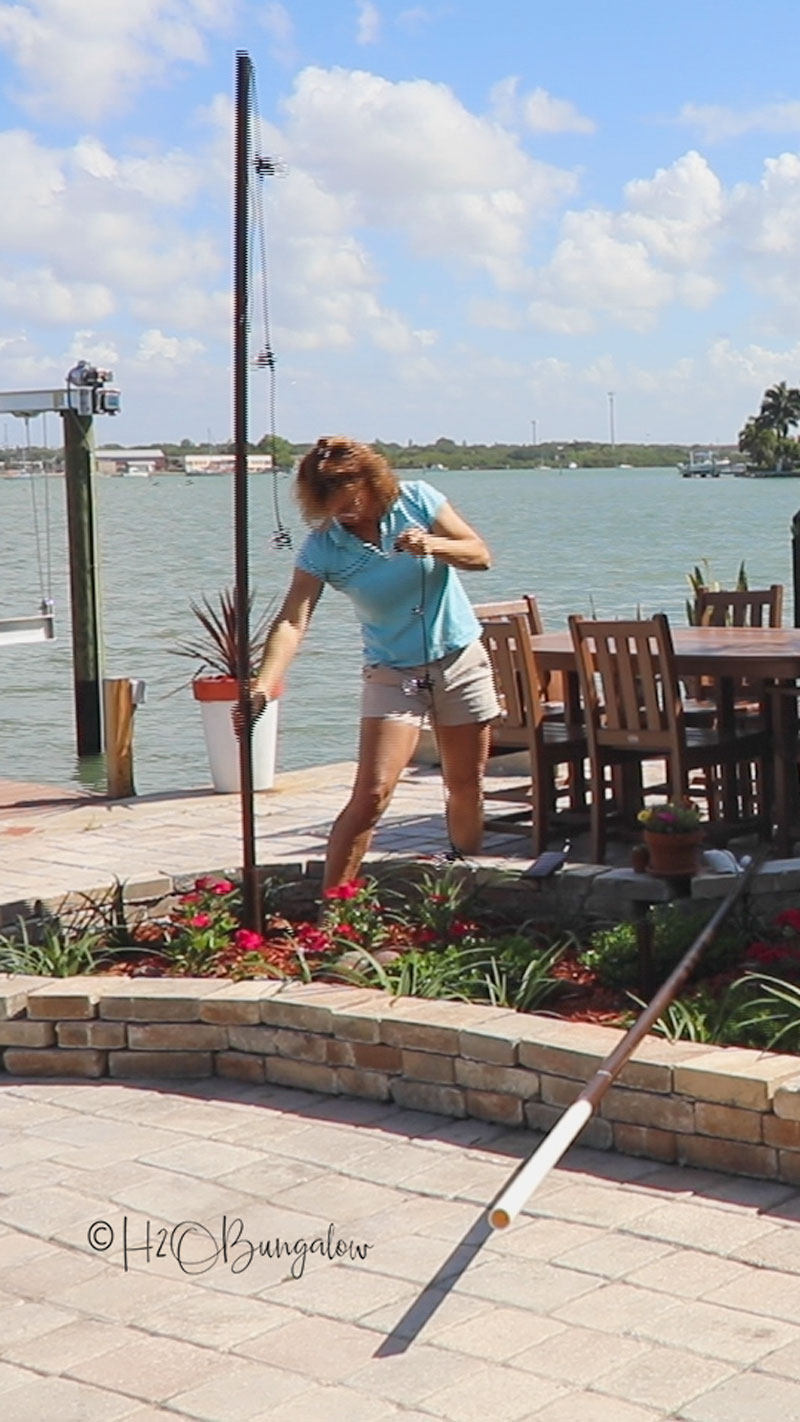
Step 6. Adjust the solar panel and turn the switch to on
Attach the ground stake or the clip onto the solar panel. Clip or set in ground and switch the on button to “on”.
You can see more pictures of my how my removable string light poles look in my Coastal Backyard Makeover Reveal for the Ryobi Outdoor Overhaul 2.0 I just finished. If you’d like to see more pictures of what the incandescent glass string lights look like on my Outdoor String Lights on Poles
Want more outdoor lighting ideas? You may enjoy these projects.
So which type of string lights do you like best? Plain white, colors or cute little shapes?

Michael Borenstein says
Hello! After a year have you noticed the spray paint chipping off the pvc pipes?
Wendi Wachtel says
Hi Michael,
That’s a good question and the answer is no! The paint isn’t peeling or flaking off at all. The spray paint I used is rated for outdoor and plastic. I do think if you tried to scrape it off the paint would come up where you scraped though. Ours still looks great! Good luck with your project!
Ironmongery Experts says
Hi Wendi, thank you for this easy-to-follow guide! The lights look great! Carolina at Ironmongery Experts.
Wendi says
Hi Carolina!
Thank you so much! We love how the lights have made our backyard as inviting at night as it is in the daytime.
Kirstin says
Love these. I loved your planter ones too but could see the downside where you live. I think they’d survive here, or I bet they could be made to be removeable also.