Learn how to make a DIY turtle topiary with this easy tutorial.
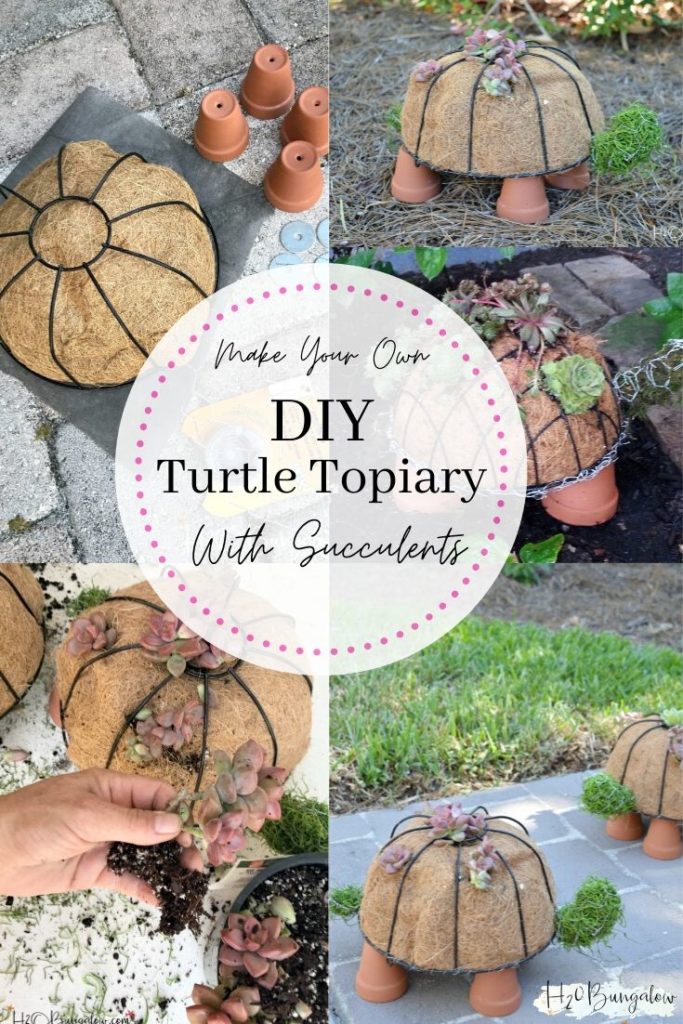
I’m sharing how to make a DIY Turtle Topiary today. Reimagining, upcycling and finding new purposes for cast off things is cool. My set of topiary turtles started out as cast off hanging wire baskets, forgotten and dusty left in a corner of my garage. Be sure to see my Butterfly Garden and the best Self Watering Planters
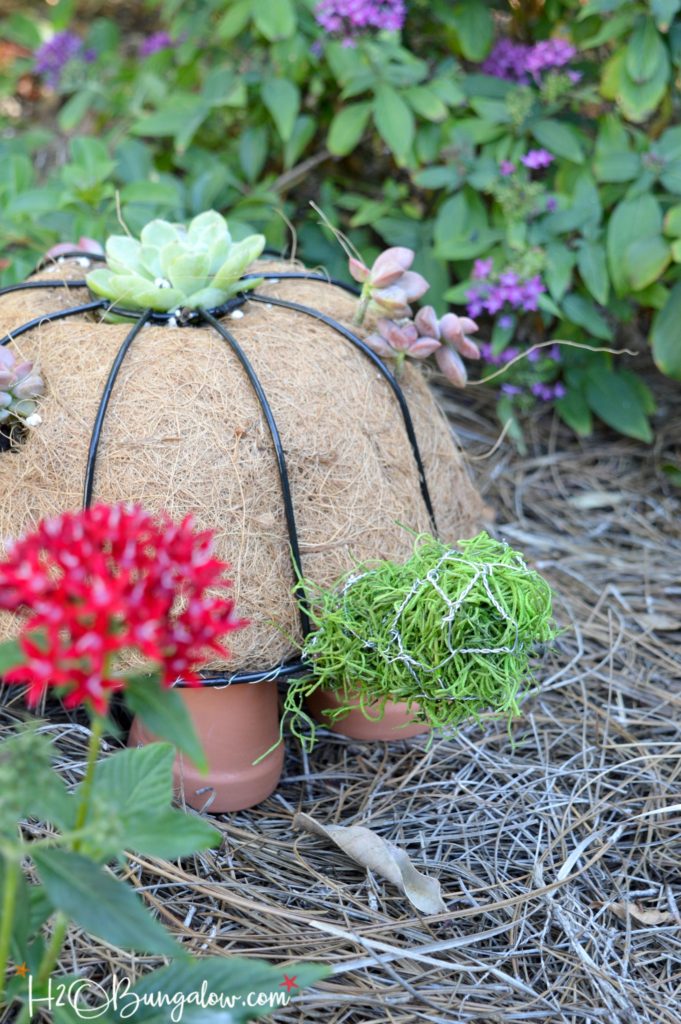
As I mentioned earlier, reimagined things are cool. I joined in with a bunch of other creative bloggers today who were also tasked with repurposing something for our outdoor spaces. You’ll find what they came up with at the end of my project along with links to their upcycled projects.
If you like this project, be sure to see my Butterfly Garden and the best Self Watering Planter.
My DIY topiary turtles are adapted from a friend and fellow blogger from Gardening in the Shade who shared her own Turtle Topiary project last year. I knew someday my dreams of having a pretty yard and the reality of my real life yard would get close enough so these cute DIY turtle topiaries would be perfect so I’ve kept this turtle project on my list for someday.
Yay friends…someday is here!
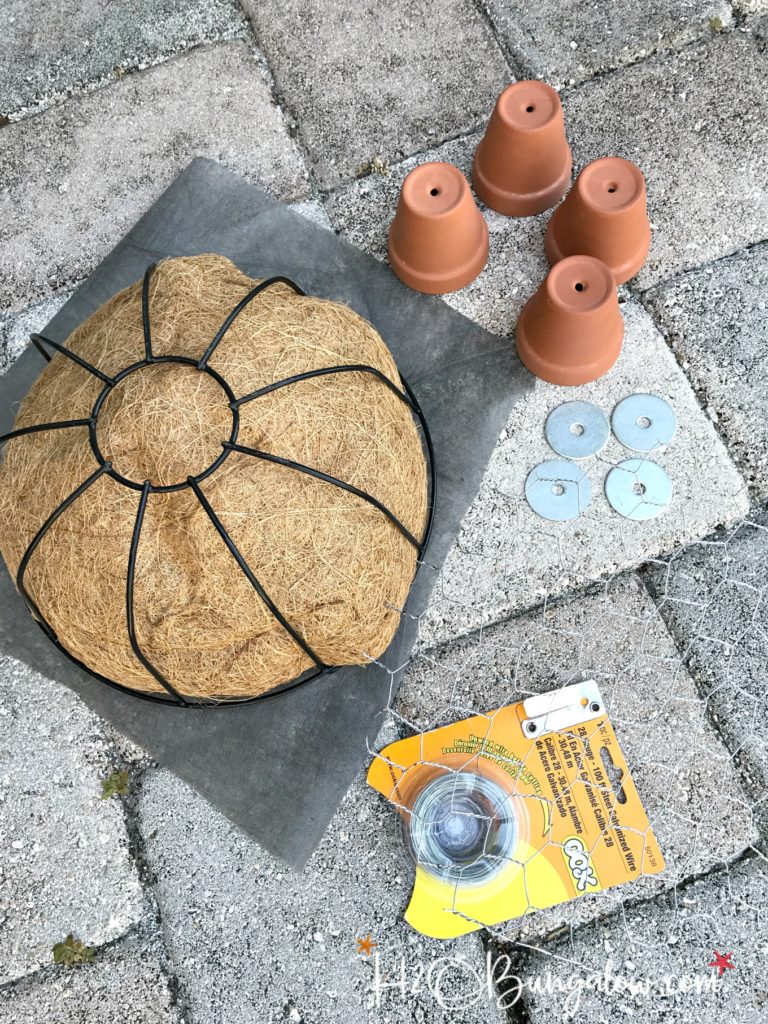
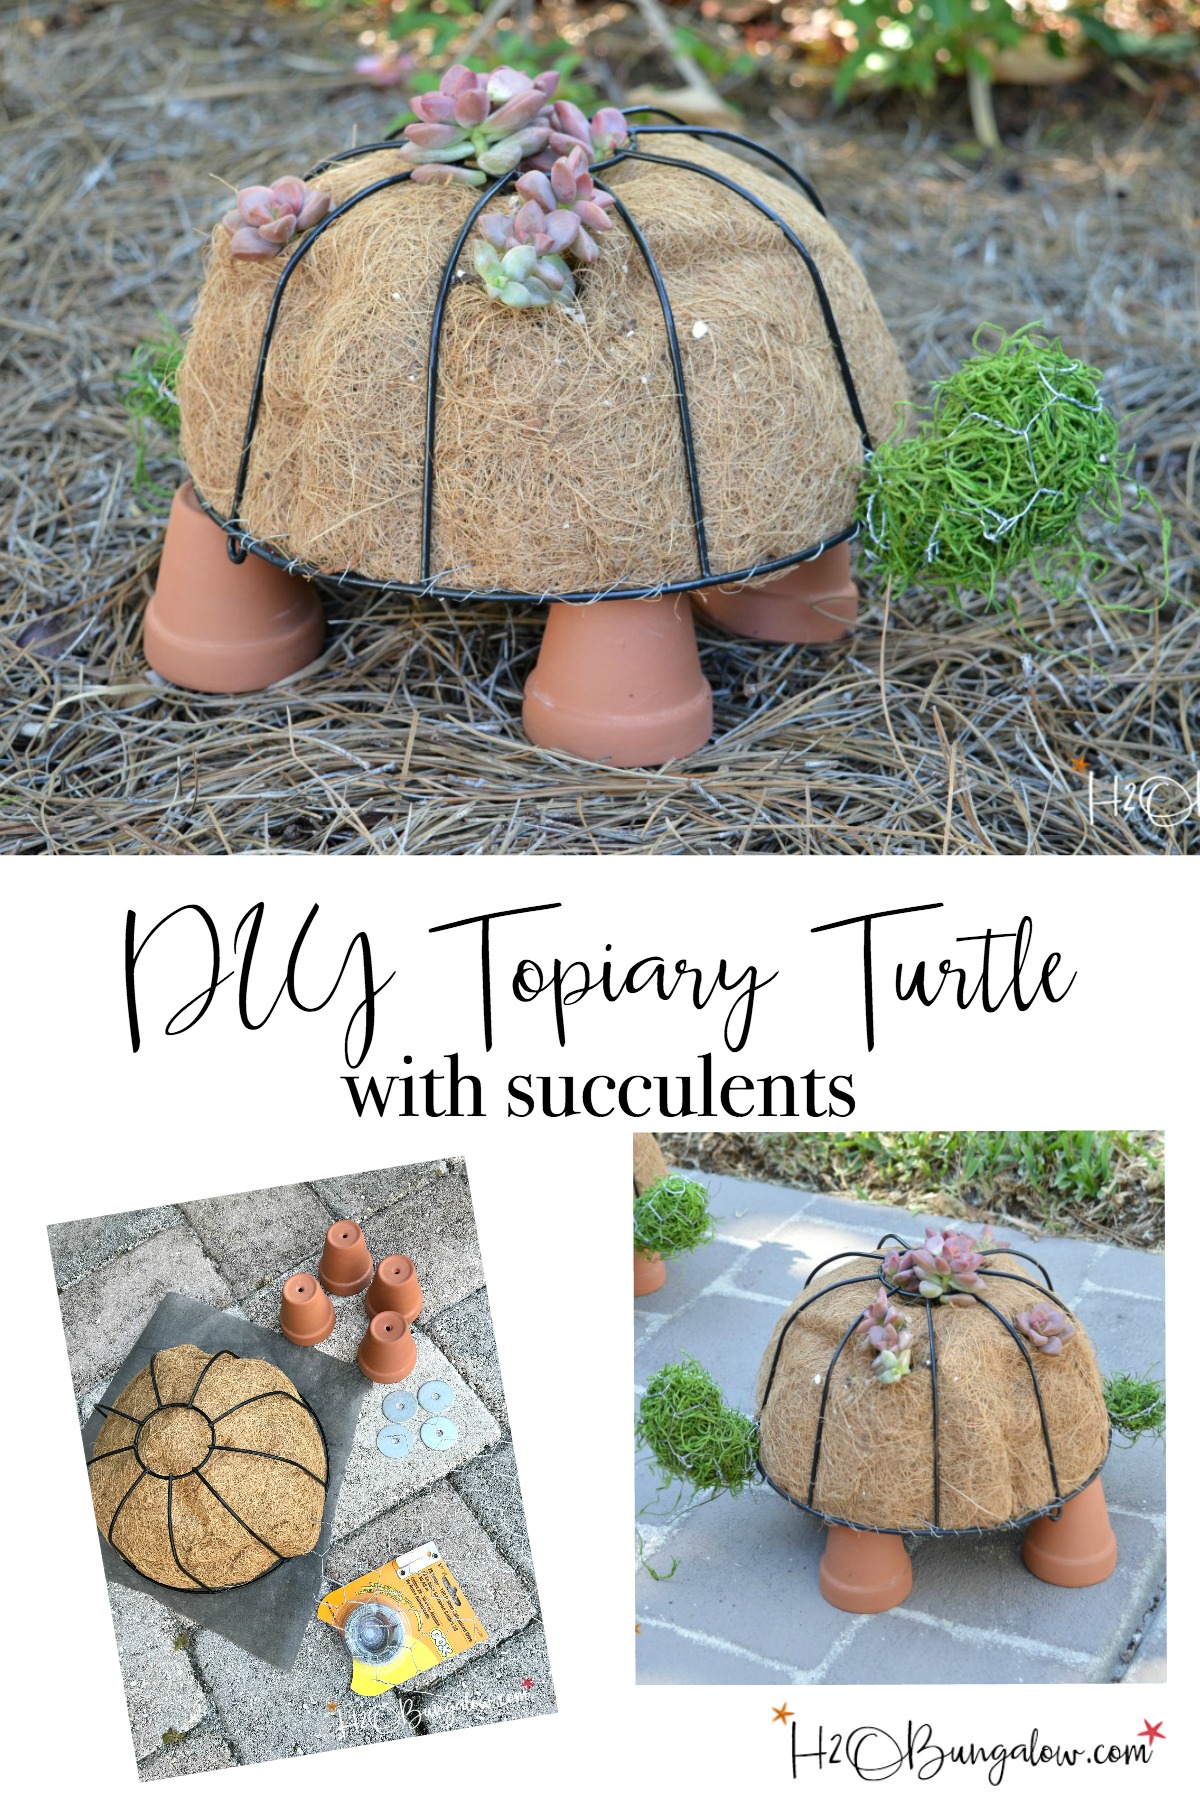
Supplies needed to make a DIY turtle topiary:
- Hanging basket – (your garage or the Dollar Store)
- Coir liner – (Dollar Store)
- 4 small terra cota pots (Dollar Store)
- 4 washers
- wire
- landscape weed blocker fabric
- chicken coop wire
- spagnum moss
- cactus plants
Tools needed for DIY turtle topiaries:
- needle nose wire cutter pliers
- scissors
- sharp pointy knife
- serrated knife
Gardening in the shade has a good DIY turtle topiary tutorial that’s easy to follow. I’ll share a few tips below that I discovered from her tutorial that will help building your own turtle topiaries easier.
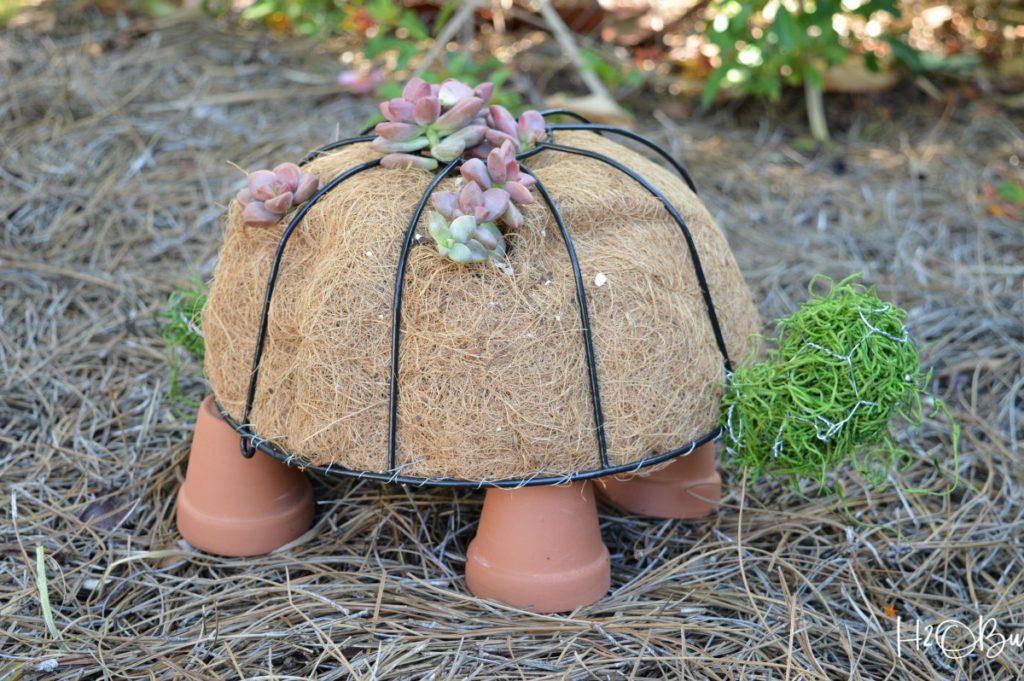
Tip # 1. Filling the turtle shell. Fill the coir liner with quality garden soil to the top. Cut the landscape fabric to fit and sew it onto the coir liner with the wire. Next cut the chicken coop mesh and attach it with with wire to the metal frame all around the edges.
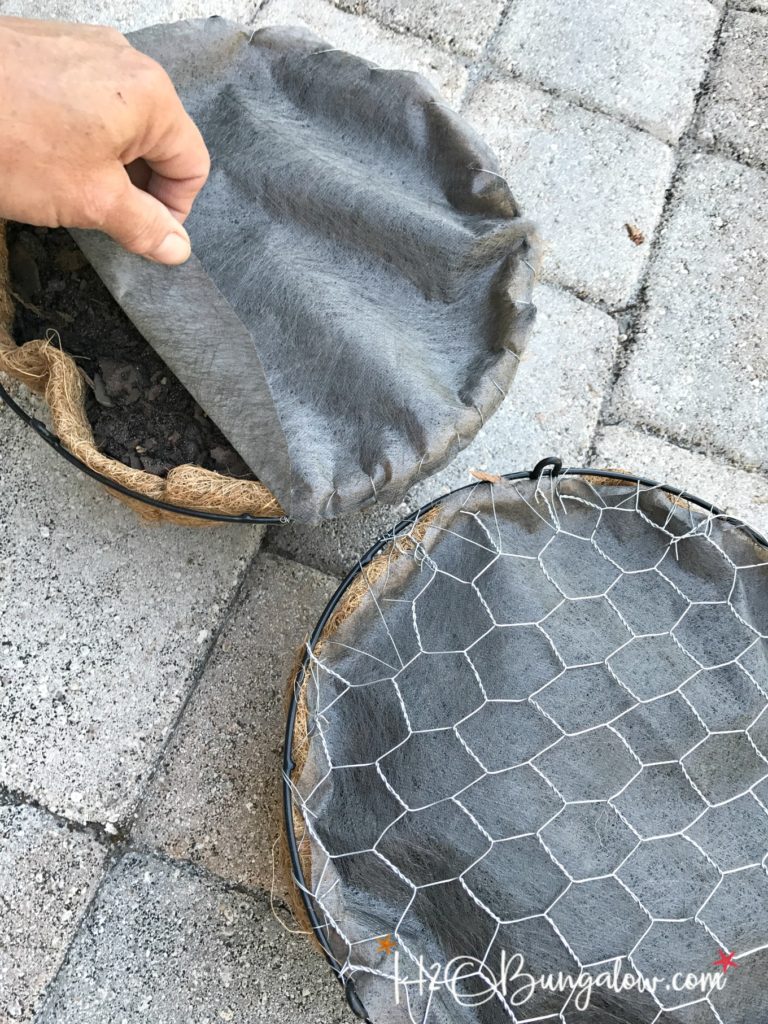
Tip #2. Attach the legs at the edge of the frame and the chicken wire for stability.
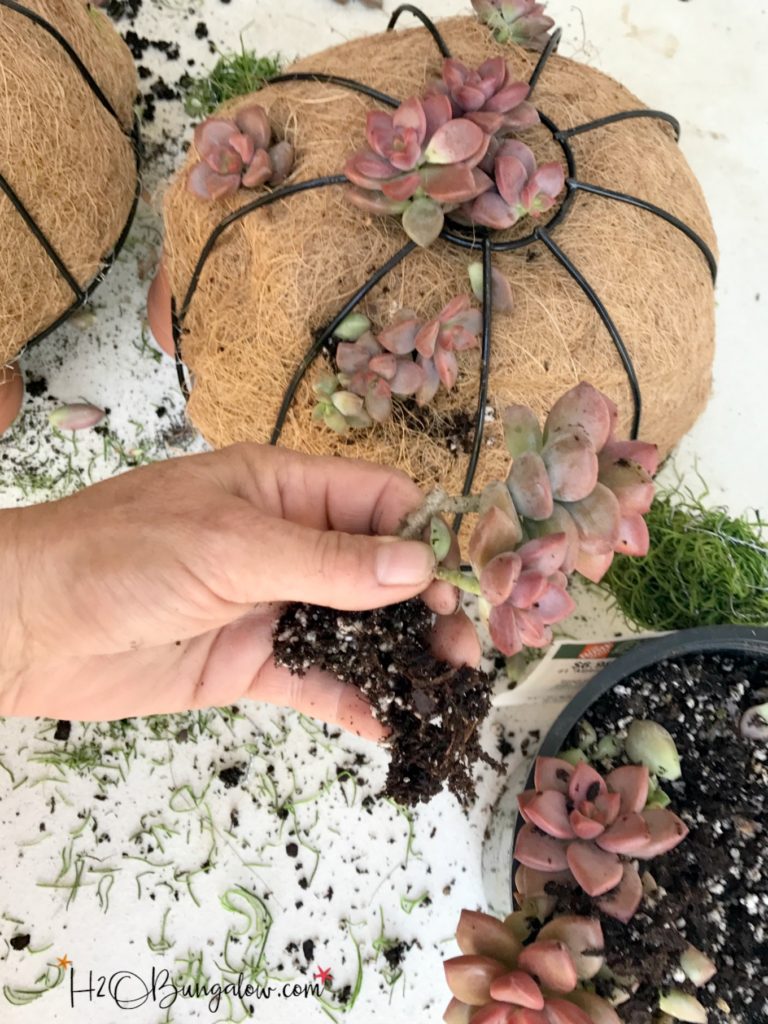
Tip#3. It was much easier to add the plants by poking a hole in the coir basket liner with a sharp knife and then use a serrated knife to cut an “X” big enough to add the plant roots. I knocked off a lot of soil to carefully tuck the plants into the coir liner.
I’m not a Master Gardener by any stretch of the imagination, I’m just a wanna be who is learning. But… I swear by my Super Thrive when transplanting anything. Take a look at my Fiddle Leaf Fig and you’ll see how fast it grew with regular watering using Super Thrive.
Even though I live in sunny Florida, I don’t necessarily have a lot of natural light so these 13 tough low light indoor plants will also come in handy, and maybe one or two will work in this topiary!
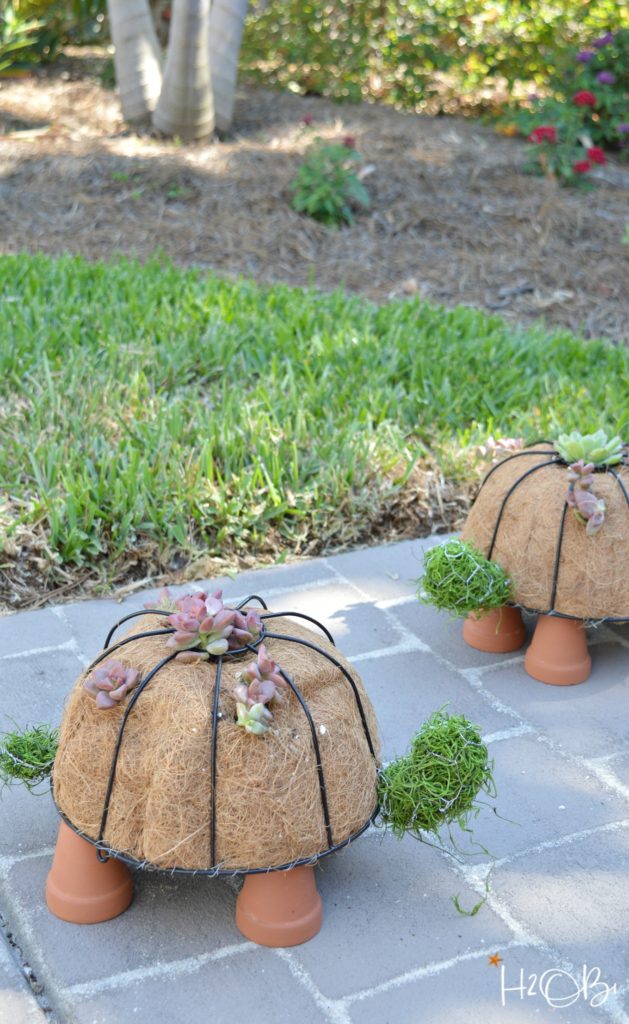
My biggest challenge will be figuring out where to put them. I’m thinking somewhere in my butterfly garden.
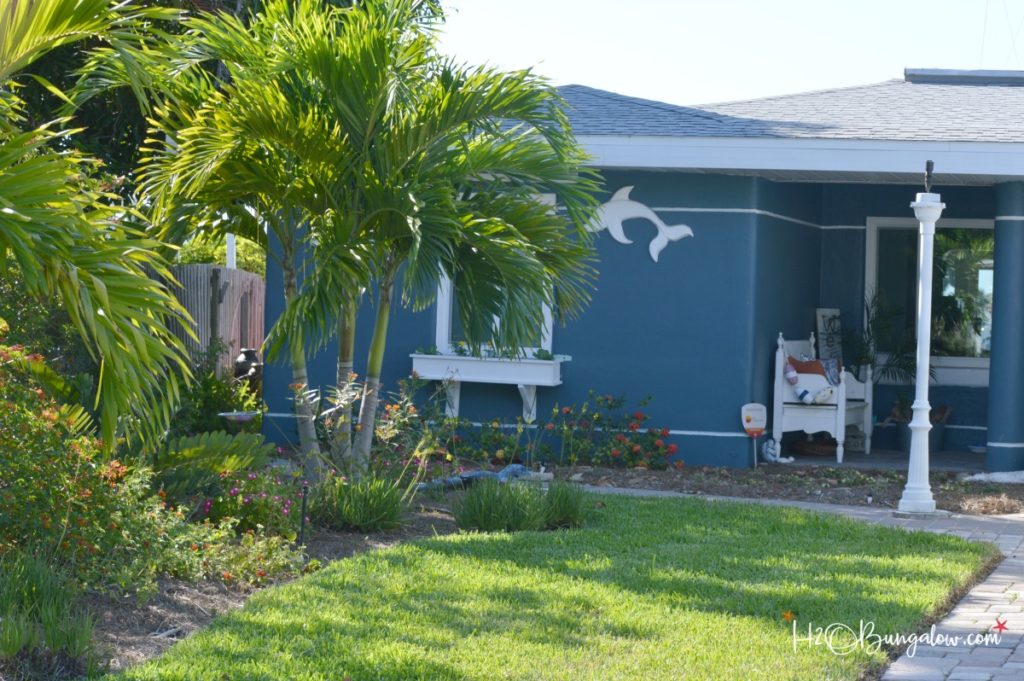
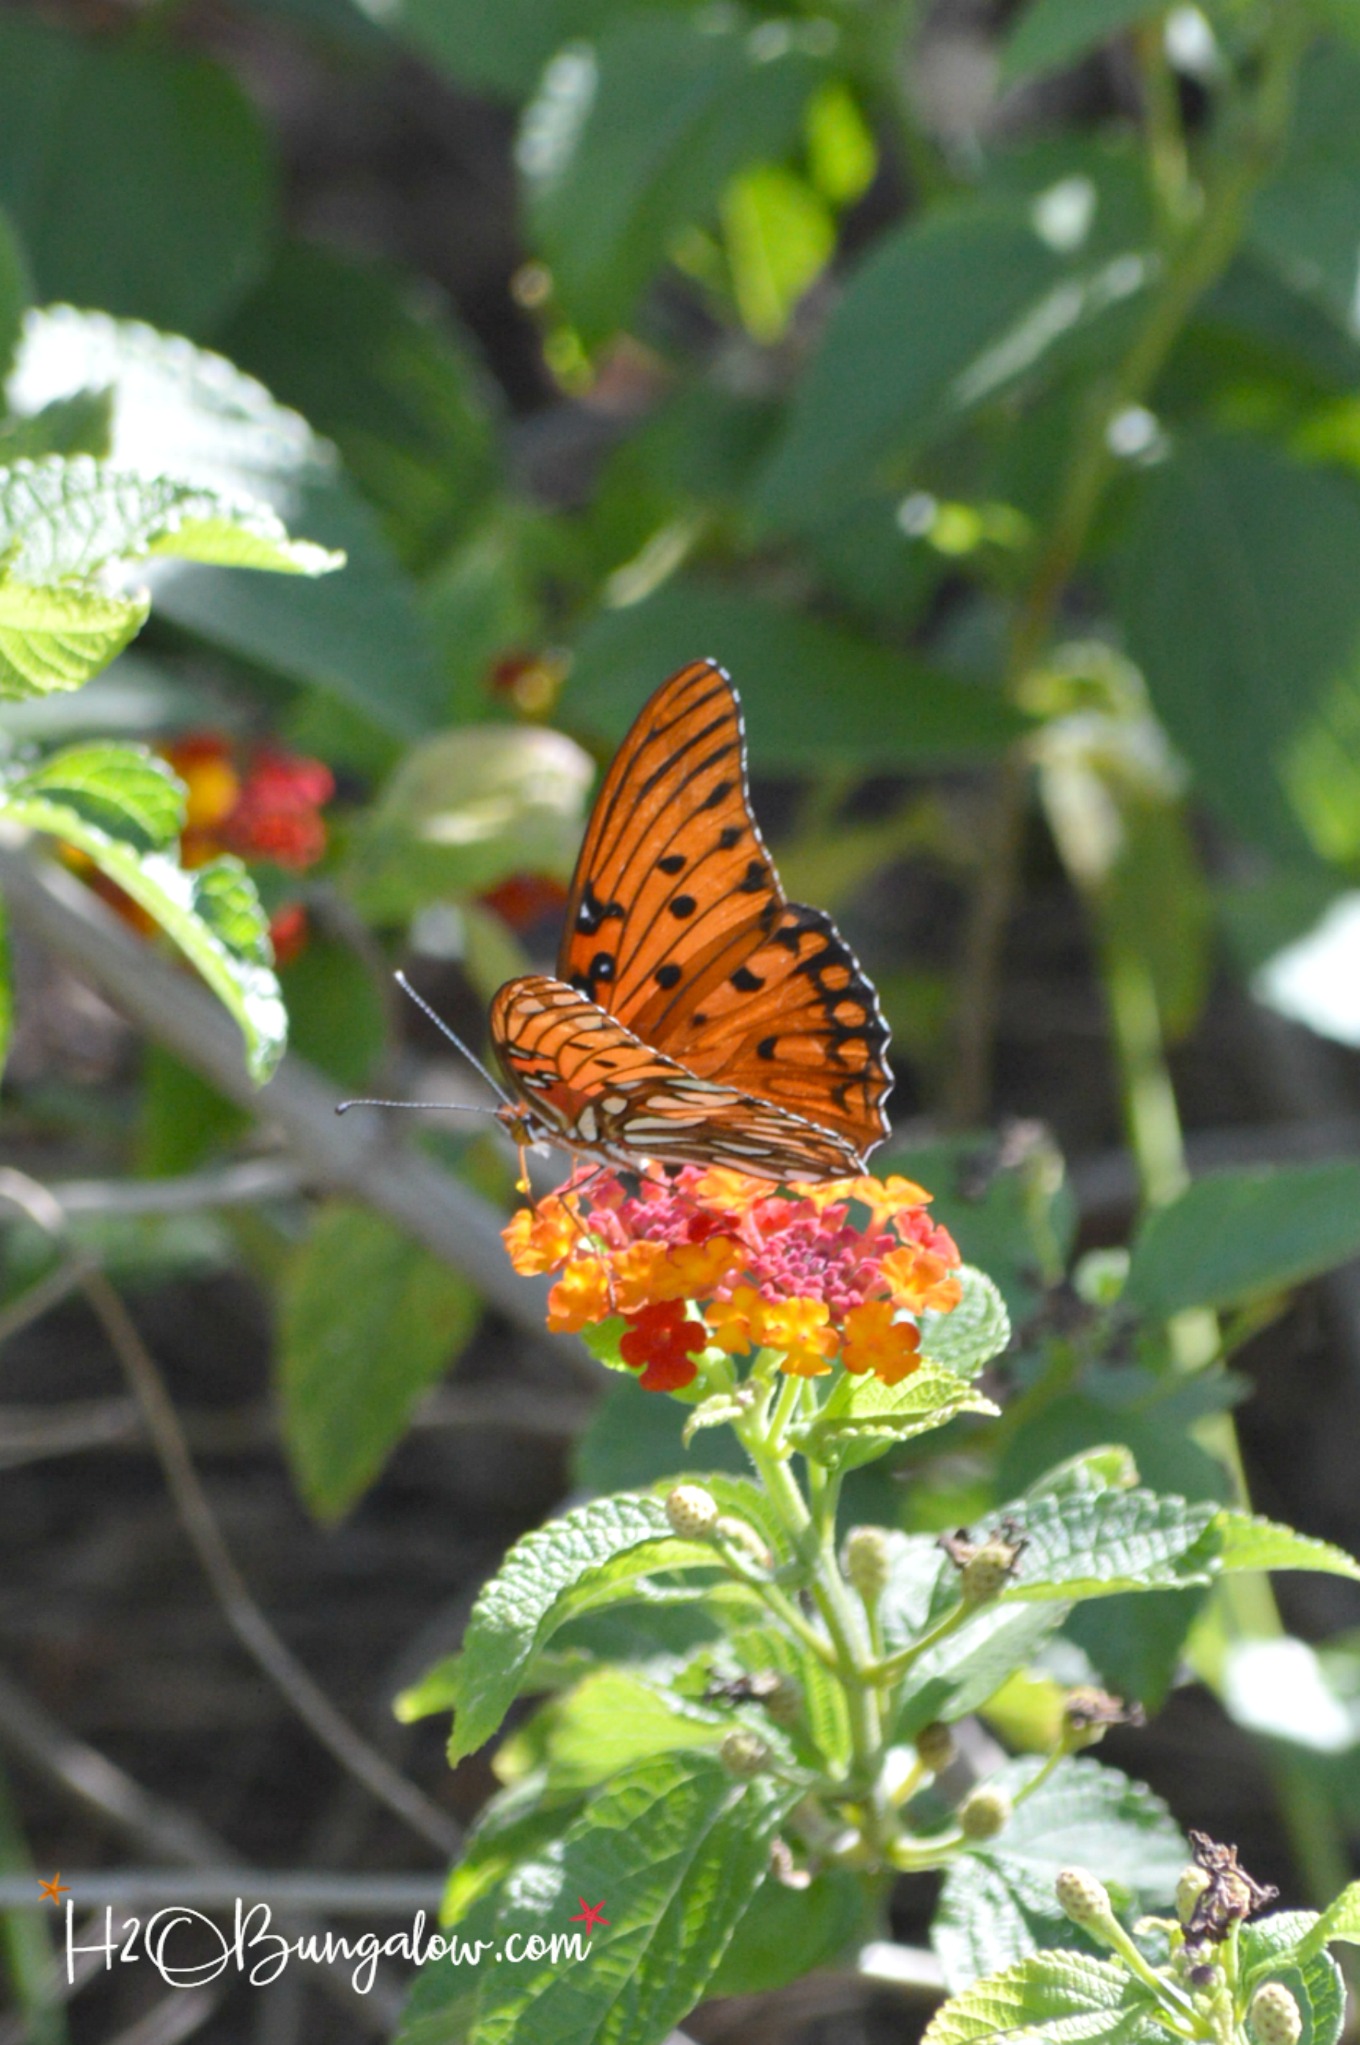
Our front yard is a certified wildlife habitat for pollinators. We have butterflies in the front yard everyday, it’s really something to see. I shared how to build a buttterfly garden a few years ago. It’s grown a lot since then!
Pin and save this project to make a DIY turtle topiary of your own!
Don’t forget to check out the other upcycled projects from this group too!

Kimm at Reinvented
Kim at Hunt and Host
Victoria at Dazzle While Frazzled
Pili at My Sweet Things
Randi at Dukes and Duchesses
Ashley at 3 Little Greenwoods
Courtney at All Things New Again
Lisa at The Purple Hydrangea
Tonya at Hey There Delyla
Sam at Raggity Bits
Denise at My Thrifty House
Wendi at H2O Bungalow
Jeanette at Country Design Style
Upcycling and reimagining things is not only fun but earth friendly and a good way to add personality to a home or yard. Do you have a favorite upcycled project you’ve made? What is it? Share below in the comments!

Sheree says
I made this yesterday and used small ground cover flowers! Turned out great! I will say when I attached the chicken wire to the shell I used small zip ties every 2-3 inches rather than poking myself with the wire and the chicken coop and it made it much easier! Making another one today with English ivy!
Wendi says
Hi Sheree!
Your turtles sound darling! I love the idea of using flowers and ivy, what a creative twist on it! I’m sure they look great in your garden. Have fun with them and thanks for your note and visit!
Jaci from Missouri says
How adorable and so so will fit into our patio redo. We have turtles who visit us everyday. We have named them, Hercules, Tonka and Sallie. We indulge them with grapes, tomatoes, lettuce and apple slices. I never the fall we open our enclosed vegetable garden so they can fill up for the winter. They have a specific path that leads them pass our sliding patio doors and sometimes they stop and look in. This will be a welcoming project to greet them. We made some topiary spheres with the same baskets for our front porch. We took two to form a sphere and zip tied together. We planted them in big round planters and have creeping Jenny growing up the outside of the spheres. We also have lambs ear, petunias and vinca vine on the outer edge on the outer edge of the spheres trailing down. Thank you for this wonderful idea! I just subscribed and followed you on Pinterest.
Wendi says
Hi Jaci from Missouri! Thank you so much for your very sweet note and subscribing! What a wonderful treat to have live turtles stop by! It sounds like you’ve quite a set-up for them and a lovely garden to boot. Where do they go in the winter? We love turtles here, as you can tell. There’s a place nearby called turtle cove when we can go and feed the turtles. Im planning on taking my grandson when he is out this summer. Your topiaries sound lovely. Again, thanks so much for your visit & sweet note!
Sj says
I just discovered your blog. The turtles are affordable!
Wendi says
Hi SJ and thank you! Welcome to the blog, I’m so happy you found it as well. There’s lots, over 450 actually, projects and tutorials here. Hopefully you found some more that inspired you to try new projects! Thanks so much for your visit and comment.
Carol, The Red Painted Cottage says
This is too adorable! I love it and want to thank you for sharing it at SYS.
Wendi says
Thanks Carol! These little guys are so cute in the garden.
Emily says
This is seriously one of the cutest gardening ideas I’ve ever seen! Thanks for linking up with Merry Monday last week – I’ll be featuring your topiary idea for our upcoming party 🙂
Wendi says
Hi Emily and thank you and than you again for the feature 🙂 I’ve moved them several times already to find the perfect spot for them. I love that they are low maintenance!
Shirley Wood says
Such a cleve upcycle project and I love that you used succulents too. This post will be one of the Features at the new Merry Monday party. I always enjoy your creativity.
Wendi says
Hi Shirley and a huge thank you for the sweet compliment and the feature! Succulents were the best choice since they grow so slowly. I’m loving the idea of not having to do any maintenance. Just make and forget…my kind of garden! LOL Thanks again!
Marie says
What a fantastic idea! Turtles are adorable anyway but I never would have thought of making little topiaries of them! Just found my next outdoor project! Thanks for sharing your awesome tutorial with us at Merry Monday this week!
Wendi says
Thanks so much Marie! They are so cute at our front walkway. Have fun making some and please share a picture on my H2OBungalow FB page when you do! Thanks so much for your visit!
Heather says
Will the turtle’s back eventually fill out with the succulents? Or do you have to plant more succulents to get a fuller look? Thank you!
Wendi says
Hi Heather, The succulents will get bigger and they may multiply over time. I’d add a lot more plants to the turtle if you’d like to back covered. eep in mind the size the plants will grow to be once they are established. Have fun with this project!
Nancy says
What do you do with the washers?
Wendi says
Hi Nancy- I mentioned in the post I was using Gardening in the Shades project and she has full instructions on her blog. I left the link in my post. In a nutshell they go in the pots and are tied with wire to hold the turtle legs on. They are bigger than the holes in the pots. Thanks for your visit!
Courtney says
Your turtle is adorable–and I love the butterflies too!
Wendi says
Hi Courtney and thank you! I’ve had fun with the turtles, and am still moving them around to see where they’ll stay for good in the garden. We love the butterfly garden, it’s fun to walk outside and see butterflies everywhere. Thanks so much for your visit!
Lee Moyer says
I love this project! So cute in any garden. How did you make the head and tail? Thanks!
Wendi says
Hi Lee! Thank you so much. I had a good time making these turtles. I made a tube shape for the neck and tail and filled them with moss. The tail got flattened and the neck was added to another piece I made that was an oblong ball filled with moss. I attached the ball to the (neck) tube and then wound wire to the frame to hold it in place. Have fun making one!
Zion says
So cute!! Oh my gosh! I want one! I will make them too!!
Wendi says
Thank you!
Denise says
Oh my goodness…..so adorable.
Wendi says
Hi Denise, Thank you! Turtles are very special out here at the beach…we have sea turtles everywhere so they are often yard art and decor. Thanks for your visit!
Kim @Hunt & Host says
Your little guys are so fun! What a great idea! that’s my kind of pet 😉
Wendi says
Too funny Kim, me too! All I have to do is remember to water them which may be a stretch for me! LOL
Victoria @DazzleWhileFrazzled says
Super cute idea! Great garden decor and conversation starter. Visiting from Trash to Treasure Blog Hop.
Wendi says
Hi Victoria & thank you 🙂 We can always use more cute garden decor and turtle are very popular at the beach. Thanks for your visit 🙂
Jeanette says
These are the sweetest things! I would love a couple walking down our sidewalk! Fun!
Wendi says
Hi Jeanette and thank you! I keep moving these little guys around trying to find the perfect place for them. Thanks so much for your visit 🙂
Pili says
Those turtle topiaries are adorable, Wendi! Let me show my daughters, they will ask me to make some for our new home. Pinning to remember!
Wendi says
Hi Pili and thank you! You’d surely come up with something beautiful! I hope you make some with your daughters 🙂
Lisa says
This turtle topiary is just adorable!
Wendi says
Hi Lisa and thank you! I love this new set of turtles…all I need to do is water them or at least remember to water them 🙂 Thanks for your visit!
Randi says
What a fun idea … it’ll look adorable in the garden!
Wendi says
Hi Randi and thank you 🙂 They turned out cute and were fun to make.
Vanessa says
Awesome! You got to try it out!
Wendi says
Hi Vanessa! I hope my turtles lived up to yours. I think yours were cuter but hey, I’m a novice! LOL I knew eventually I’d get to making a set. Hope you get good traffic from this post 🙂 Cheers!