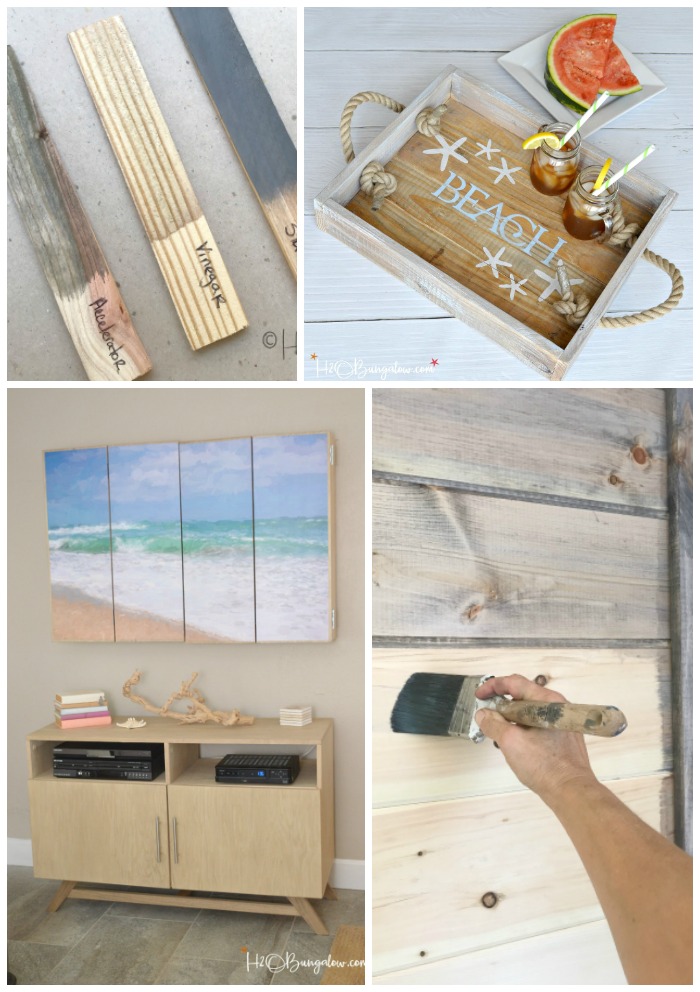
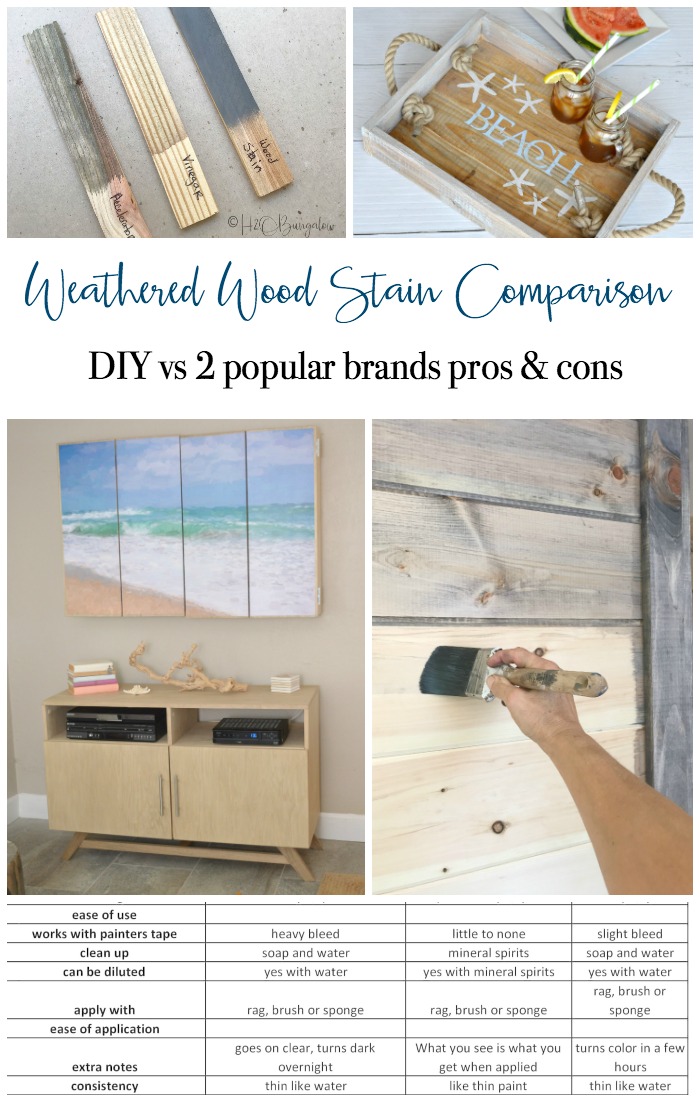
Today, I’m comparing three different ways to age and weather wood with stain and a few examples of DIY projects I’ve used these wood stains on. I’m also sharing my favorite finishing techniques when I’m trying to make wood look old because I believe getting the right weathered wood look on wood is a huge piece of an awesome DIY project. Aged and old wood is crazy popular with variations of it showing up in furniture and home decor items everywhere. Making new wood look old isn’t hard. The hardest part is knowing which technique to replicate old wood is best for your project.
And that part won’t be hard anymore after you’ve read this post!
There are lots of products available to stain wood. But when you want to age wood or make your wood look weathered and old, which one is the best?
That answer actually depends on what type of project you are working on and the look you are going for on your project.
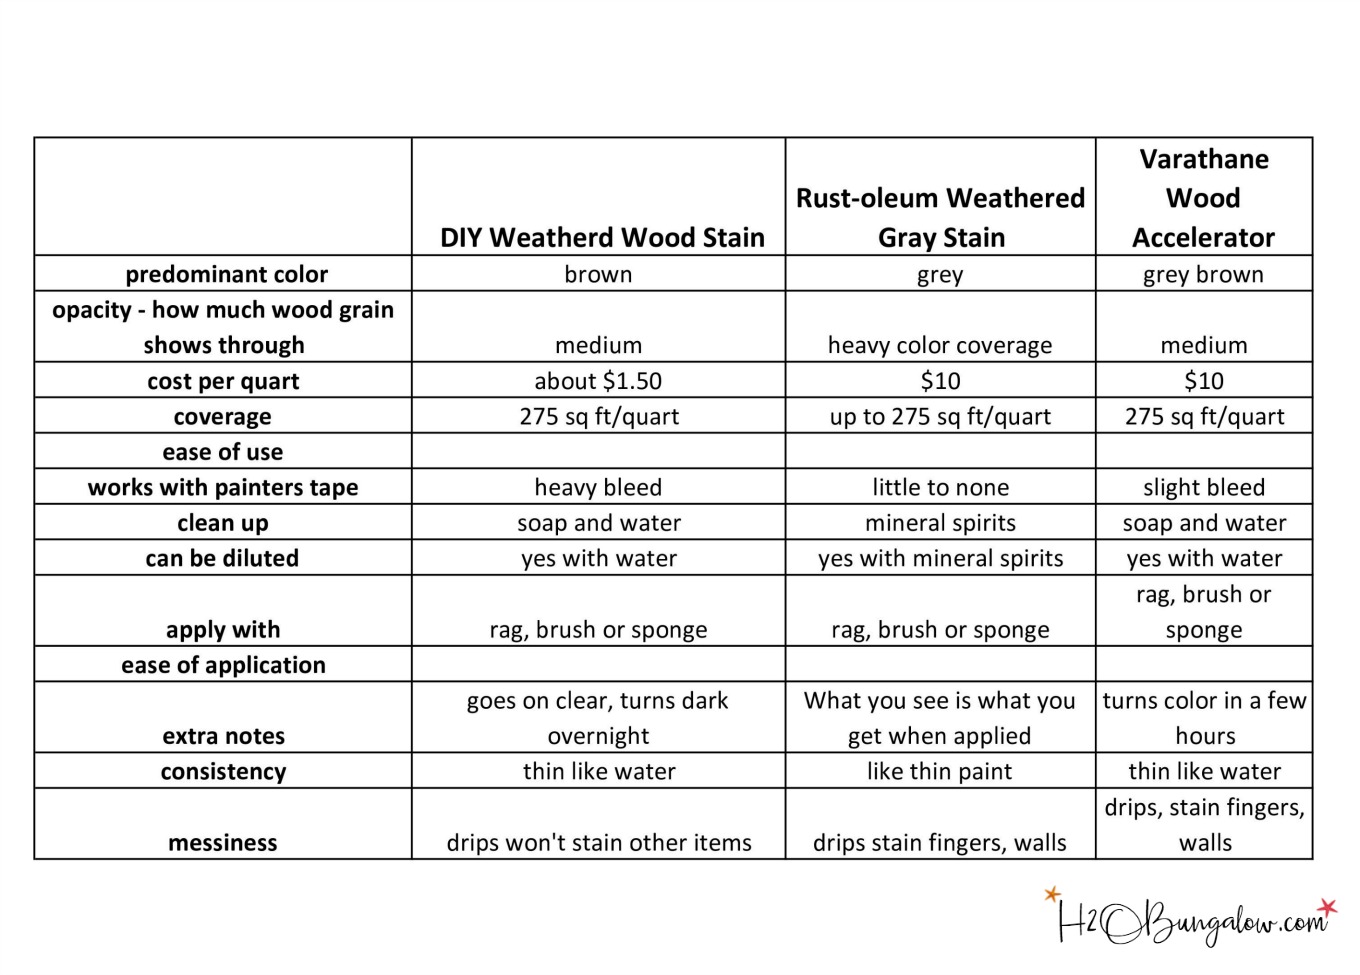
I compared three diffrent popular types of stains to age wood and weather wood and listed the pros and cons of each one. To make the comparison of weathered wood stains easy for you, I’ve put them in a handy chart, which you’ll see below.
Ways to Age and Weather Wood Comparison
I use affiliate links to help you find the supplies I used. You can read my full disclosure policy here.
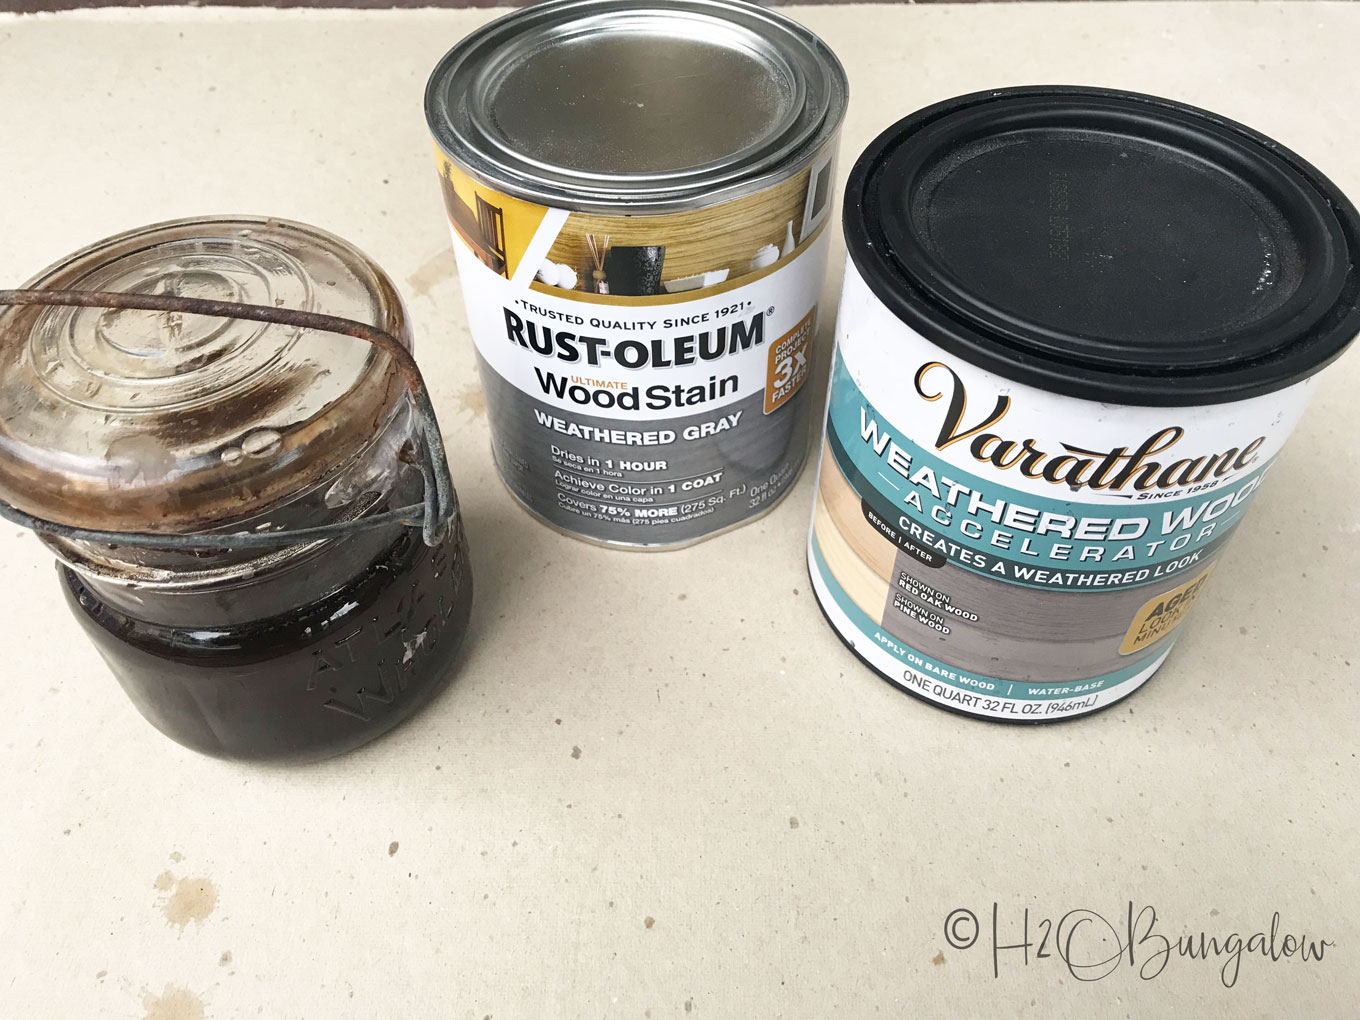
I compared three popular ways to age and weather wood, Rust-oleum’s Weathered Gray Wood Stain, Varathane’s Weathered Wood Accelerator and my DIY Aged Wood Recipe. You’ll find the recipe to my DIY Weathered Wood Stain, in my post How to Tea Stain Wood, (adding the tea is optional and was left out for this comparison).
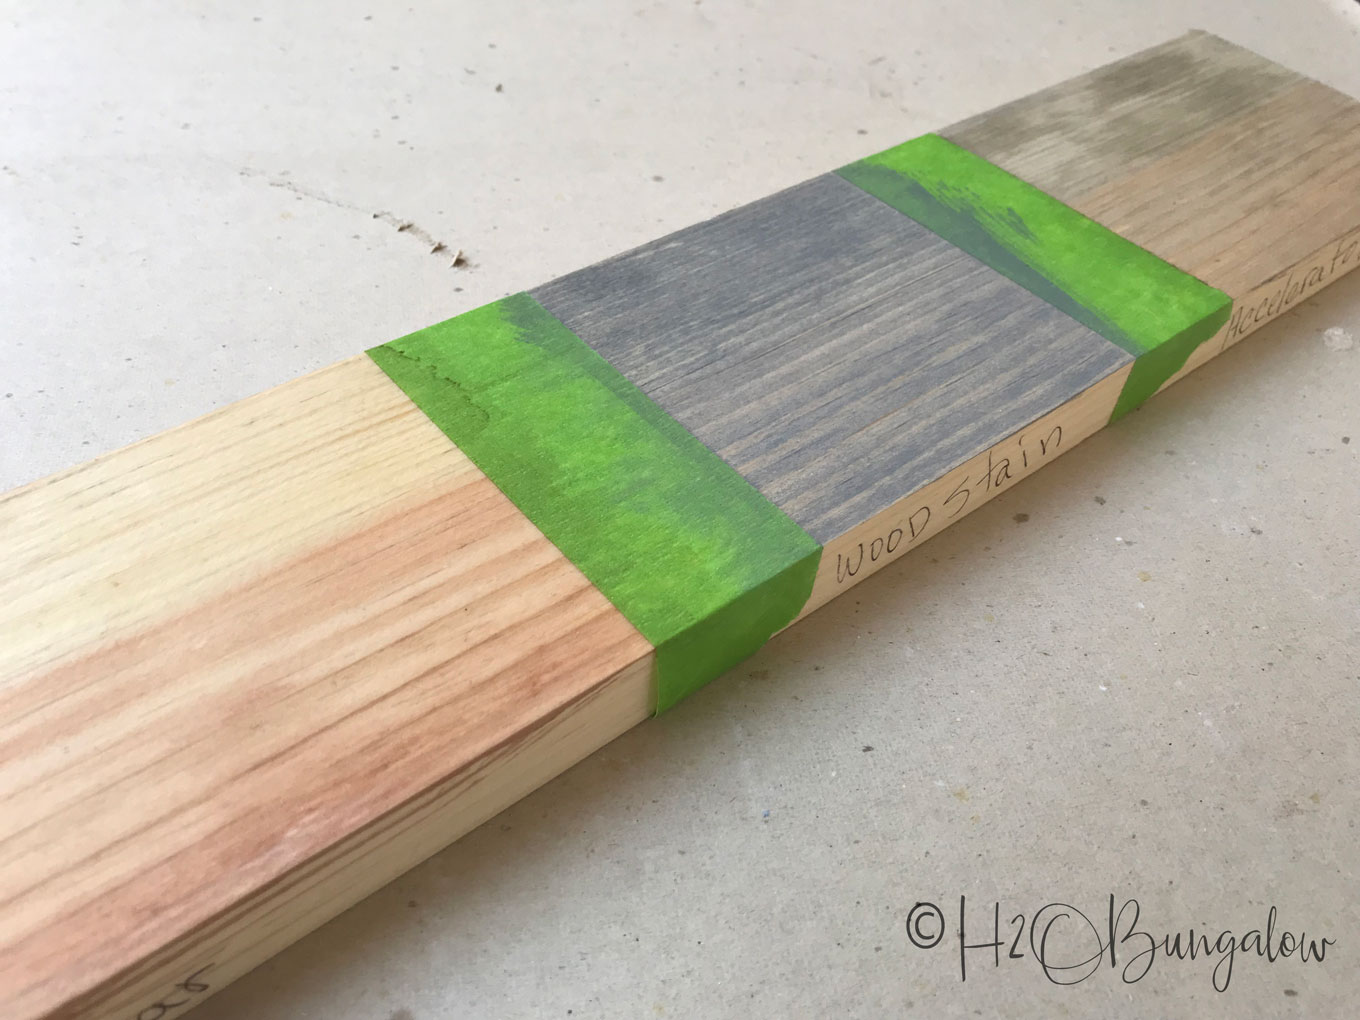
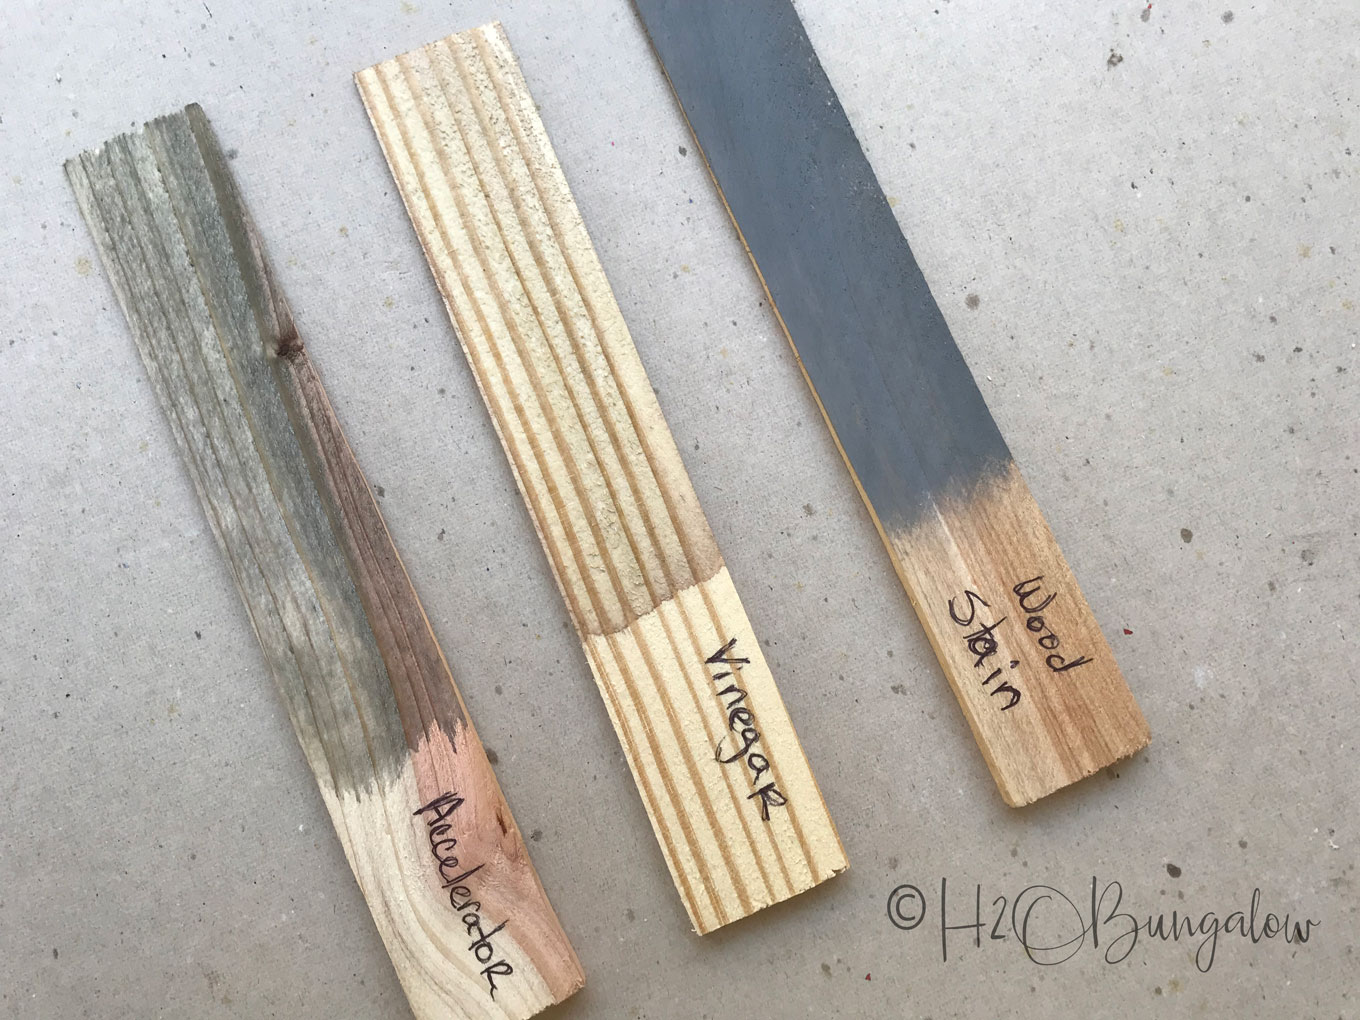
I applied the weathered wood stains to a dry board. This is 20 minutes after applying.
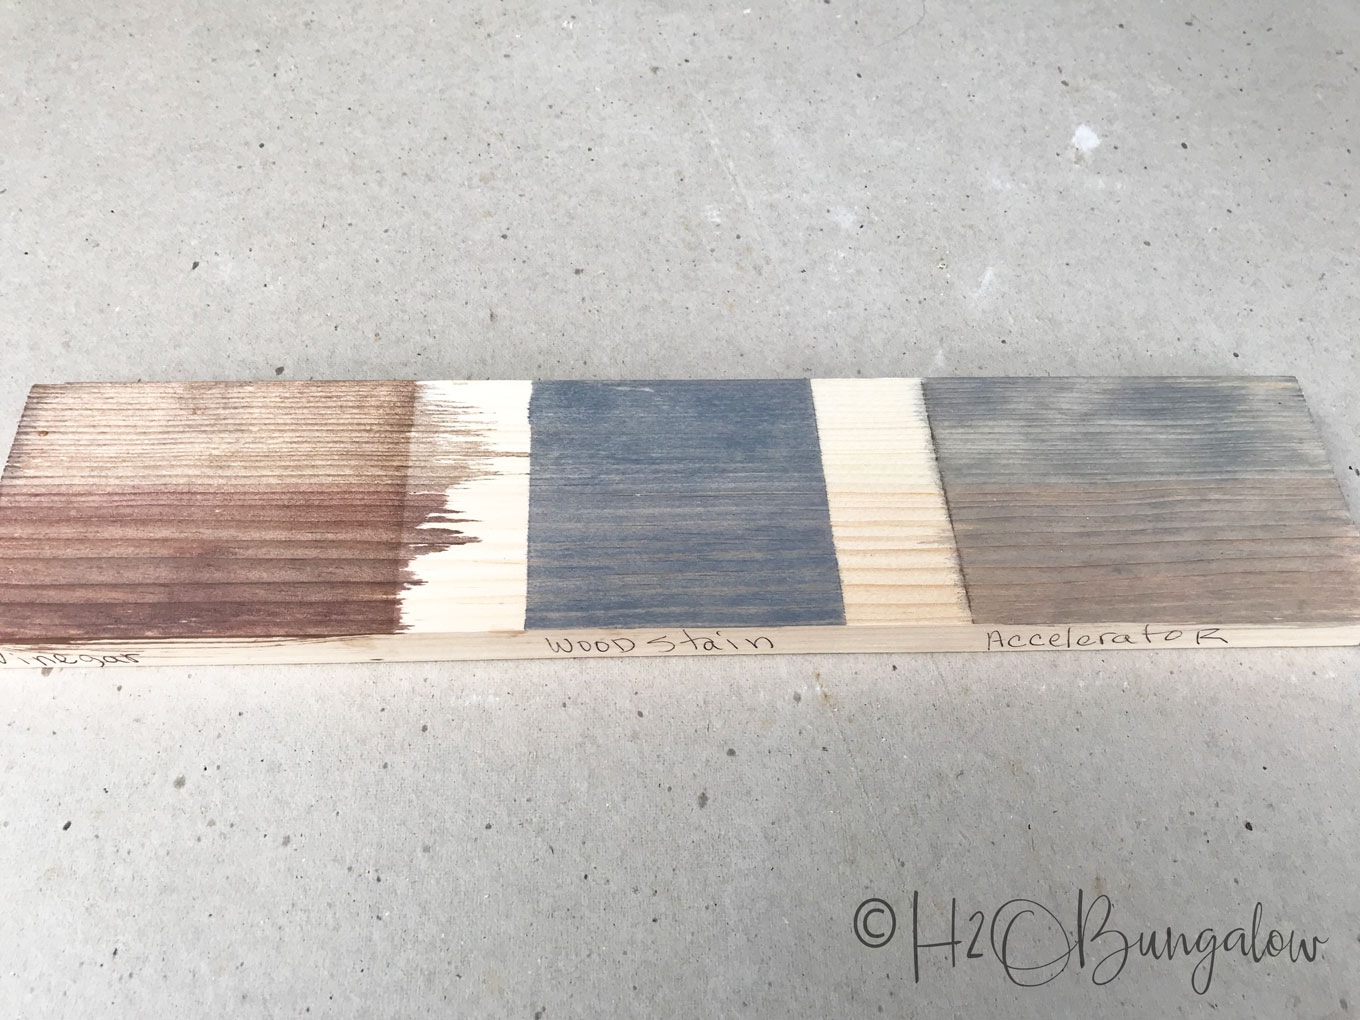
This is the next morning. As you can see the Vinegar solution and the Accelerator take time to change color. The wood stain looks about the same as when I applied it.
Look at the different shades of browns to gray tones that were brought out with the different stain products. The Wood Accelerator is almost a mix of both of the color combinations of the DIY aging wood technique and the Gray Wood Stain.
Want to see more examples of DIY weathered wood stained projects I’ve made and some color variations? My DIY Coastal Rope Handle Tray Tutorial is a good example and then I used a weaker solution for my DIY Vintage Blanket Ladder.
Sometimes, it’s not just the color that dictates which one to use which is why I put together the below chart on ways to age and weather wood comparison.
More Tips For Working With Weathered Wood Stains
Does weathered wood stain react the same on all wood types?
You’ll get a different color reaction with different types of wood. Pine, oaks and other woods will react differently, even more so with the DIY version of a weathered wood stain because a chemical reaction is taking place when the stain and the wood meet.
Different cuts of wood will also react differently to weathered wood stain products- the smooth side of a piece of cut lumber will take less color than a fresh or rough cut of wood. Below are rough cut shims, see how the color is more intense on them? This is only 20 minutes after applying them too.
Whenever possible always do a test patch of a weathered wood stain on a scrap of wood. I realize if you’re working on a piece of furniture that may not be possible. In that case I’d pick an inconspicuous place to try the finish first.
Can I blend colors or modify a stain to make my own DIY weathered wood stain color?
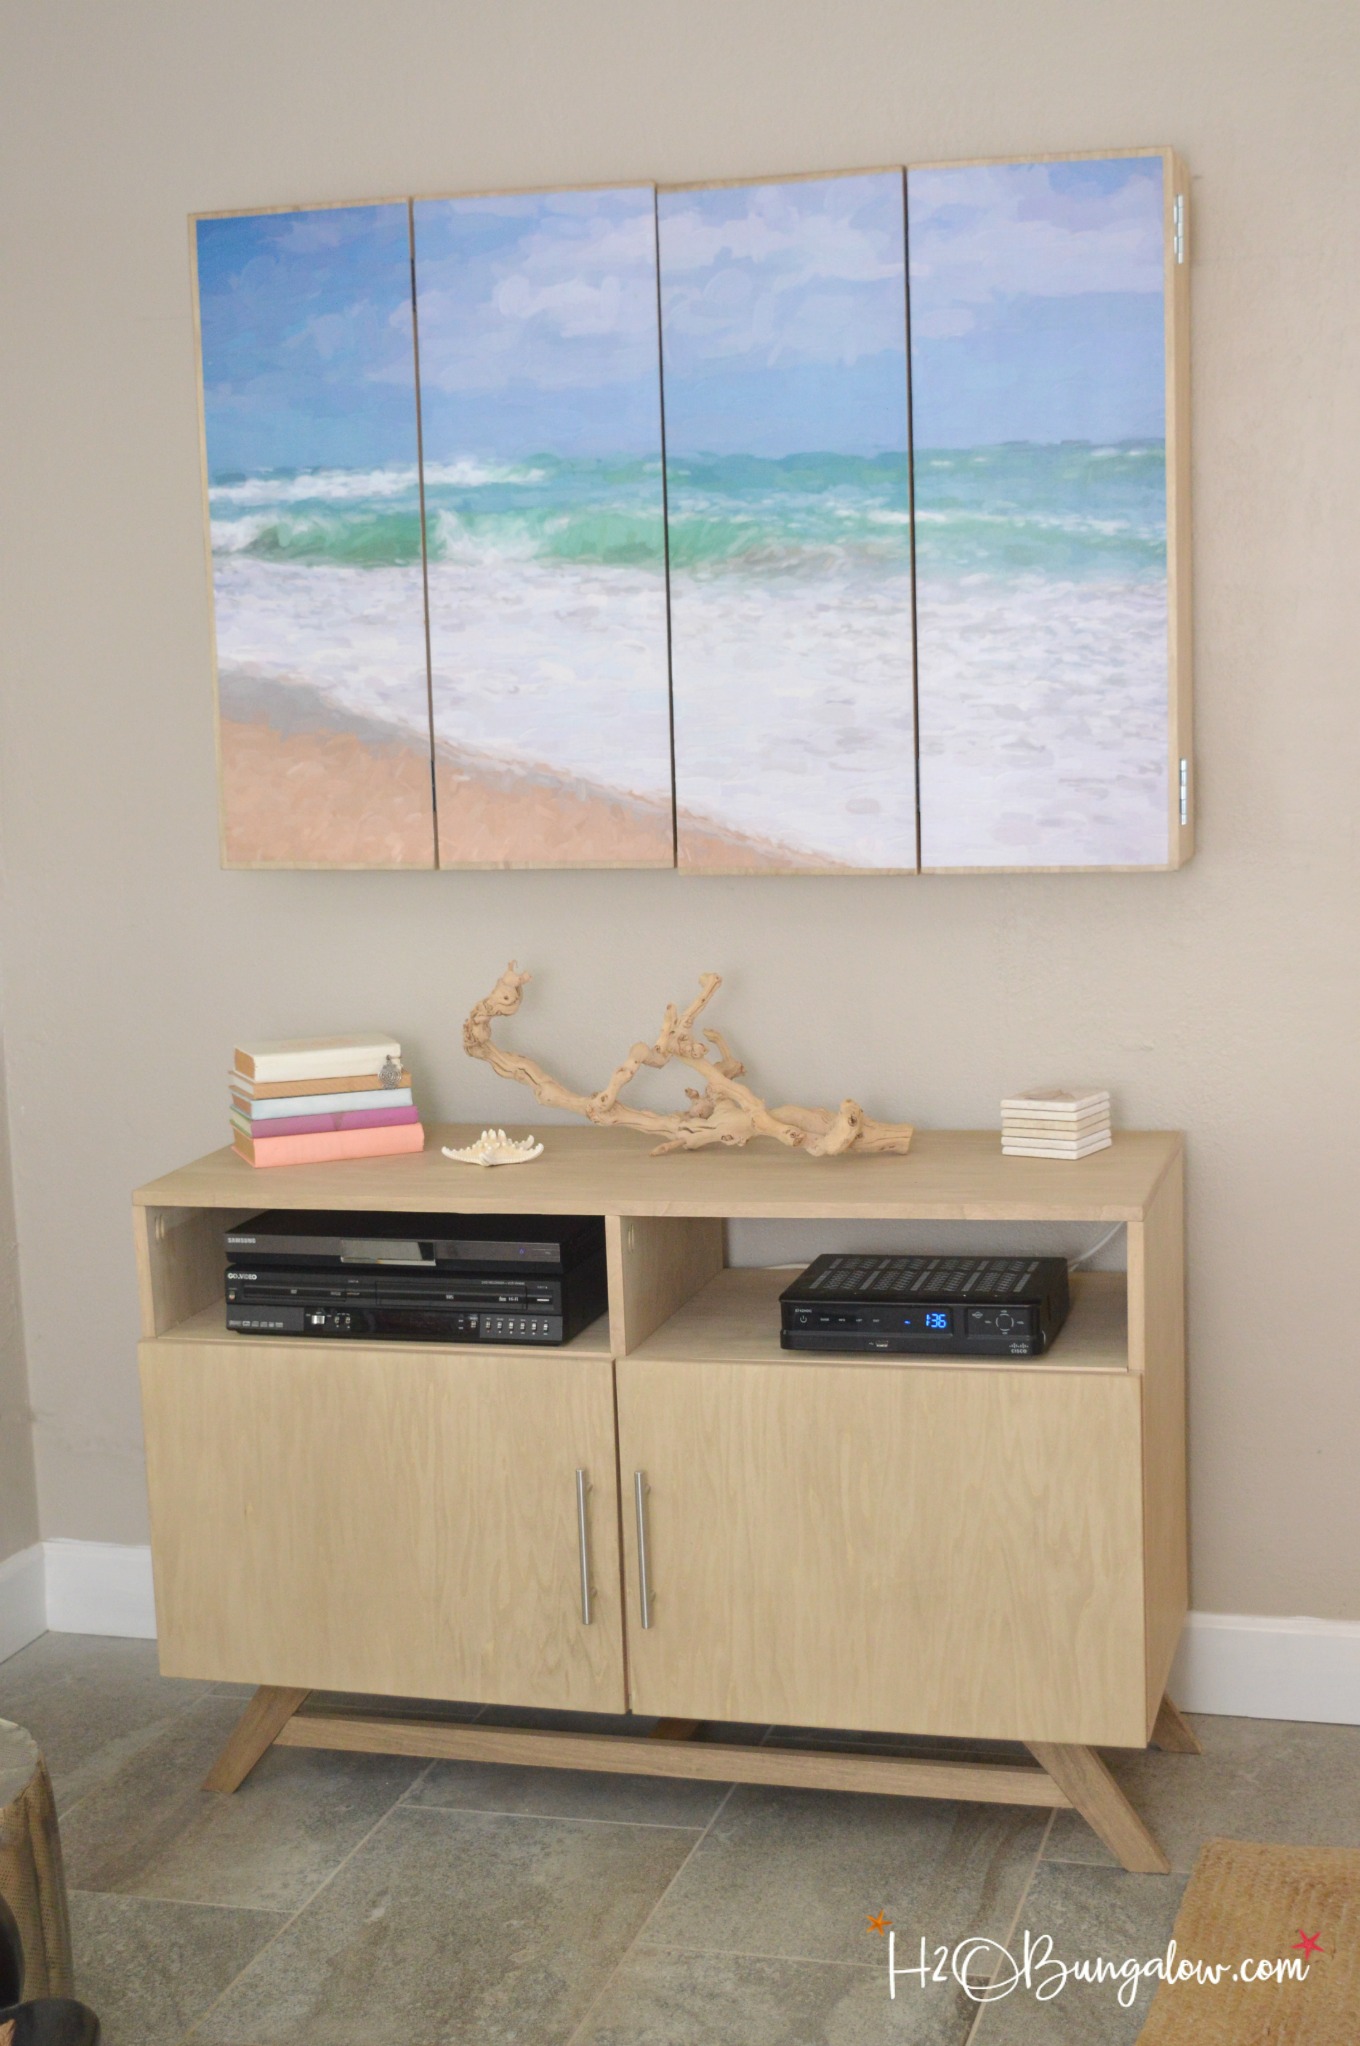
You can dilute like products, in other words you can water to water based stain or mineral spirits to an oil based stain. I used mineral spirits mixed with a beautiful oil based aged wood stain to dilute the color for this Crate and Barrel inspired finish on my DIY Media Console and Wall Mounted TV Cabinet.
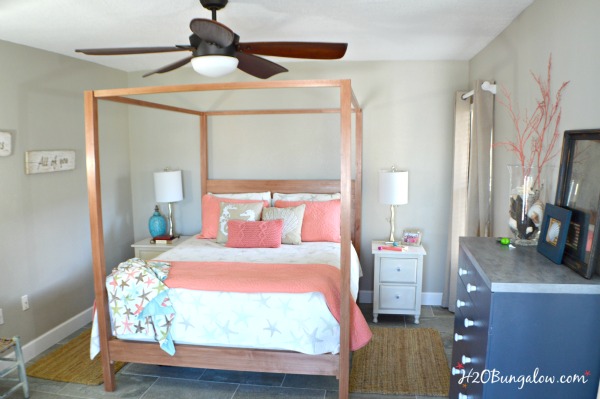
You can also make your own weathered wood stain color by adding a water based paint product like acrylic paint or chalk paint to a water based stain. I used a Minwax water based stain for the finish when I built my DIY contemporary four poster bed project and hated the color until I added a lot more red acrylic paint to get the color I ended up using. I didn’t create a weathered wood on this project, but did create a teak wood look.
Basically, you can add a gray paint to a wood stain to mix your own color.
What types of sealers or finishes can I use on weathered wood?
Depending on your project, you may want to seal the wood after applying stain. First, allow it to dry at least overnight before adding a sealer. My favorite sealer for weathered wood is clear wax. The wood feels beautifully smooth to the touch, has a slight sheen and is protected. It also cures over time to a hard durable finish. I like Fiddes Wax. Apply it just like you would on a painted piece of furniture. I used clear wax over the stain on my four poster bed.
You can also use a poly. I like the waterbased Minwax Polycrylic . Yes, I use it oil based stains too. Just let the oil base stain dry for a day or so before applying the poly topcoat. My favorite application method of a poly sealer is the one I used on my DIY Hair Pin Leg Live Edged Coffee Table
Pin this for later!
Let’s face it, finding aged wood or reclaimed lumber isn’t always feasible or reasonably priced when your working on a project. Besides, who has time to drive all over town tracking it down? What’s the next best thing? Creating a DIY rustic wood look or making wood look old yourself. It’s kind of a fast forward on nature’s natural course and a whole lot faster.
Of all three ways to age and weather wood I shared, which is my favorite? Overall I’d pick the Varathane Weathered Wood Accelerator as the best all around product and most realistic aged look. I don’t have a lot of projects published yet with this product, but have been crazy busy over the past few months working on some major projects in the North House and have used it several times.
Promise…I’ll share some soon!
Do you have a favorite product or method to age wood quickly? Share your knowledge! When you share below in the comment section you help others to learn too!
