It’s Power Tool Challenge Day and I made an easy DIY wall file organizer. I belong to a group of super creative tool loving bloggers who get together and challenge each other to build something awesome with a power tool. This month’s tool is the jigsaw. It got a little more challenging when we added a back to school theme. I remember how huge the back to school paperwork stacks could be when my kids were little. I built a super project that’s great for back to school, a family who battles paperwork, or someone like me. Who can’t grow a houseplant, but I can sure grow a stack of paper on my desk top really well.
Supply list for to make this DIY wall file organizer project.
jigsaw & jigsaw blades ( These bades fit the Black & Decker Jigsaw I use)
2 C Clamps
2′ x 4″ @ 1/4 ” plywood
6′ – 1″ x 1″ flat or square trim
builders square, ruler or combination square
paint
pen
printed template (click here) for two side pieces . You can also click the picture below to download the template as well.
Cut list for DIY wall file organizer.
2 – 2 1/2″ x 20″ pieces for the side supports
2- 13″ x 9 1/4″ pieces for the top two file pocket fronts, cut 1/4″ notches at 6″ on each side.
1- 13″ x 8 1/4″ lower file pocket front
Cut the back panel and the trim to your desired size. I suggest cutting both of these after the organizer is glued together.
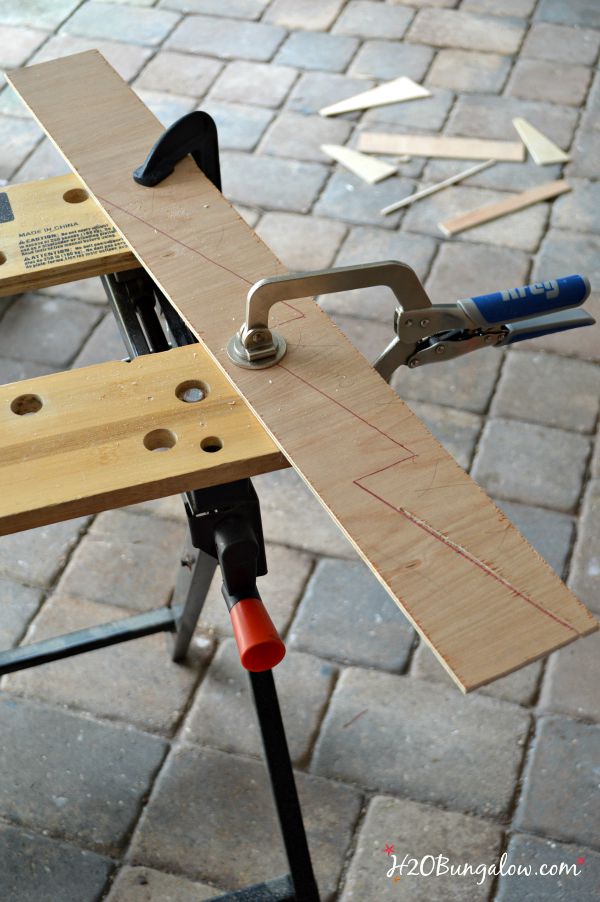
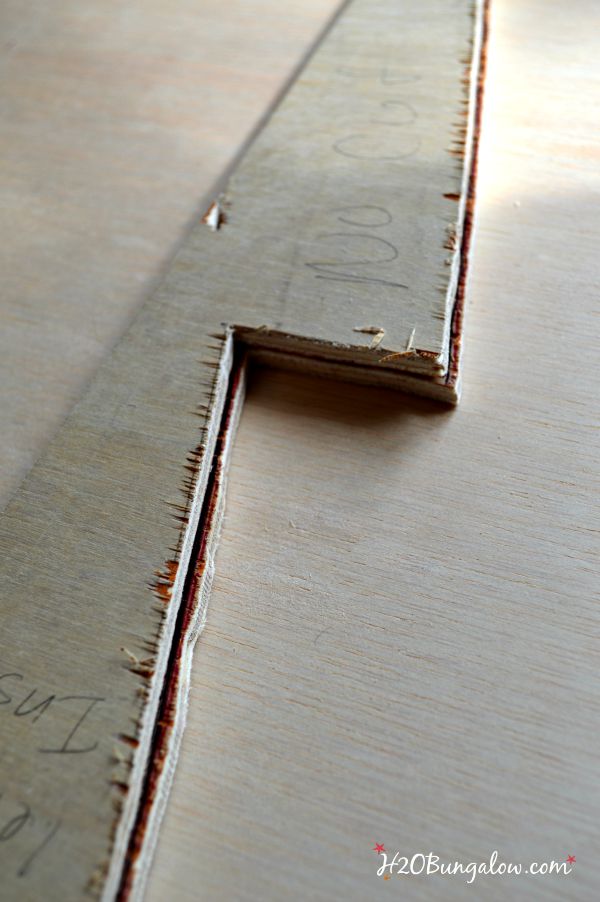
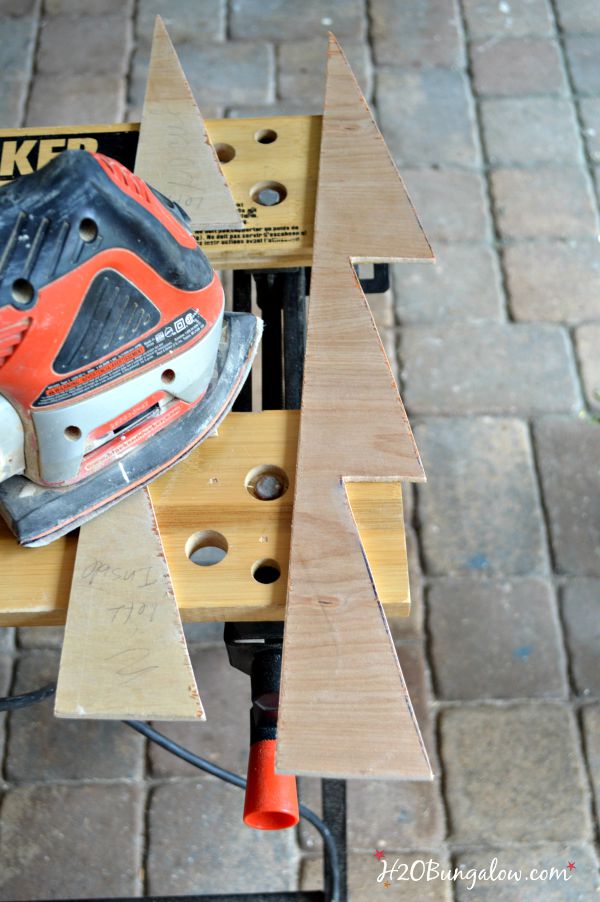
Start by printing out the side template out and tracing it onto the two side pieces. Cut with the jigsaw. You’ll get a better quality cut with a fine blade or a scroll blade. It helps to use clamps to hold the pieces while you cut with the jigsaw. Cut small sections at a time.
New user tip: When your running the jigsaw and need to stop, back it up a half an inch or so in the cut groove and the blade will stop smoothly.
Sometimes it’s a little tough to get a perfectly straight line with a jigsaw. Line up both sides to be sure they are even. Run a pen or pencil over the edge to mark where you’ll need to sand down an area to even it up.
Sand edge an flten surfaces with a palm sander.
Fit the parts together to test that everything lines up well. Make any minor adjustments if needed.
Next, size and cut the back board . Mine is 25″ tall and 3/4 inches wider than my assembled organizer with the side supports. I rounded the top corners by tracing a small using a plate on the edges and cutting out with the jigsaw. Pretty hi-tech, huh?
You’ll save time if you paint your pieces now, before gluing together.
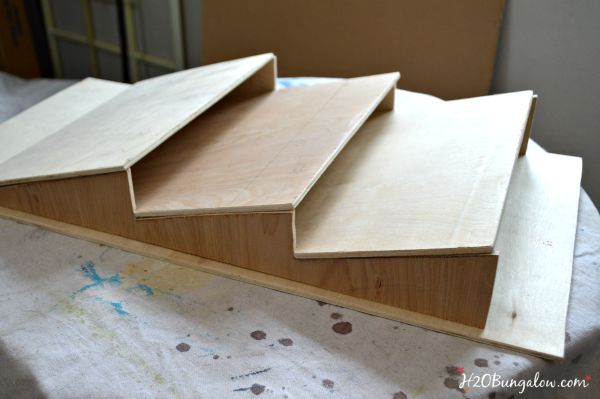
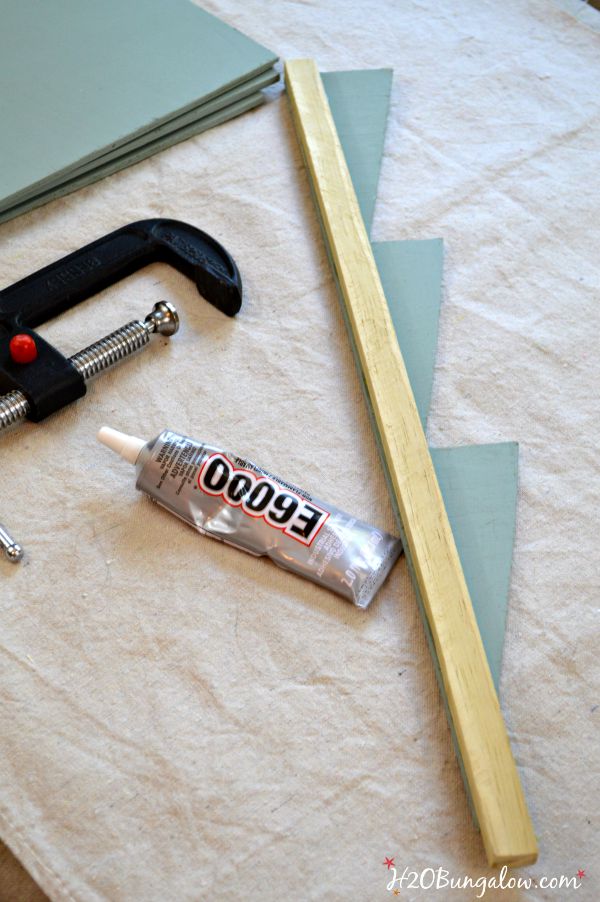
Now it’s time to assemble your DIY wall file organizer. Start by gluing the side file folder pieces to the side trim. Hold them together with your clamps. I let these sit several hours before moving on to the next step.
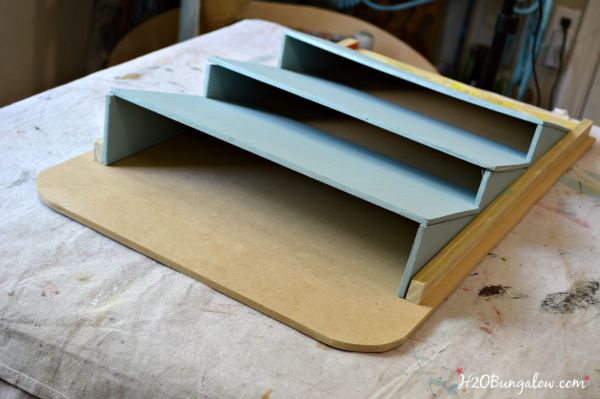
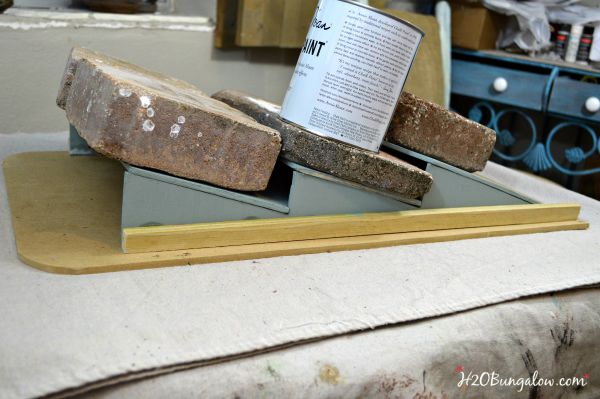
Next, glue the file folder tops onto the sides. Glue and add the center pocket front piece first, next add the top and then the bottom front last. Weigh down with a solid high-tech gadget like a few bricks, bags of rice or a paint can:). I let these sit overnight.
A girl has to be resourceful, right?
Add the hanging hardware onto the back board before the next step! I forgot and had DH holding it with the top edge on a flat surface so I could tap in the little screws last..it was a pain 🙁
The final step is to attach the backboard and last piece of trim on the front bottom. Again use your weights to get a good contact. Use the wood filler where needed and sand lightly. Give your awesome new project another another coat of paint or touch up where needed.
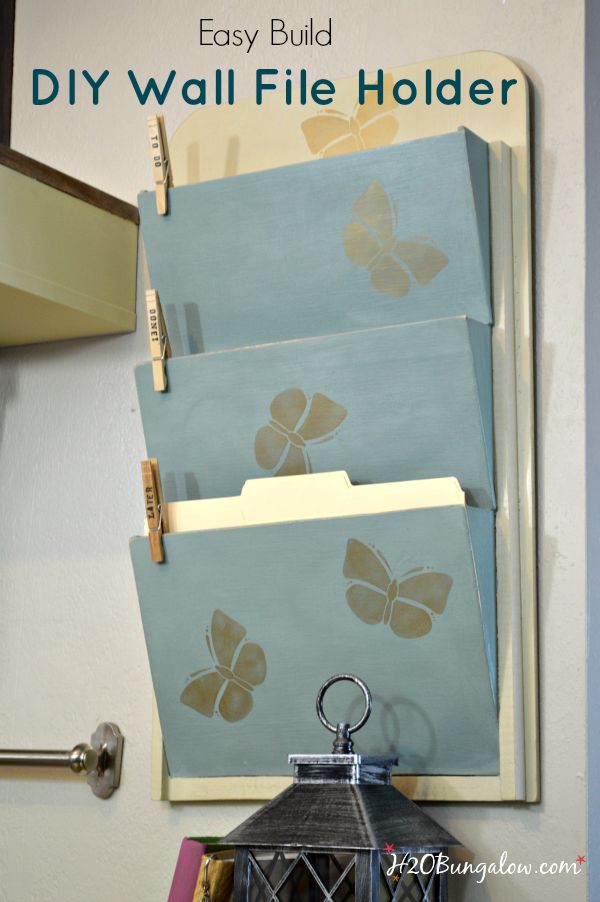
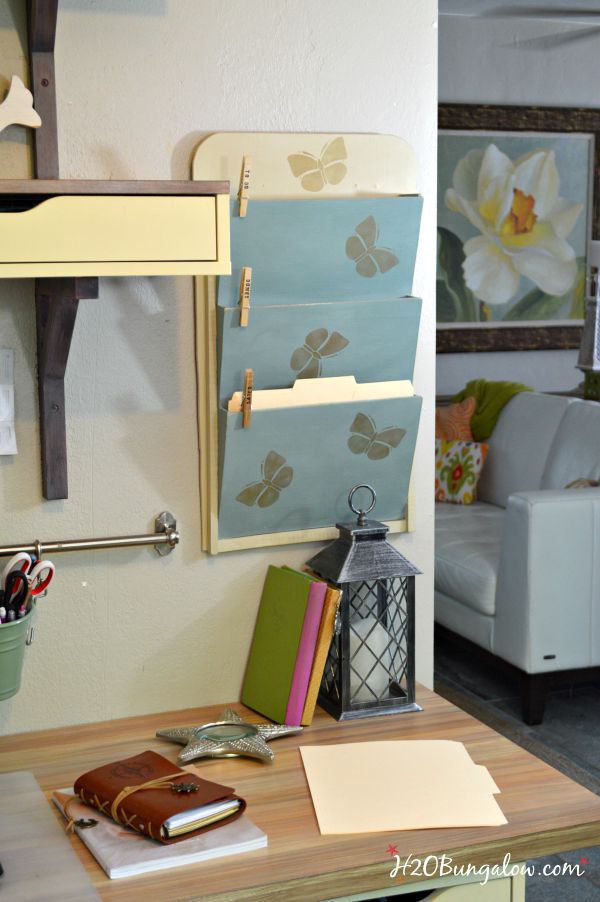
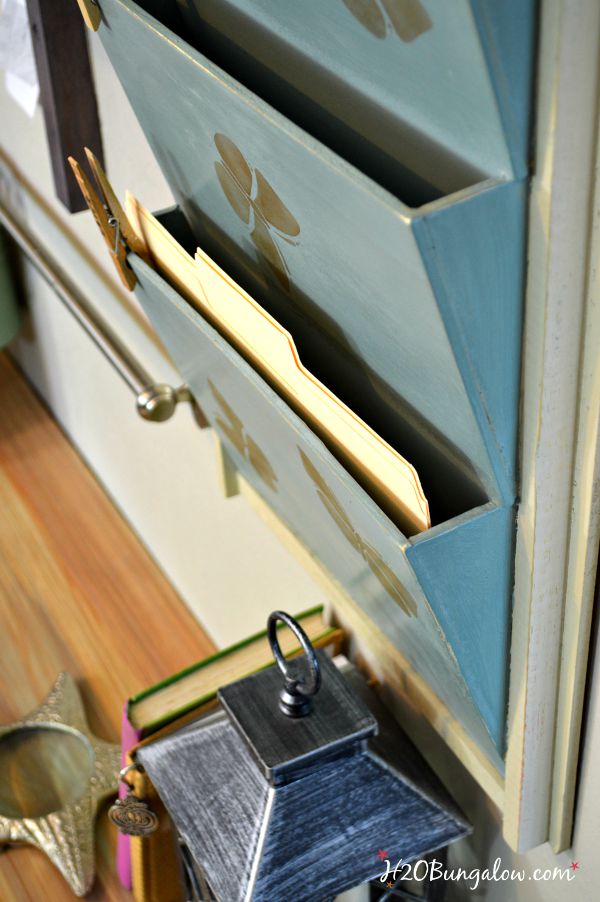
Viola! My friends…You’ve just created your own DIY wall file organizer!
Seriously, don’t you want to try this? I made this one completey out of scraps so my cost was $0!
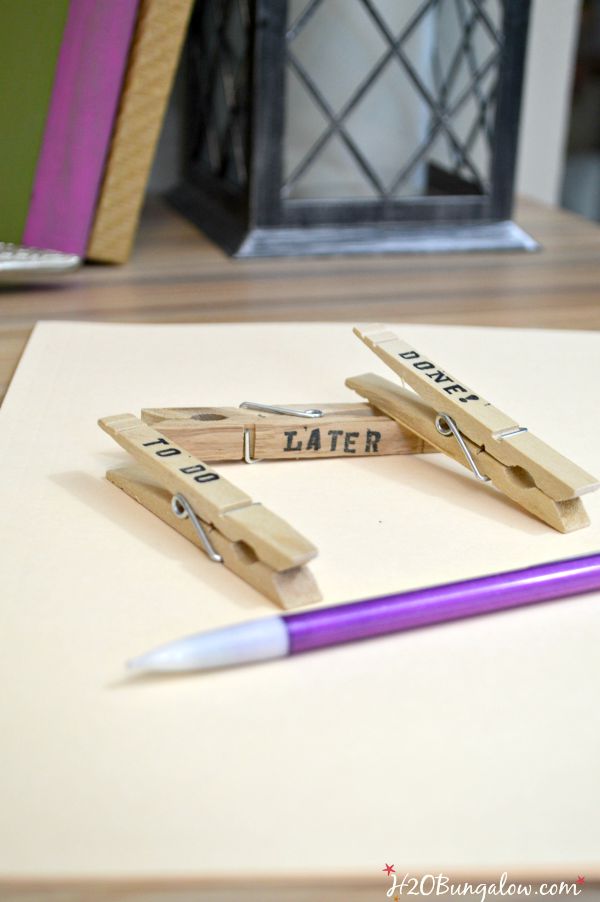
I gave it a pretty coat of paint & added a few butterfly stencils. I’m not sure yet if I’ll add labels to the front or not. In the meantime I added a few of my Clothespin Word Noteclips.
My favorite clothespin word for papework? …probably later 🙂
Having a place for papers and folders is going to be a huge help. I’ve been thinking about building this DIY wall file organizer for a long time….even picked out the spot where it would go. Even though we don’t have little kids in school anymore, I remember how much paperwork came home. This could have been a blessing in those days.
My son once got an “F” on an assignment because I forgot to fill out the paperwork…OK, maybe he should have reminded me. But, stil…talk about parental guilt. I still feel bad about that and it’s been years. One of these file organizers could have alleviated the drama of Mom being unorganized way back then. If my son isn’t scarred by that memory, I sure am!
Have you ever forgotten to do importanat paperwork? Where would you put a wall file oganizer in your house so it doesn’t happen again?
If you’re into power tools and having fun, you may enjoy a few of my other projects with a jigsaw. Last month I made this crazy poplular DIY Wood Doormat (click here) and A DIY Wood Cut Out Name (click here). My favorite of all time is the Master Bath Open Shelf Vanity (click here)
Alrighty, are you ready for more awesome Power Tool Challenge projects?
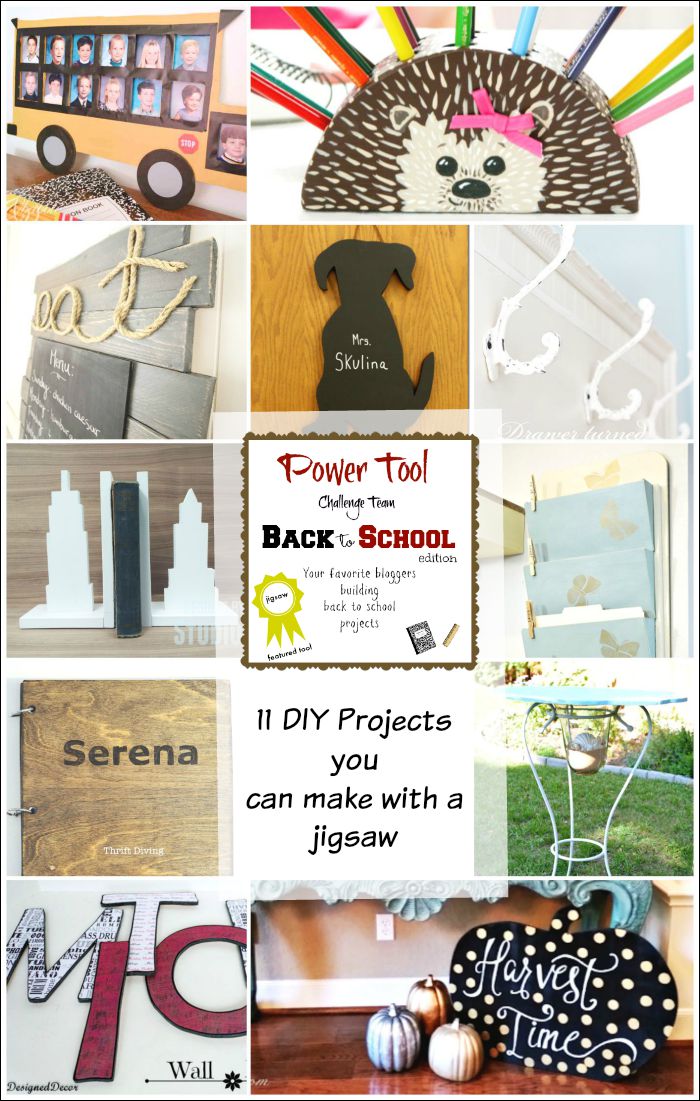
My friends have rocked this months theme of Back To School with a jigsaw! Click on any picture below to go to that project!
Love a good dose of DIY home decor, home improvement, the challenge of woodworking and creative ways to make your home look fabulous?
Me too! I’ll share mine with you!
Click here to have my posts sent to your mailbox fresh off the press.
Social media fan? Don’t be shy say hello! I love when you guys do that!
I’m very interactive with my readers on Facebook and I share lots of extra projects and, useful inspiration for the home and content I don’t share anywhere else.
Follow H2OBungalow on Facebook
Oh heck, just follow me on all social medias. We’ll have some fun…promise:)
Follow H2OBungalow on Instagram
Follow H2OBungalow on Pinterest
I’m on Periscope! @H2OBungalow
I use affiliate links in my posts. If you should make a purchase I will receive an itty bitty commission at no cost to you. Thank you in advance for supporting my blog…my two cats and our boxer dog
Linking up to these parties:
DIY Sunday Showcase , Sunday Features Link Party , Bouquet Of Talent Link Party , Inspiration Monday, Motivation Monday, That’s What She Said, Busy Monday, Melt in Your Mouth Recipe Blog Hop , Munching Mondays, Mix It Up Mondays, Raegun Ramblings, Something To Talk About, Inspire Me Monday , The Scoop, Two Cup Tuesday, Treasure Box Tuesday, Project Inspired Link Party, Snap Creativity Show, The Sits Girls , Brag About It Link Party , Share Crafts DIY Projects, Wonderful Wednesday Blog Hop, Whimsy Wednesdays, Dream Create Inspire, Wined Down Wednesday, Worthwhile Wednesdays, The Wednesday Round Up, Wake Up Wednesday, Living With Style, Maisondepax, Work It Wednesday , Share Your Style, Create It Thursday, Showcase Your Talent, Think and Make Thusday, Your Turn To Shine, Creative Exchange, Artsy Fartsy Link Party, Idea Box Thursday , Creativity Unleashed, Weekend Retreat Link Party, The Handmade Hangout, Craft Frenzy, Pretty Spaces, Freedom Fridays, Pinworthy Projects, Home Matters Linky Party , The Creative Collection Link Party, Super Saturday, Best DIY Projects and Recipe Party



medina says
how did you hang up the wall file organiser. I’m trying to find other videos on how to do it, but cant find any.
Wendi says
Hi Medina, That’s a good question! I didn’t realize that I hadn’t shared this link in my post. I used two picture holder hooks on the back. Here’s a simple tutorial on how to easily hang anything with two hooks. https://h2obungalow.com/hang-picture-frames-with-two-hooks/ I hope this helps and thanks for your visit. Have fun making the wall organizer. I use mine every day!
Scott Del Torto says
Wendi,
This is amazing, thank you. I have cut the front panels but not yet cut the diagonal sides using the PDF template. I have printed the PDF template and measured on the paper. The bottom diagonal is 7 1/2″ on the PDF, while the bottom panel is 8 1/2″ long. The shorter diagonals are 5 1/2″ on the PDF and the 1/4″ notches are 6″ long. So for me the PDF template diagonal lines seem to be a little shorter than the actual lengths from the instructions. Before I cut the diagonals, any suggestions as to what I might be missing?
Thanks,
Scott
Wendi says
Hi Scott, I had to look at this project to see what may be off. It’s been a year or so since I made it. One thing that may be not clear is that with the notches cut the front panels extend down beyond the end of the side templates. That is why the lowest front panel is so much longer than the lower side diagonal. It extends down to almost the bottom of the backing board which gives the pockets the depth they need to hold paper. I’d say cut one out of cardboard and place it together to see how it fits. Manually adjust your cuts if needed. It’s a fun project. Glad you liked it. I hope that answered your question! T
Scott Del Torto says
Wendi,
Thank you! Totally cleared it up when you explained the panels extend beyond the end of the side template. Also great idea to cut cardboard first. I’ll be sharing this when I’m done, it’s an awesome project, thank you for posting.
Thanks,
Scott
Wendi says
You’re welcome!
Melissa Vera says
This looks amazing. You did a great job with the file. I am so happy that you shared this link on #HomeMattersParty and I hope you will come back and share again.
Wendi says
Hi Melissa…I sure will, and thank you. I absolutely loved your party. Thanks so much for hosting it!
Julie says
I’ve been thinking about getting something like this for our house but never thought about trying to make my own. This is fab! I love your high tech weighing down gadgets – nothing like a bit of improvising.
Wendi says
Julie, you should make one! Seriously, it wasn’t hard and already I’ve seen a big reduction of desk clutter. I also haven’t lost any important papers or receipts..which I used to do a lot before. I love those hi-tech gadgets..I use them for all kinds of things! Thanks so much or your visit and sweet comment.
DeDe@DesignedDecor says
LOVE It! This was a great idea! I need one of these! You definetaly rocked your JigSaw!
Wendi says
Thank you DeDe:) I’ve wasted no time at all in filling it with files and papers from my desk.
Krista @ the happy housie says
I am so impressed that you actually made this yourself Wendi! Wow!!! Thanks for organizing this fun challenge!
Wendi says
LOL.. It’s good feeling to look at something and know you’ve built it yourself..and for free! I love free 😉 Thanks so much for joining in on the fun!
Tami @ Curb Alert! says
Wendi, I love how detailed your tutorial is. It is definitely helpful for any level of DIYer. And that mommy guilt, uggggh. We’ve all been there and bet it hurts us more than it does our kiddos. Your project has definitely inspired me to get organized! The least I can do is create a few cute clothespins like yours! I have really enjoyed our challenge and look forward to next month’s theme!
~Tami
Wendi says
Thanks..and you’re right the “mommy guilt” is the worst! I still feel rotten over that paper snafu! ..and yes, the clothespins are easy! Thanks so much for joining in!
Jeanie @ create&babblej says
I so need one of these in my office right now! And I love how you prettied it up with butterflies – my favorite! Pinning!
Wendi says
Thanks so much Jeanie. Butterflies are a personal favorite of mine so when I spotted the stencil, I knew where I’d use it. ..and yes, the organizer is super for keeping paper off my desk top:)
Marie@The Interior Frugalista says
That is one sweet file organizer – so much nicer than the metal utilitarian ones (which is hanging in my office). You are so creative and can rock a Jigsaw girl! Love the colors and the pretty butterflies that go so well with the beach theme in your office. Great tutorial too BTW.
Wendi says
Hi Marie.. I KNOW you’re loving my high-tech weights too:) I love how it turned out and especially that it was free. It fellt good to finally use some of the wood from my pile that DH has been asking me to get rid of too!
Paula@SweetPea says
Love this and it is perfect for keeping organized. I think that I need to make one to use at school and another to use at home. This would also be a great gift!
Wendi says
Paula.. you could rock this for your classroom. It would look great with little doggies on it to match your too cute doggie chalkboard:)
Serena @ Thrift Diving says
I love this, Wendi! So easy to make, I think people will be rushing to get their hands on their jigsaws! I need this for the kitchen for all those kid’s papers coming home soon! Well done, girl!
Wendi says
Yikes…Serena, you do! You’re about to be in the thick of it too. Hurry!! Grab your jigsaw and start building…you need a couple of these! LOL …and they would be perfect with your wood journal too:)
Christy@Confessions of a Serial Do-it-Yourselfer says
You never cease to amaze, Wendi! I cannot believe you made this from scraps. Ok I guess I can since it was YOU who did it lol. Love it!! XO
Wendi says
Awww Christy, thank you! Look who’s talking too:) I HAD to make this from my scrap pile. DH has been eyeing it lately and made some comments about me getting rid of of my growing pile 🙂 I had to find a creative way to show some value in keeping it!
Mary-In the boondocks says
This is really great Wendi.. It looks better than if it had come from the store. I love your personal touches, the butterfies, and the colors are so soothing! You are unbelievably handy with those tools!!
Wendi says
Thank you Mary! I love working with tools and sharing the “how to” part. Butterflies have a special meaning in our family, so I love when I can incorporate them into a project:)
Cher @ Designs by Studio C says
Wendi, you are amazing!! I LOVE this wall organizer and especially the way you finished it! Excellent job, my friend!!
Wendi says
Cher! I thought I’d answered your comment already! Thank you for such a nice compliment, it means a lot, especially coming from you! This was a fun project and I love that I saved $$ and didn’t have to buy one:)
Larissa ~ Prodigal Pieces says
Awesome project, Wendi! Perfectly functional and totally custom made. Pinning!
Wendi says
Thanks so much Larissa:) We needed this for the longest time!