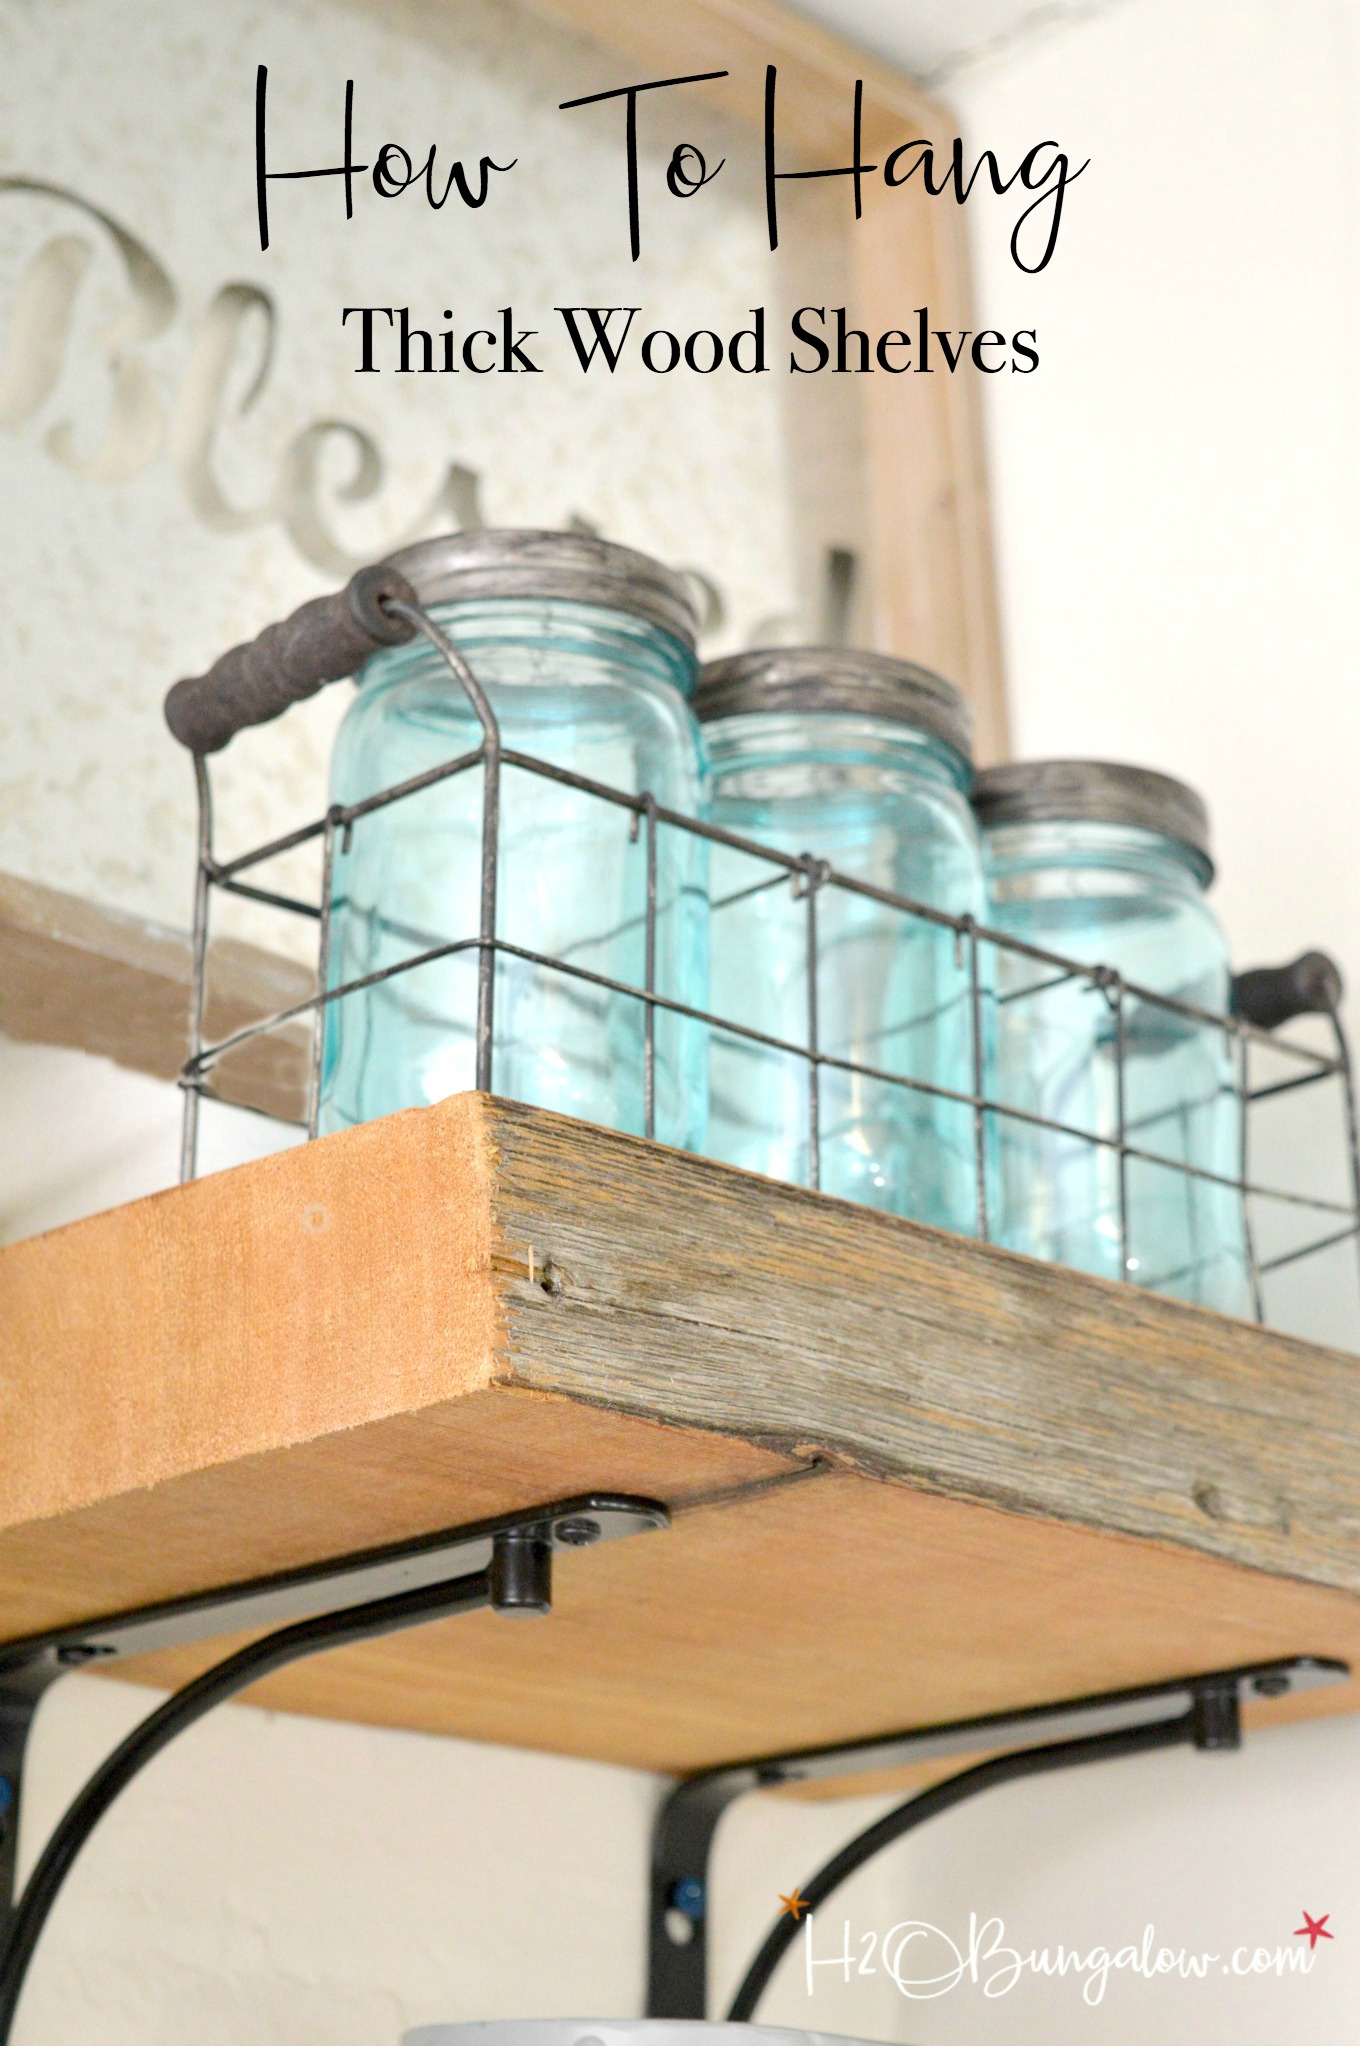
I’m sharing tips for hanging thick wood shelves with you guys today. Most of the time I don’t get a do over on my projects. I see a home decor project I want to do in my home, I plan, buy the supplies and tackle the project head on. When it’s done I share it with you guys listing out how to do some steps better, faster and how to avoid mistakes. If you love open shelves, you’ll love these 21 Open Shelving Kitchen Ideas You Can DIY.
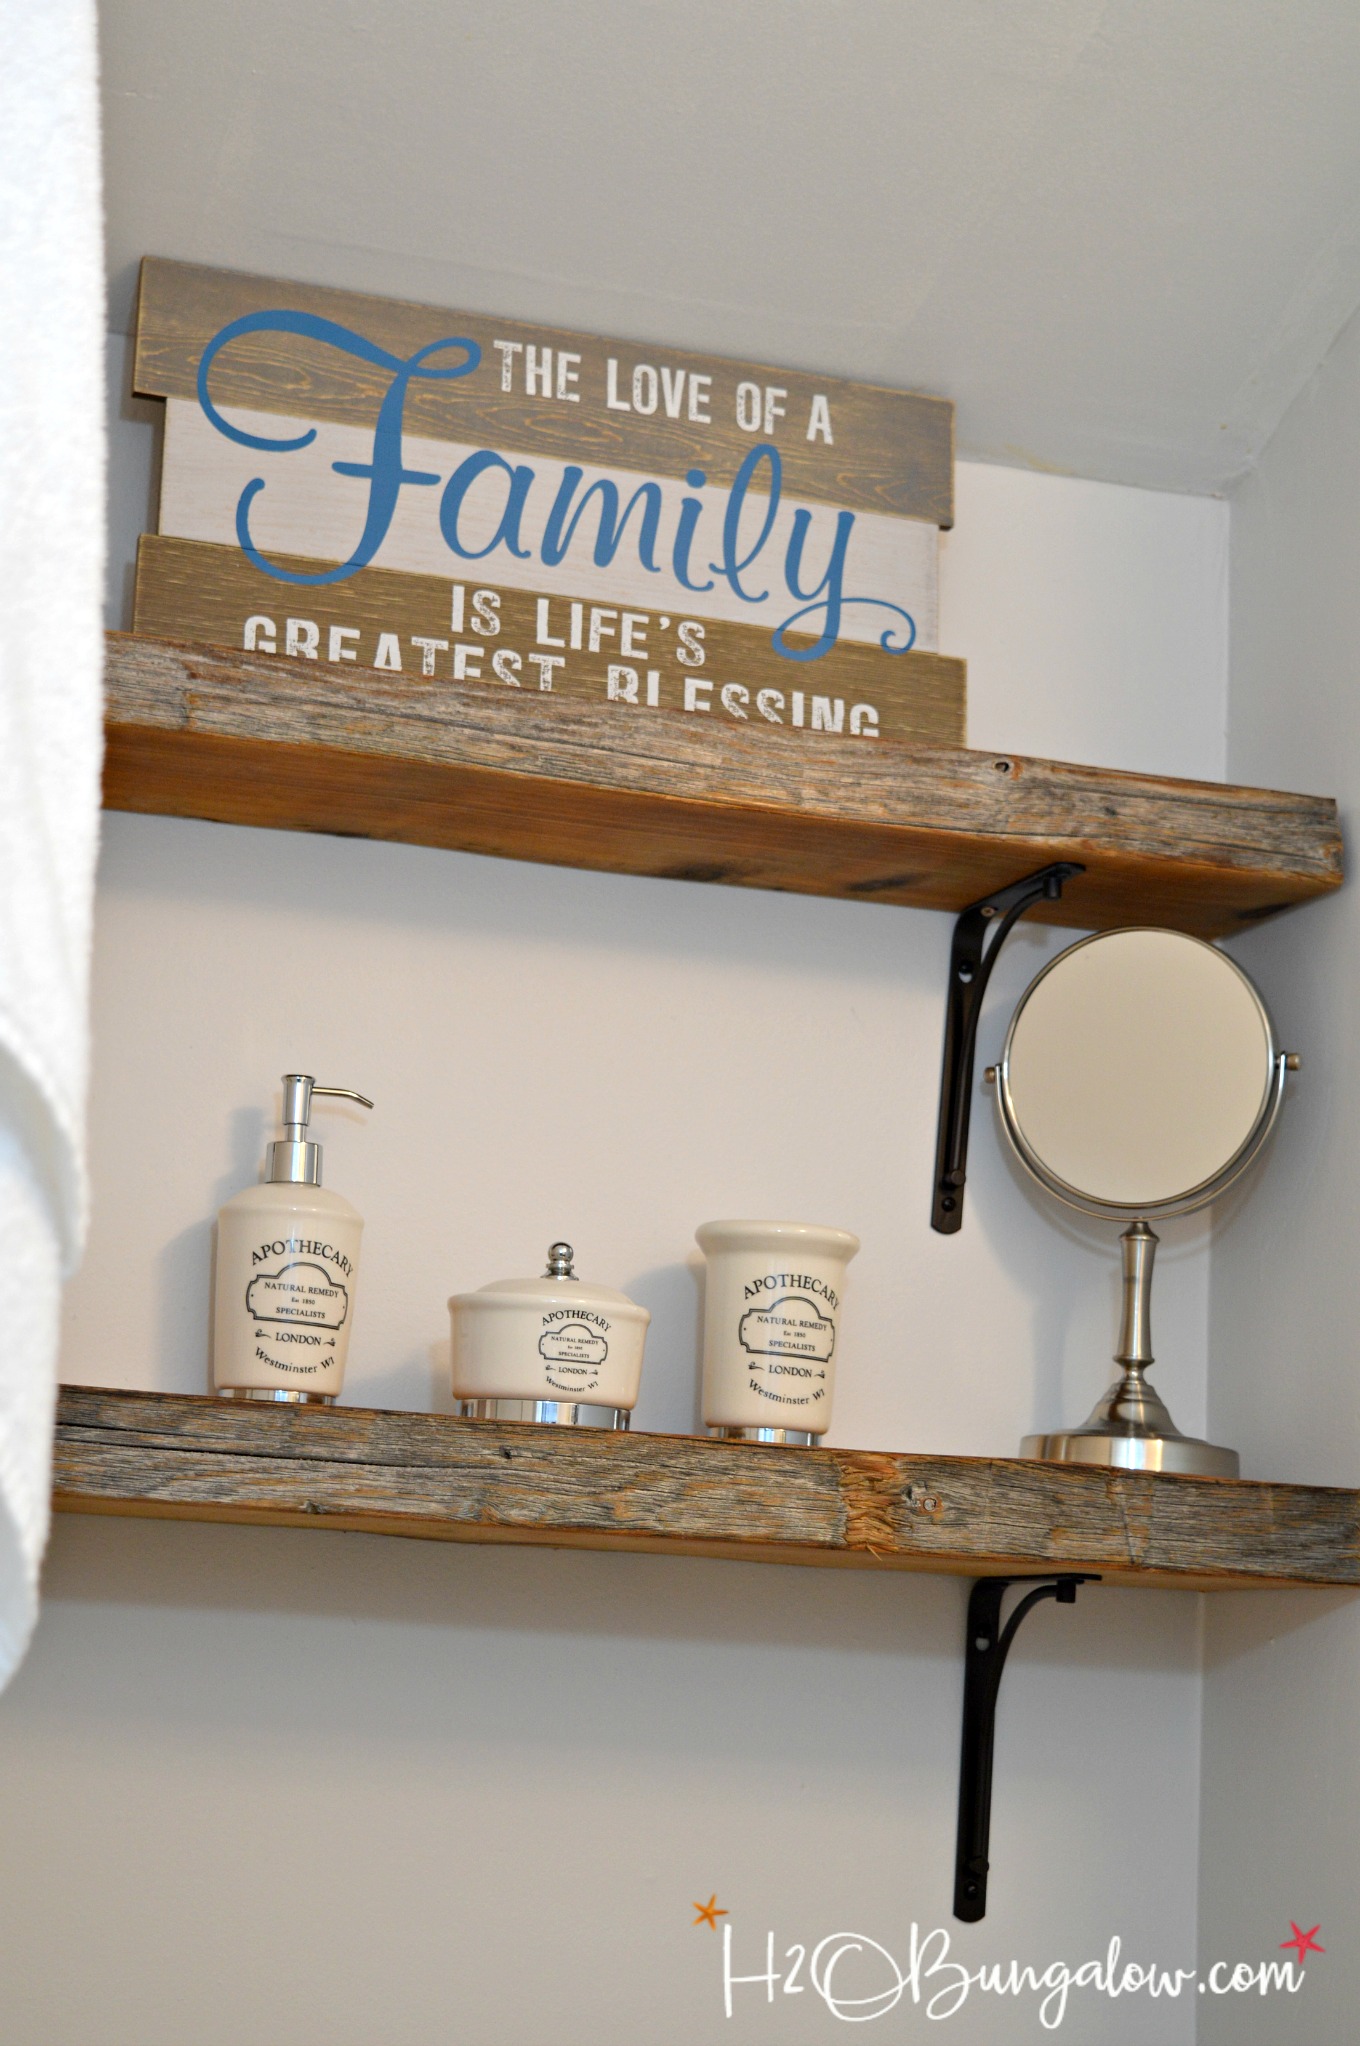
After installing three different sets of rustic and thick wood shelves in the last few years I feel like I’ve learned a thing or two I could use again. Since I recently finished a set in the North House for the upstairs bath makeover I thought I’d list out the best of the best tips to hanging thick wood shelves. These tips and pointers will work for any type of shelf hung with a bracket too.
Supplies needed to hang thick wood and live edge shelves. I use affiliate links to help you find the products I used. If you make a purchase I get a small commission at no cost to you. Thank you for supporting the overhead costs of H2OBungalow.
- thick wood shelves – see below for a few ways to find wood in your area!
- metal shelf brackets – I used these for both of the North House wood shelf projects but I love these ones!
- self drilling anchors for drywall these are my favorite for drywall and easy to use.
- stud finder
- drill
- painters tape
- level
Tips for hanging thick wood shelves
#1 Choose the layout and spacing of your shelves.
Place tape on the wall where the shelves will be installed. This is especially helpful if you are installing several wood shelves over a large area. You can see how I did this in like my DIY Industrial Shelves for my reading nook in the beach house.
#2 Measure each shelf location from wall to wall
Walls are often uneven, especially in old houses. If there are walls on each end of the shelves measure the distance from wall to wall for each shelf front and back. Be sure to write down the measurements.
#3 Pick the right size bracket.
Be sure the bracket you’re choosing will hold the weight of the wood shelf and what you plan on placing on the shelf.
#5 Use the right size anchor or screw for the weight of the shelves.
The wall anchors will list the maximum weight on the package be sure to choose the right size and weight for your project Again, choose an anchor that will hold the weight of your shelves as well as the items you plan on placing on the shelves.
#5 Attach brackets onto the wood shelf
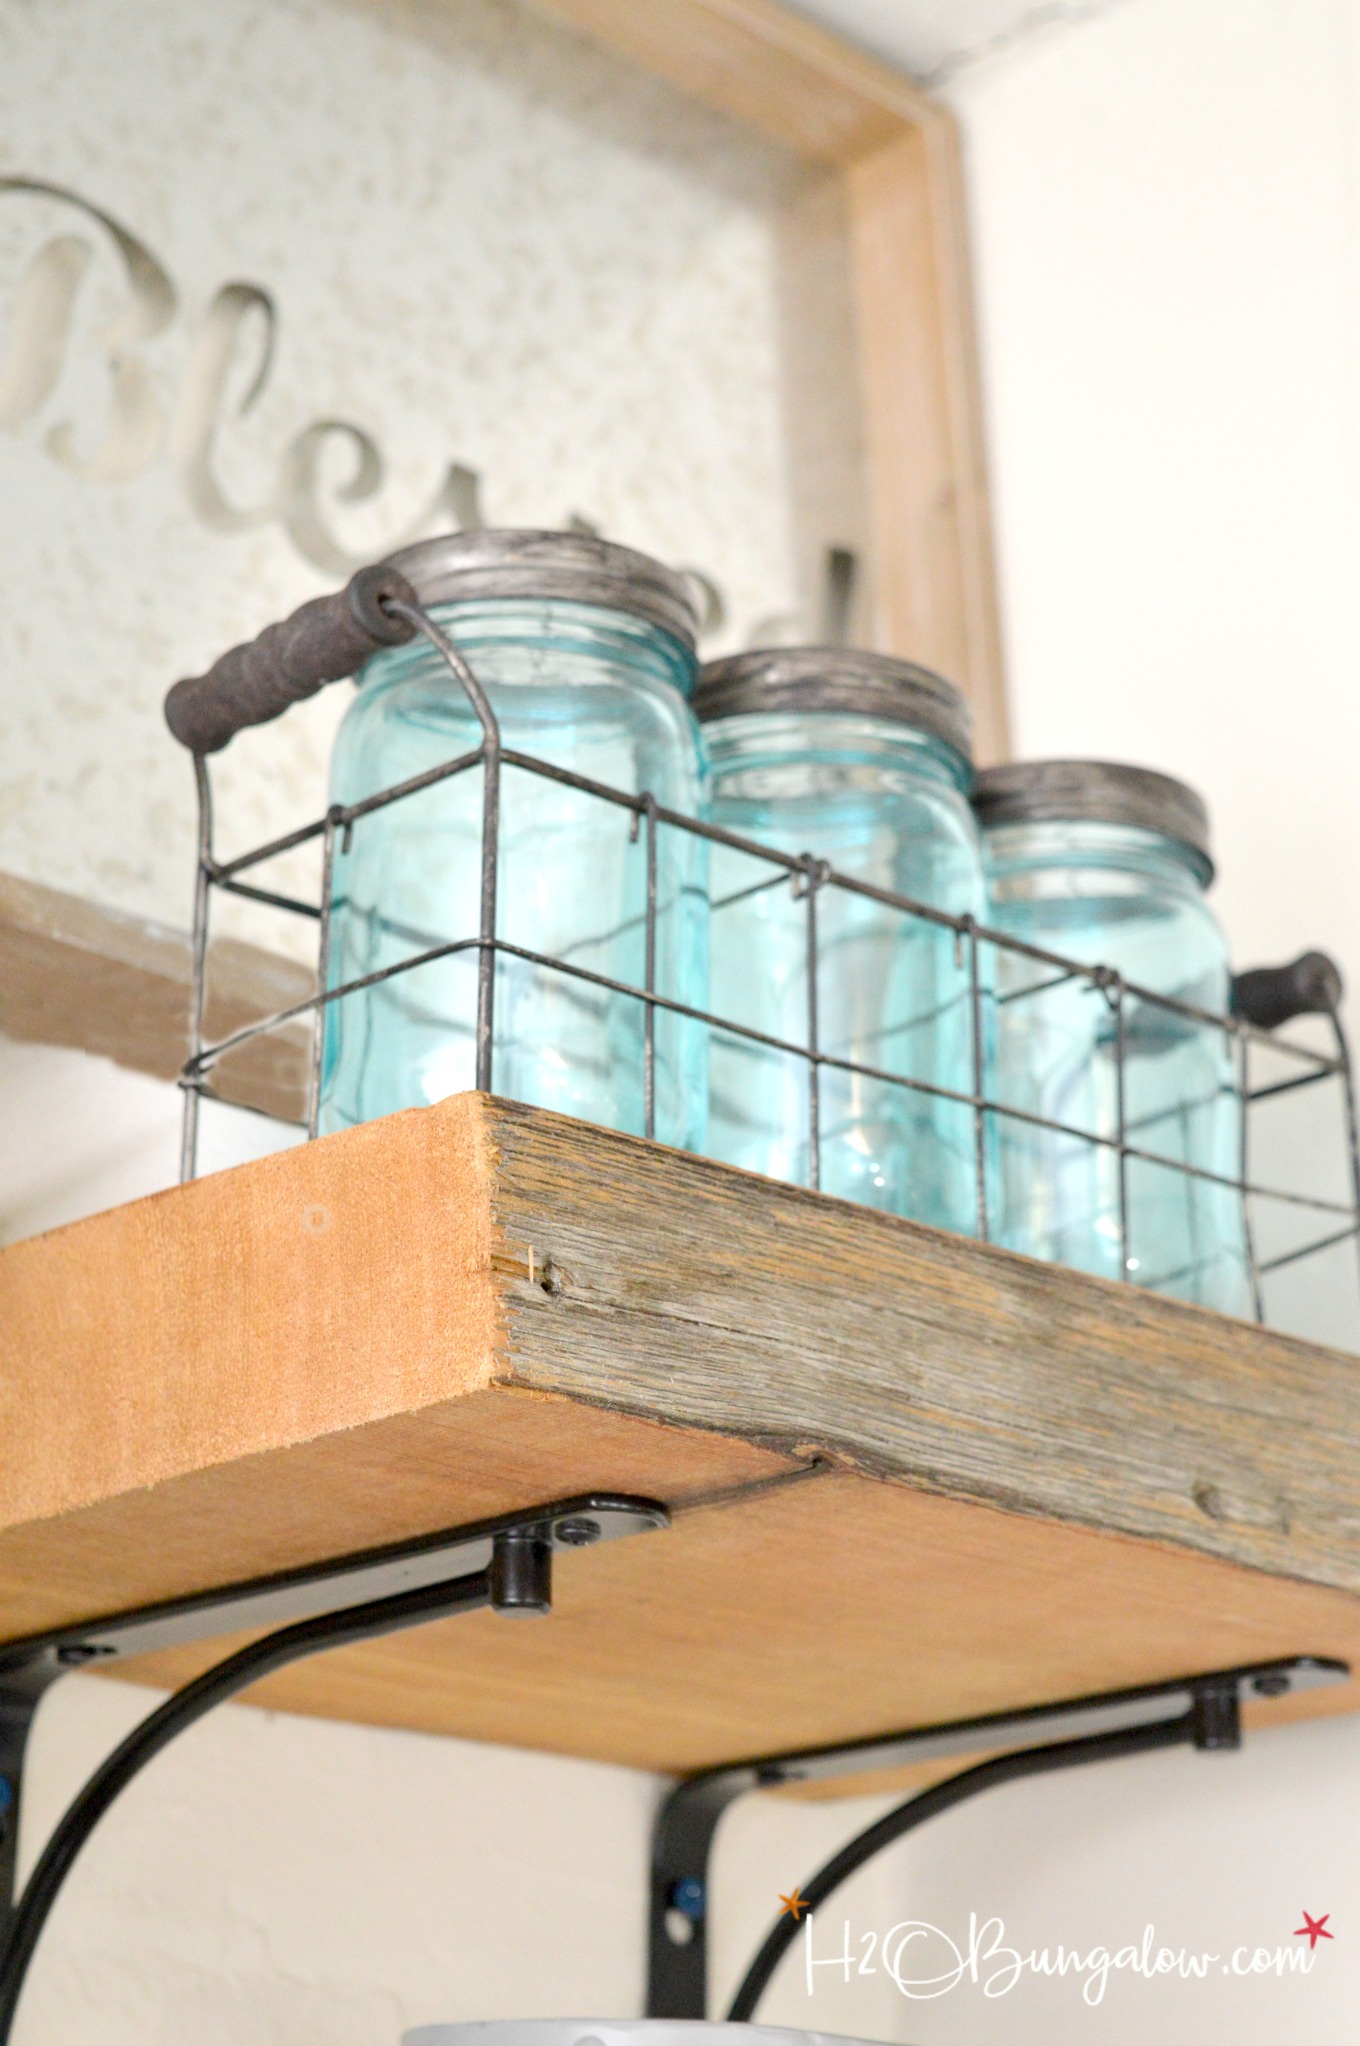
If you are using wall anchors (not attaching the brackets into studs in the wall), it’s easier to install the brackets onto the chunky wood shelf first, add the anchors to the wall and then attach them to the wall. We used this technique on both the DIY Reclaimed Wood Shelves project in the North House kitchen and the upstairs Bath Makeover for the Speed painting video project. It was a huge timesaver!
#6 Install the wall anchors.
Make perfectly spaced drill holes by placing a piece of painters tape across the back of the brackets and holes. Mark the tape where the holes are located. Use a level and place the tape on the wall where the brackets will be. Use the marks on the tape as guides to drill the anchor holes. I use this trick all the time to hang things with two holes, you can see an example of it in my Creative Bath Wall Organization Tips.
#7 Attach the shelf to the wall.
Use a drill set to low torque and screw in the screws on slow speed. That way you won’t strip the screw head.
Where to find chunky wood for shelves or live edge wood.
Now that you have some insider info on how to install thick wood shelves or live edge wood shelves easily and quickly are you thinking that’s great but I don’t know how to find that kind of wood? Here’s a few tips on how to find chunky wood for your shelf project.
Try an internet search for local lumber mills they often have live edge or reclaimed wood. Other good searches are live edge wood, reclaimed wood and urban lumber. I’ve seen rough 2″ cedar at Home Depot as well. While it doesn’t have the character of the live edge woods it still looks good.
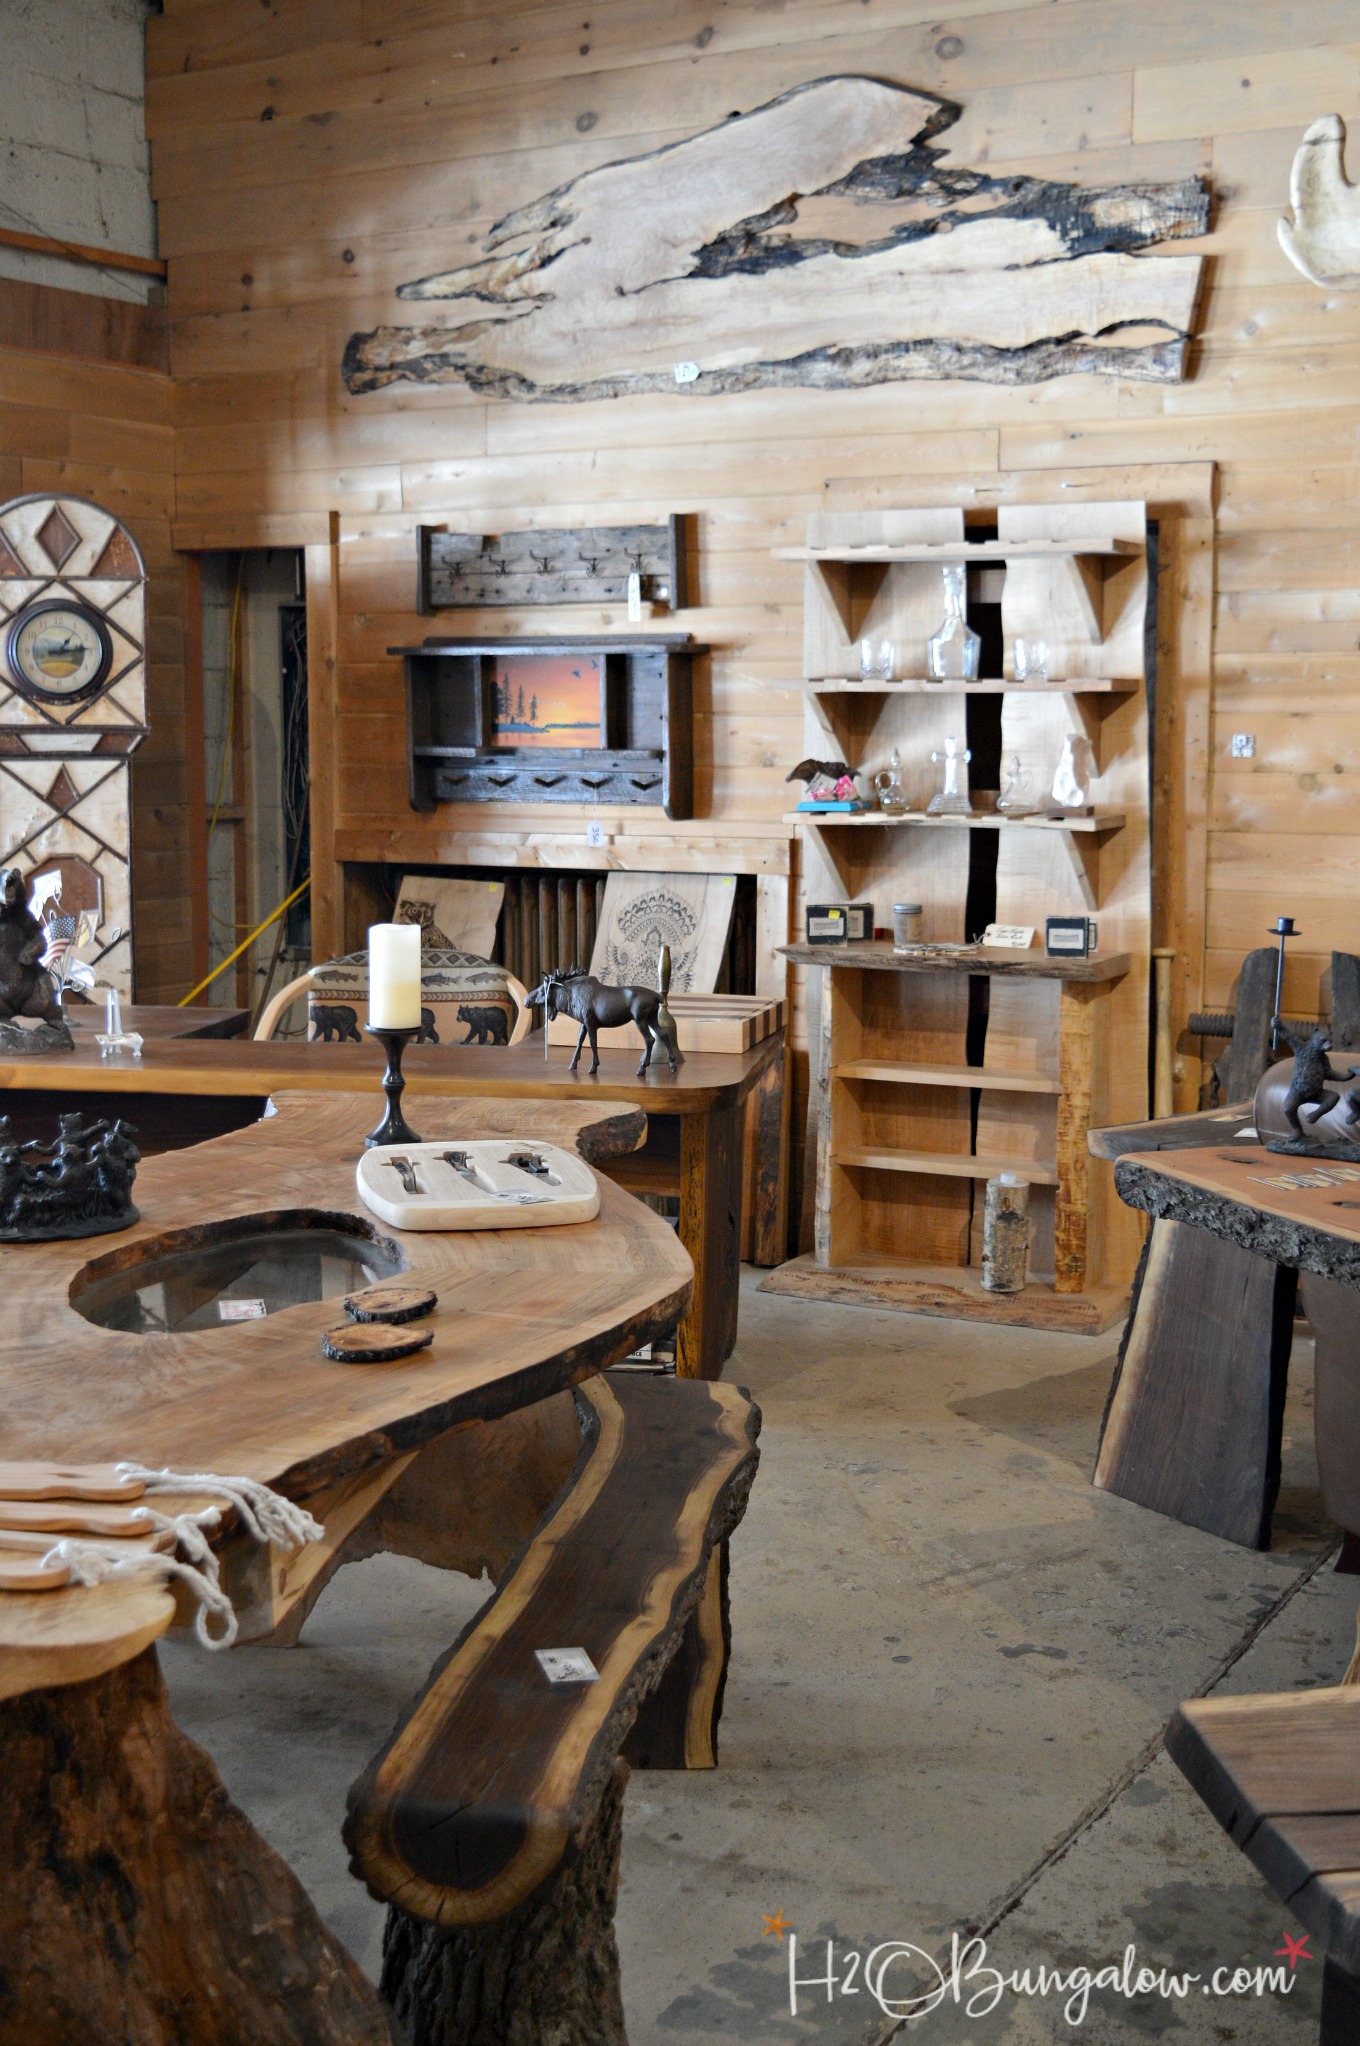
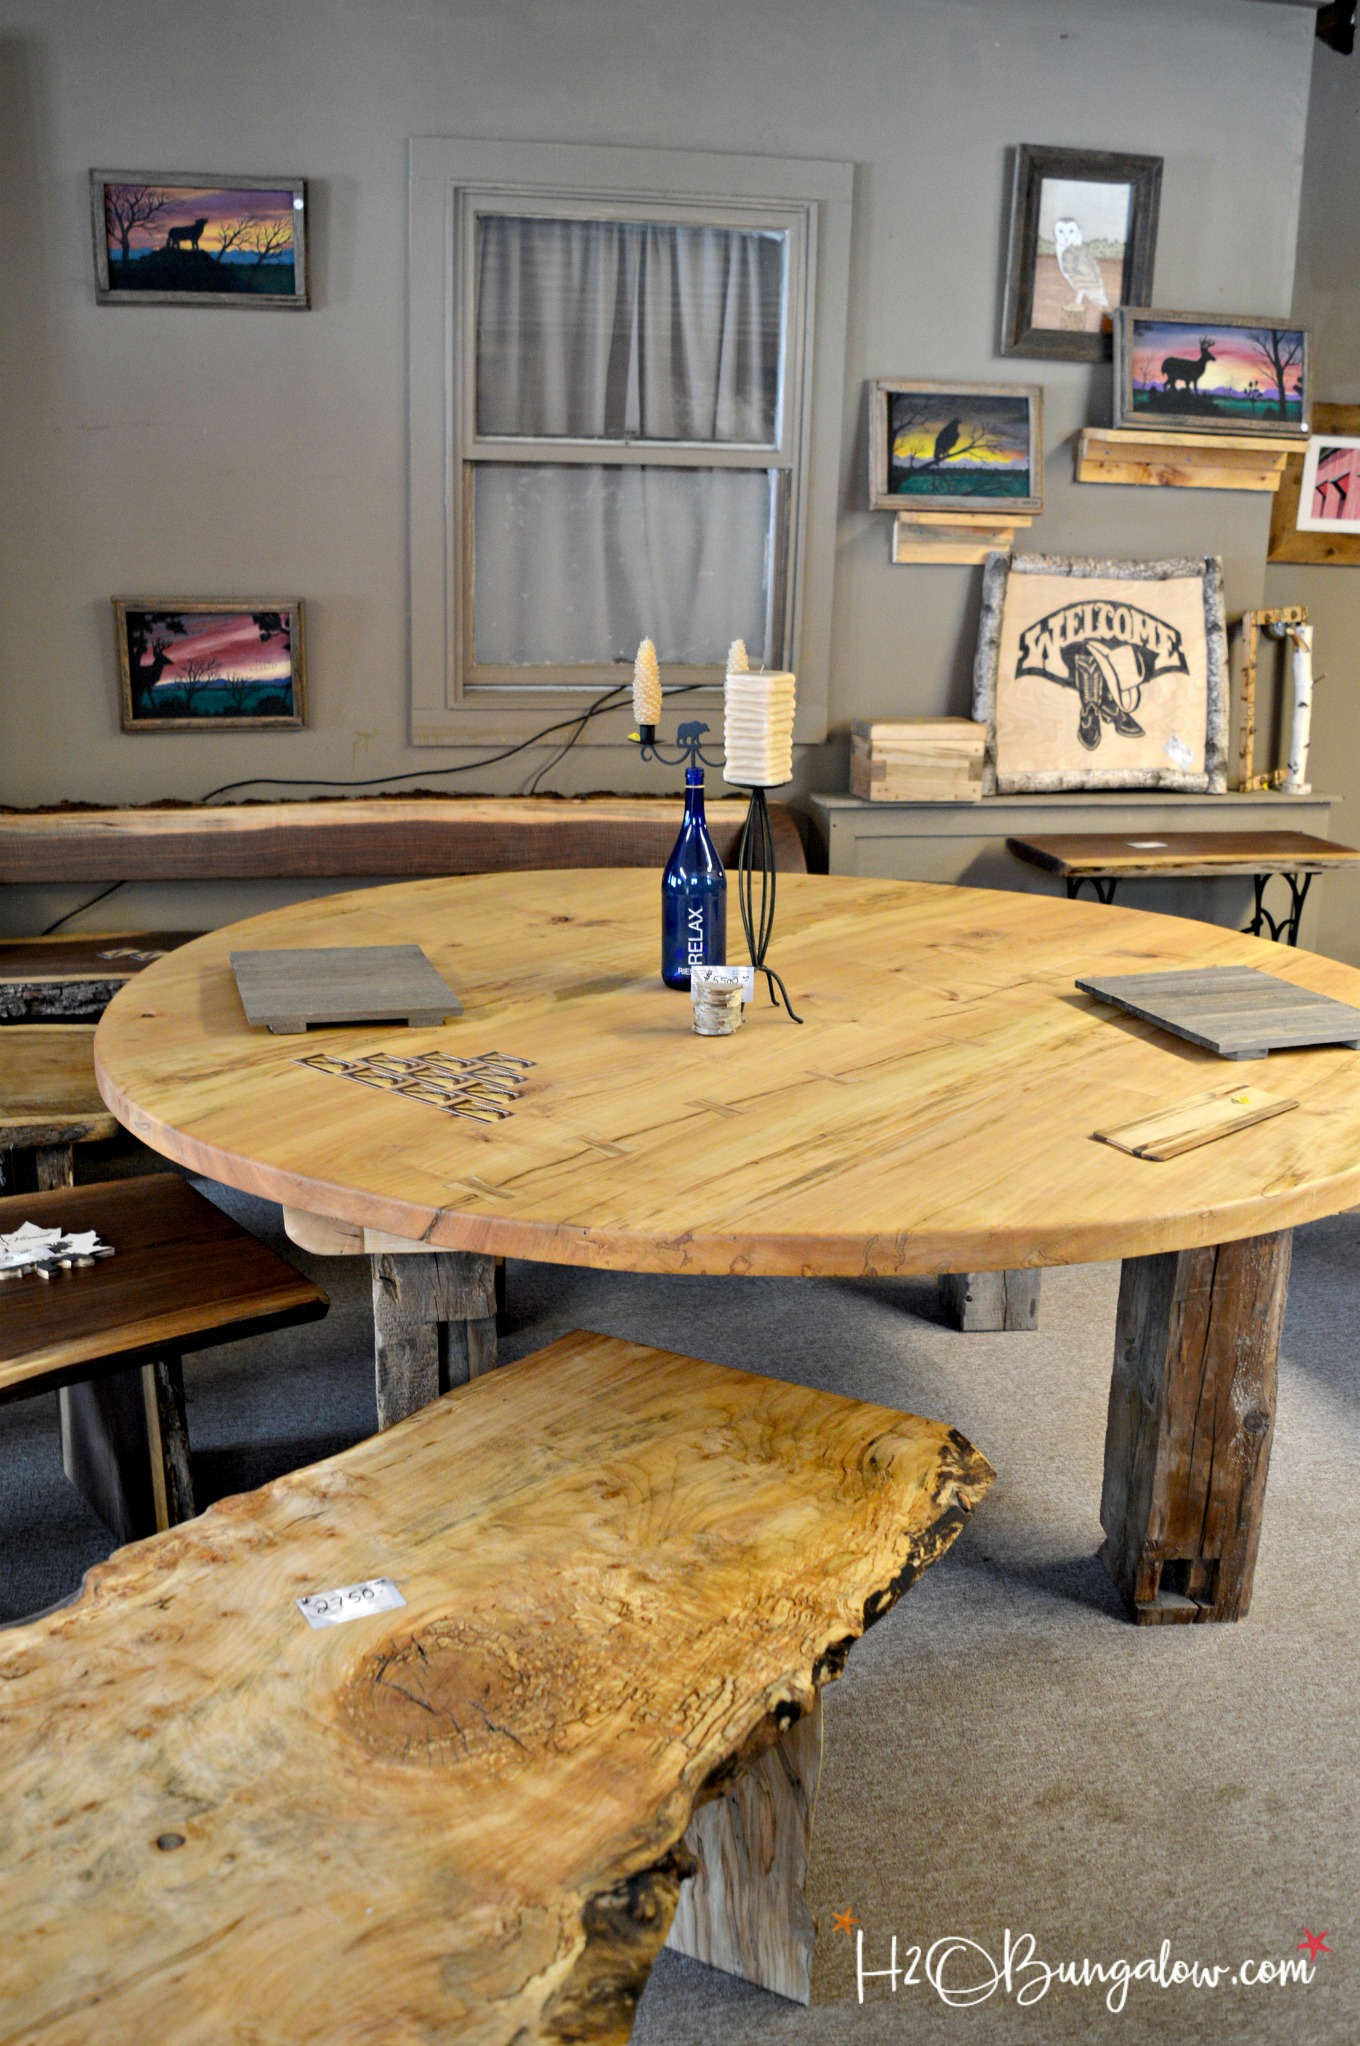
My chunky wood shelves in the North House came from Carpenters Touch on Route 7 in Johnsonville NY (518-423-3448). I kept passing their shop on the way to the North House in Vermont and when I finally stopped I was blown away by the creations. They carry wood slabs as well as custom finished projects.
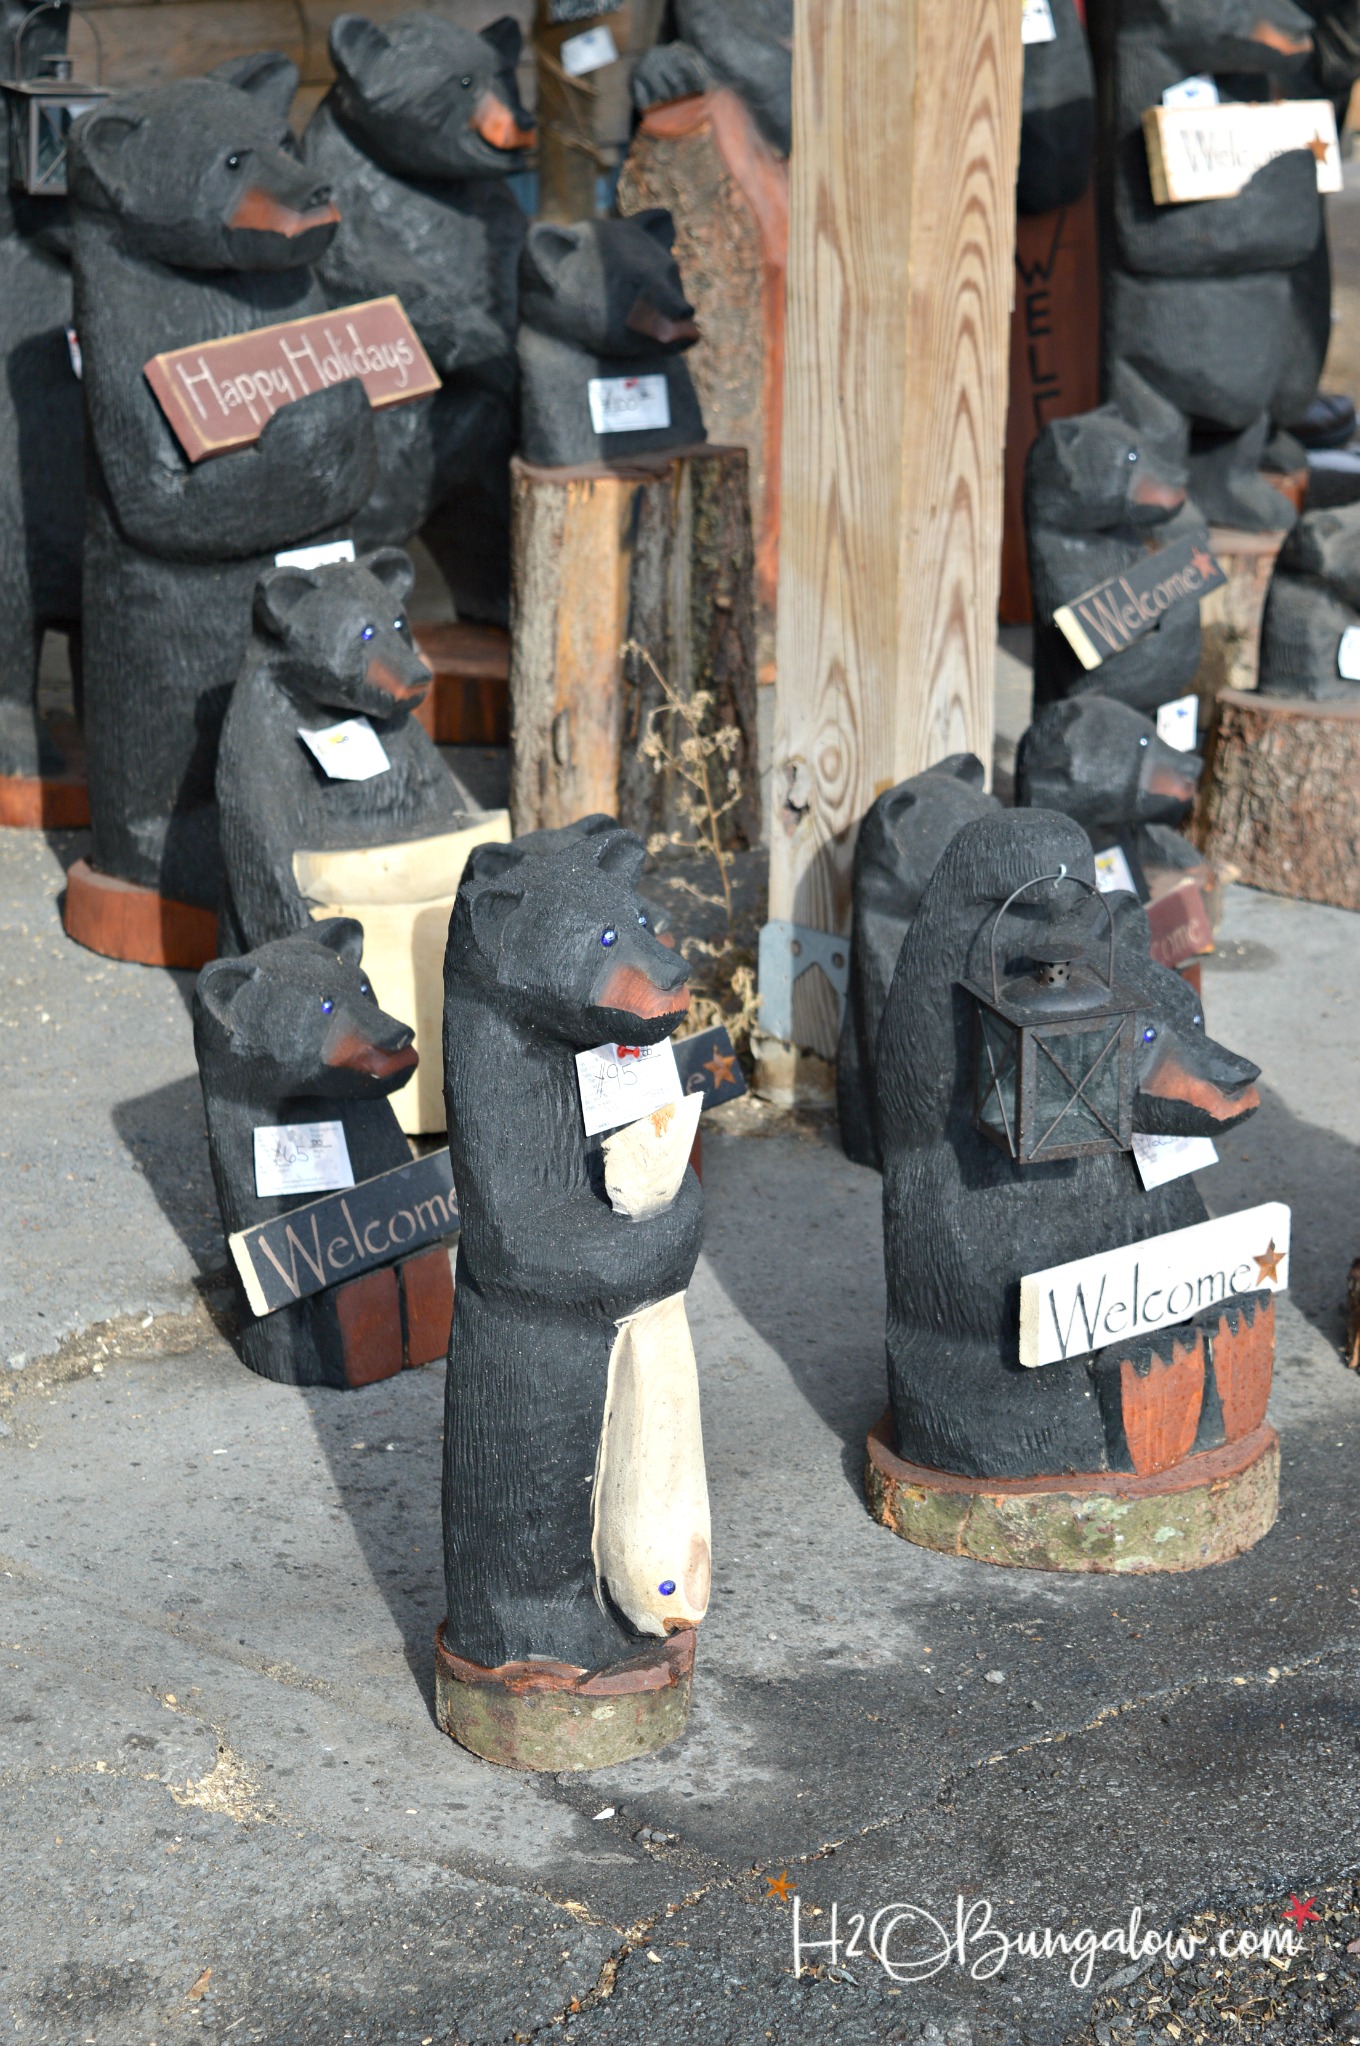
I couldn’t resist taking a few shots to share with you guys.
Do you love the legs on this table?
It’s a good thing my rental car was small!
All these bears were made with a chainsaw. I was lucky enough to see one being made when I stopped to pick up my wood that day.
Pin this project for later!
Follow these tips for installing thick wood shelves for your own DIY home decor project. It’s an easy project that can be done in a morning. I think chunky wood shelves work with almost any decor style. In an industrial, rustic, contemporary or transitional room they work as a focal point adding texture and interest.
Do you have a spot in your home where you’d love to see thick wood shelves?

Ivory says
Your shelf rocks. I also love the other items in this post. Thank you so much for sharing.
Wendi @H20 Bungalow says
Thank you for the visit!
TwoPlusCute says
No 5 while counterintuitive, is not just a great time saver, it’s a great help for being absolutely certain the shelf is level.
I will keep it in mind for any feature wall shelf builds!
Wendi @H20 Bungalow says
Thanks! Would love to know if you do try this method on any future shelving projects.