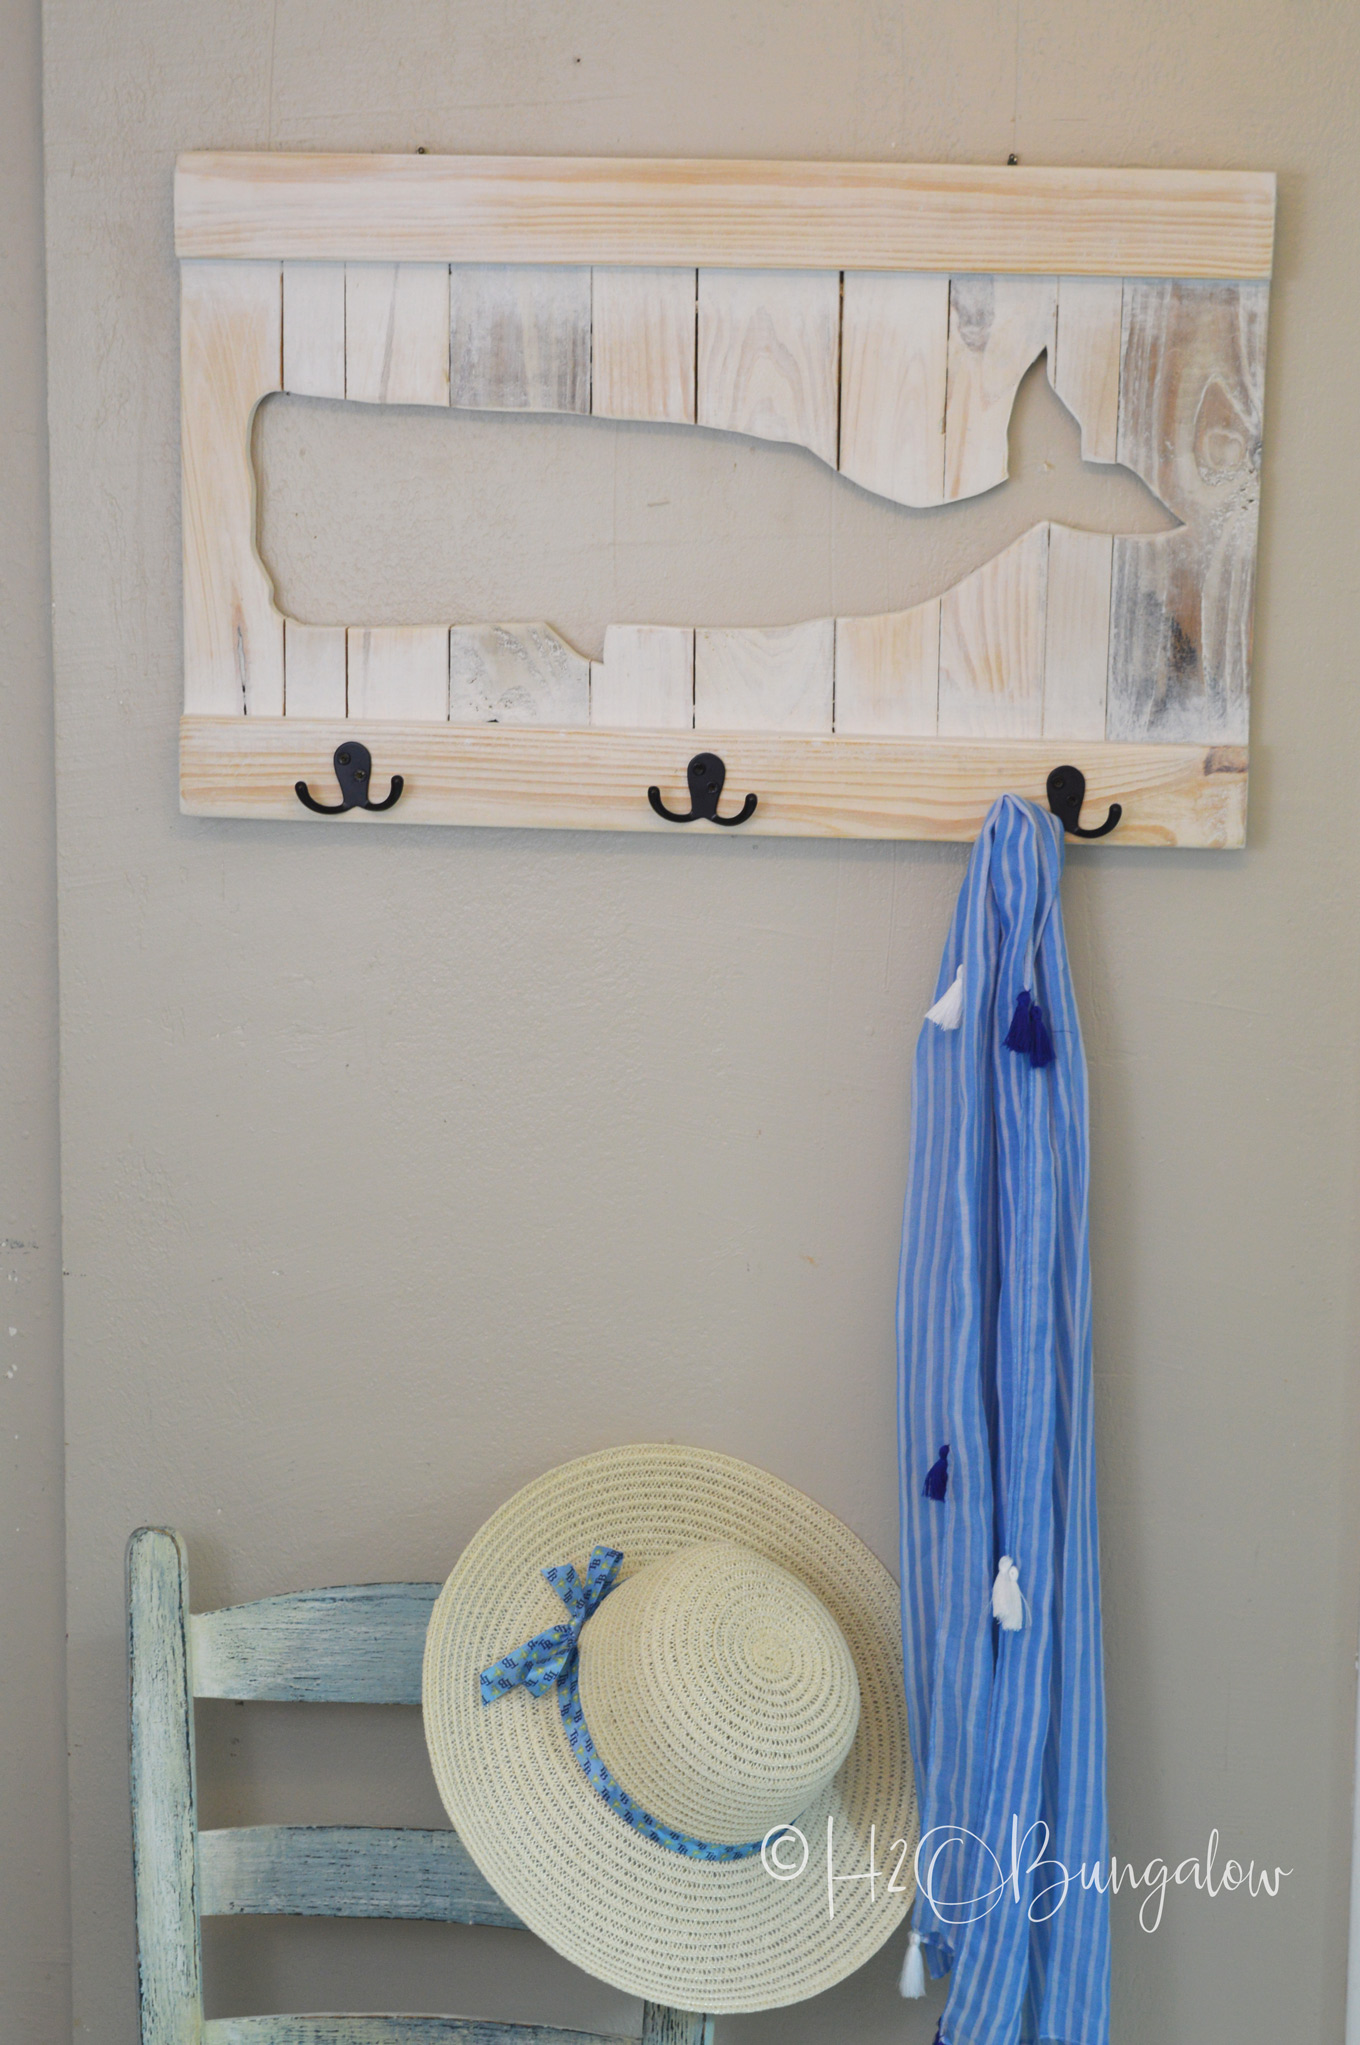
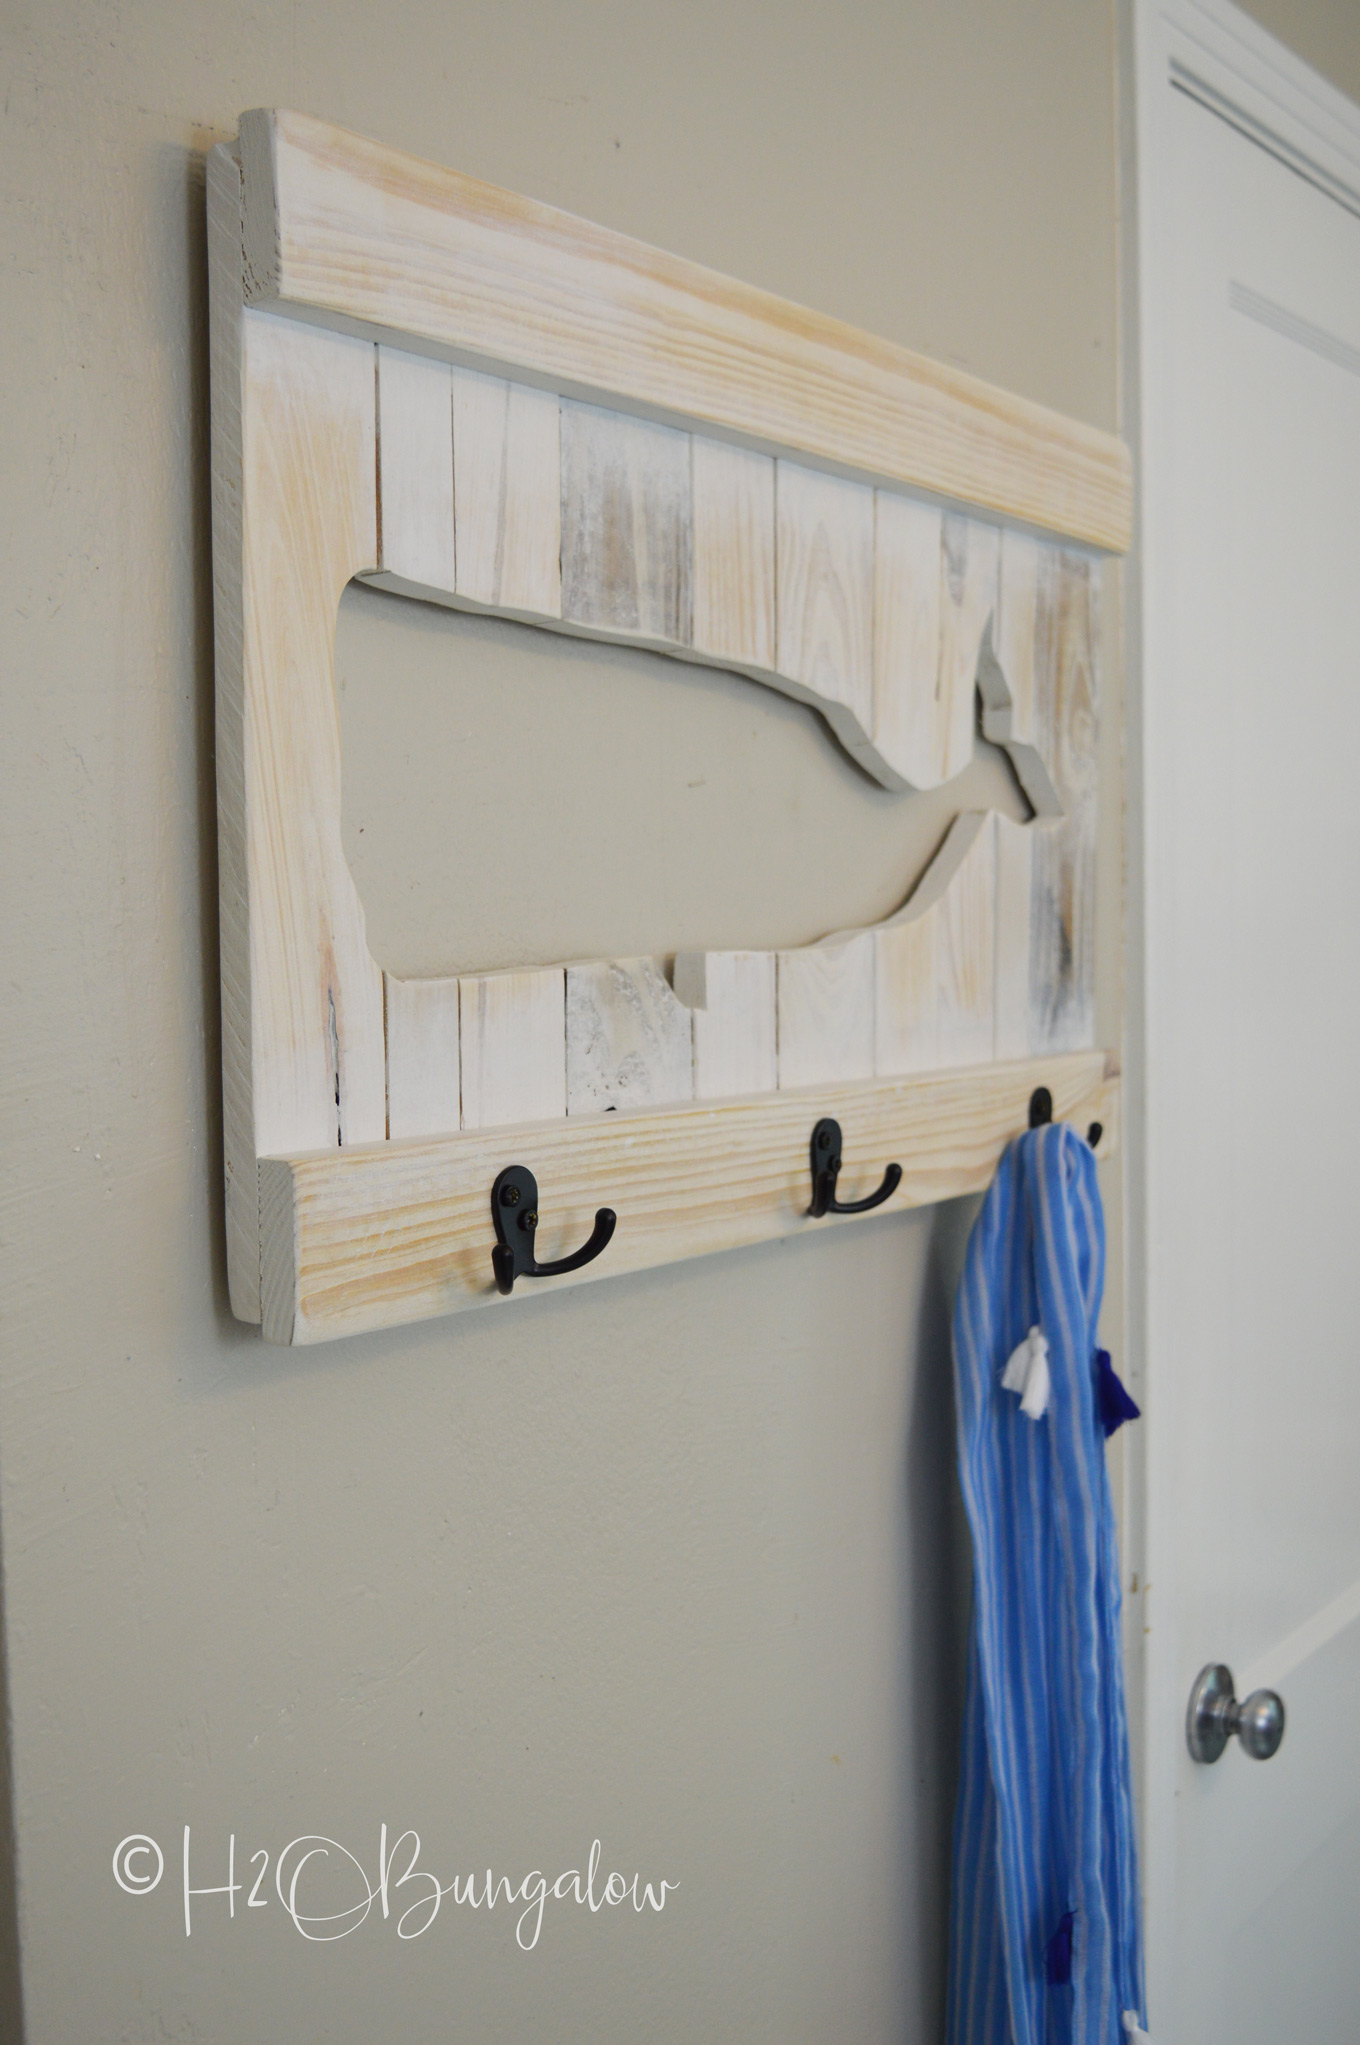
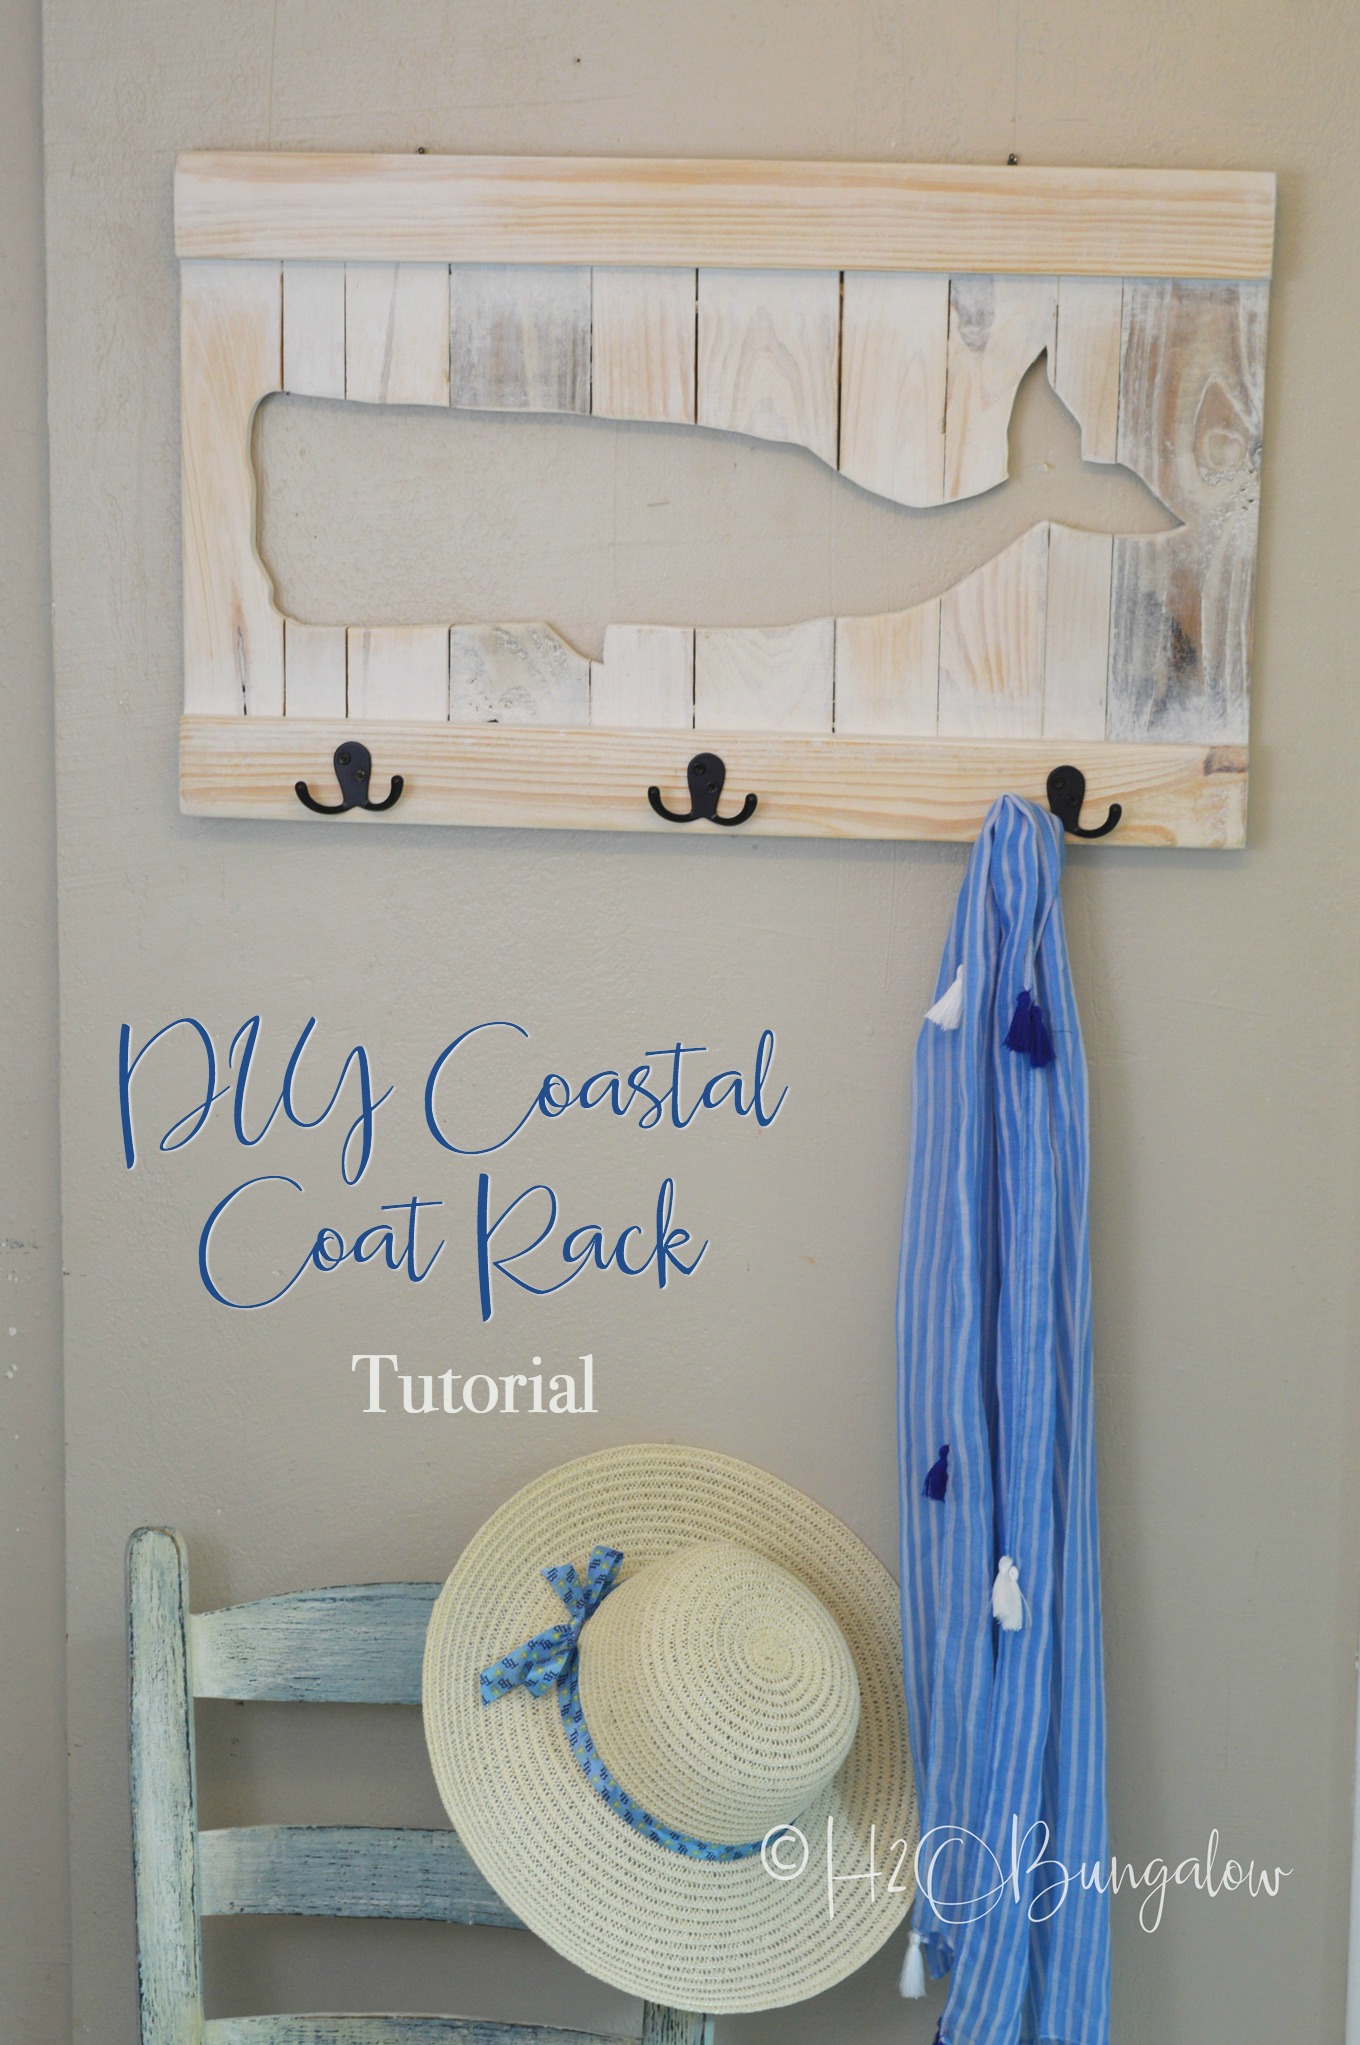
Today’s project, my DIY coastal whale coat rack, is so darn cute! I was torn between calling it a whale coat rack or a whale beach towel rack. If our outdoor shower hadn’t have blown away in last year’s hurricane, I’d have hung it there in a heartbeat! On the other side, I can see my whale coat rack it in a north eastern coastal home hanging by a well used door filled with wind breakers and sweatshirts. Either way, I’m loving this project!
You can also follow these steps to make a wood cut-out like mine using your own shape for any number of home decor projects. Or you can learn how to paint graphics on furniture using a similar whale graphic or your own shape. And if you like this coat rack, be sure to check out this DIY Chevron Coat rack, this Modern Rustic DIY Vintage Hook Coat Rack, the Tree Branch Apron Rack, DIY Live Edge Coat Rack and my Repurposed Headboard Coat Rack.
The best part about my DIY coatrack project is that it’s inexpensive to make. You can make this coatrack from pallets or scrap wood. I used scraps I had on hand because it was raining cats and dogs and didn’t want to dig outside in the pouring rain and deal with wet wood!
How to Make a DIY Whale Coat Rack
I use affiliate links to help you find the supplies I used. You can read my full disclosure policy here.
Supplies used to make my DIY coastal coat rack.
- various wood scraps or pallet pieces
- wood glue
- graphite paper
- miter saw
- jig saw
- drill
- brad nailer
- 1 1/4″ brad nails
- jigsaw blade, Use the scroll cutting blade it’s easier to cut out shapes
- 2 – d-rings hangers This is what I use, a pack of 6 costs the same at a local store!
The directions to make a whale coat rack, or any cut out design like mine is easy to follow. I’ll share with you how I made mine below, and you can tweak your own design to suit your style.
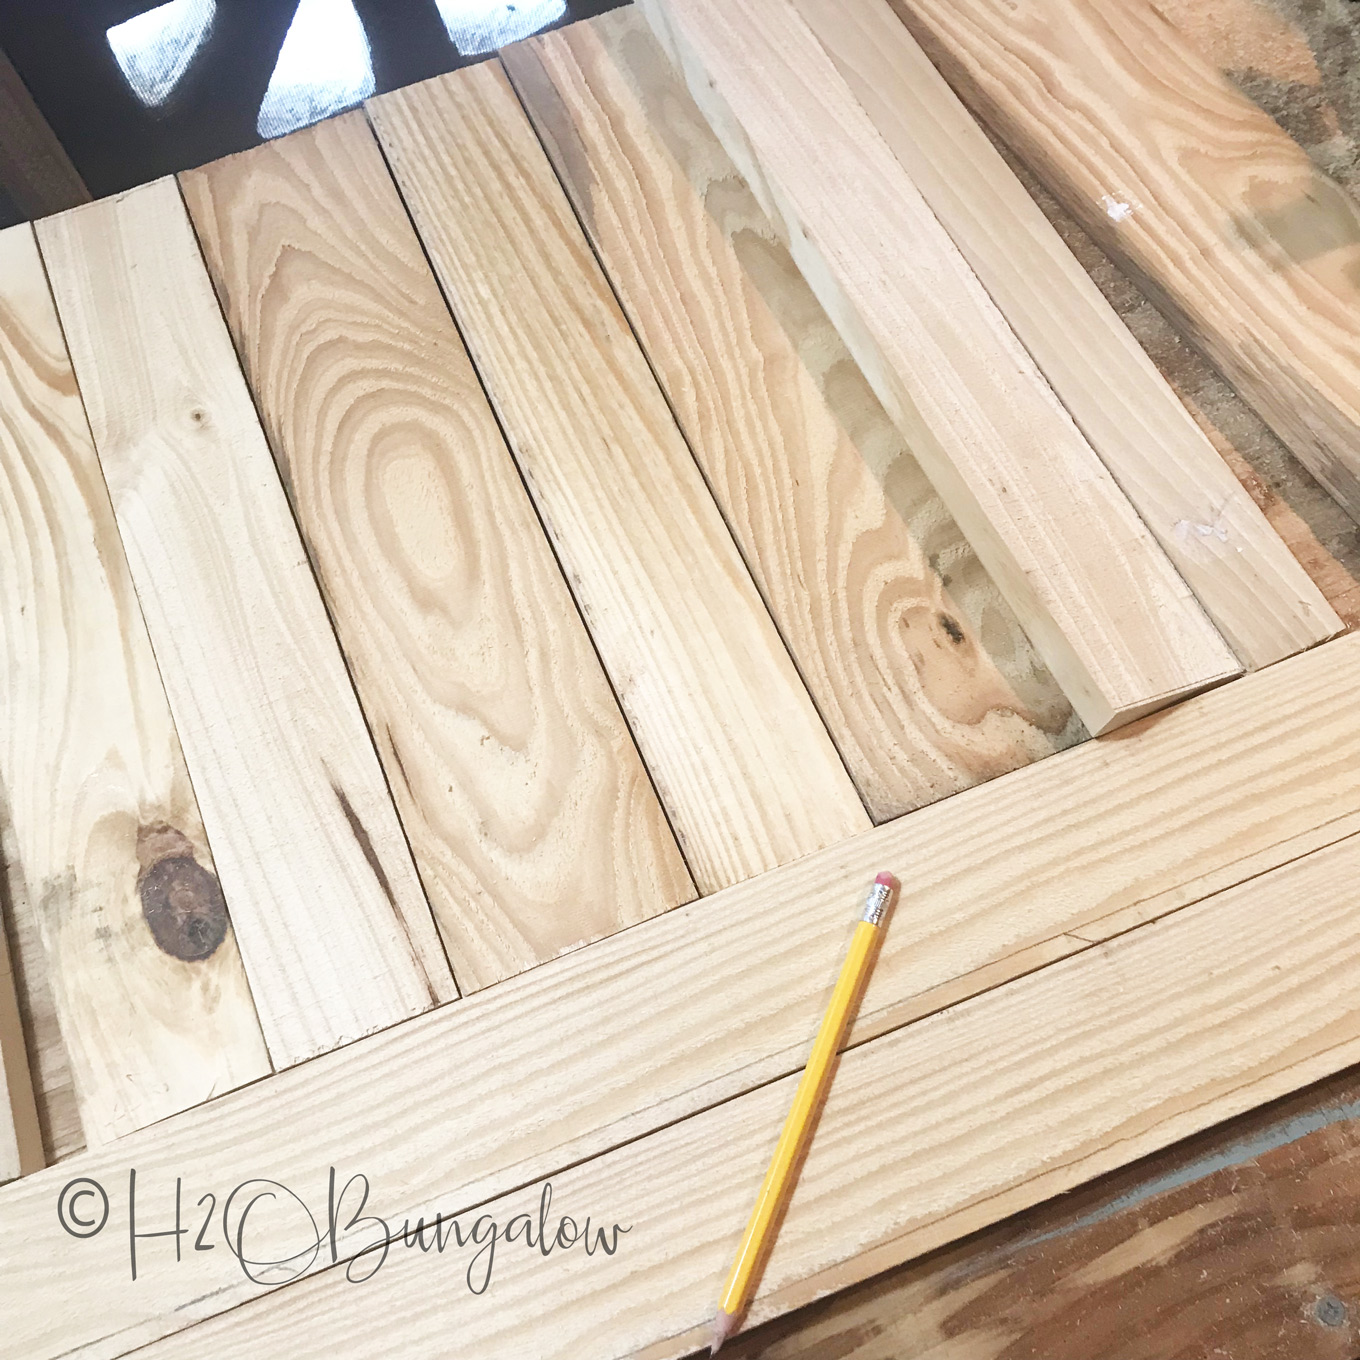
I started with two 1″ x 3″ board at 27″ these are the top and bottom pieces. I cut several 15″ long scrap wood pieces that were the same depth, 1″ (3/4″ ) but in varying widths. Side by side, they equaled 27″.
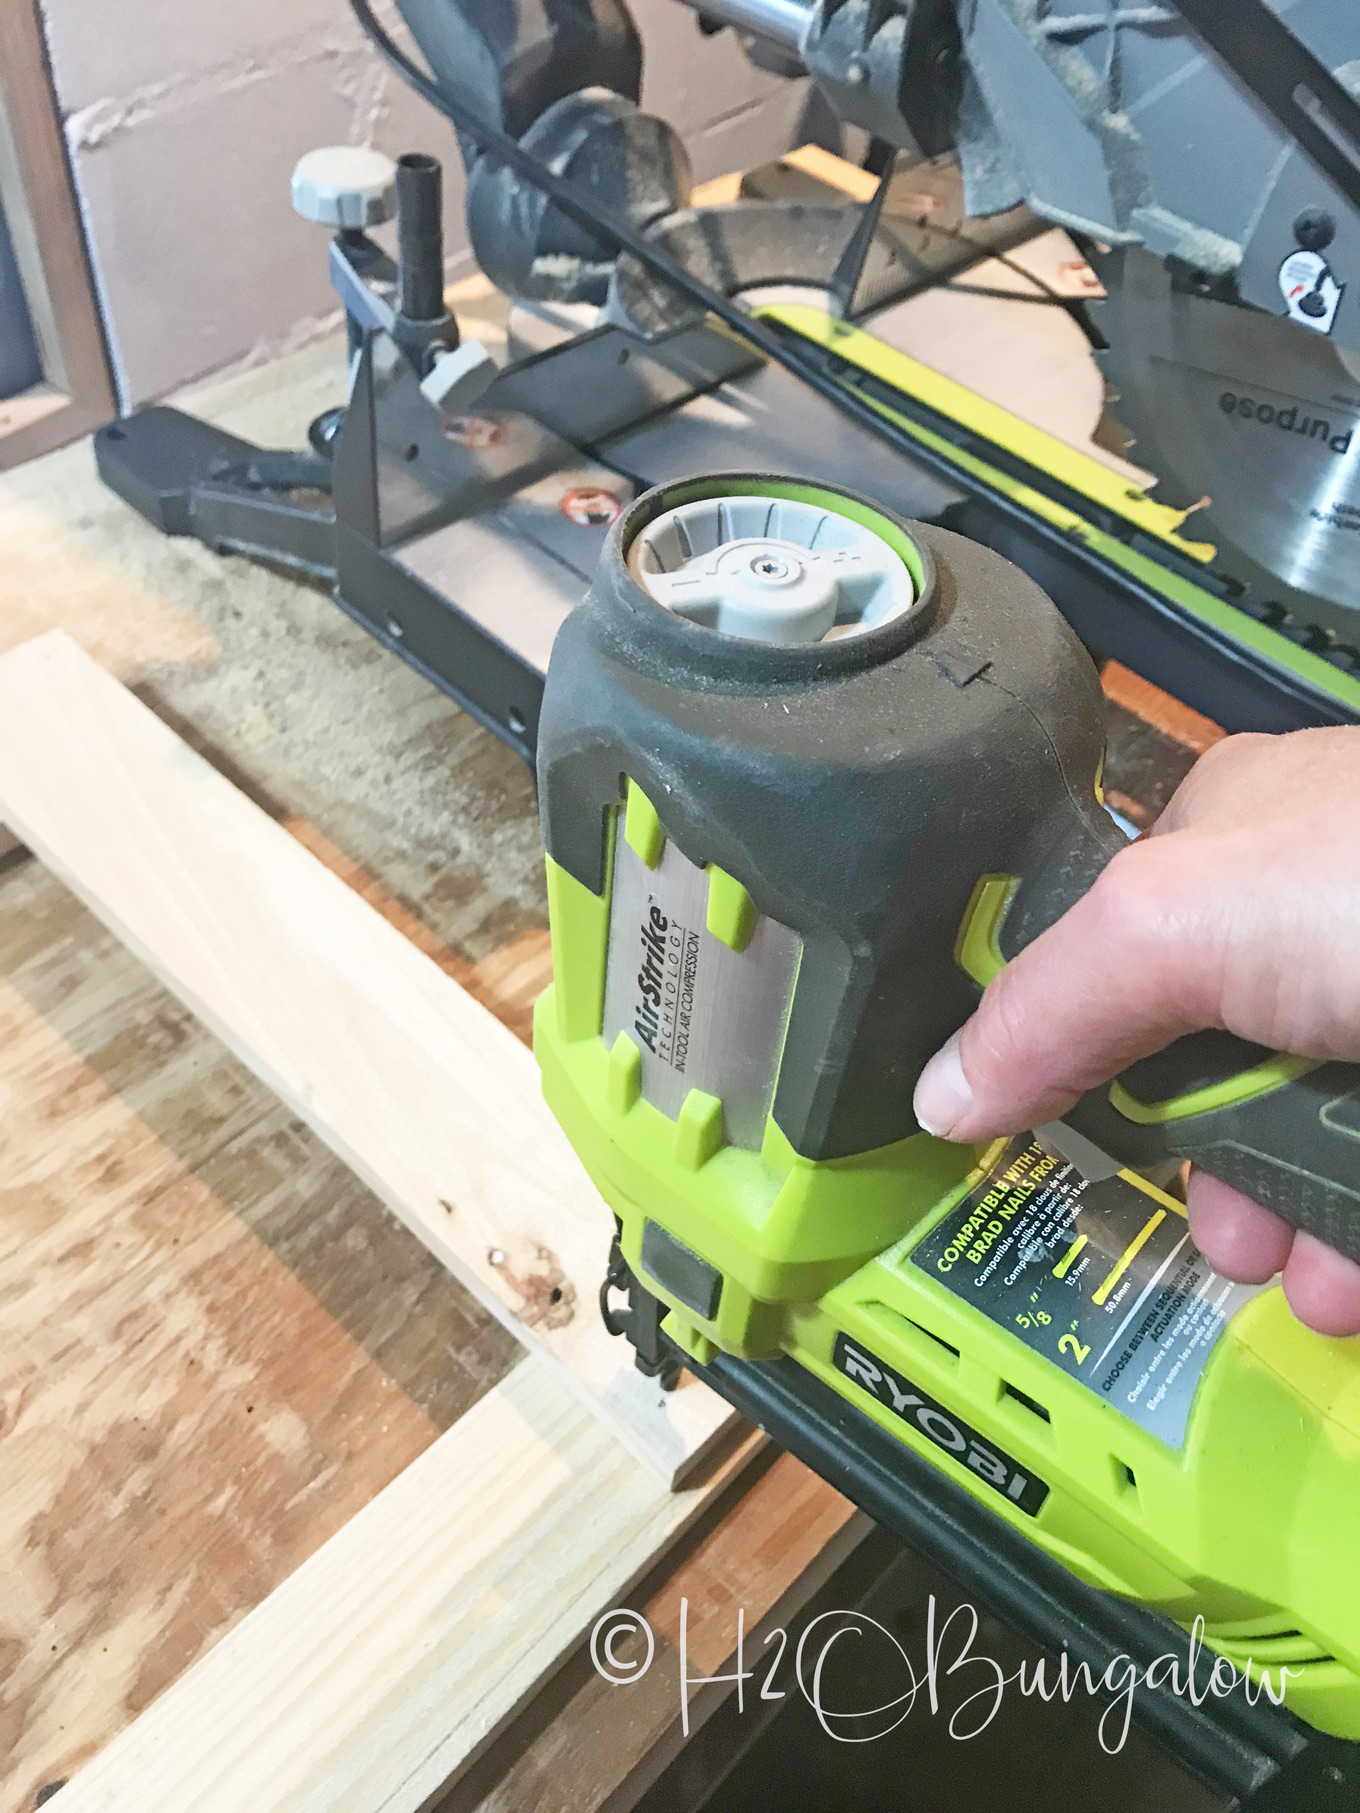
I used wood glue and my brad nailer to attach the 15″ pieces to the back of the two 27″ boards. I kept the roughest sides facing back. Yes, you can also use screws to attach the the boards to the back. If you’re making an outdoor towel rack be sure to use treated wood and 1 1/4″ exterior screws that won’t rust.
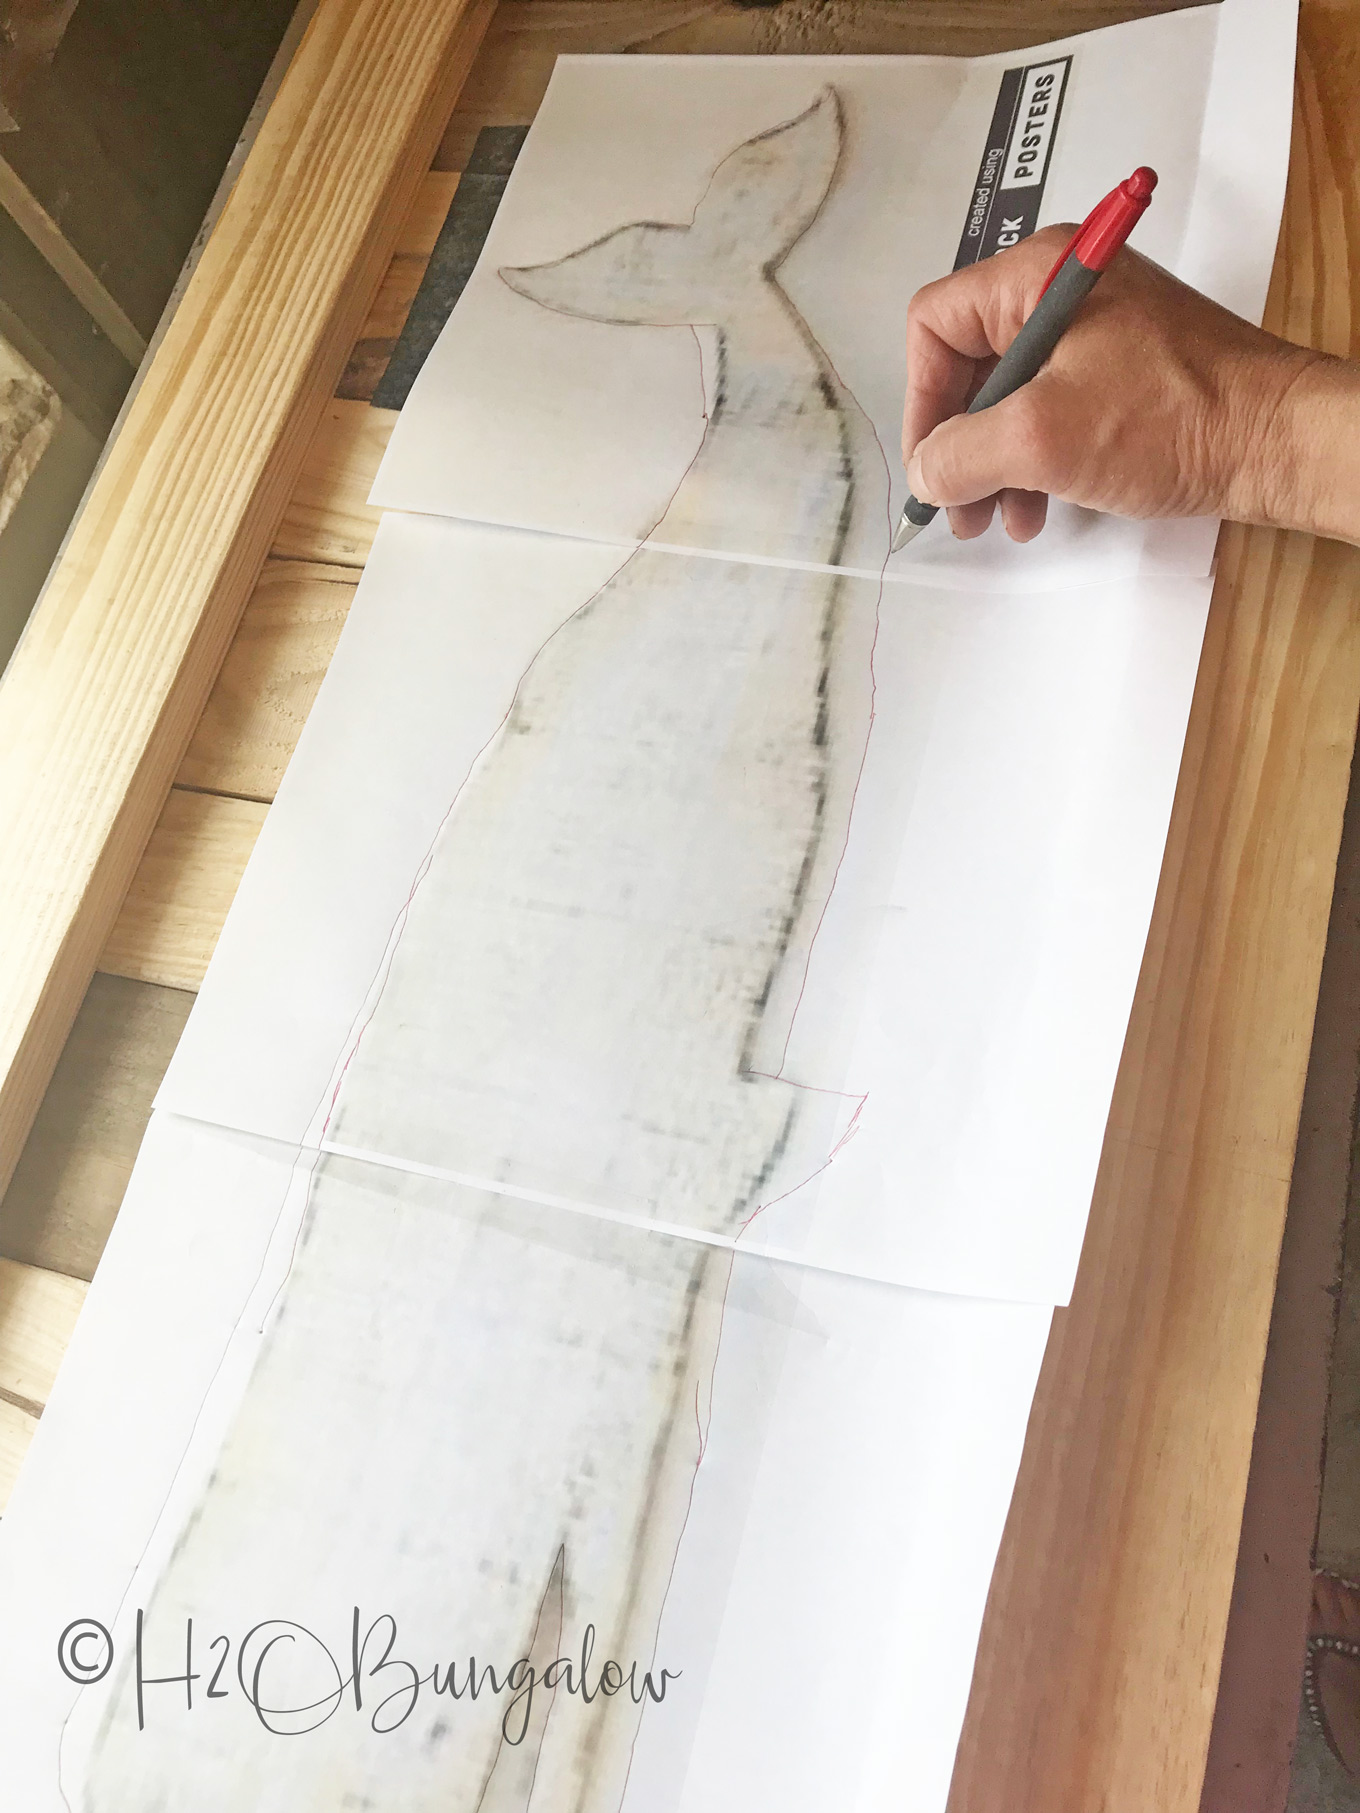
Once assembled, I traced a picture of a whale onto the front. This is easier than it sounds. Find a photo or outline of a whale or fish if you’re making a coastal coat rack like mine. Follow the directions I shared in my gorgeous nature quote project where I shared how to Transfer Graphics to Paint except you’ll cut out the shape instead of painting it.
Tip~Modify your design cut-out and make thin areas wider and rounded the corners wider in spots that may be tough to cut with a jigsaw.
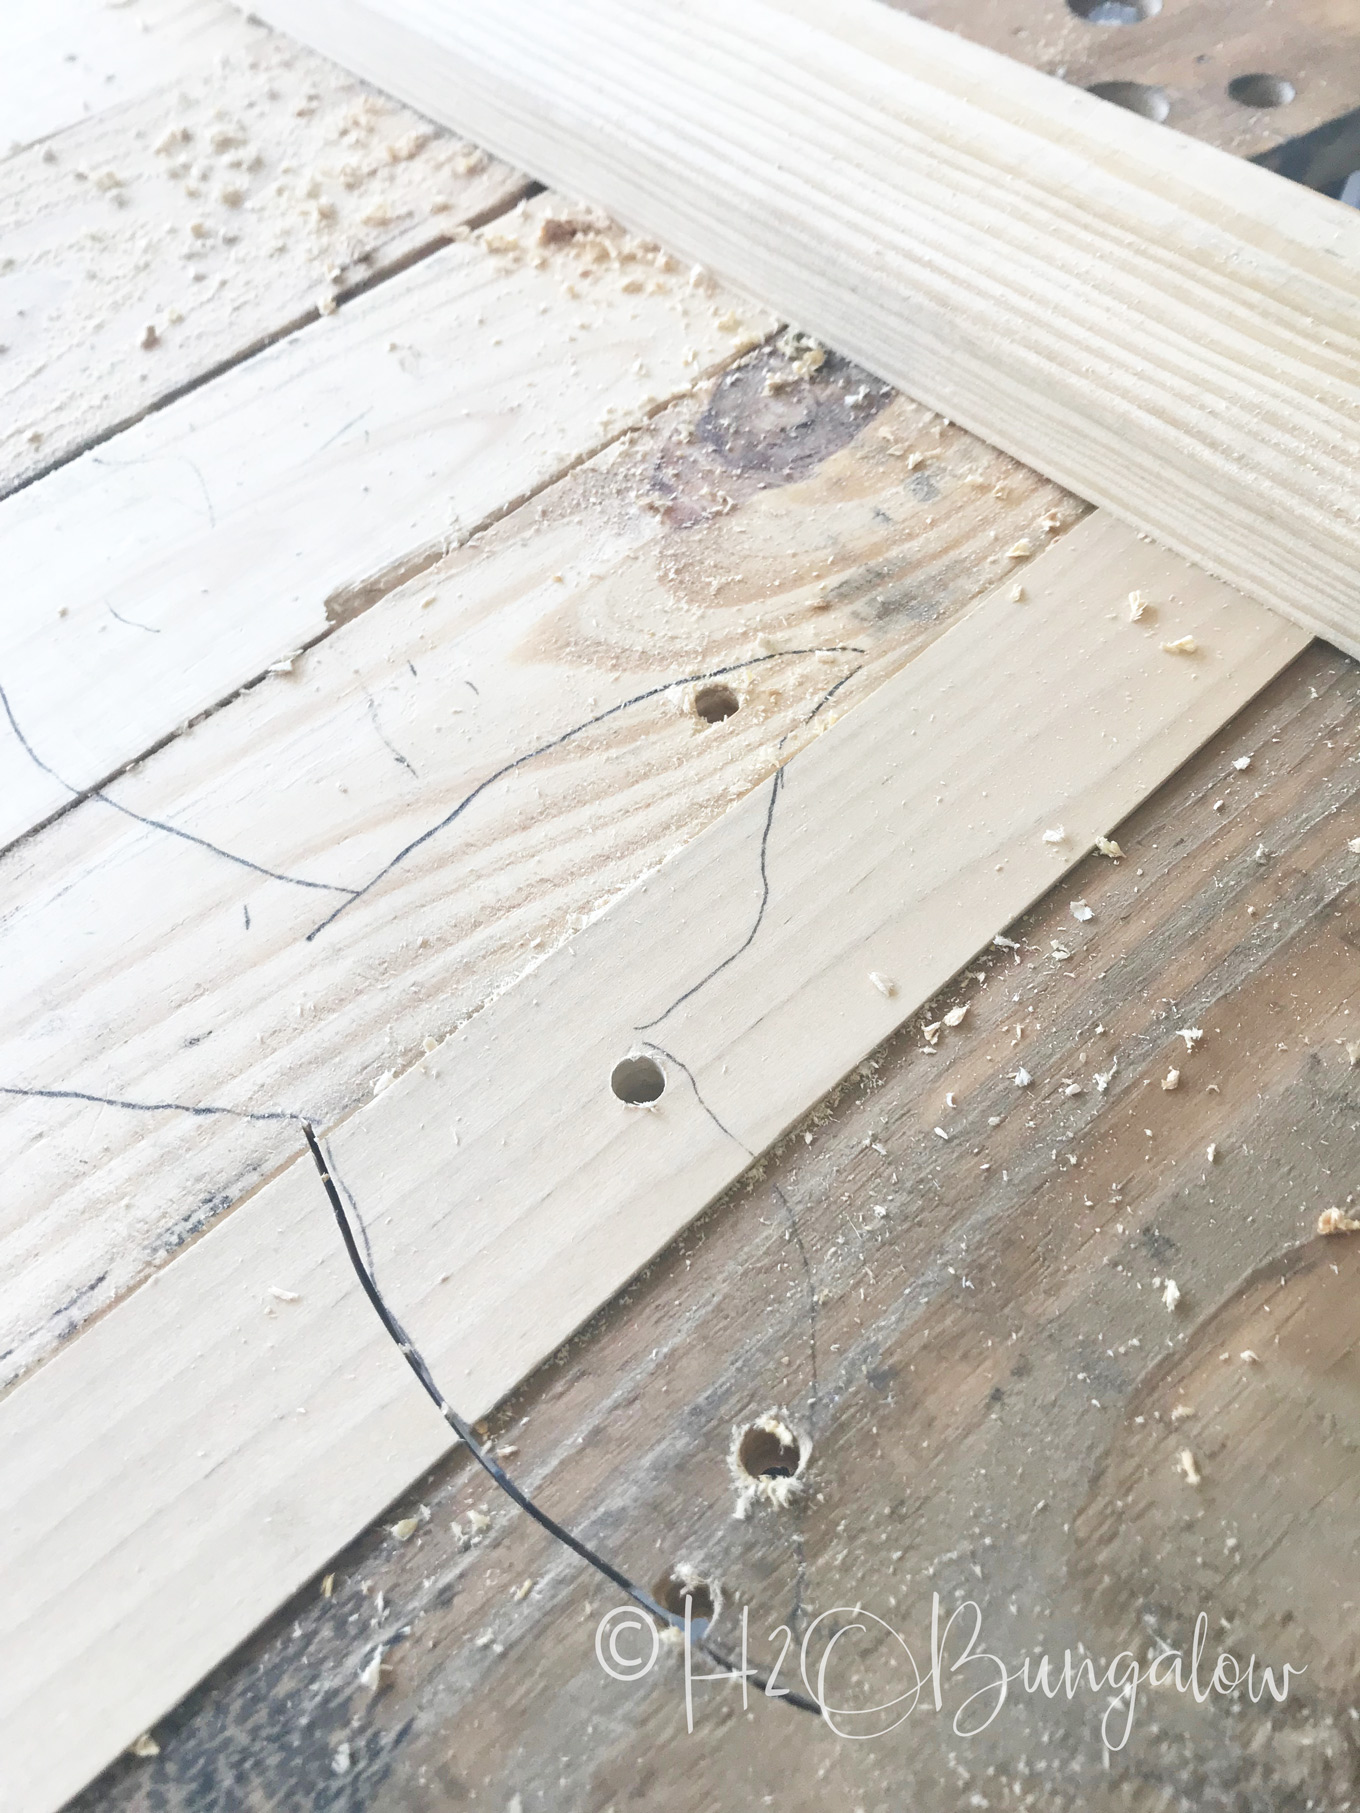
Make cutting areas easy to work around by drilling holes near the edge of where you’ll need to cut out the design. Cut out the whale.
Sand the all the edges and sharp corners and paint. I wanted my coastal coat rack to have a worn look so I watered down my paint and then wiped a bunch off when it was still wet. I sealed it with two coats of clear wax. Some of the boards I used already had a tea stain on them which looked great peeking through the paint.
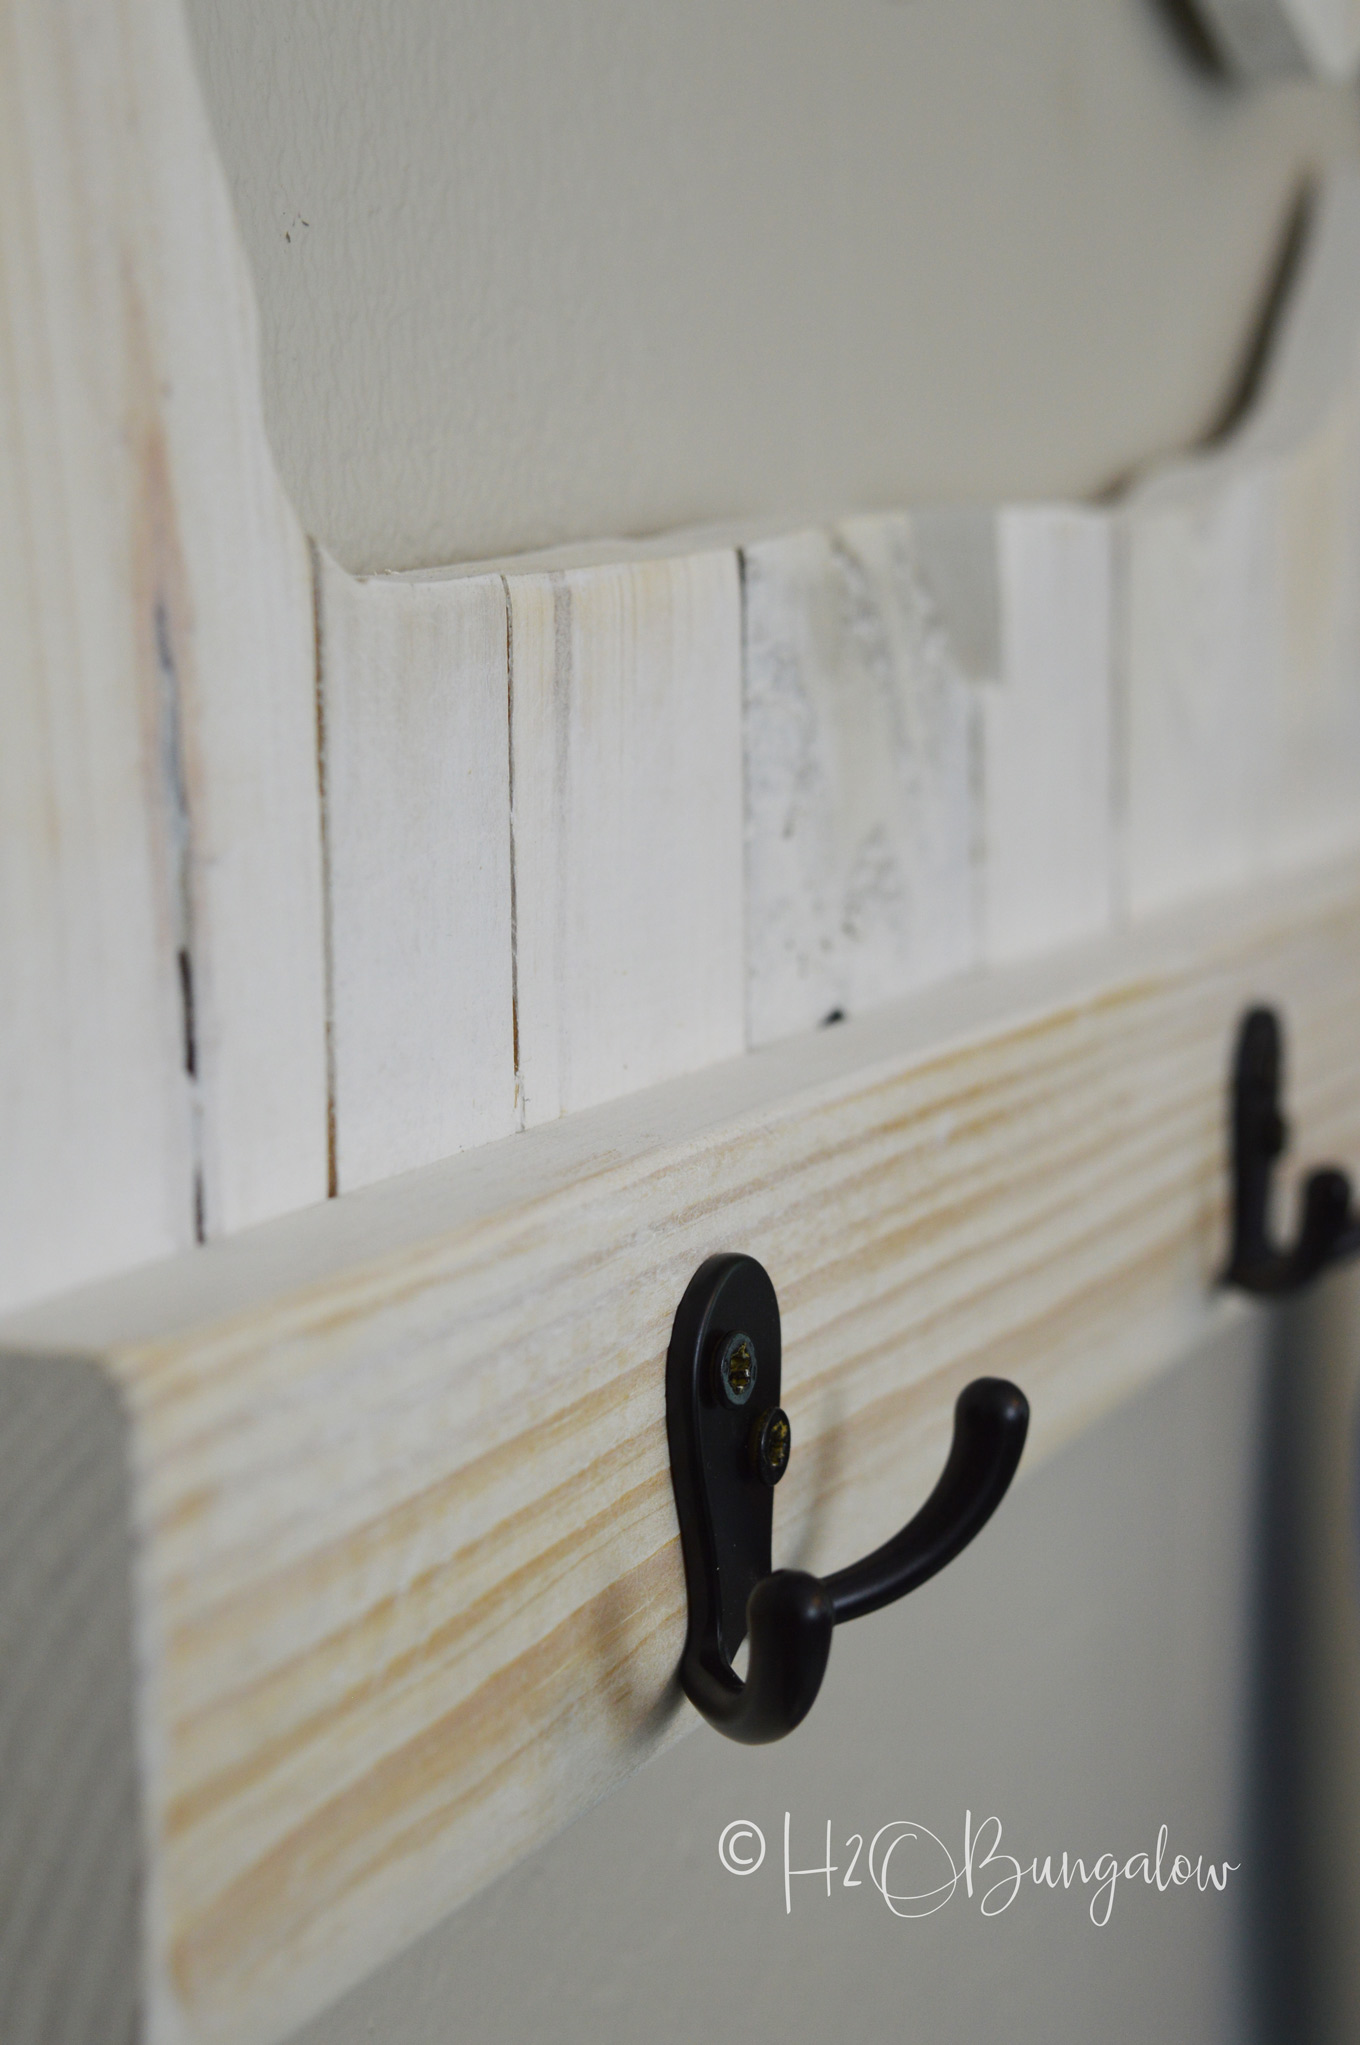
I added three double coat rack hooks and 2- D-rings on the back to hang the coat rack. The D-ring will be sturdy enough to hold the weight of coats or wet towels.
Making a coastal whale coat rack from pallets or wood scraps is easy! Like I mentioned earlier, you can easily swap designs and cut out any other design you like to make your own custom coat rack. You might also like my Live Edge Coat Rack if you are limited on space.
If you like pallet projects you have to check out Gail from My Repurposed Life! She made a Pallet Board Coffee Bar that is darling! She’s one of our Power Tool Challenge Team Members and she is the reigning queen of repurposed items!
I’d love it if you pinned my project for later or shared it with your friends on Facebook!
I choose a whale because I like the shape and thought it would fit perfectly on this project. But, then I got curious about whether we have whales on the west coast of Florida in the Gulf of Mexico. So of course, I Googled it. Yes we do! We have sperm whales. I’ve never seen one in person but would love to, although I think it would be intimidating if we weren’t on a huge boat since they can grow over forty feet long!

Sarah says
This is a beautiful piece, perfect for that coastal vibe.
Wendi says
Hi Sarah and thank you! I love how this whale rack turned out. It was so and inexpensive to make too. I think it would make a great gift for someone with an open entryway too! Thanks so much for your visit!
Jenny says
This is super cute! It can be used for so many things! We made something similar with a shark shape for my son’s room to hang his stuff on. Thanks for sharing at Merry Monday! Hope to see you at the party next week!
Wendi says
Hi Jenny and thank you! I loved how easy and fun this project was to do. Thanks so much for your visit!
gail says
Love your pallet project Wendi! I appreciate coastal decor even though I’m totally landlocked. 🙂
Great tips on making this project.
thanks for linking to my pallet table. I do love using reclaimed wood anytime I can.
pinning and sharing on Facebook!
gail
Wendi says
Hi Gail and thank you! You are, in my opinion the pallet and reclaimed wood queen my friend. You see the potential in things that I’d never see. Loved your coffee service table and especially the color!