Today’s project is DIY outdoor string lights on poles, moveable poles to be specific. With summer just around the corner it was time to start thinking about our outdoor space and new ways to make it cozy. I was feeling a bit of pressure to get this project done. I’d already invited several couples over for dinner and the only place I could comfortably fit that many people was our backyard.
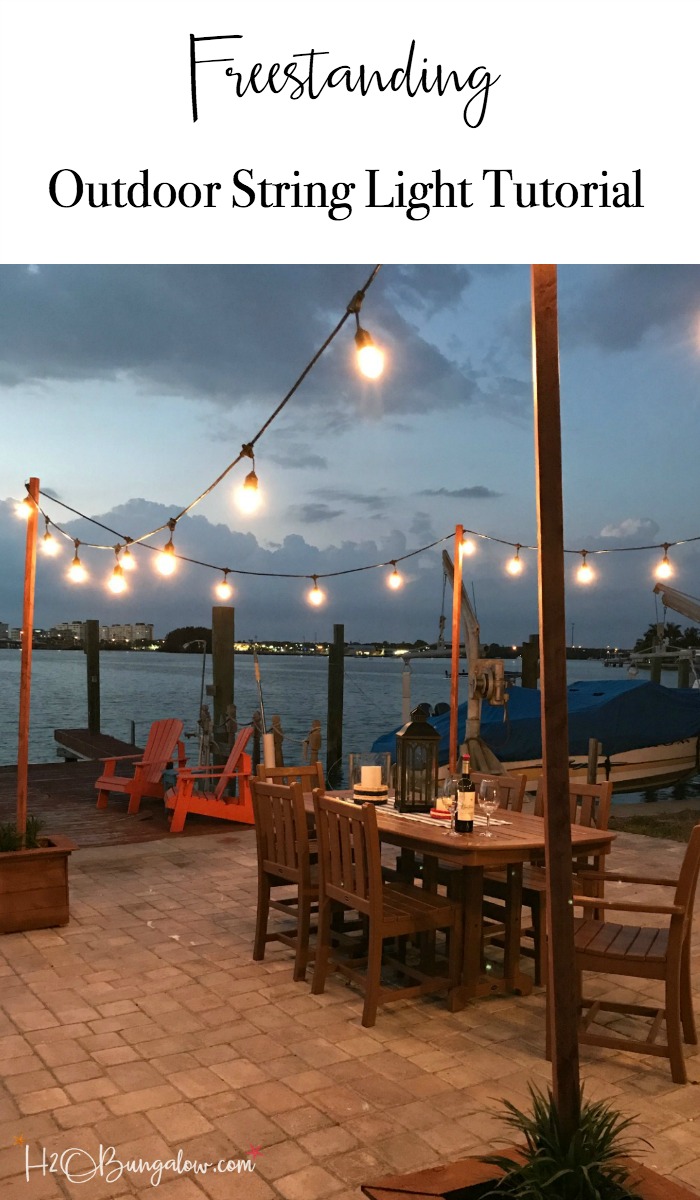
Like any good hostess I wanted to make the evening special and create a beautiful outdoor setting. Good lighting is one of the easiest ways to create ambiance and outdoor string lights seemed like the perfect DIY project. Silly me, thinking I’d have them built and up in a few hours.
What was I thinking by waiting until the day before to build them? Ugh..
Truth be told this DIY outdoor string lights on poles project isn’t hard to make. In hindsight, I’d plan for more than 2 or 3 hours, especially if you have plans like friends coming for dinner. You’ll enjoy having more time to do other things like your hair and makeup. Scroll down to the end of this post to find my DIY Outdoor string lights on poles tutorial.
**Update** Since this post, I’ve made over my backyard again and shared a new outdoor lighting project, How To Hang String Lights. It covers different hanging methods and lots of useful info for planing a backyard string light project.
I use affiliate links to help you find the products I used. If you make a purchase I get a small commission at no cost to you. Thank you for supporting the overhead costs of H2OBungalow.
How to Make DIY Outdoor String Lights on Poles
Supplies needed to make outdoor string lights on poles.
For each freestanding outdoor string light box and pole you will need:
- outdoor string lights – these are what I used Here is an LED Solar version of string lights too too
- plastic 5 gallon bucket
- Thomson’s Wood Seal in Acorn
- wood glue
- 1 –large cup holder hook
- 1″ brad nails
- 1- bag 50-60lb quick set concrete
- Duck Tape
- 1 1/2″ screws
- brad nailer
- miter saw
- drill
Cut List
- 4 – 2″ x 2″ @ at 17″, box inside frame
- 1 – 2″ x 2″ @ 8ft, light pole
- extra 2″ x 2″ to add a support collar around the top.
- cedar fence boards
- 8 – @ 14″, box short sides
- 8 – @ 15″, box long sides
- 4 – top frame pieces with each end cut at a 45 degree angle and 12″ on the inside length.
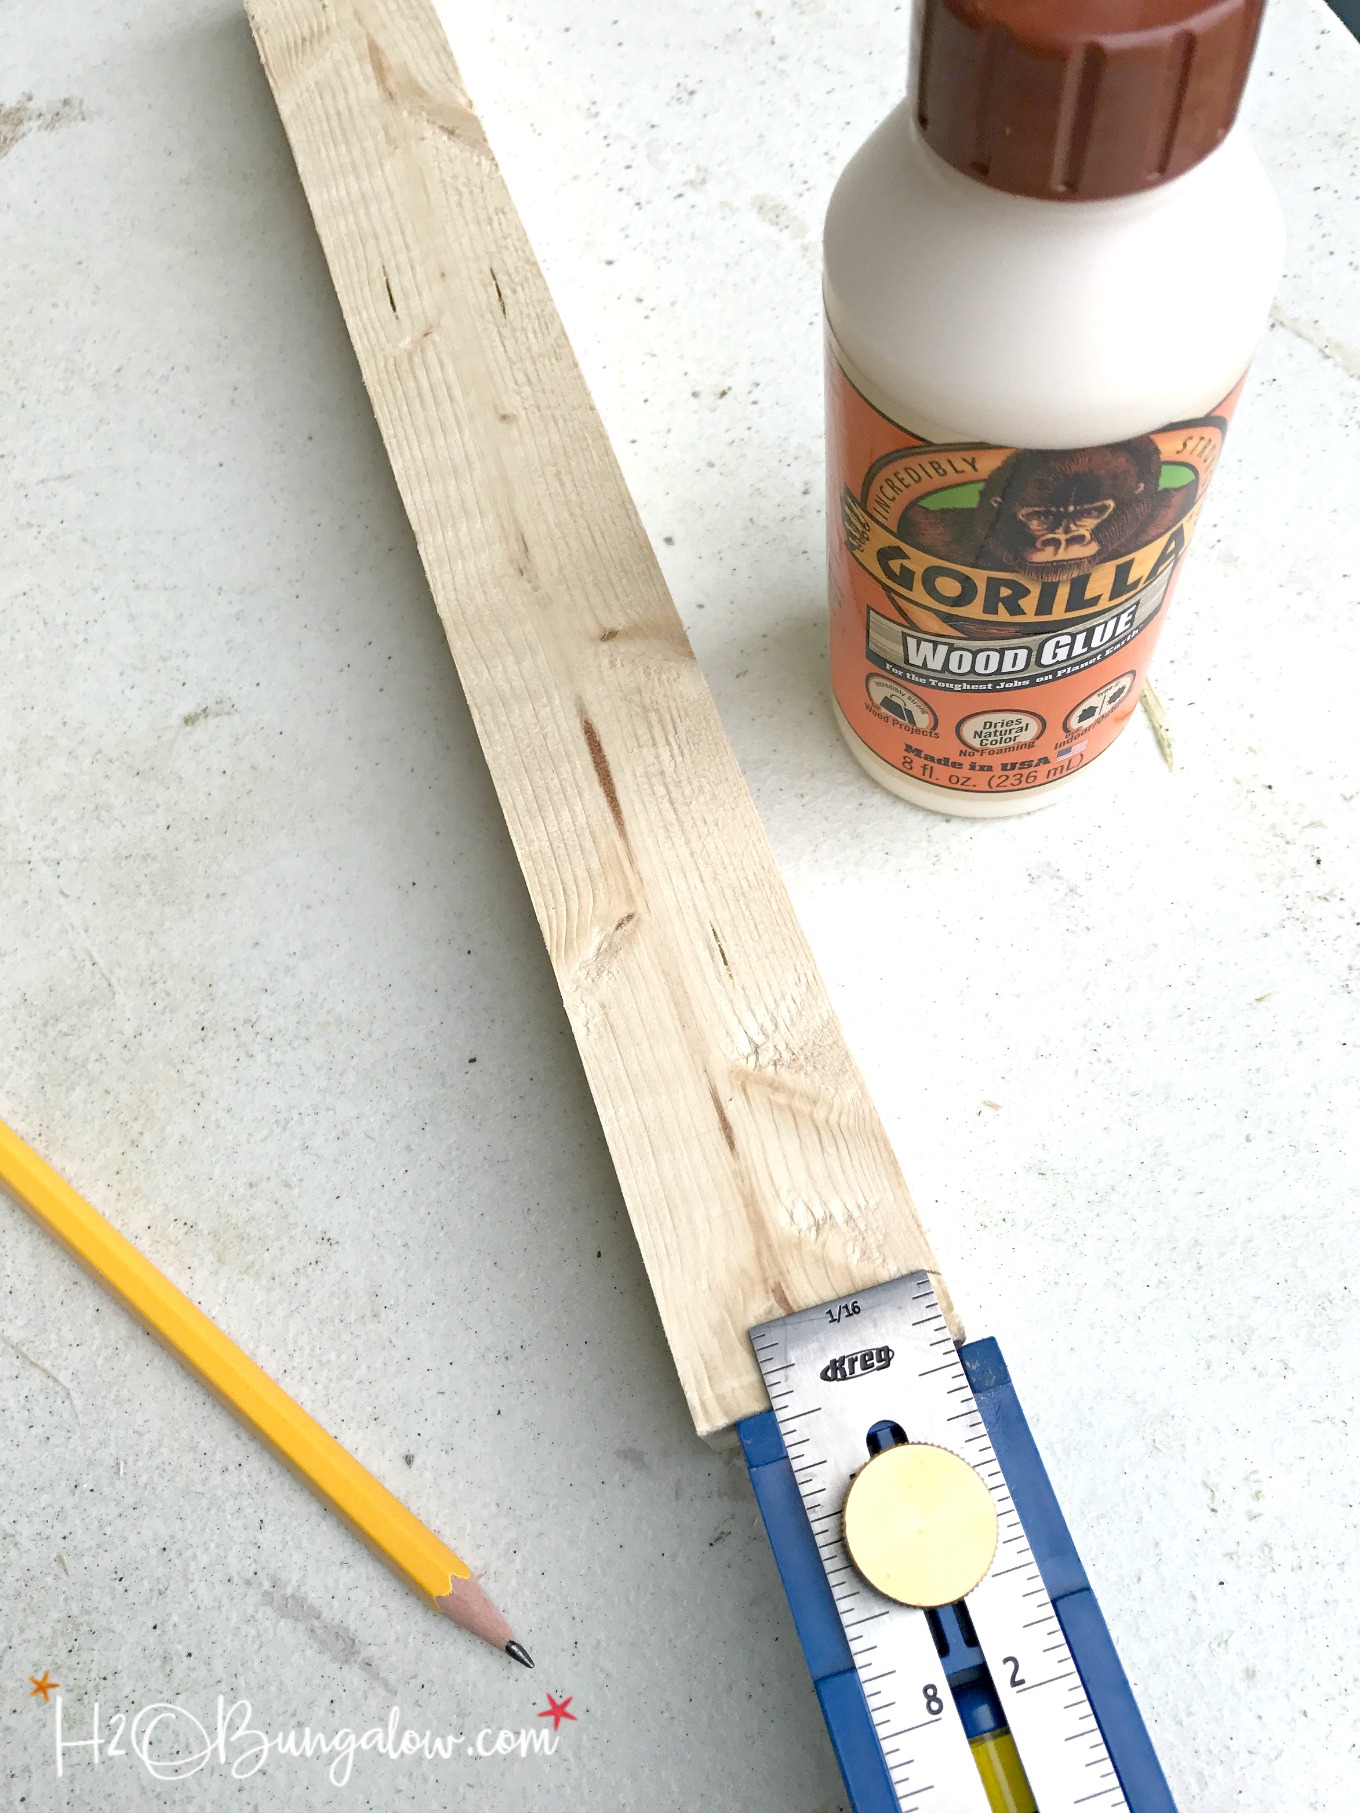
My best time-saving advice when building multiple items is use a measuring tool like the Kreg Multi-Mark Tool. Set it and mark all the pieces at once which is so much faster than using a ruler to mark each piece!
Step one: Assemble the box frame with the 4 inside supports.
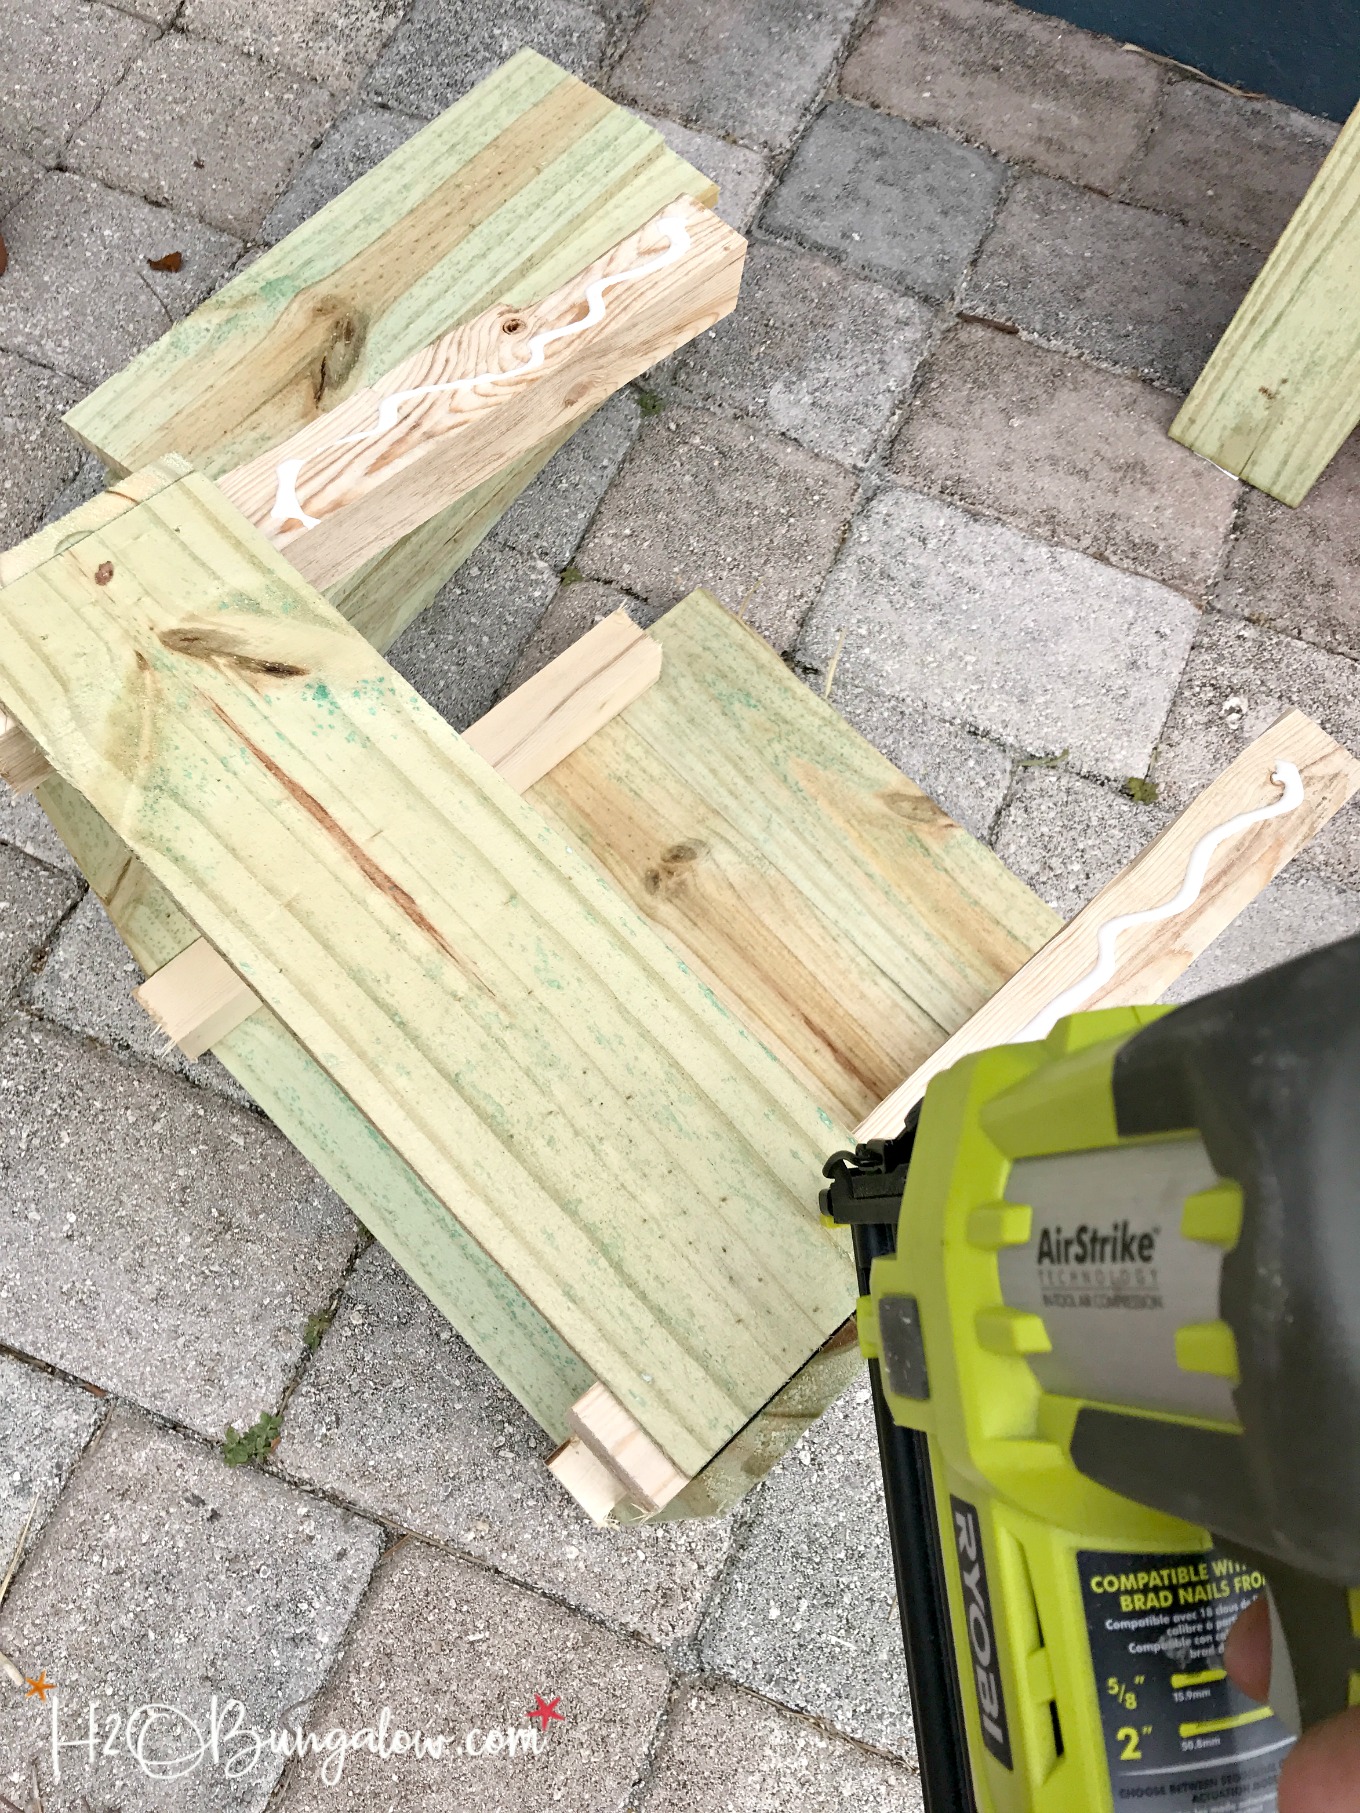
Use wood glue and assemble the box with 1″ brad nails. Leaving a 1/2″ space on the bottom of each leg attach the first row of boards to the frame. I attached the two short sides by lining them up flush with the edge of the leg. Secure them with a nail gun. Next, join the two sides together with the two long (15″) boards.
The edge of the long boards will line up flush with the end of the short boards to make a nice corner. See the picture below. Continue attaching all of the side boards.
Step two: Add a the mitered frame onto the top of the box.
Add a collar around the outside of the top of the box. Measure your box and cut pieces to fit. I used wood scraps for this part but 2″ x 2″ would be fine. Align and attach the top frame onto the box.
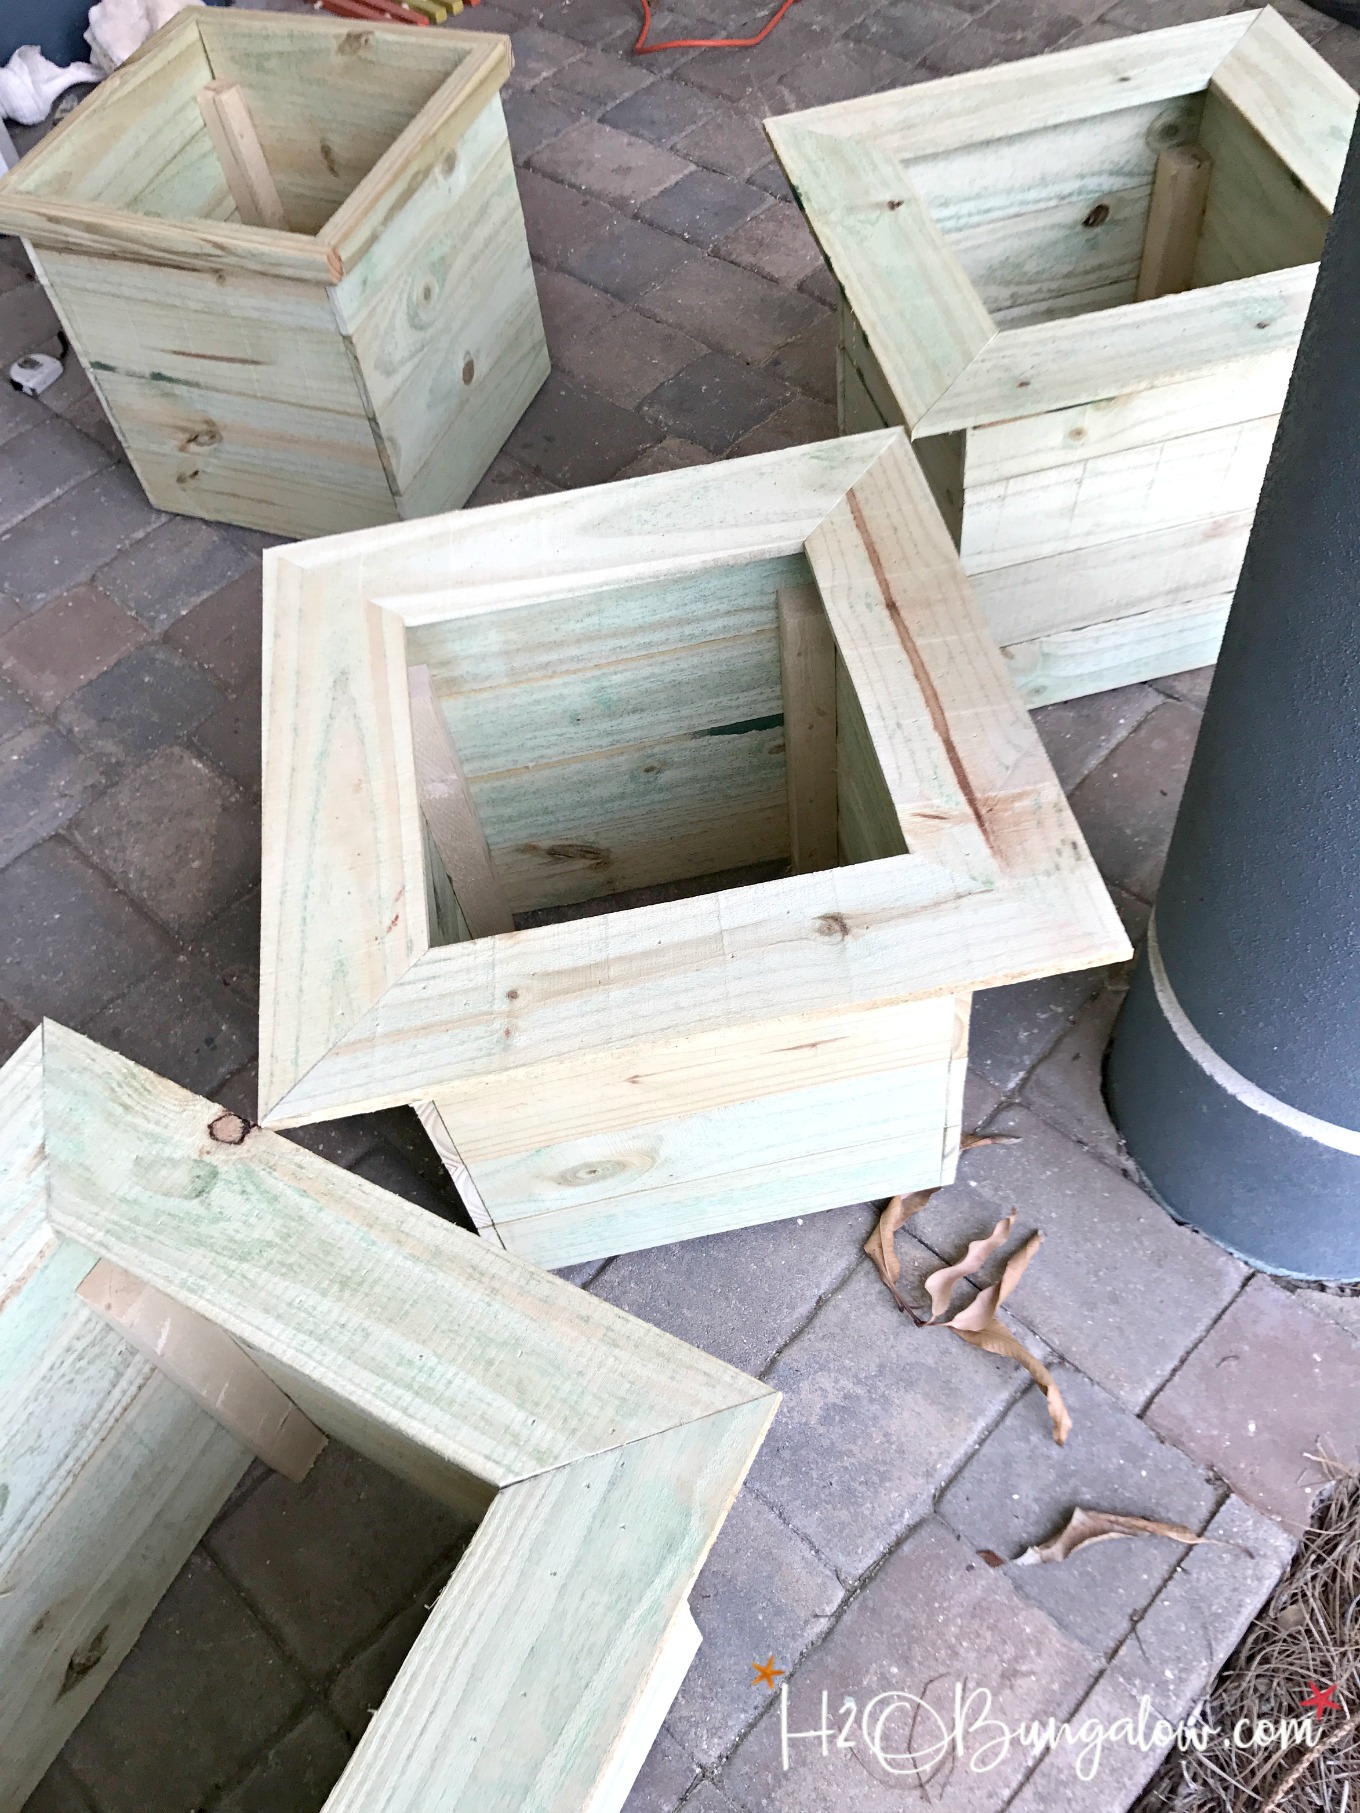
Step three: Stain or weather seal the outdoor string light box base.
I used my Wagner Small Paint Shelter and my Finish Max to stain all of my boxes and the outdoor light poles with Thompson’s Water Seal in Acorn.
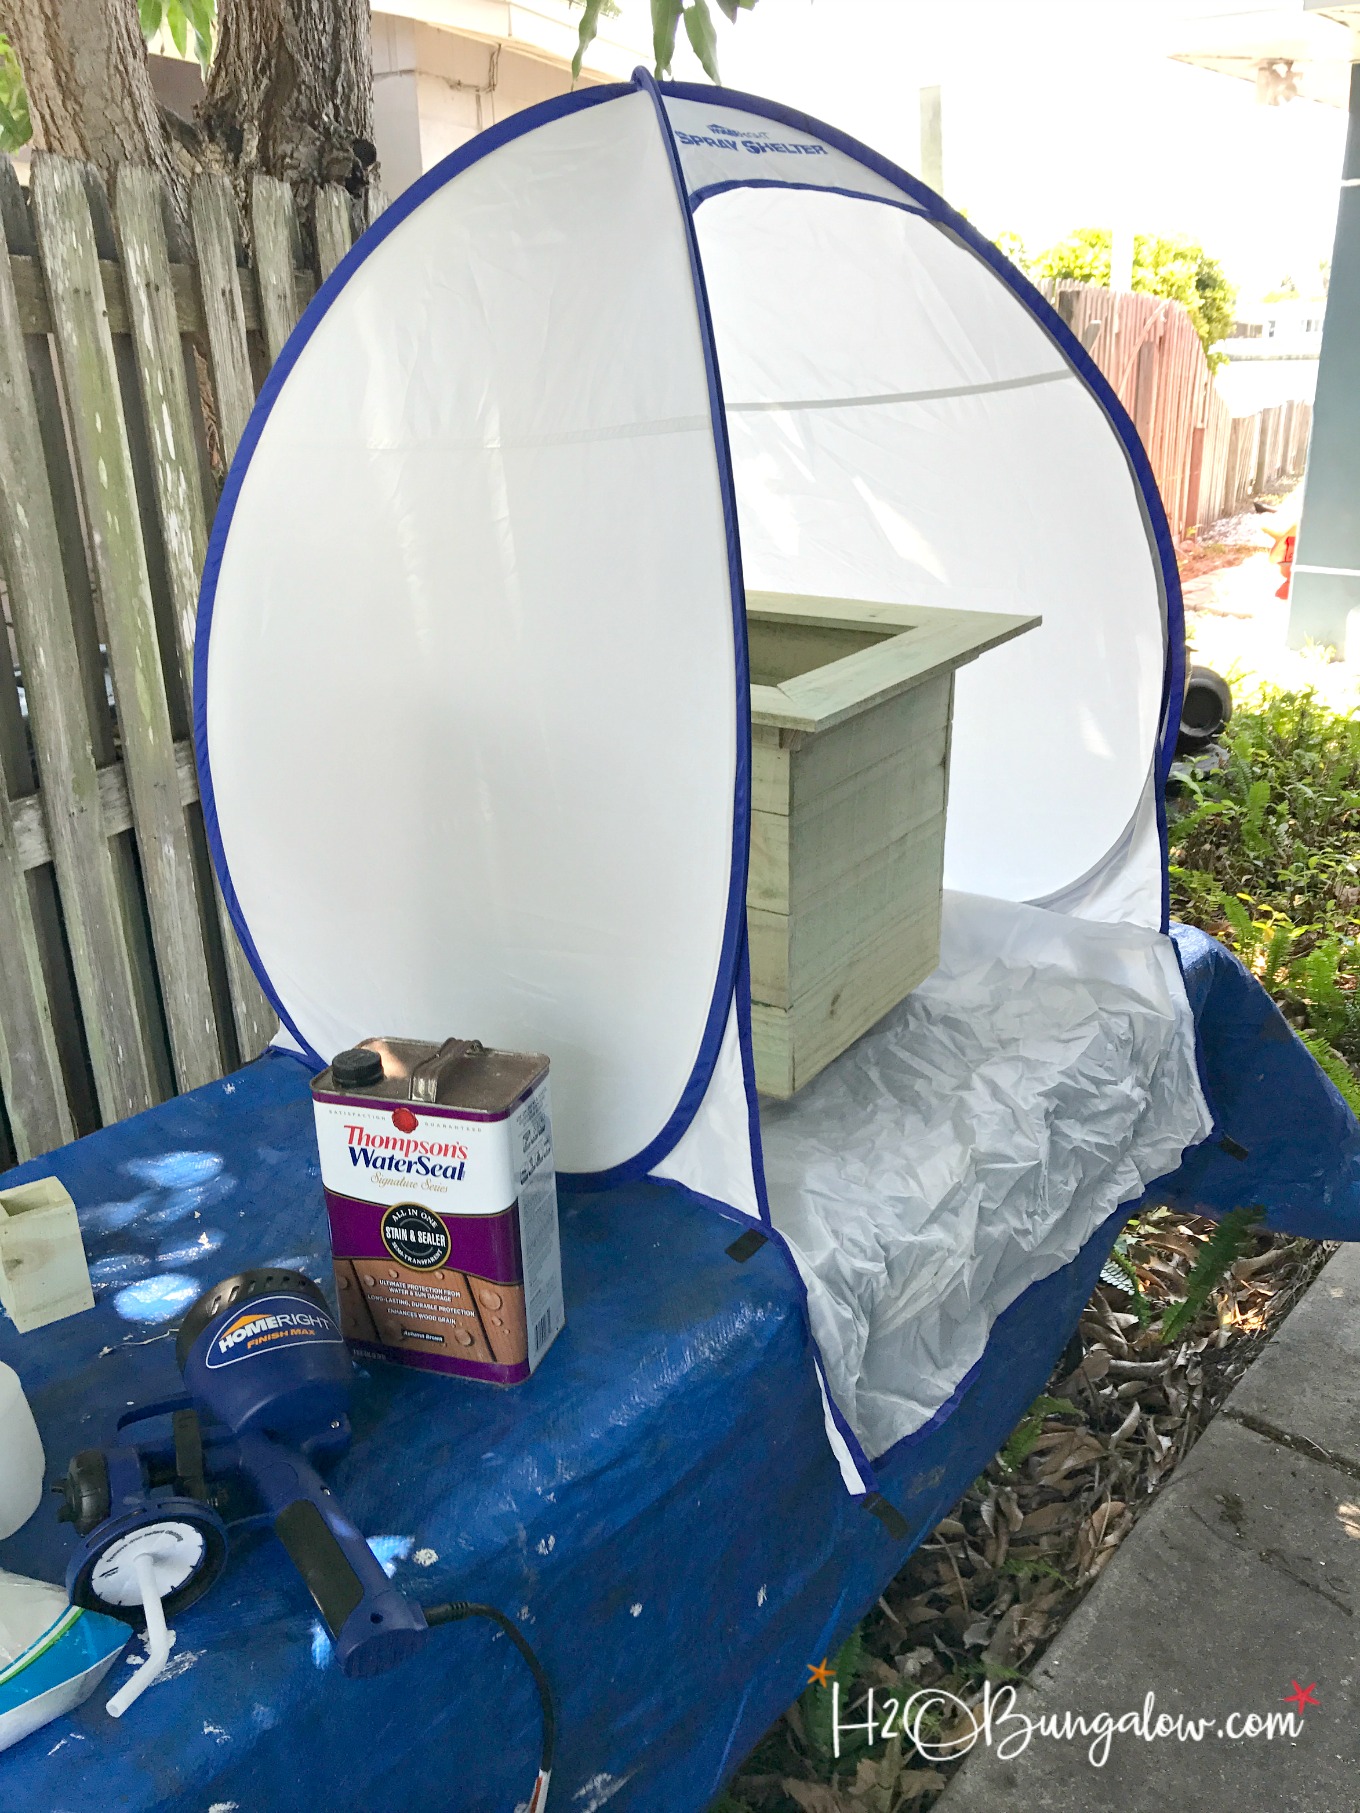
Step Four: Attach cup holder bracket at the top of each light pole.
Screw in 1 or 2 screws per side at the bottom of each 8 ‘ light pole. Leave at least 1-1/2″ of the nail sticking out. Yes it will look like a porcupine but it will help ensure your pole doesn’t lift easily out of the concrete when dry. I didn’t get a picture of this step…sorry!
Step Five: Mix concrete in anchor buckets.
Follow directions for your brand of quick set concrete and mix 1 bag per 5 gallon anchor bucket. Insert a light pole. Use a level on the pole to adjust for straightness if needed and secure with Duck Tape to hold in place while the concrete is drying. When dry, drill a few drain holes by the top of the concrete if you’re planning on adding plants.
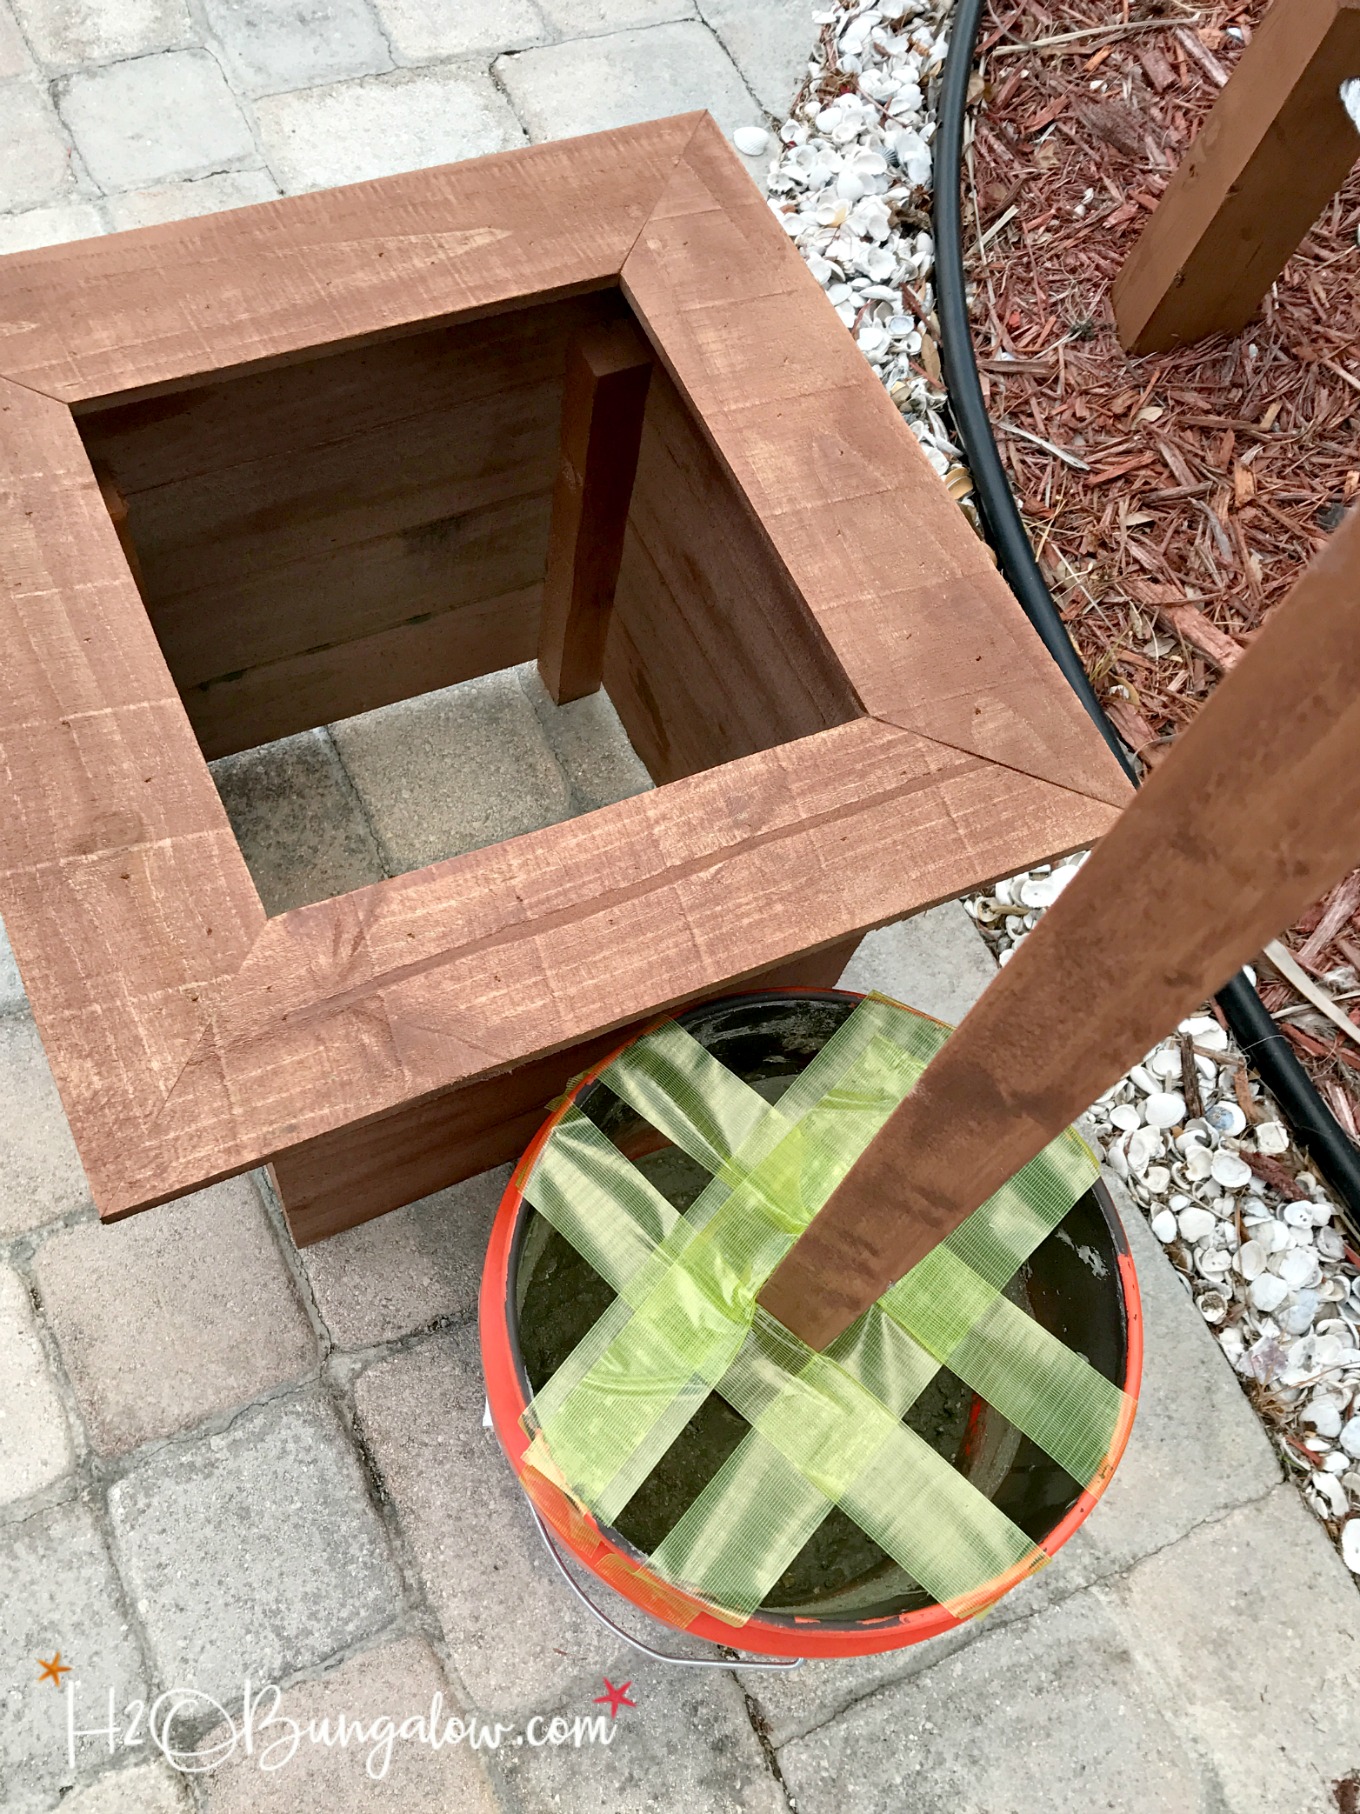
Step Six: Assemble the DIY outdoor string lights.
Place bucket inside of the cedar box or lift over the pole if needed. I wanted to hide the buckets as much as possible and my top frame is slightly narrower than the top of the bucket so I lifted my wood box over the pole. Add plants as desired.
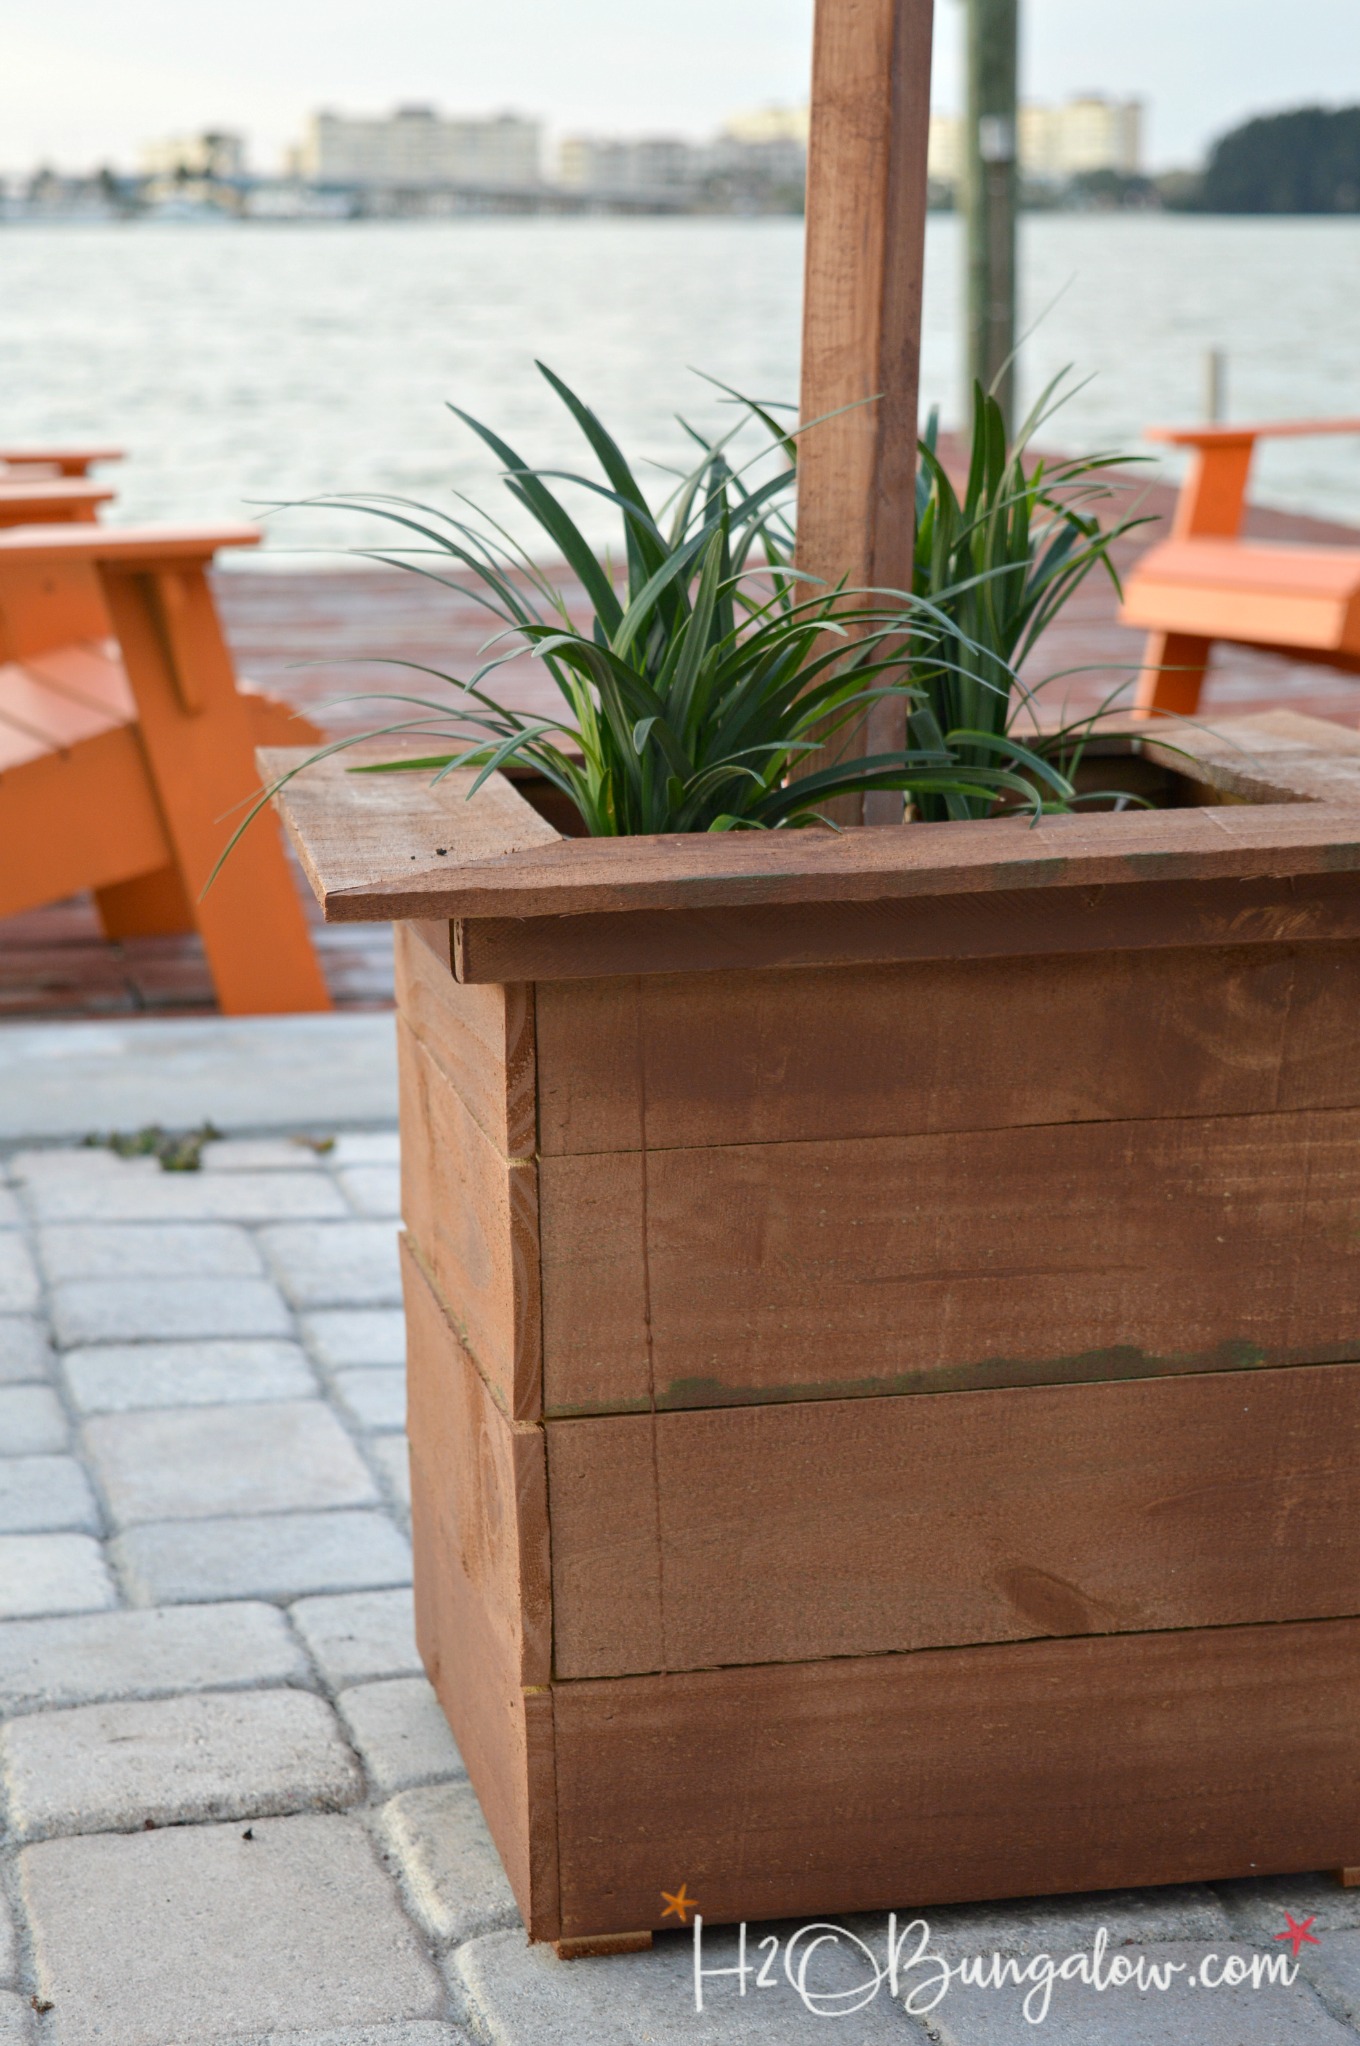
Last, add the outdoor string lights and enjoy!
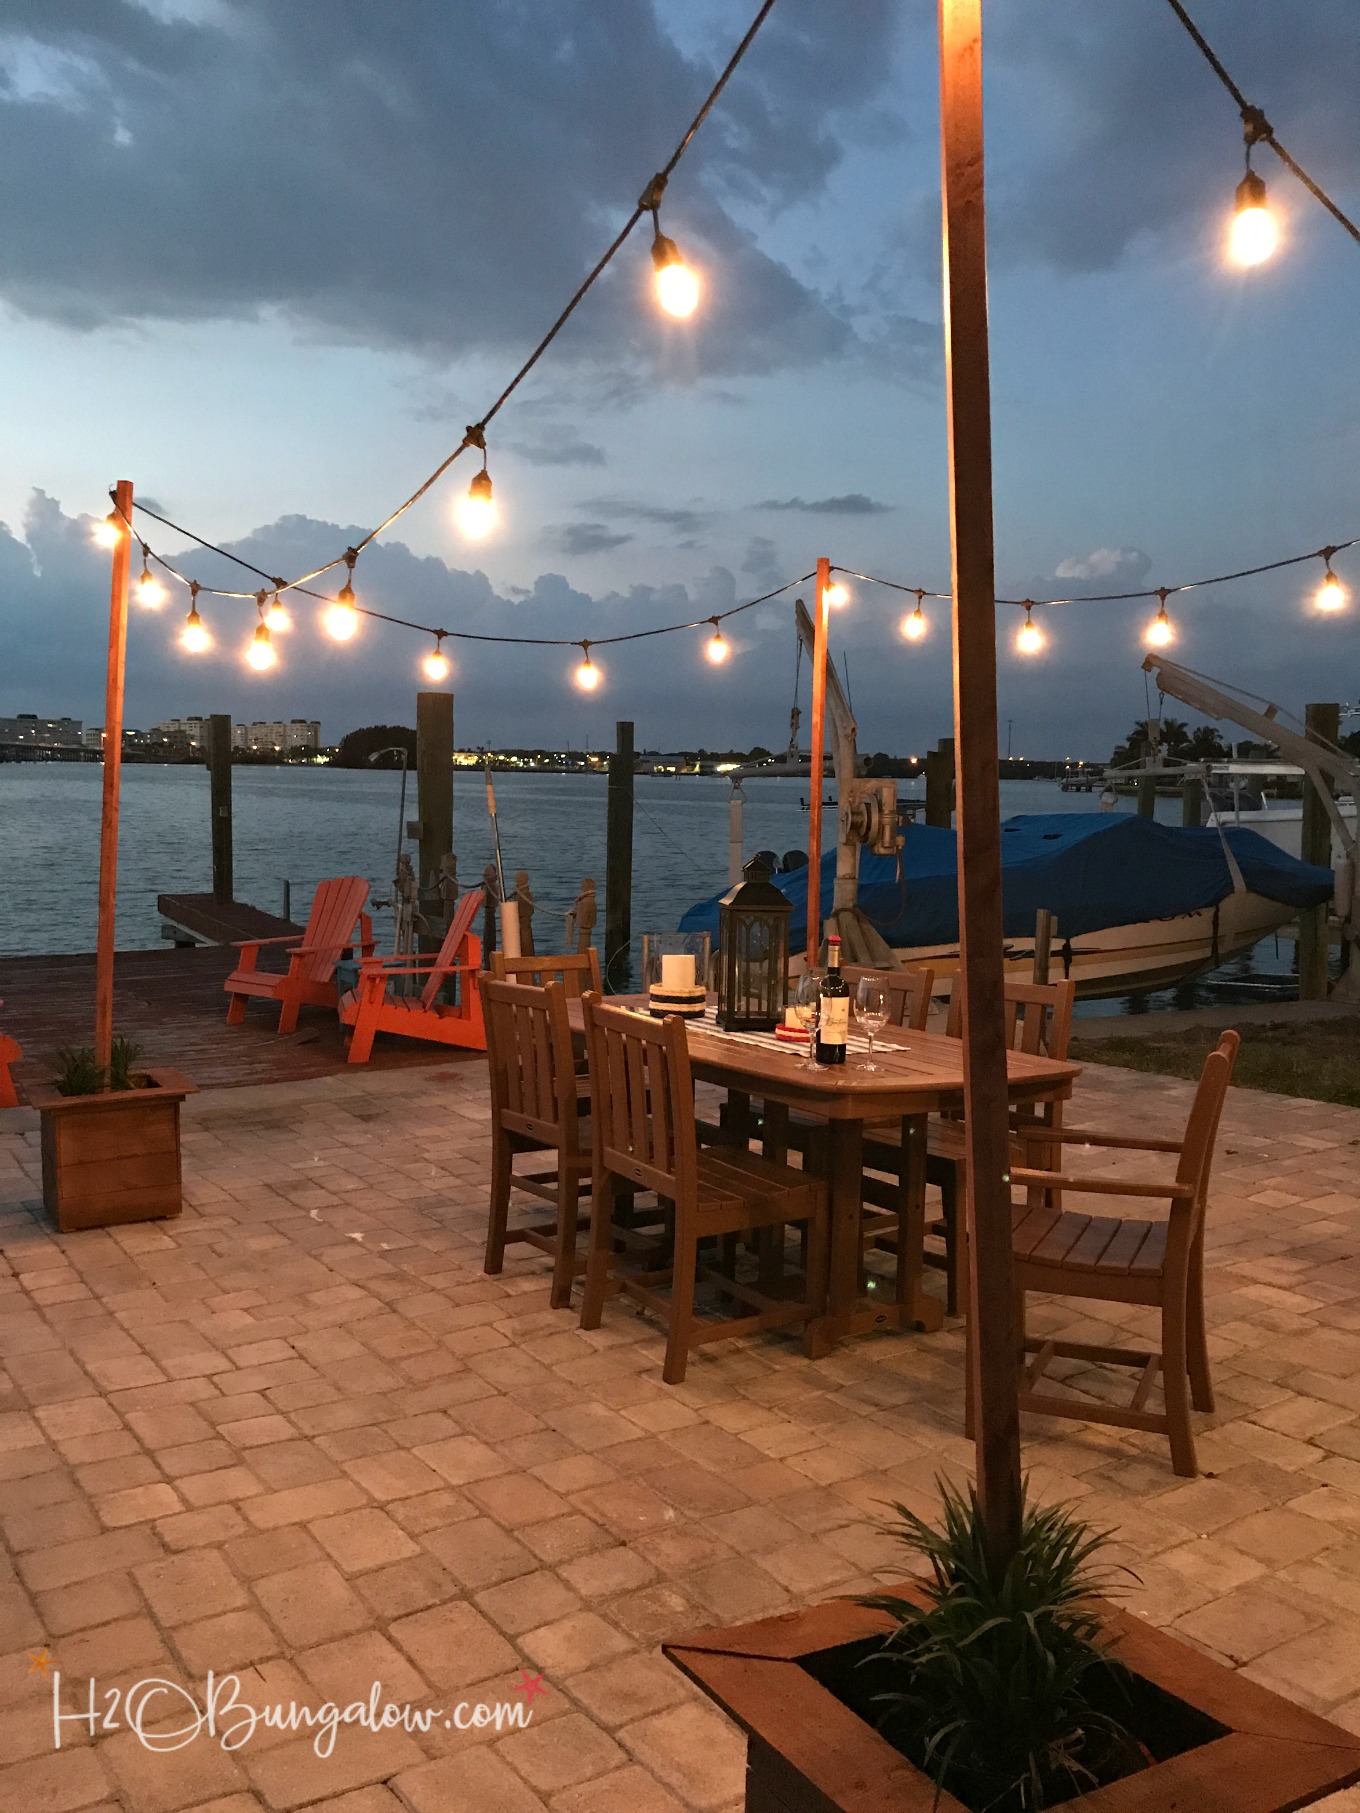
I love that these outdoor string lights on poles look good day or night in my backyard.
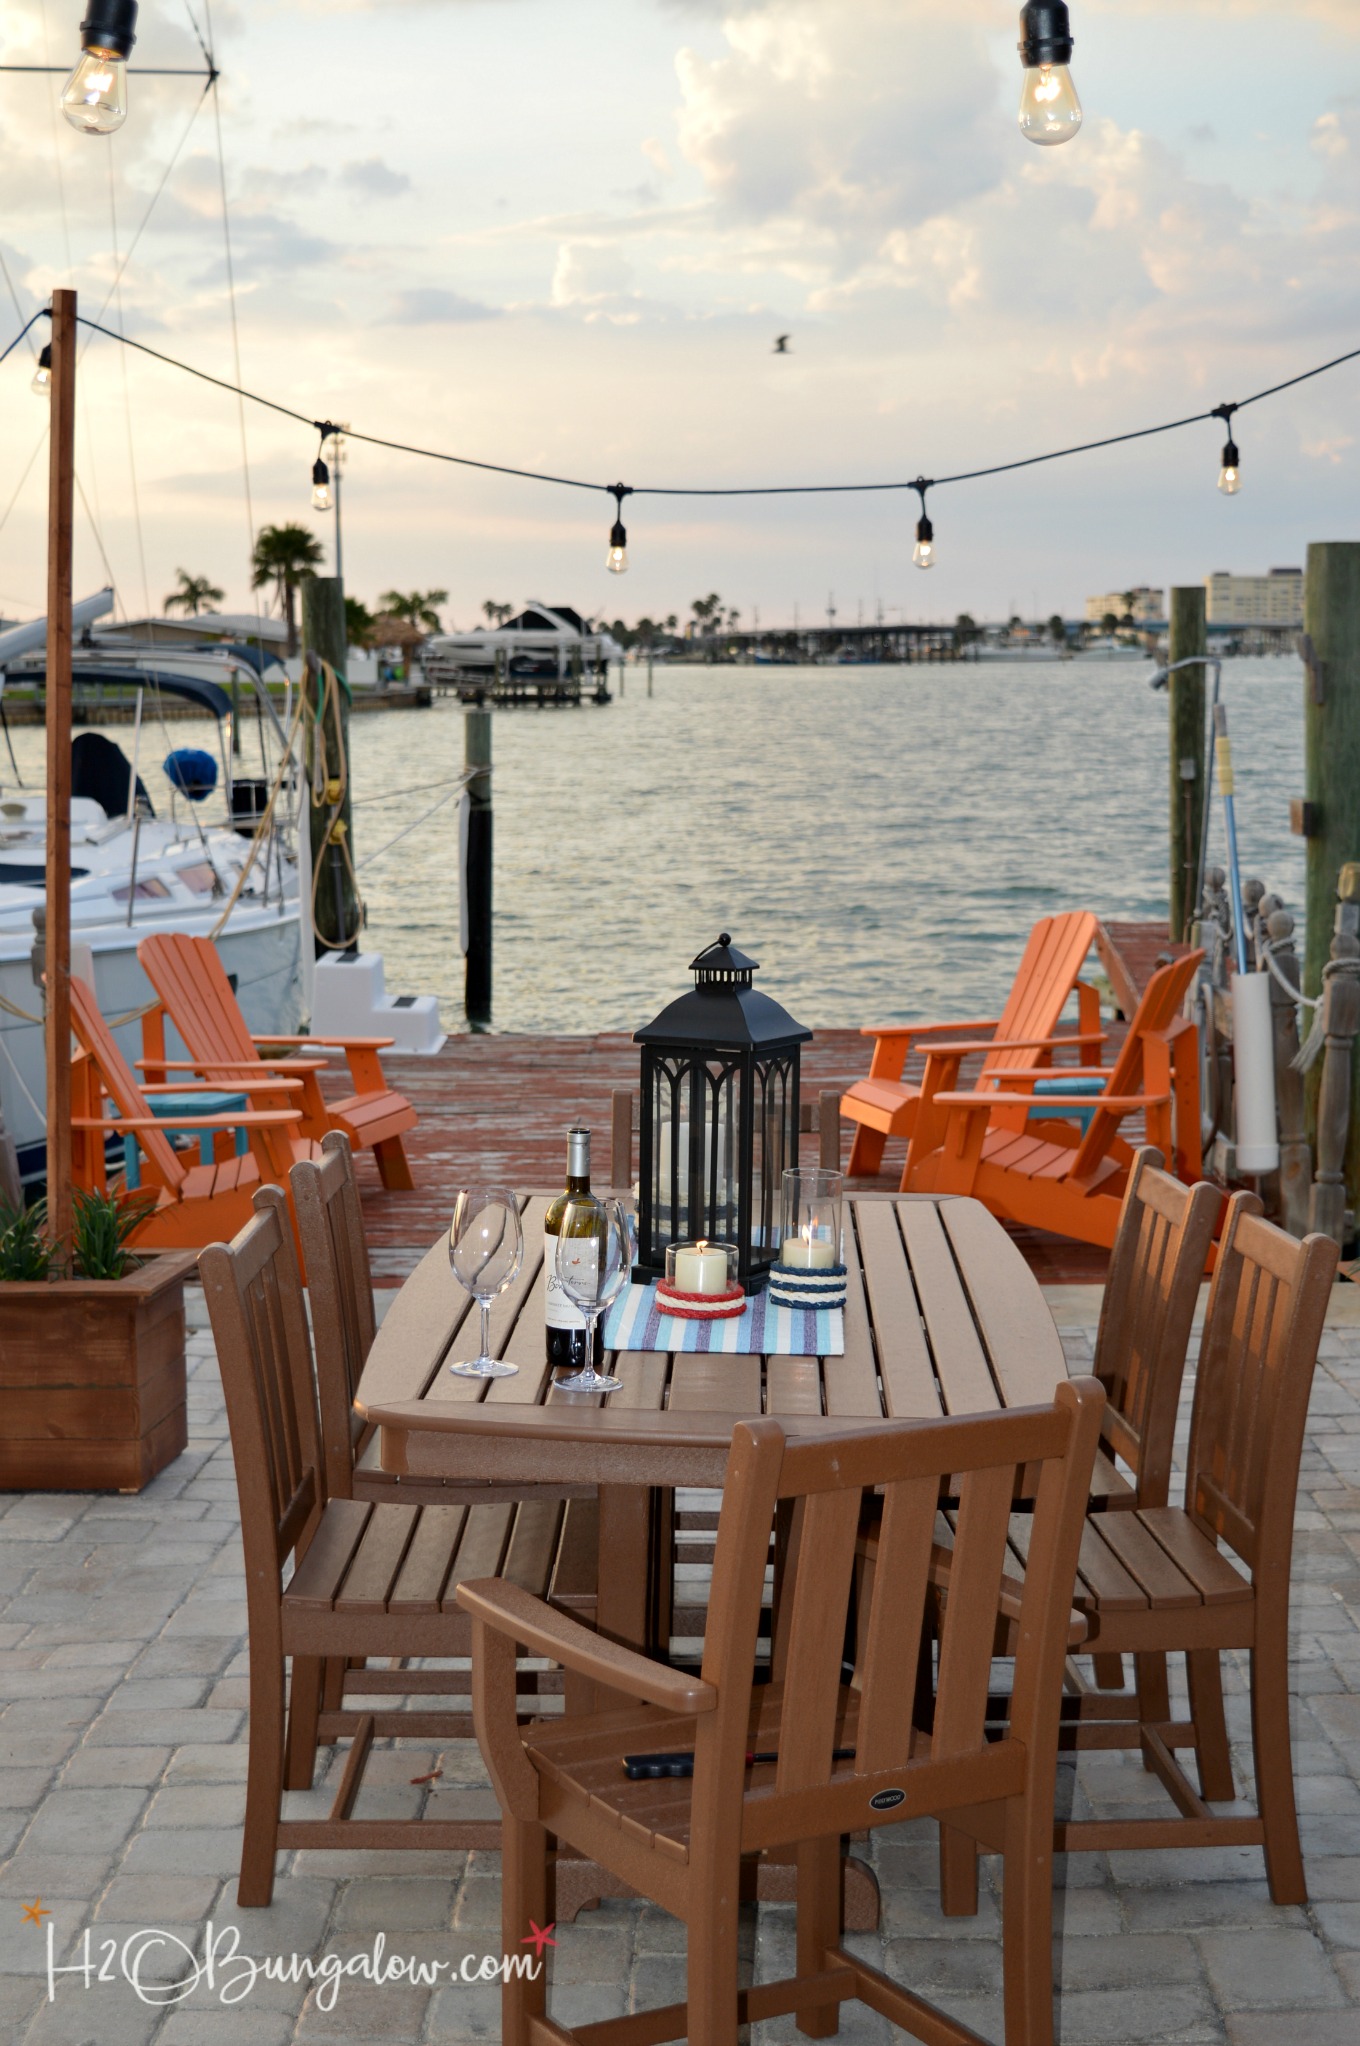
Choosing to make moveable outdoor light poles and boxes that complimented our outside decor and furniture was the right choice. Since our patio area is flat and wide open it helps break up and define the dining space. Before I added our DIY outdoor string lights the table was kind of sitting there on our big open patio all by itself. It wasn’t inviting or cozy. The outdoor lights changed that!
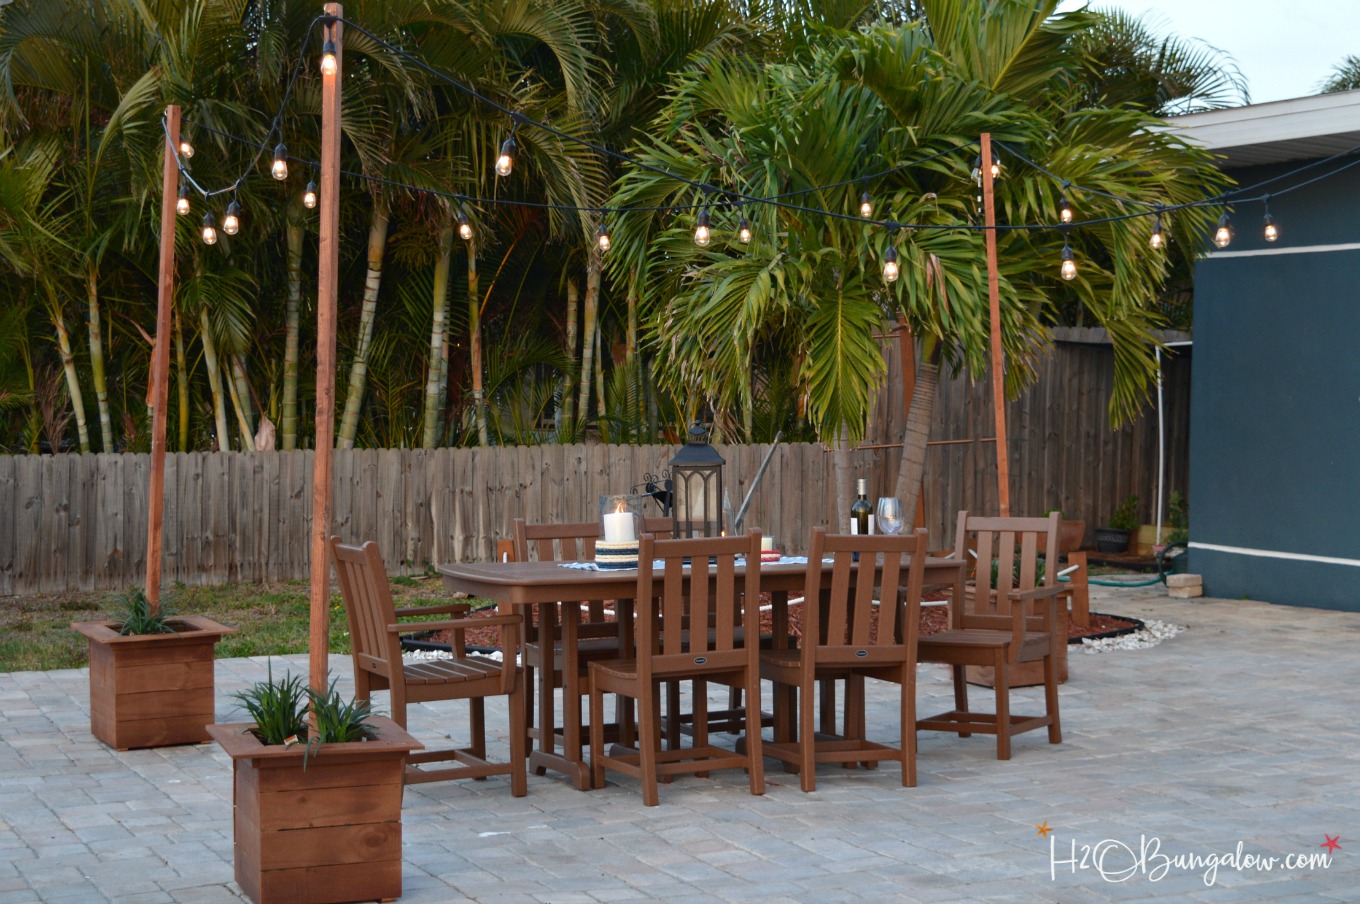
Our dinner party was a big success. The last minute rush of building my outdoor string lights on poles was well worth it. Everyone loved them. Our entire group, all ten of us, sat at the table for hours and talked long after dinner was served.

I’m looking forward to our next get together to use them again. This time I’ll budget more time for planning the evening which should be easier since I’ve built our outdoor lights already!
Don’t forget to pin this project for later!

Are you ready for summer entertaining or quiet nights in your backyard? Where would you put outdoor string lights?
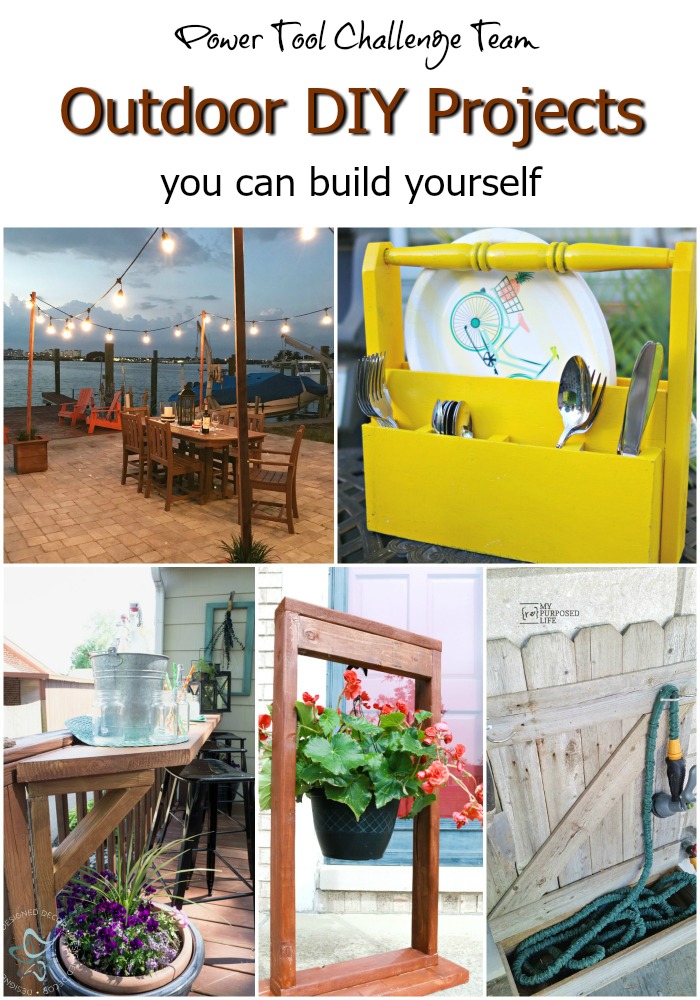
Did I mention yet today is the Power Tool Challenge Team’s theme day? It is, and our theme this month is outdoor. Take a look at what the rest of the Power Tool Challenge Team came up with for this month’s theme. You could use any one or all of these creative DIYs to add style to your backyard entertaining. You could also check out How to make DIY shutters with sailboat cutouts.…or whatever shape you’d like.
Create and Babble – Picnic Caddy
Designed Decor – Flip up Deck Bar
The Weathered Fox – DIY Hanging Plant Stand
My Repurposed Life – Patio Garden Hose Organizer
Pin this for later!
Other posts you may enjoy to help get your outdoor ready for the warm weather

DIY Outdoor Sofa Table Tutorial
3 Tips for Spray Painting Outdoor Planters
DIY Wooden Lantern for Indoors or Outdoors
DIY Outdoor String Lights on Poles
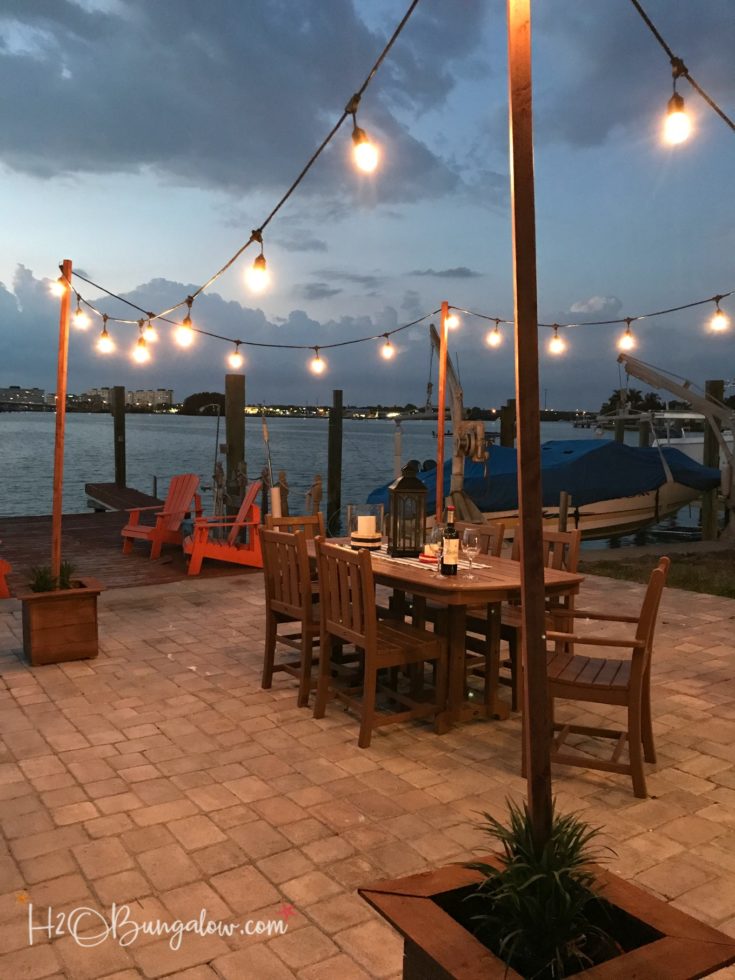
DIY outdoor string lights on poles tutorial. Holds up in gusty wind and weather, leave your string lights out year round for beautiful night ambiance.
Materials
- outdoor string lights
- plastic 5 gallon bucket
- Thomson's Wood Seal in Acorn
- wood glue
- large cup holder hook
- 1" brad nails
- 1- bag 50-60lb quick set concrete
- Duck Tape
- 1 1/2" screws
Tools
Instructions
- See the cut list below in the notes.
- Use wood glue and assemble the box with 1" brad nails. Leaving a 1/2" space on the bottom of each leg attach the first row of boards to the frame. I attached the two short sides by lining them up flush with the edge of the leg. Secure them with a nail gun. Next, join the two sides together with the two long (15") boards.
- Add a collar around the outside of the top of the box. Measure your box and cut pieces to fit. I used wood scraps for this part but 2" x 2" would be fine. Align and attach the top frame onto the box.
- Stain or weather seal the outdoor string light box base. I used my Homeright Small Paint Shelter and my Finish Max to stain all of my boxes and the outdoor light poles with Thompson's Water Seal in Nutmeg.
- Attach cup holder bracket at the top of each light pole.
- Screw in 1 or 2 screws per side at the bottom of each 8 ' light pole. Leave at least 1-1/2" of the nail sticking out. Yes it will look like a porcupine but it will help ensure your pole doesn't lift easily out of the concrete when dry.
- Follow directions for your brand of quick set concrete and mix 1 bag per 5 gallon anchor bucket.
- Insert a light pole. Use a level on the pole to adjust for straightness if needed and secure with Duck Tape to hold in place while the concrete is drying.
- When dry, drill a few drain holes by the top of the concrete if you're planning on adding plants.
- Assemble the DIY outdoor string lights.
- Place bucket inside of the cedar box or lift over the pole if needed. I wanted to hide the buckets as much as possible and my top frame is slightly narrower than the top of the bucket so I lifted my wood box over the pole.
- Last, add the outdoor string lights and enjoy!
Notes
CUT LIST
4 - 2" x 2" @ at 17", box inside frame
1 - 2" x 2" @ 8ft, light pole
extra 2" x 2" to add a support collar around the top.
cedar fence boards
8 - @ 14", box short sides
8 - @ 15", box long sides
4 - top frame pieces with each end cut at a 45 degree angle and 12" on the inside length.
Emily says
I would LOVE to come hang out on your patio! What a view! I’ve been wondering how we could hang string lights over our patio – ours is open like yours. So glad I found your tutorial at Merry Monday 🙂 Thanks for linking up – I’ll be featuring your patio lights tutorial at our upcoming party. Hope to see you there next week!
Wendi says
Hi Emily and thank you so much! Yes, we love our view and finding a way to make the outside area inviting is so important. Otherwise, I’d sit there the whole time and think up DIY projects while trying to relax and enjoy the view! .. LOL I loved the string lights on poles as a way to fill in space and crate a cozy area out of a wide open space. Thanks so much for featuring my project!
Shirley Wood says
Beautiful and fun! I like that the poles are in buckets and mobile! What a cozy outdoor space you have created. This post is a Feature at the Merry Monday party this week. Sharing! So glad you share your creativity with us. You are always inspirational.
Wendi says
Hi Shirley and thank you! This was such an easy and quick way to add outdoor ambiance. Yes, being able to move the poles and buckets has been convenient. Thanks so much for featuring my project and your very sweet note!!
Cindy says
I was wondering the distance you have between each pole? Wandering if 18 feet would be to far and cause the poles to bend. We are going to make these for our daughters wedding.
Wendi says
Hi Cindy, That’s a good question. Since my boxes and poles can be moved I generally place them far enough apart to keep the string lights from sagging too low. Sorry I don’t have concise measurements on how far that is. The poles won’t bend but I do think 18 feet would be too far with the 8′ pole height. I hope that helps! Thanks so much for your visit and good luck with your project!
PT says
Love this idea and can’t wait to replicate it on our back porch! What size were your cedar fence boards? I can’t find cedar fence boards in my area so I will just use pressure treated ones, but there are .5”x4” boards or 1”x6” boards and I’m not sure which to purchase. Thanks!
Wendi says
Hi PT! So glad you like my outdoor string light project. I can’t wait to use them again this year. They are a huge hit when friends come over and give off just the right amount of light for dining or sitting around and visiting. You could probably use either size board and be fine. My boards were 6″ wide. Thanks for your visit and have fun making this project!
Linda at Mixed Kreations says
What a brilliant idea! These would be perfect out by the pool, and patio. I love how you hid the buckets with the planters. These are perfect for an evening get together. Thanks for sharing! Pinning!
Wendi says
Hi Linda… We needed something outside to see at night it was almost pitch dark. I’m thrilled with how they turned out and the bucket covers cost about $4.50 each to make. It was a super thrifty project!
virginia says
I love this! And, I have the perfect spot for it. Pinning.
Wendi says
Hi Virginia! Awesome, with your creativity I am sure you’ll do some kind of a special twist. We are loving the lights they changed the way I look at my backyard! Thanks so much for your visit & note 🙂
Marie|The Interior Frugalista says
Wendi, my firepit area sure could use these! Pinned to share and refer back to. Love that I can plant colorful flowers around the base of each pole. Clever idea, girlfriend!
Wendi says
Are you kidding? These would be perfect in your backyard! Especially if you have that fantastic DIY water feature fall you built near it. Perfect for summer outdoor evenings, friends and a good bottle of wine!
Chelsea says
Is it best to use pressure treated wood for the poles? Or OK to use regular untreated lumber?
This is perfect solution for my deck. It’s one section right now, but in a couple of years, I’ll be bumping out a fence and creating almost double the size, so these will relocate nicely.
Thanks!!
Wendi says
Hi Chelsea, That’s a good question. Pressure treated lumber is always best for outside but if the poles won’t bet wet too much I think you’d be OK. The biggest items is picking straight poles. These lights would be a perfect solution to a deck. You’re going to love the way everything looks softly illuminated! Send me a picture when you’re done, I’d love to see it and share on my H2OBungalow Facebook page 🙂
Angela says
Your patio looks amazing!! And I’m definitely going to try this.
TwoPlusCute says
Oh, oh brilliant! It is SO practical and at the same time looks great and can be used in any outdoor setting.
Cool trick with the nail. 😉
The planter boxes are such an elegant touch!
Wendi says
Hi TPC! Thank you for the thumbs up too! – I like the wood bases too, they work perfectly with the table. Isn’t the nail idea smart? Someone told me they could lift out once the concrete dried. I thought, I’ll fix that issue right now..LOL Thanks so much for your note & visit!
Sue at Blu says
This is wonderful! Great even for a party…like a graduation party…like this Thursday!
Wendi says
Hi Sue! Ohhh I hope you put some together for your party they are perfect for a special celebration like a graduation. Thanks so much for stopping by & leaving a sweet note!
Mary says
What a great idea Wendi! I love that you made them freestanding. I have a balcony where there is no place to add wood into the ground so this makes a lot of sense. Sharing this with the hubs!!
Wendi says
Hi Mary! I think the fact that I can move the lights around easily is one of the best features. These would be super on your balcony. They add a sense of festivity every time they are lit up. I hope you put some up! Thanks so much for your sweet note & visit 🙂
Paula says
I love this project! You come up with the best ideas!
I know you will enjoy these lights just about year-round in your neck of the woods.
Wendi says
Hi Paula, and yes…we are loving the new lights. You are too kind on my project ideas..thanks so much! We’ll get plenty of use out of these lights. They were the hit of our dinner party. I’m looking forward to using them for a nice romantic dinner with hubby..just the two of us! Thanks so much for your note & visit!
Patty says
Wendi I do love it it looks so pretty and inviting and romantic. I have a covered patio with lights, but I want to build a patio and do some landscaping down at our fence row, behind a huge maple tree. It will be my secret garden and that would be perfect for what I want. My secret garden will be between the large maple and huge cedar trees along the fence and at the end of it are red buds, so it is shady and private. I am going to start on it this in the fall, hopefully if My back is better and it is getting better.
Thanks so much for the inspiration.
Wendi says
Hi Patty,
I’m loving the idea of your secret garden spot! Your description was perfect, I was envisioning it as I read. It sounds positively dreamy. I’d love to see a picture of your project when you’re working on it. Best wishes for your back to heal quickly…back pain is no fun! Take care & so good to hear from you 🙂
Mary Beth says
This is such a great idea, Wendi, and everything looks absolutely beautiful!
Wendi says
Hi Marybeth and thank you! We enjoyed the evening and the lights. They were the perfect festive touch to ad!
gail says
The screws sort of confused me. I had to re-read that several times. It’s to get a secure hold on the concrete-great idea!
Your lights look awesome Wendi, and you know I love that view!
Pinned!
gail
Wendi says
Hi Gail and thank you! Yes, I should have taken a photo of the step with the screws in the end of the light pole. It adds a lot more stability to the pole in the concrete. I know you love this view and you’d love it even more when the lights are turned on! LOL Thanks so much for stopping by!
DeDe Designed Decor says
These are the best! I love that they are freestanding and can be moved anywhere. The acorn brown is the color I used on my deck, so I think these need to be moved to Ohio and sit on my deck!
Wendi says
Hi Dede! Thank you! They would look lovely on your deck with that amazing flip up bar! Acorn is the best color it matches teak closely. I’m about to break down and do my real teak in it since I’m tired of oiling it every year. These lights would be beautiful on your deck by the way 🙂
Mika Brown says
I had a question on the stain. I bought acorn brown, but then read that you used nutmeg. I love the color of yours and was trying to duplicate the exact color. I’m having a hard time finding nutmeg. Is it a Thompson’s Waterseal brand?
Thank you for your help!!
Wendi says
Hi Mika, I’m so glad you like my string lights project. It’s one of my favorite all time projects. Yes, I used Nutmeg Brown. If you do a Google search you should find it. Good luck, and have fun with your project! It would be great if you shared it on my H2OBungalow Facebook page when you are done. We have a Wednesday share day for readers to share pictures of what they’ve been working on.
Kirstin Troyer says
Thank you so much for the feature.