Adding liquid gilding or liquid gold leaf is a beautiful and authentic looking way to add rich detail to furniture makeovers. Gilding elevates the look of both modern and vintage furniture makeovers. I have a quick and simple tutorial to to share with you today on how to apply liquid gilding on your own DIY projects.
I used vintage products to finish today’s makeover and tutorial to share how to apply liquid gilding on furniture details. No joke! Liquid gilding is easy to find though, I linked a list of available products later in this post. One of the biggest challenges of working away from home has been making do with what I had at the time. Sure, I packed a bunch of tools, paint brushes, waxes and common sense stuff. But there’s a huge list of things I use all the time and didn’t have room to pack.
Looking for more furniture makeover ideas? Check my Wood Wax Finish DIY, How to Paint Over Dark Stained Wood and How to Paint Wicker Furniture
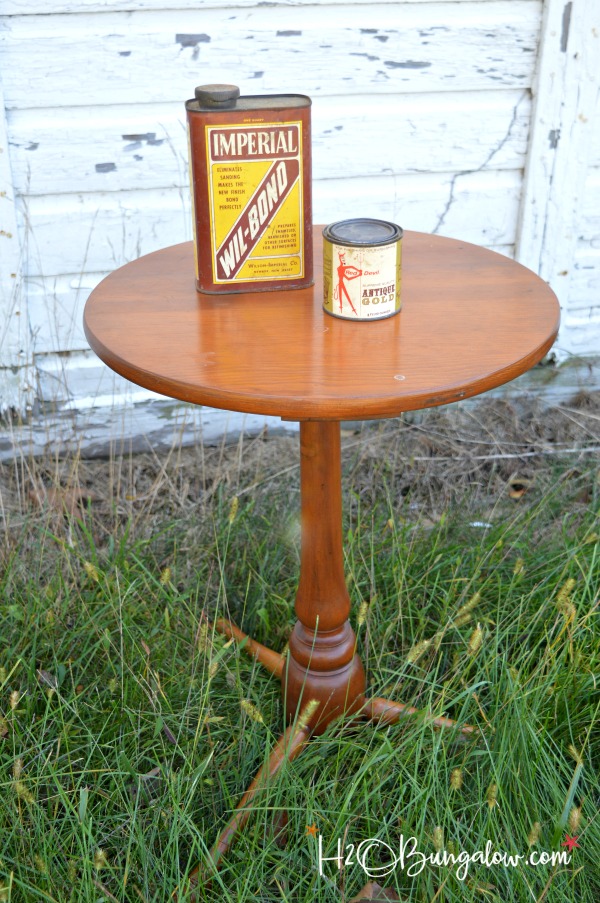
My sister dug up this old spider leg table for me to work on and I set up shop in a vintage DIY’ers dream of a shop with tables, lighting, lots of windows and even a screen door! What made this place even more special is that is was previously a female furniture builders shop. A special woman who had lived on this property for years and years.
Everything had been emptied out…except the paint cabinet! Hello goodness 🙂 I’d packed my own guiding wax for this project but that was quickly cast aside as soon as I saw what Betty had. Red Devil Liquid Gold paint! I researched to find this brand, and it looks like it was roughly from the 60’s. This can was in pristine condition and what was more incredible was the liquid gilding paint was in perfect condition! Then I found the other can of paint thinner which I needed to clean my brush. How lucky was that find!
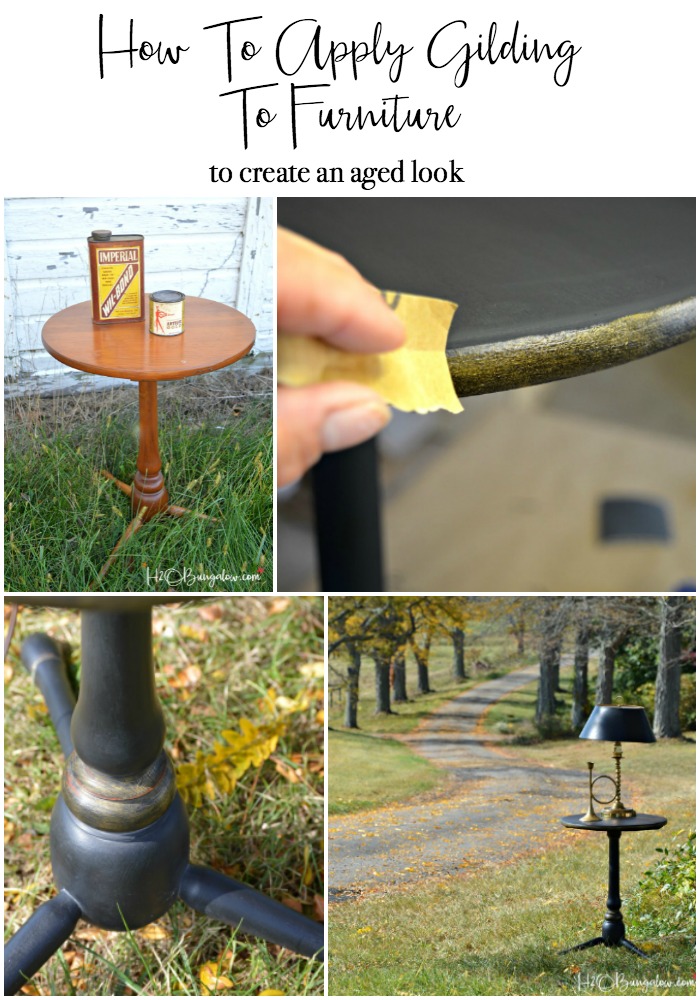
How to apply liquid gilding on furniture details
Supplies needed to apply liquid gilding. You won’t use the vintage product I did, so I listed the products and used affiliate links to the furniture gilding supplies you’d need below.
- liquid gilding
- detail brush I used a #8 round tip brush to apply the liquid gilding
- paint thinner or odorless turpentine
- fine steel wool or fine steel wool (steel wool is better but sandpaper distresses a little more if you want to distress your piece)
- clear furniture wax
Step 1. Begin with a freshly painted and fully dry piece of furniture. See my post on How To Prep Furniture For Painting for these steps.
Step 2. Decide where you’ll use gilded accents. Spindles, turned legs, tables are all good places to add gilded details.
Step 3. Shake the gilding paint well before applying and stir it often while applying. The metallic flakes will settle quickly otherwise.
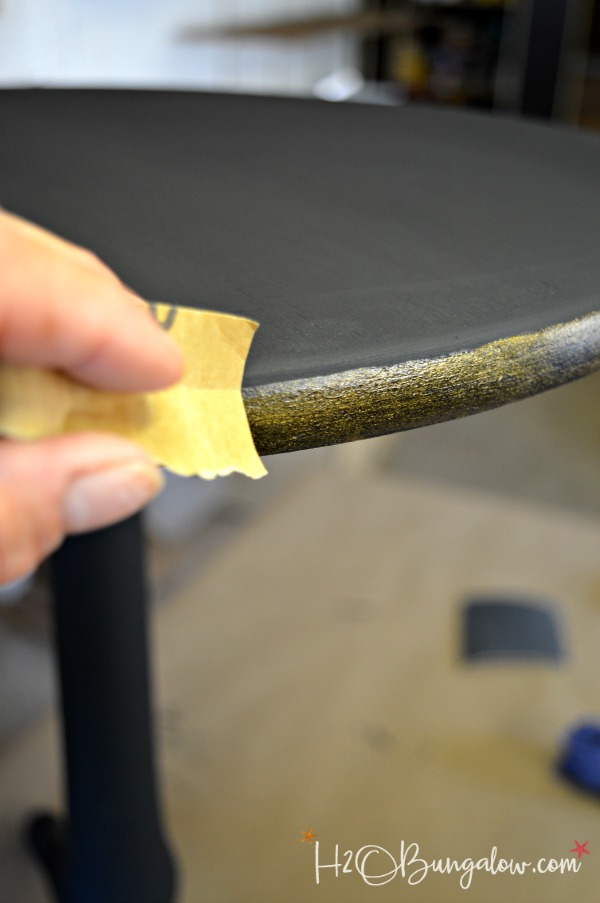
Step 4. Use a fine tipped or round tipped detail brush and apply the gilding paint. Use as many coats as you’d like but allow them to dry to the touch in between. Get a straight line on table edges by holding the brush in your fingers as normal, and using your pinky as a guide running along the top of the table as you move around the table top edge.
Step 5. Allow the liquid gilding to dry several hours or overnight.
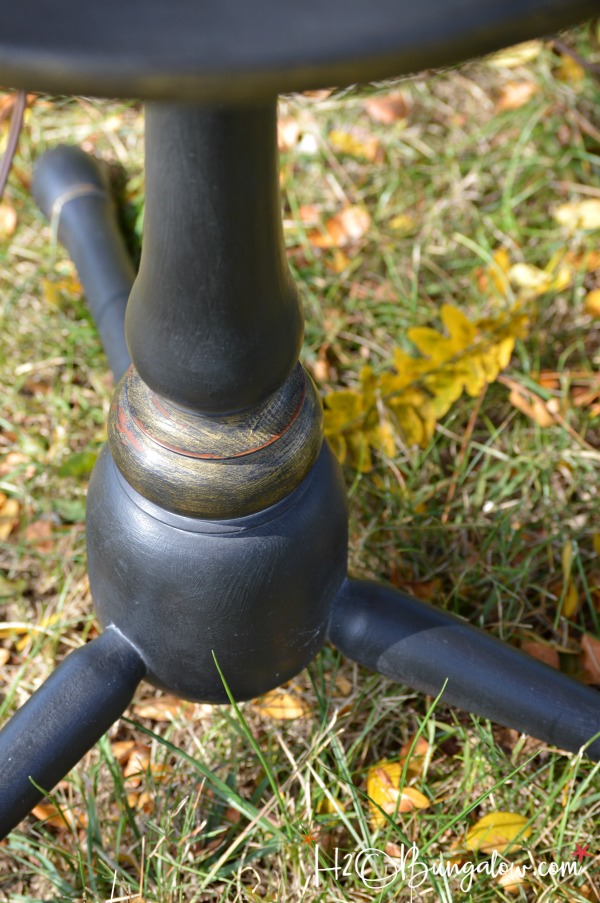
Step 6. Burnish or slightly distress with fine steel wool to give an aged and worn appearance. I used 500 grit sandpaper that I roughed up a bit so it was even softer to burnish the gold gilded details I added to the table. I also used the sand paper to lightly soften the gilded edges on the table top to give the gold gilding a naturally worn appearance and take away the freshly painted edge look.
I like to replicate the look of well loved pieces that have aged over time. Burnishing the gold gilded high spots mimics natural wear and tear.
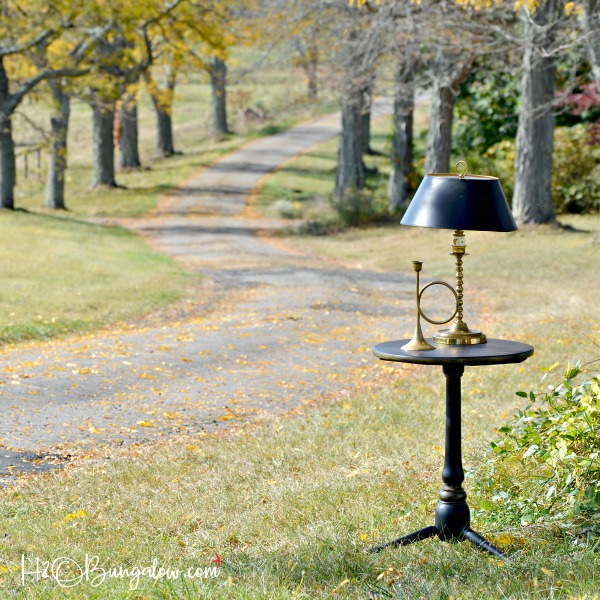
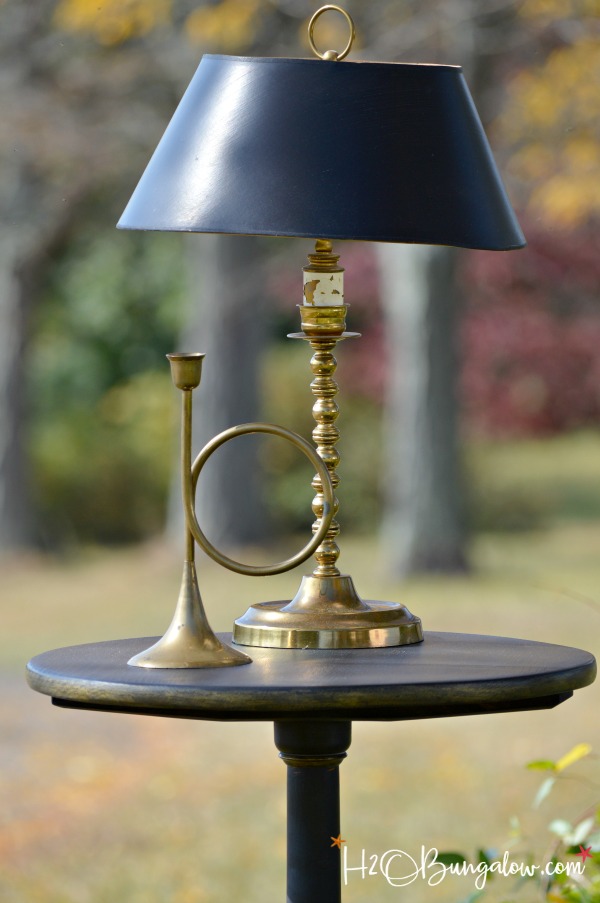
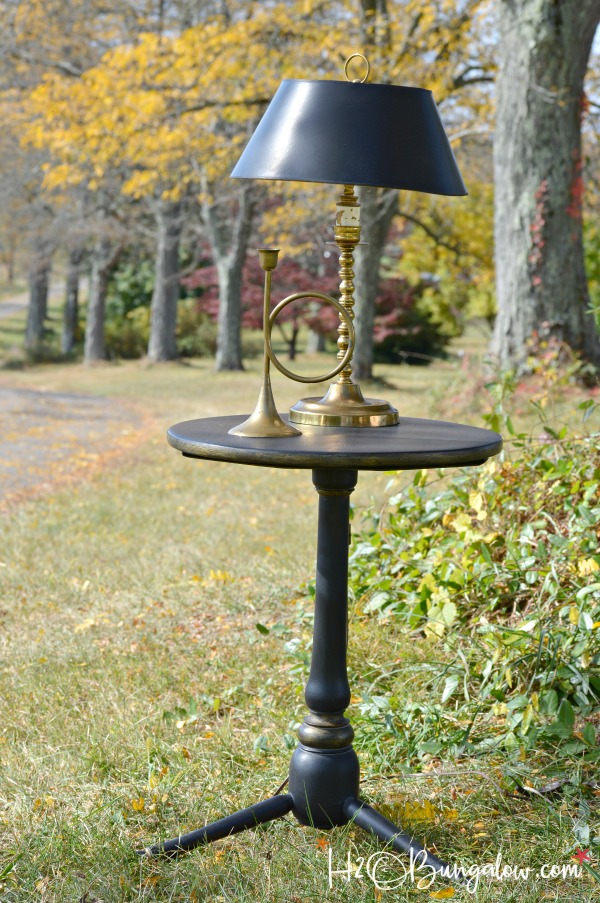
The gold gilding gave my table subtle hints of a former grander life.
To add another layer of character I added a layer of Amy Howard’s Dust of the Ages over a coat of Light Antique Wax for the last step. My Aged Desk Makeover has a good tutorial on how to use Dust of the Ages for effect.
It’s a fitting makeover for an old country place. Don’t you think so?
Now that I’ve shown you how to apply liquid gilding are you ready to try it on a project of your own?
Don’t forget to pin it for later!
Now it’s time to see what the rest of the members created for this months Glitz and Glam theme. 

Lucy @ Patina Paradise says
The gold touches you added to the table with the guilding liquid are the perfect finish to your black table. It gives it an authentic Americana look and your accessories add to it as well. Well done!
Wendi says
Thanks so much Lucy! I had fun with the gold guilding and the accessorizing for this project:) I loved the guilding so much that I’m on the lookout for another project I can use it on. Thanks so much for your visit!
Marie from The Interior Frugalista says
How cool is that to work in a former female furniture workshop complete with vintage paint supplies! Can’t beat the beautiful scenery you’re surrounded by too. Love the makeover you gave this table, Wendi! Pinning it to my Painting Technique board.
Wendi says
Hi Marie and thank you! Yes, I’m loving my time up north. It will eventually come to an end but until then I’ll take advantage of every photo op & cool piece of furniture I come across! Thanks for your visit friend!!
Paula says
It sounds like you had a wonderful spot to complete this makeover! I love the look of gilding but didn’t know how to do it. I’m glad to learn a little more about it. The country road backdrop for your pictures couldn’t possibly get more scenic. Lovely!
Wendi says
Hi Paula I love liquid gilding. It’s such a fun way to add subtle elegance and easy to work with too. Yes, I’m fully taking advantage of the photo ops while I’m here!
Patty says
Wendi, your little table turned out awesome. I love gilding and I have done a couple small pieces, but they didn’t look as good as yours and I now know why. Thanks for the great tutorial.
Your surroundings are beautiful, I bet you are enjoying your fall, and that workshop sounds so wonderful, we should all be so blessed.
Wendi says
Hi Patty! Thank you. I wasn’t sure if the style of makeover would fit with the table but in the end it did. I love gilding too. Glad the tutorial had info that you could use. I’m sure your pieces came out fine..the neat thing is if they aren’t waxed you can always add more layers. I am thoroughly enjoying my visit up here and the workshop is a dream… of course it will have to stay when I make my way back to Fl but for now I can enjoy it! I always love your notes…thanks!
Kim Jones says
Well, Wendi, you are just having a great time! Love, love the gilding and thanks for the tutorial. Want to move to the country now!
Kim @huntandhost
Wendi says
Hi Kim, Yes, I am having a blast. It’s always good to come home for a visit and it’s been a hoot creating and doing my projects here. This is the area I grew up in and would love to live in again someday. Thanks so much for stopping by!
Christy@ Confessions of a Serial Do-it-Yourselfer says
This table turned out so pretty with the gilding! I envy you getting to work in a big workshop for this…wouldn’t it be awesome to have a space like that at home?? And that scenery is just stunning! XOXO
Wendi says
Hi Christy…Oh my gosh, yes it would be beyond awesome to have this type of workshop at home! The neat thing is I’m learning what I want in my own shop by being here. Eventually I will make a project out of our garage…eventually! LOL Thanks so much for stopping by!
Sue@betwixthomandschool says
What a beautiful way to bring beauty back to an old tired out table. I have never gilded any piece of furniture before but you have definitely inspired me to do so. Thanks for sharing!
Wendi says
Hi Sue and thank you! Gilding is a great way to add character. My sister didn’t like the table when she gave it to me but loved the after, I did too. I know you’d like the effects of adding gilding! Share a picture if you try it. Thanks so much for stopping by:)
gail says
woohooo! great job on the gilding Wendi! What a find and the workshop sounds like a dream.
Enjoy the upcoming fall weather.
gail
Wendi says
Hi Gail…Yes, I’m loving this workshop! You would too, lots of tables and benches at different heights for different projects…tons of cabinets and pegboards. I’m getting inspired to build one at home and learning about what I need just by using it. I’m loving the weather and figure by the time I go home I’ll be ready to leave it behind. But for now it’s such a fun novelty!
Tami @ Curb Alert! says
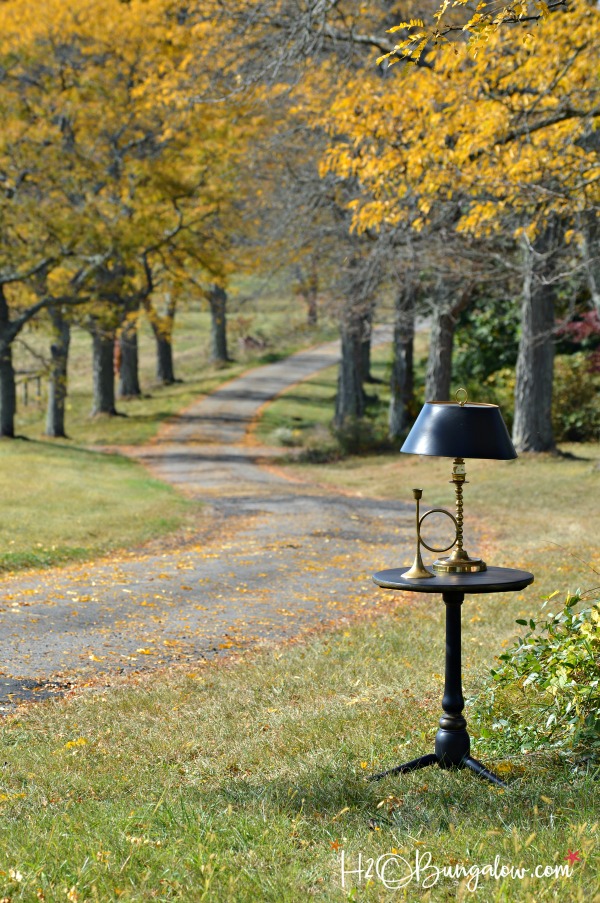
That road!!! The gold gilding on the black is kinda awesome too! My favorite combination!
Tami
Wendi says
Hi Tami. I know, that road is amazing! I love the look of the worn gilding on the black, it’s vintagey stately. I was walking from the workshop and saw the angle of the road with the trees and had to take the photos there. It was the perfect staging:)
Amy | Canary Street Crafts says
Fantastic tutorial, Wendi! The gold details look so pretty on black paint. The setting for your photos is absolutely gorgeous too!
Wendi says
Hi Amy. Glad you like the tutorial. I love the combination of the gold and black together. This type of makeover fits perfectly for this area and yes I’m loving the scenery for background photos! Thanks so much for stopping by!
Susie@TheChelseaProject says
I love this post! What a great story ….and photos….and piece. What a grand time you are having exploring this amazing place. Thank you for sharing it with us! XO Susie from The Chelsea Project
Wendi says
Hi Susie & thank you. Finding an old product that was still good inside was too good of a story not to share! I’m home with family up north for a few months so am taking advantage of the change of scenery while I’m here. I’ll be sharing pictures with sand in the background again before you know it 🙂