Today’s topic is how to stencil a plaque with stencil tips for beginners. When I first started DIYing using a stencil was a little intimidating. I had no idea what I was doing, or that a few handy tips could make a project look like a million bucks. Fast forward a few years…or more 🙂 and a few hundred projects later and I’ve got a pretty good grasp on how to stencil.
Since I’ve given each room a theme at the North House Lodge I thought it would be fun to have plaques by each door. I realize you guys aren’t likely to want name plaques by your own doors but may love a home decor project with a favorite saying on the walls like my DIY Romantic Phrase Wall Plaque. For either type of project, the steps are the same so I thought this was the perfect opportunity to share stencil tips for beginners.
What kind of paint should I use to stencil?
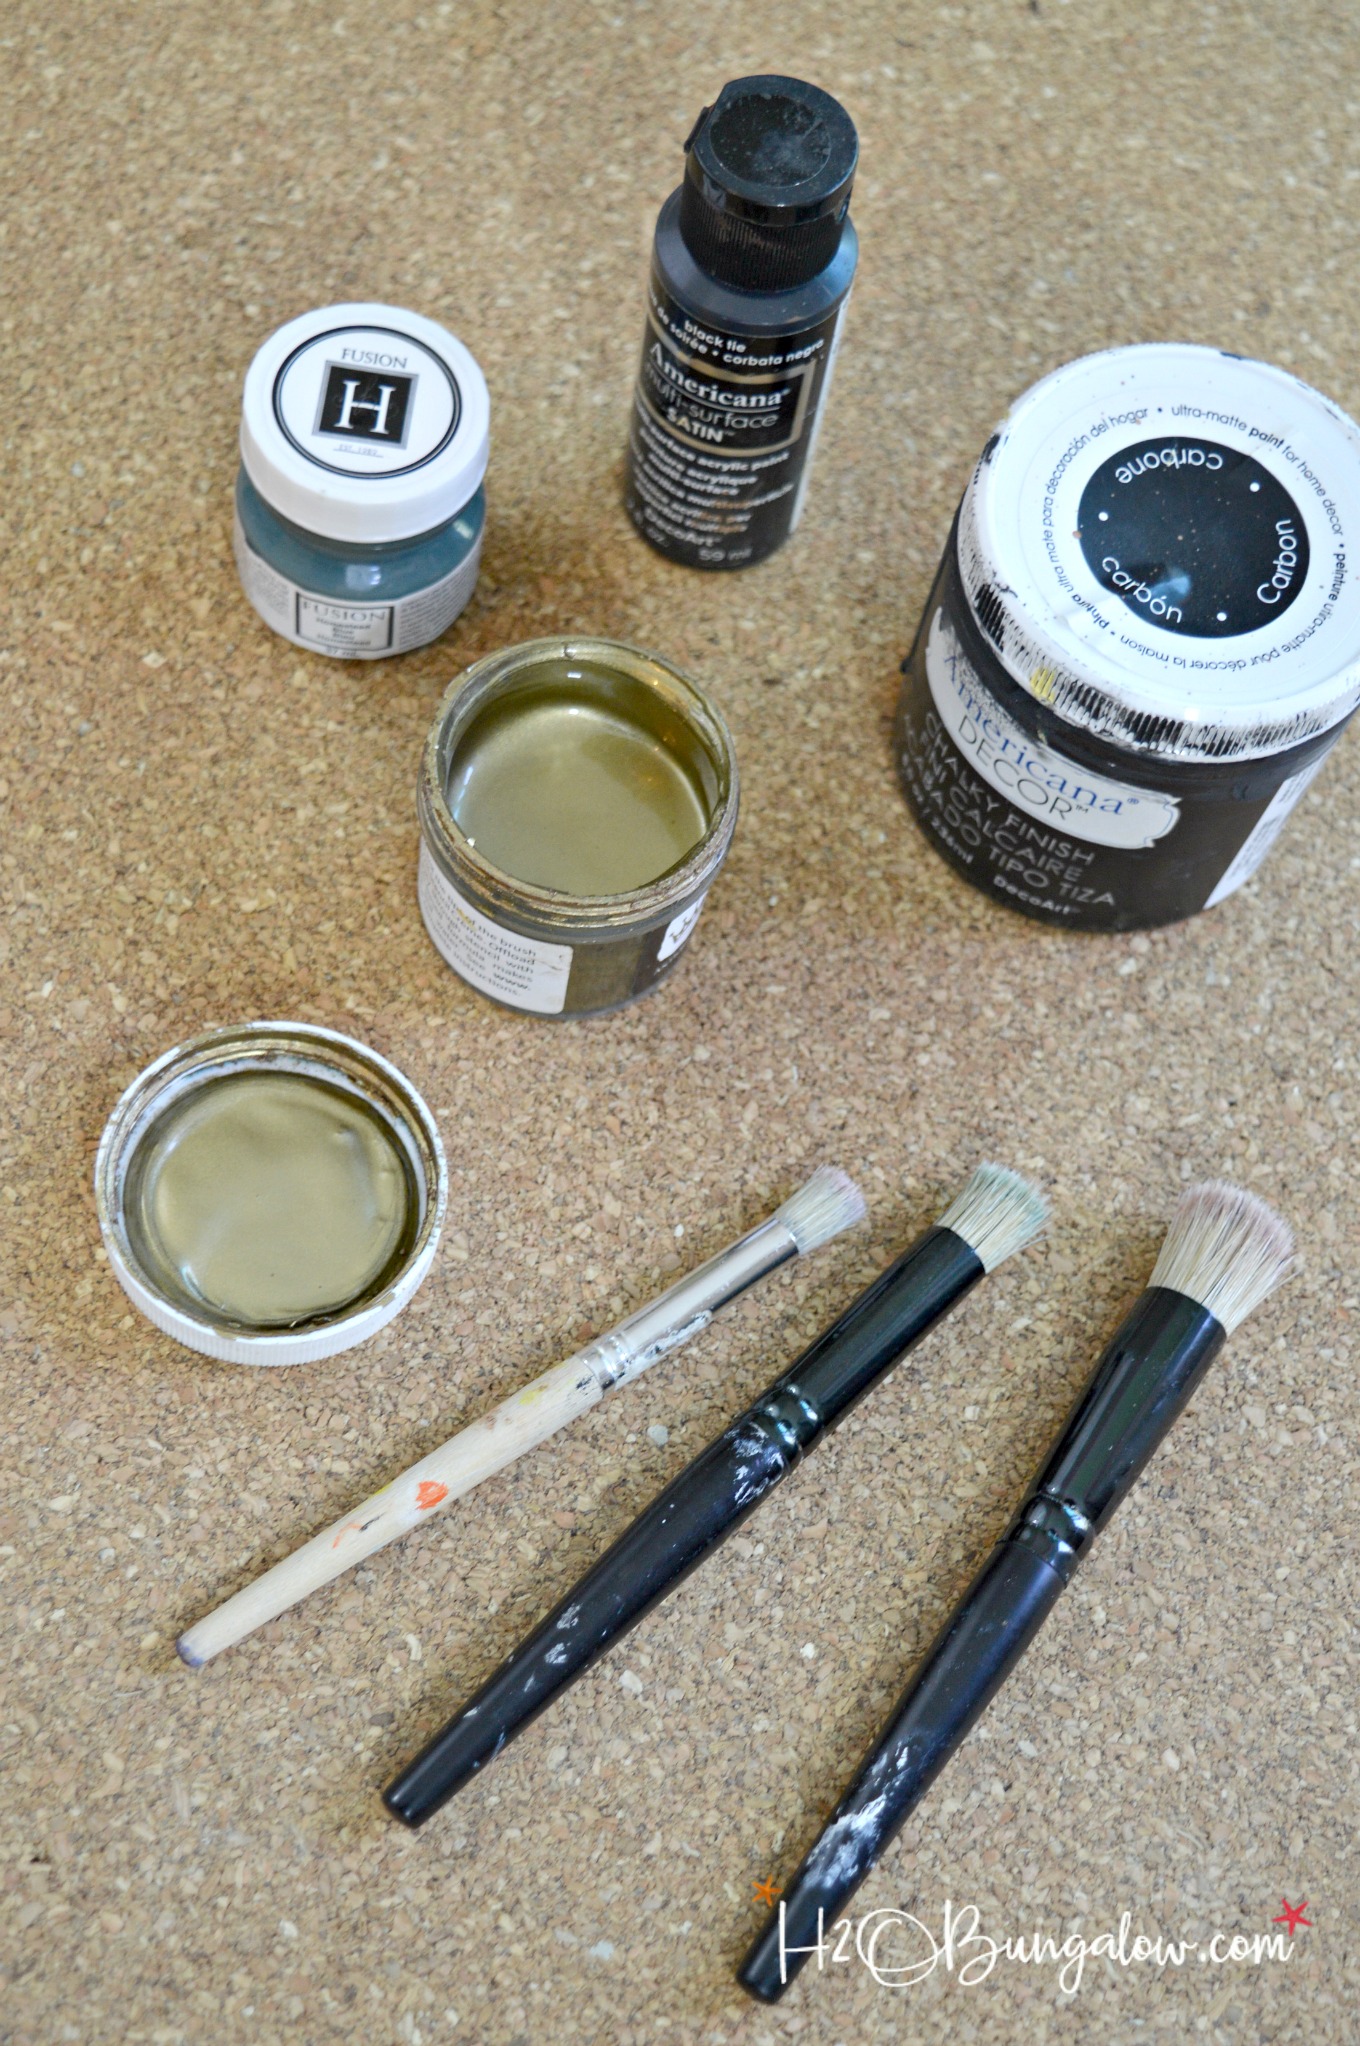
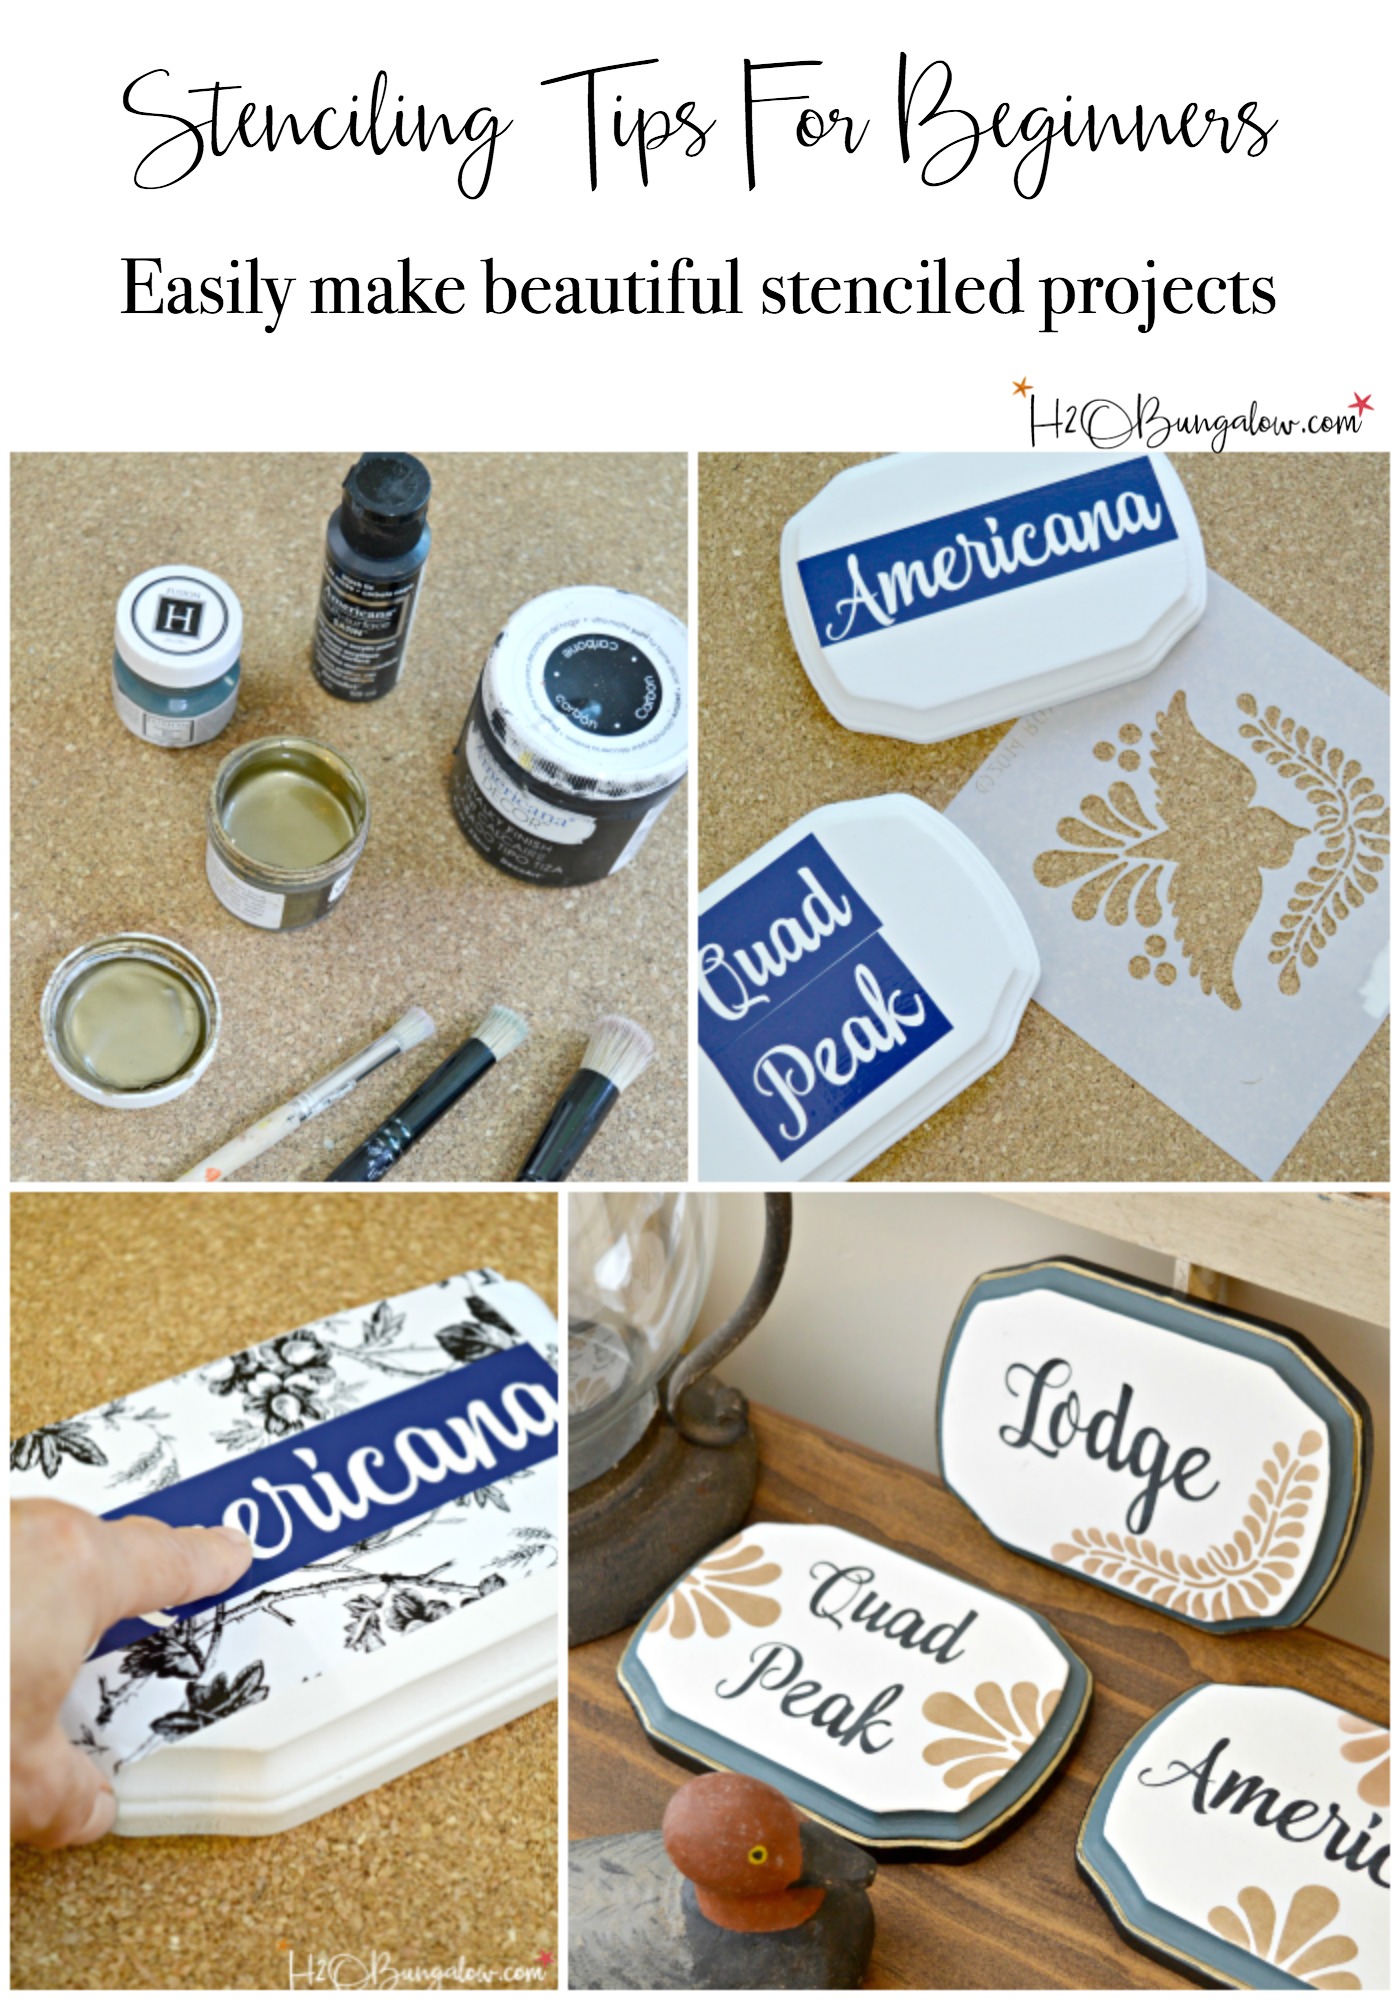
All you need to stencil a project is a stencil brush, paint and something to stencil on. Depending on your stencil and project, a few other items can sometimes help make a stencil project easier. Which paints work best for a stenciling project? Stencil cremes work best and go on thinly. The gold paint below is a stencil creme, it’s thin and works really well on a laser cut (regular plastic non-vinyl) stencil. I’ve also used chalk paint, acrylic paint and plain old craft paints to stencil. I used all of these below on my plaque project.
Stencil Brushes, what are they and do I need to use one?
You can use a stencil brush or a foam pouncer to stencil. I prefer stencil brushes by a long shot. They are not like regular paint brushes. Stencil brushes are flat at the end and the brushes are stiff. I can tell the difference between my cheap and better quality stencil brushes. Buy a good one. Pouncers are made of foam. They work, but I don’t think they give the same quality appearance as stencil brushes do but that’s just my opinion.
Types of stencils to choose from
Stencils come in plastic, vinyl, cardboard and can have a sticky backing or not.
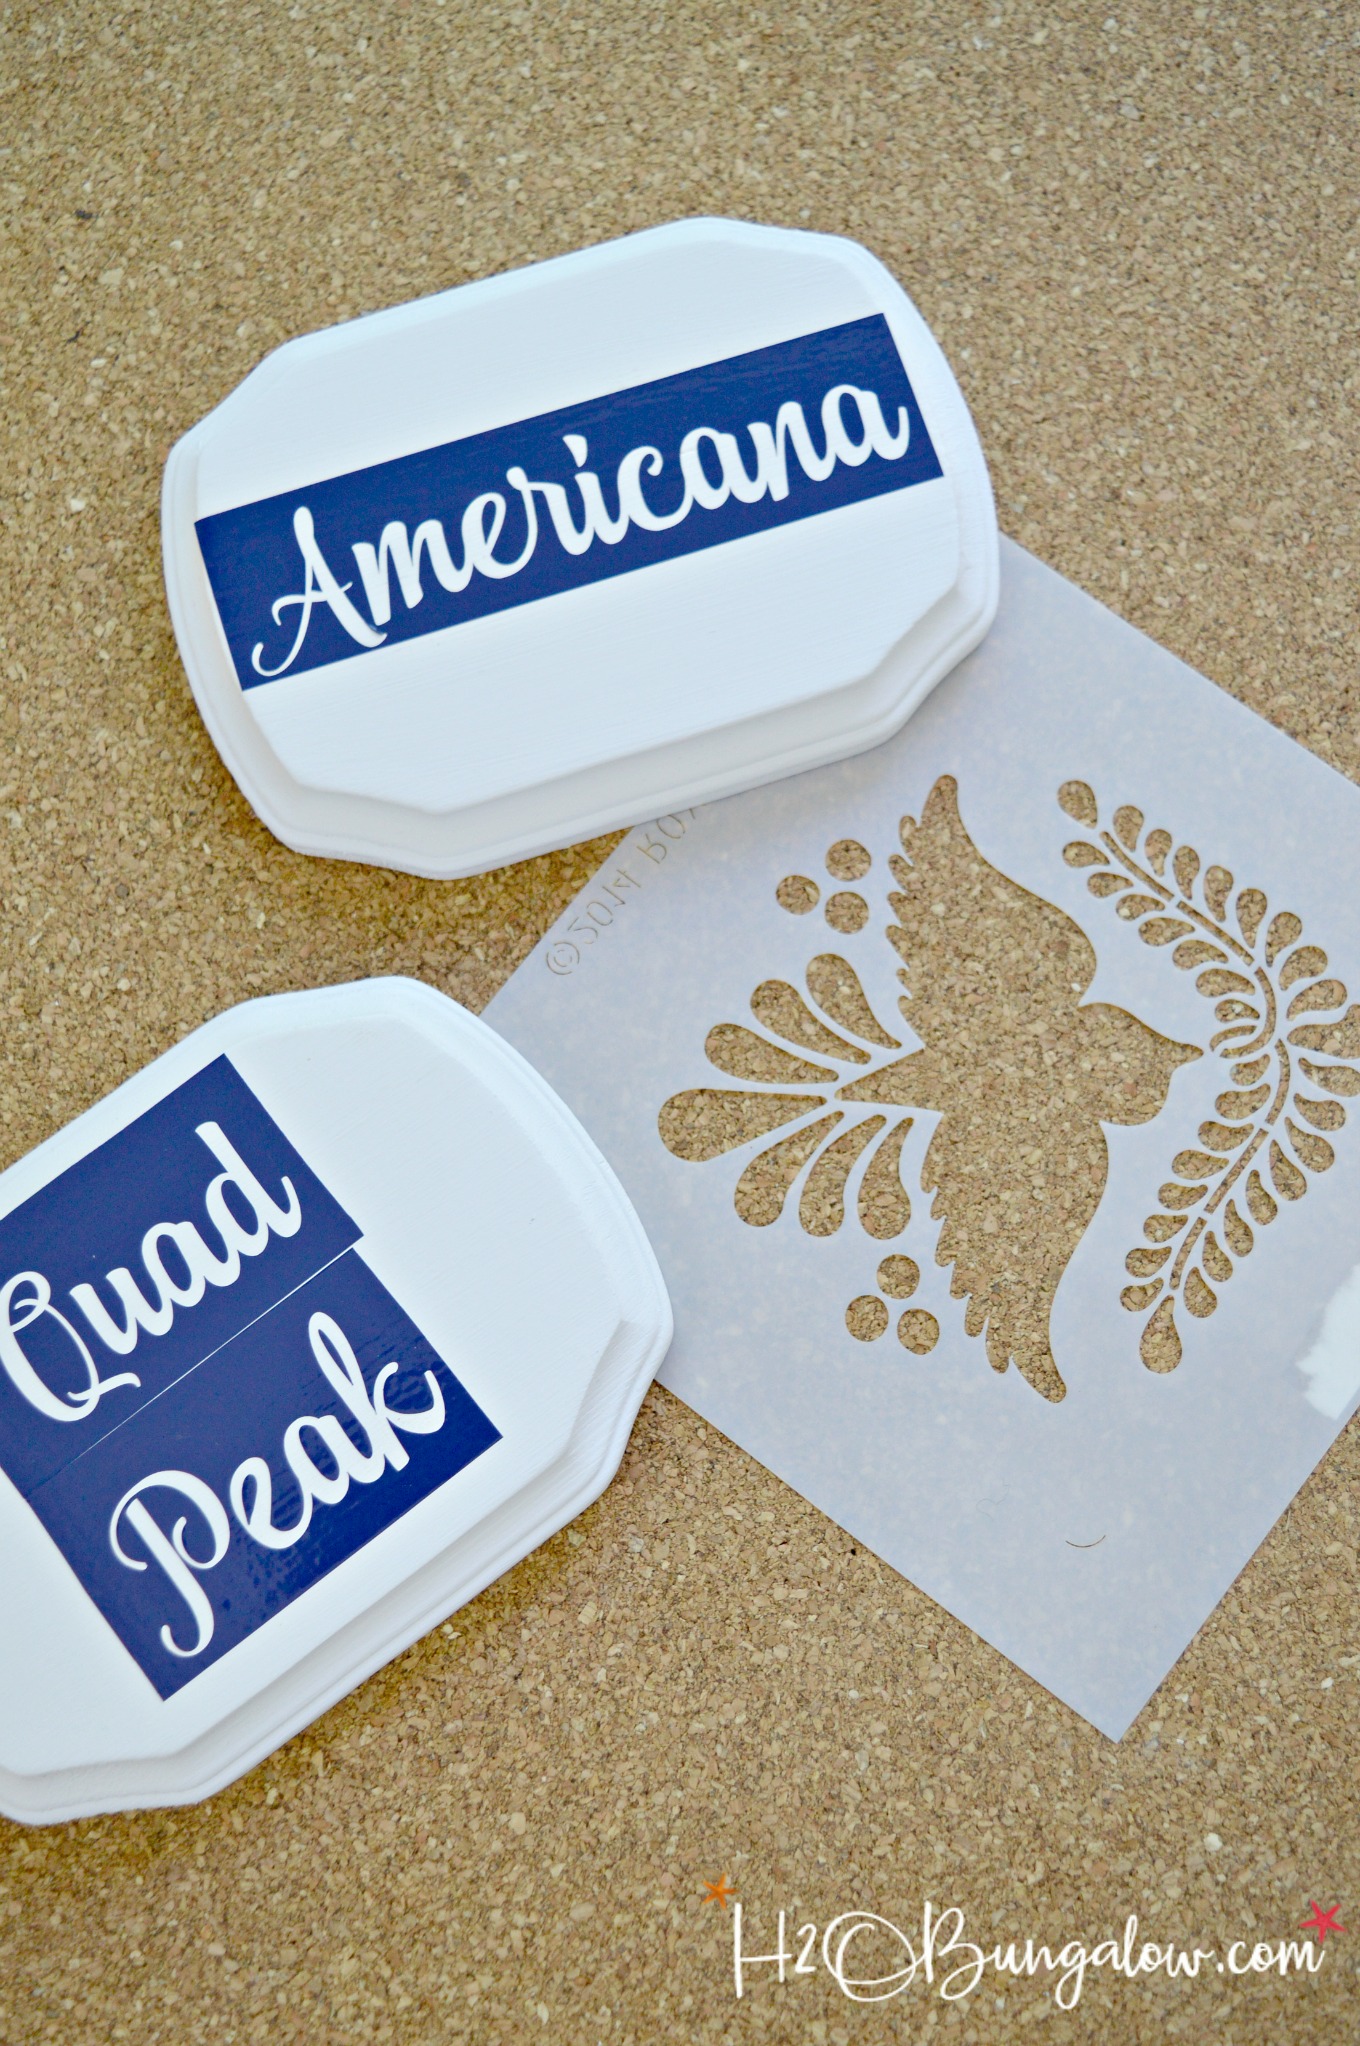
Vinyl stencils are great for lots of projects. The blue stencil below is a vinyl one. Be sure your paint is very dry if you’re planning on using vinyl stencils otherwise the sticky backing may lift the fresh paint when you peel it off. Often vinyl stencils can be reused. The benefit of using vinyl stencils is that you can layer paint and don’t need to worry about the stencil moving. It’s easier to get crisp edges and your less likely to have paint oozing under the stencil edge.
You gotta love it when you can make a phone call to a friend with an SOS for a custom stencil! I didn’t have my Silhouette machine with me and Jeanie from Create and Babble was sweet enough to whip these custom ones up and mail them to me. Thanks Jeanie! She’s a Silhouette guru and even has a free mini course on How To Learn The Silhouette if you’re challenged to get your Silhouette out of the box 🙂
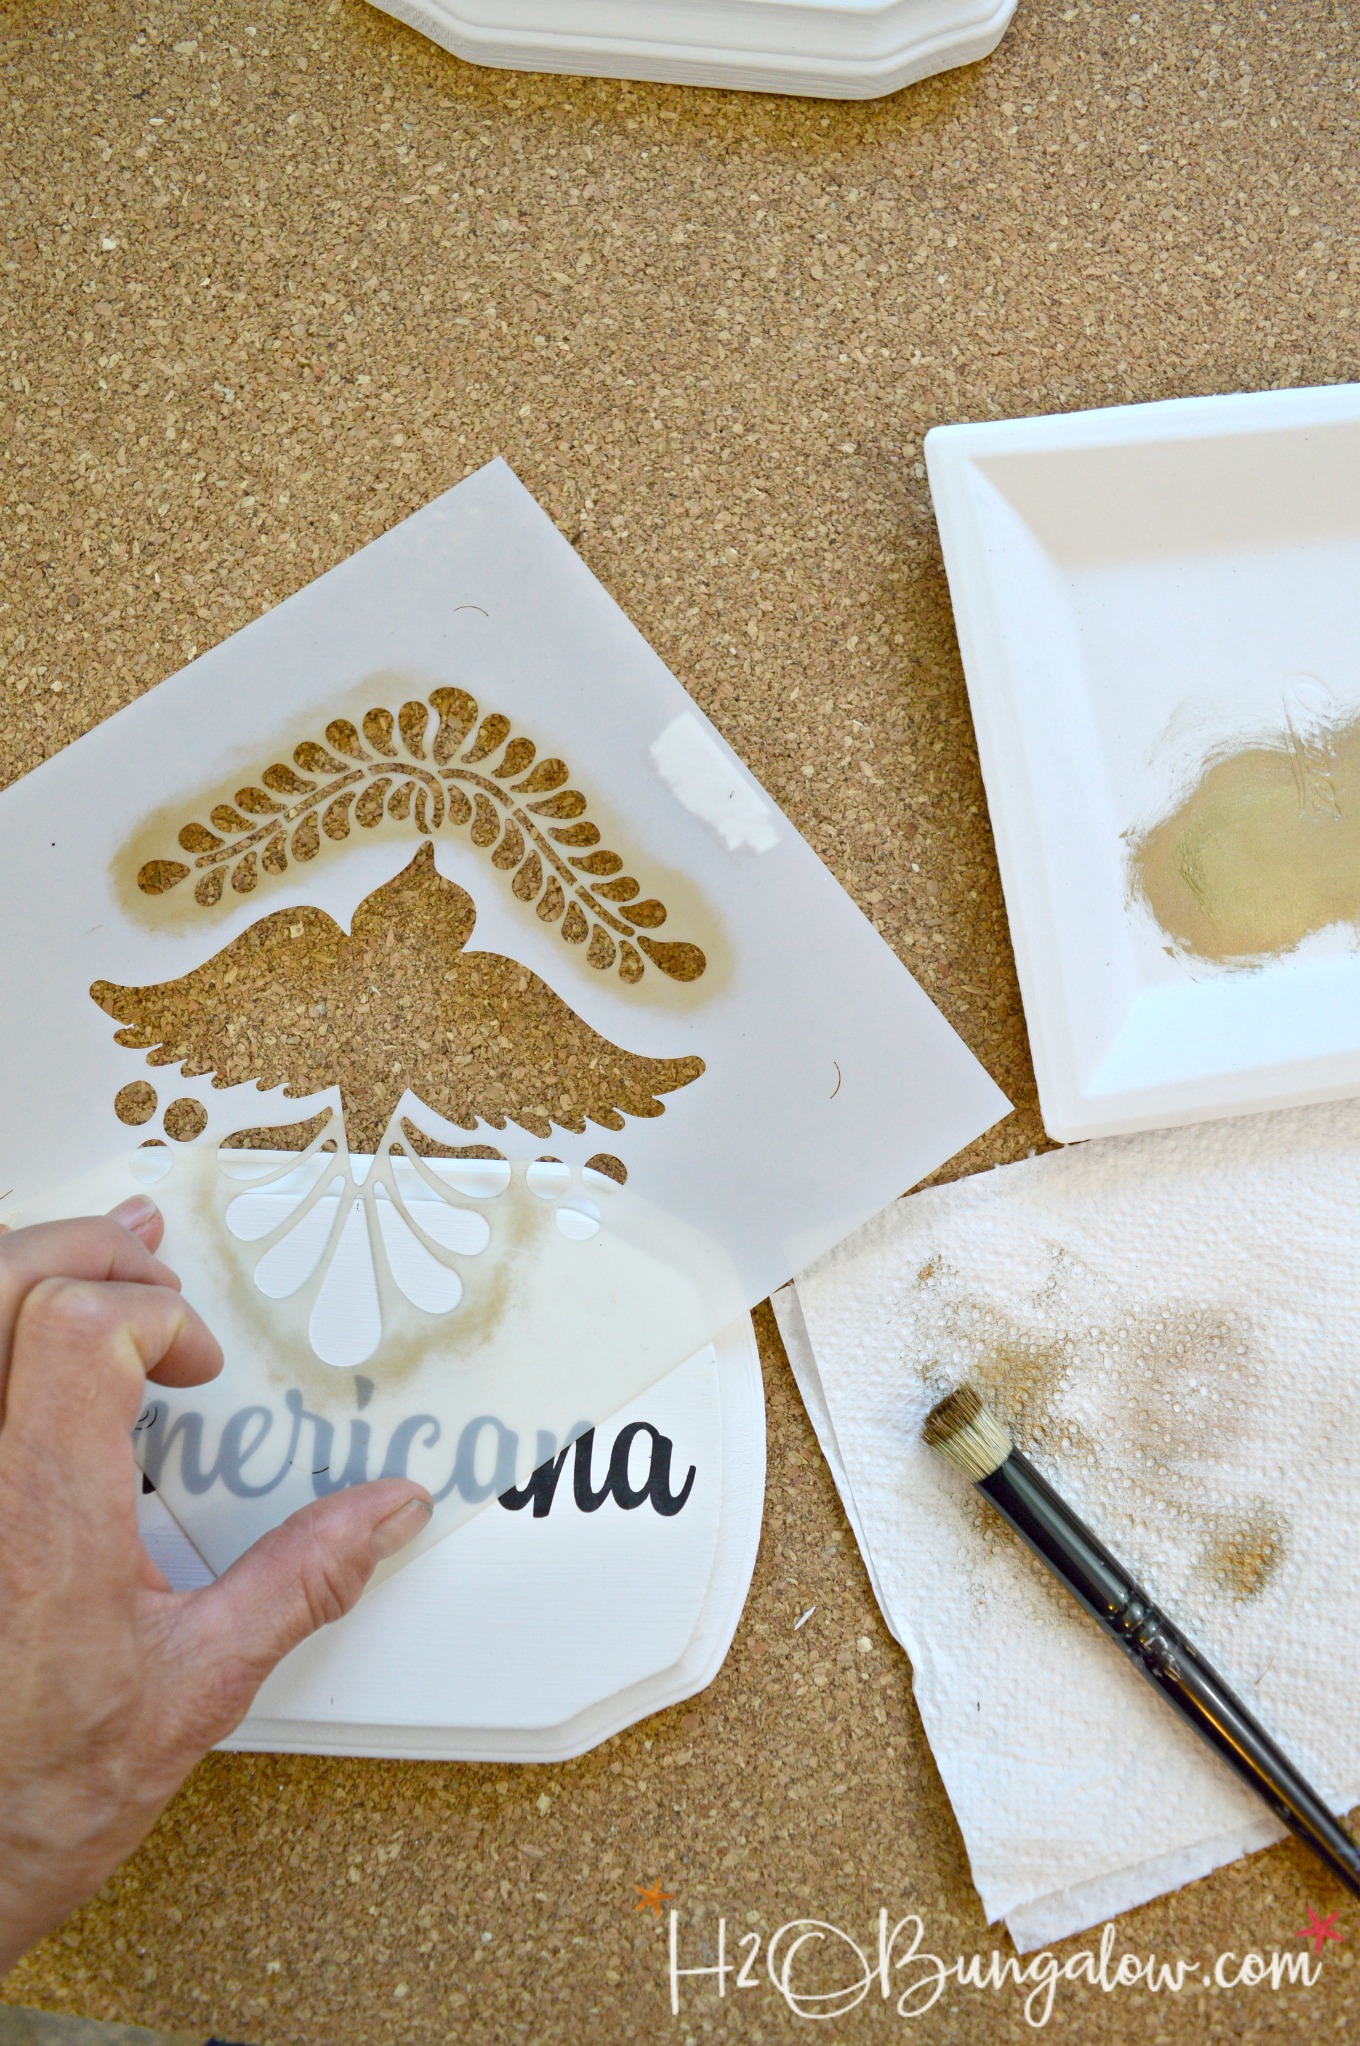
Laser cut stencils from hard plastic work well when you need to stencil on something with a delicate surface, like a freshly painted area or thin fabric. The bird stencil below is a laser cut stencil. I stenciled my own upholstery fabric in my Coastal Bench Makeover project. I also used this type of stencil for my DIY Linen Scarf They can be used over and over again as well.
Vinyl Stencil Tips For Beginners
Stenciling is pretty easy. Most of the stenciling techniques are the same for vinyl and laser cut plastic stencils.
Step One: Place stencil on your surface.
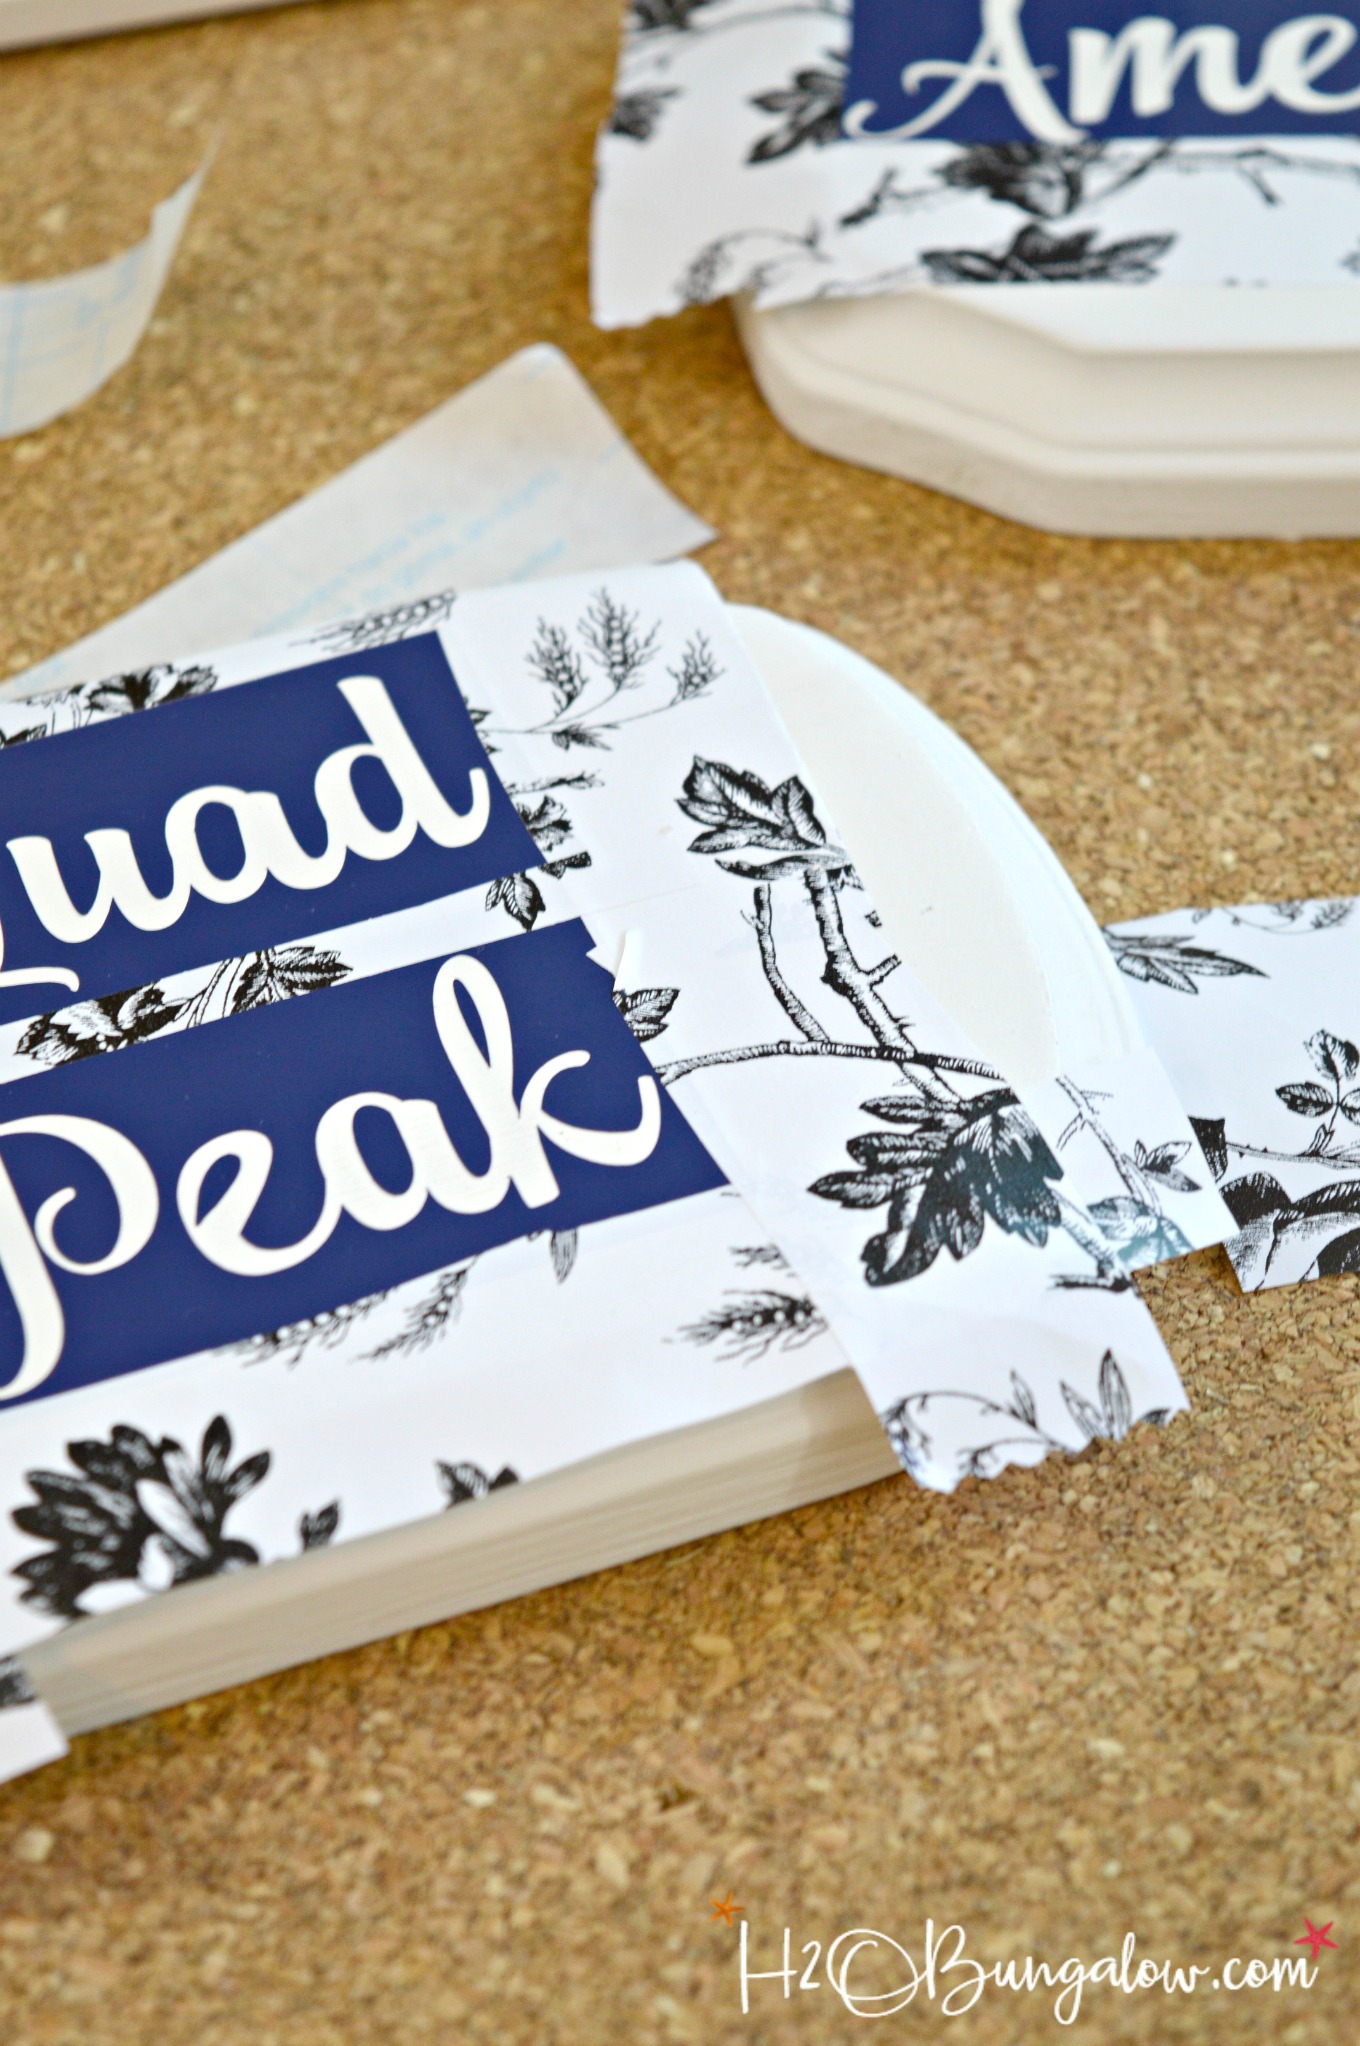
I like to use inexpensive contact paper shelf liner to protect around my stencils so I don’t accidentally get stencil paint where I don’t want it. It’s especially useful if your using just part of a stencil or like my blue word stencils there isn’t much room between my stencil and the edge.
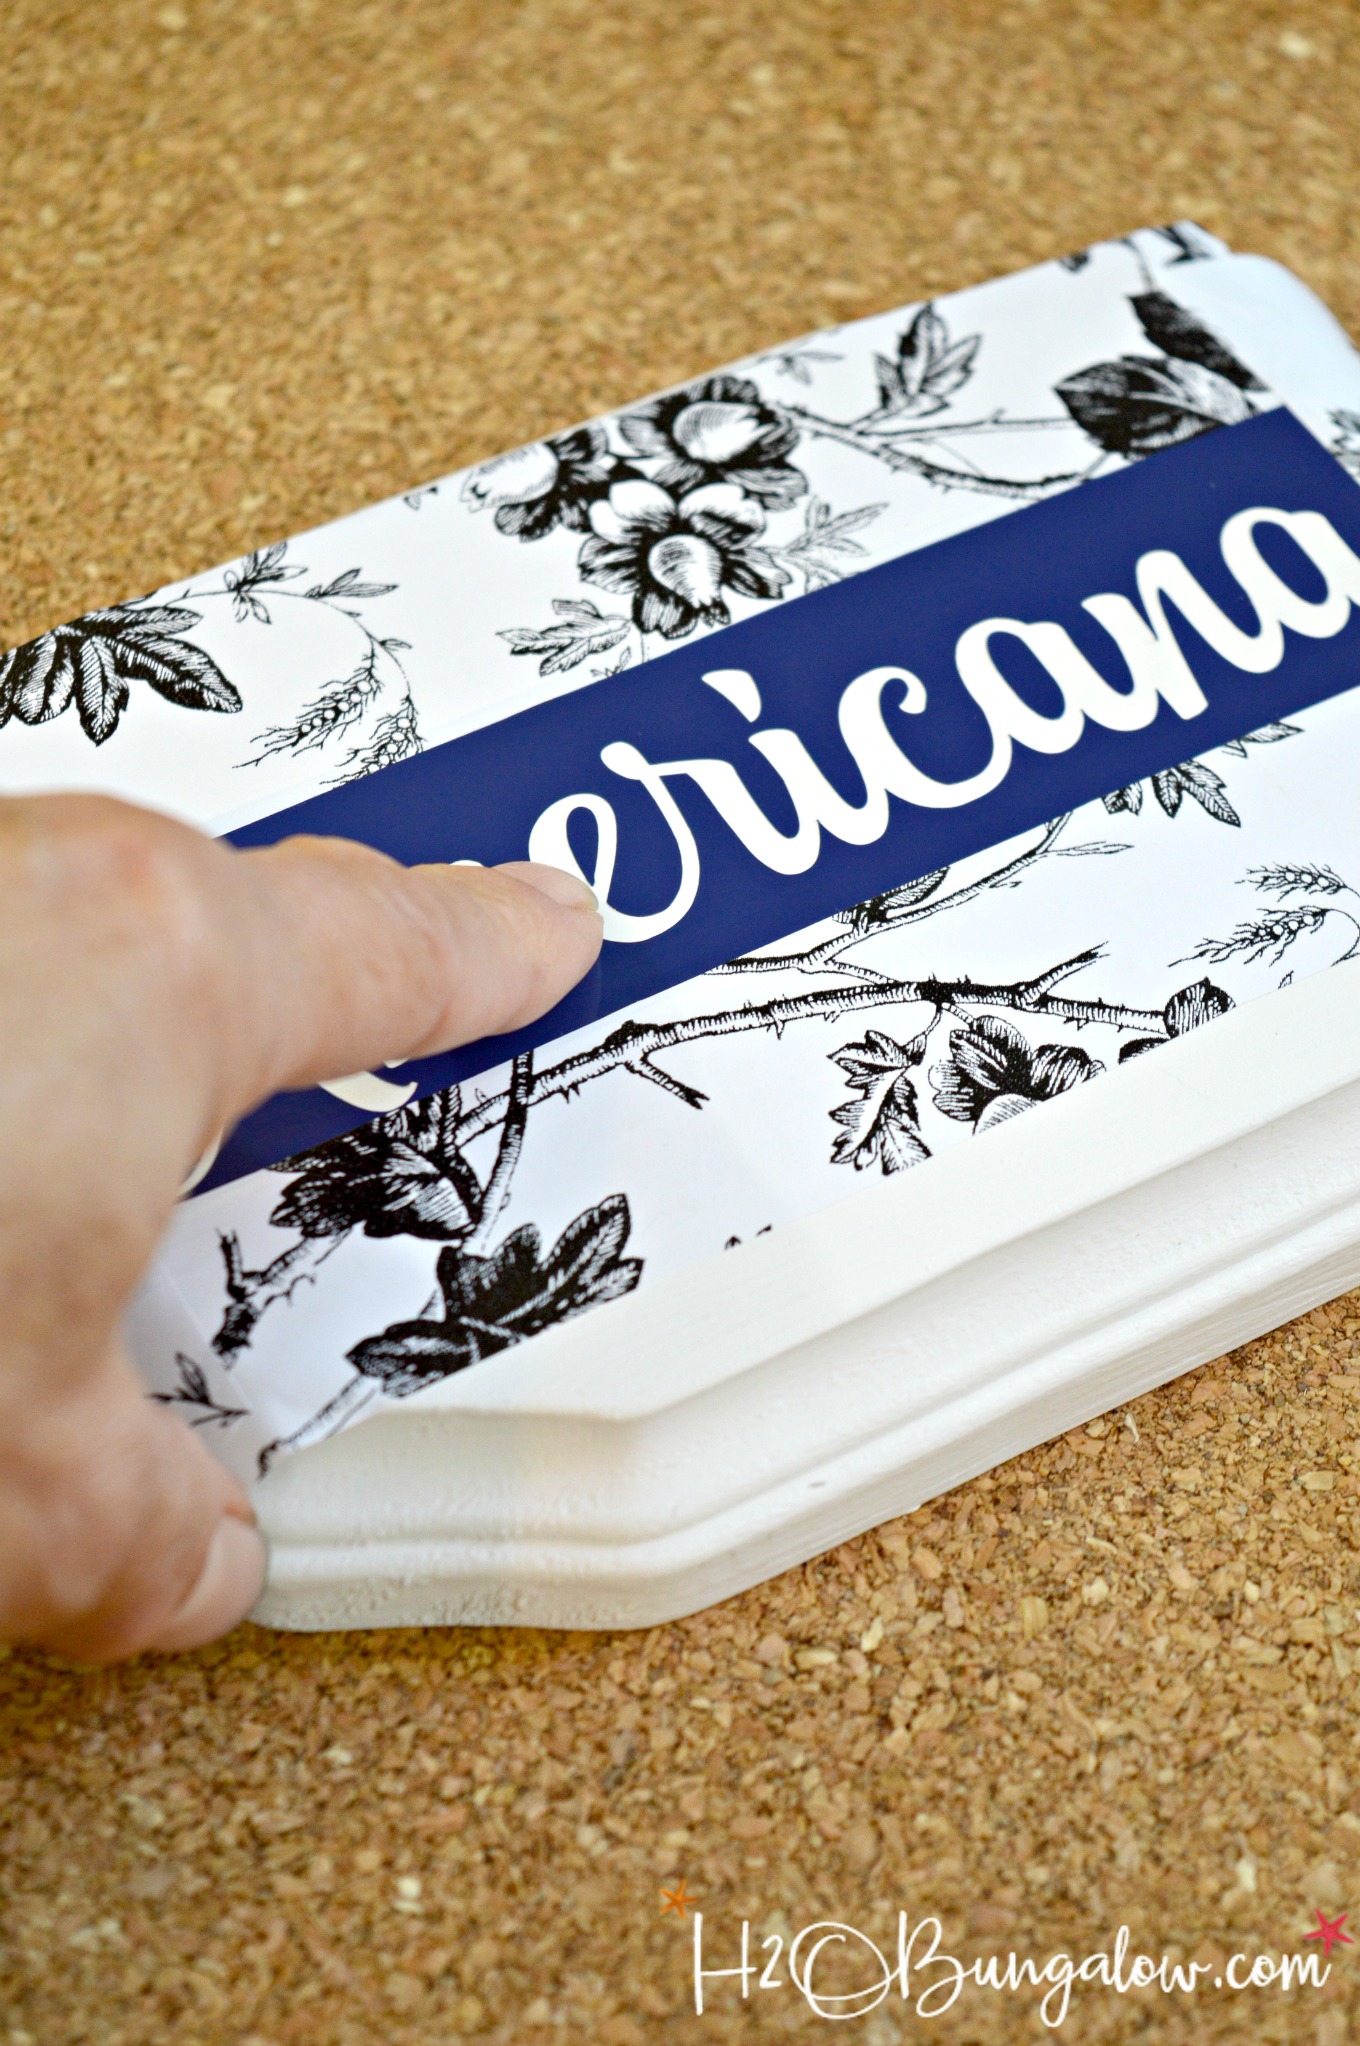
Step Two: Seal the edges
Seal the edges of the stencil by running your finger along the edges to work out any air bubbles and get good contact.
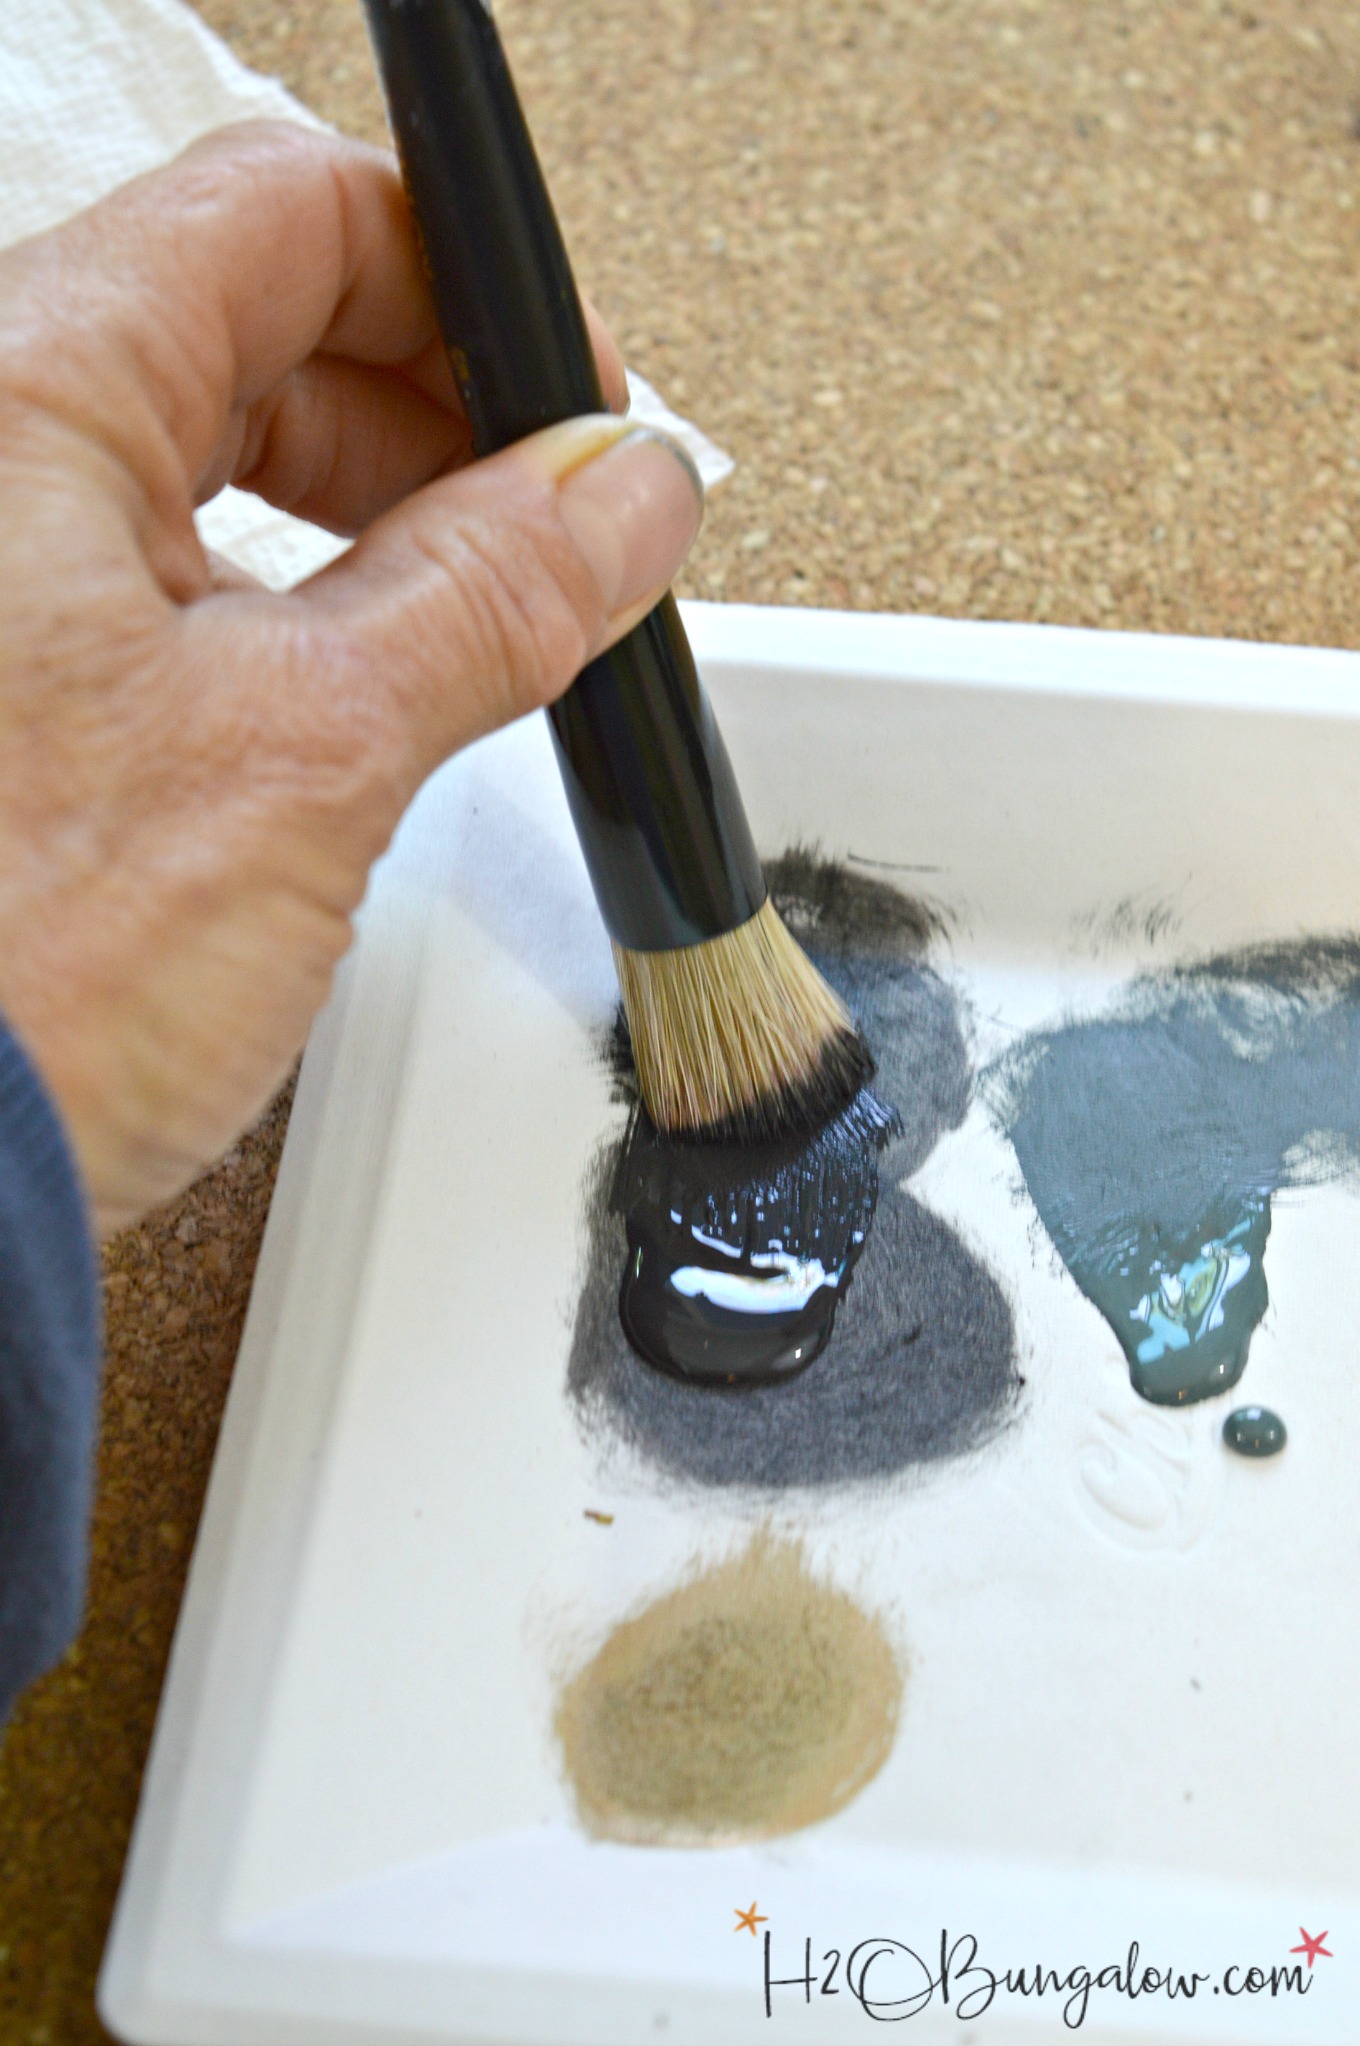
Step Three: load stencil brush with paint
Dip just the tip of the stencil brush into the paint.
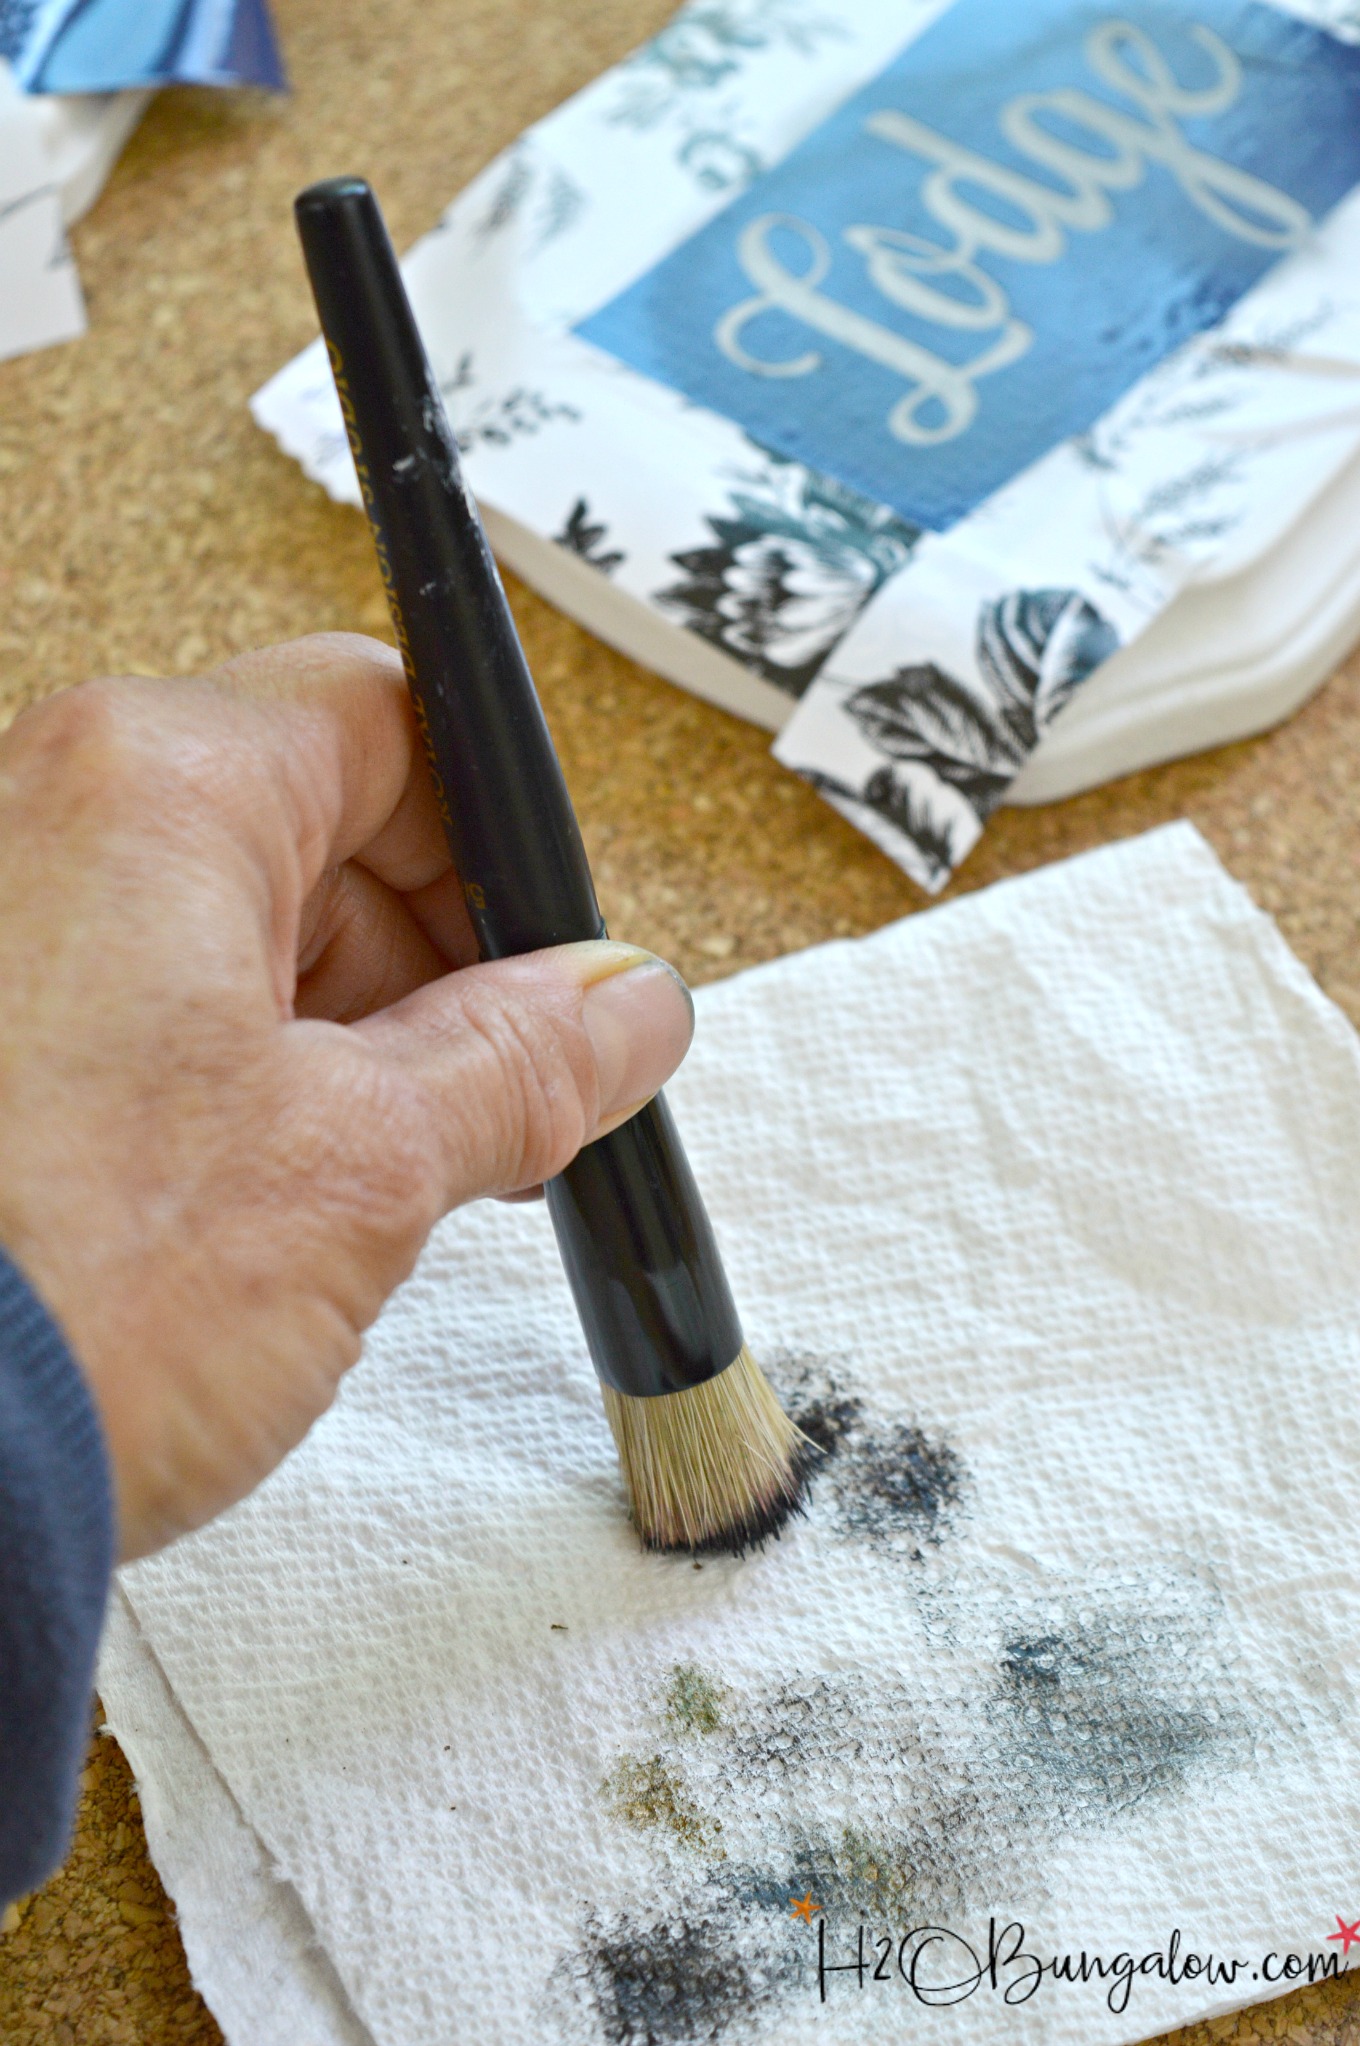
Step Four: Tamp paint off the stencil brush
Use a paper towel to offload the wet paint so there is just enough paint on the brush that it will go onto your surface looking dry.
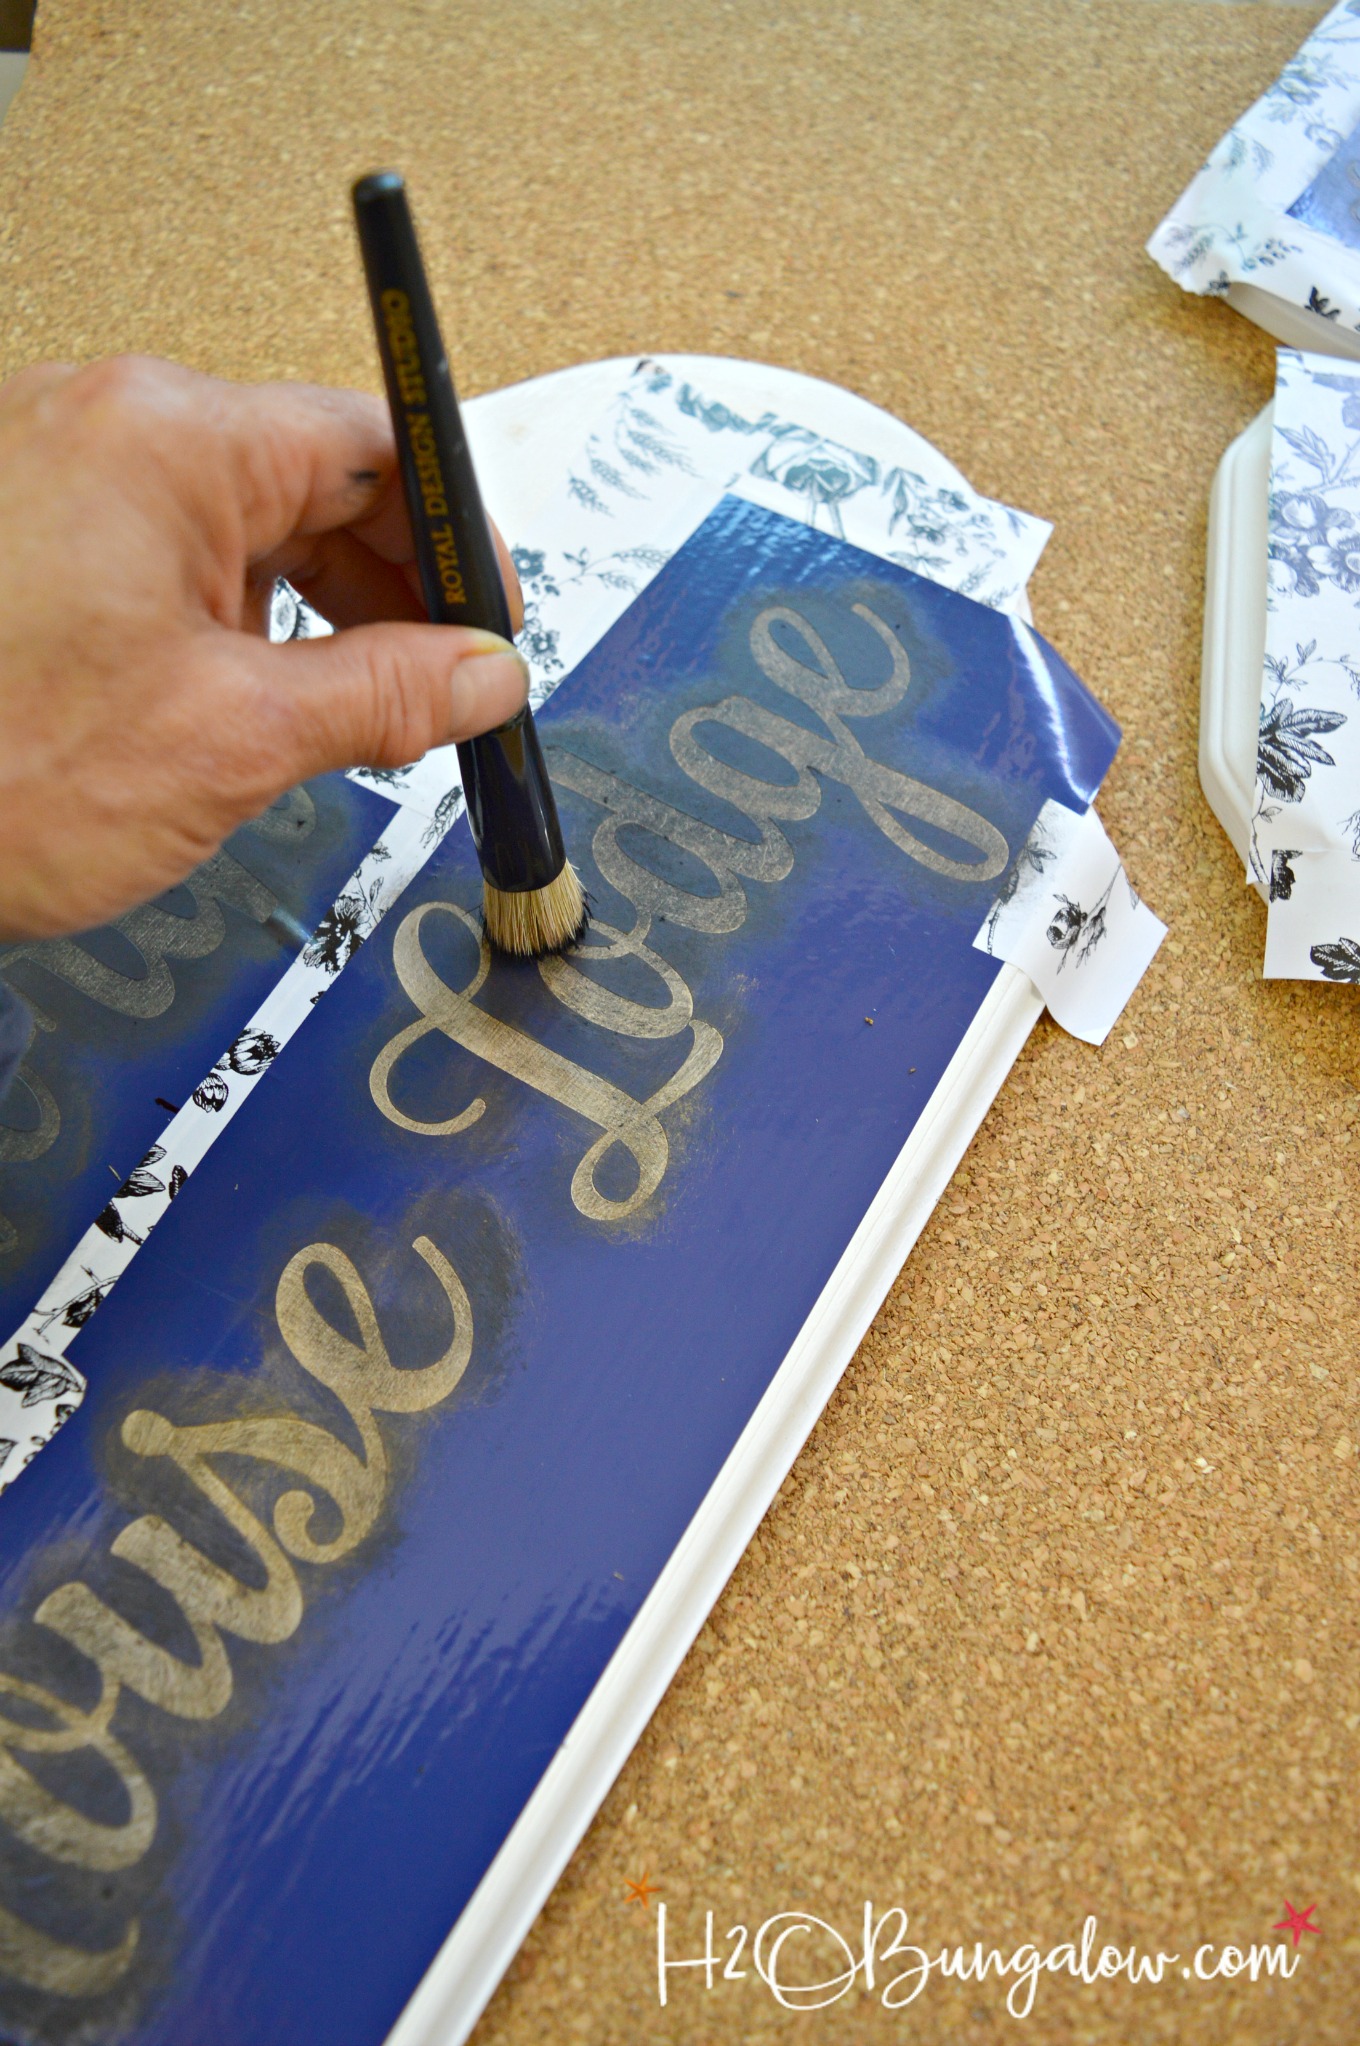
Step Five: Apply Stencil Paint
Gently and with a light touch swirl the brush around in small circles over the are you want to apply paint. If you’re layering paint and using a vinyl stencil you can also gently pounce your stencil brush to apply paint for a thicker coverage.
Step Six: Remove the Stencil
Carefully peel off or remove the stencil and allow your project to dry thoroughly.
I used a portion of another stencil to add some extra embellishment to my DIY stenciled plaques.
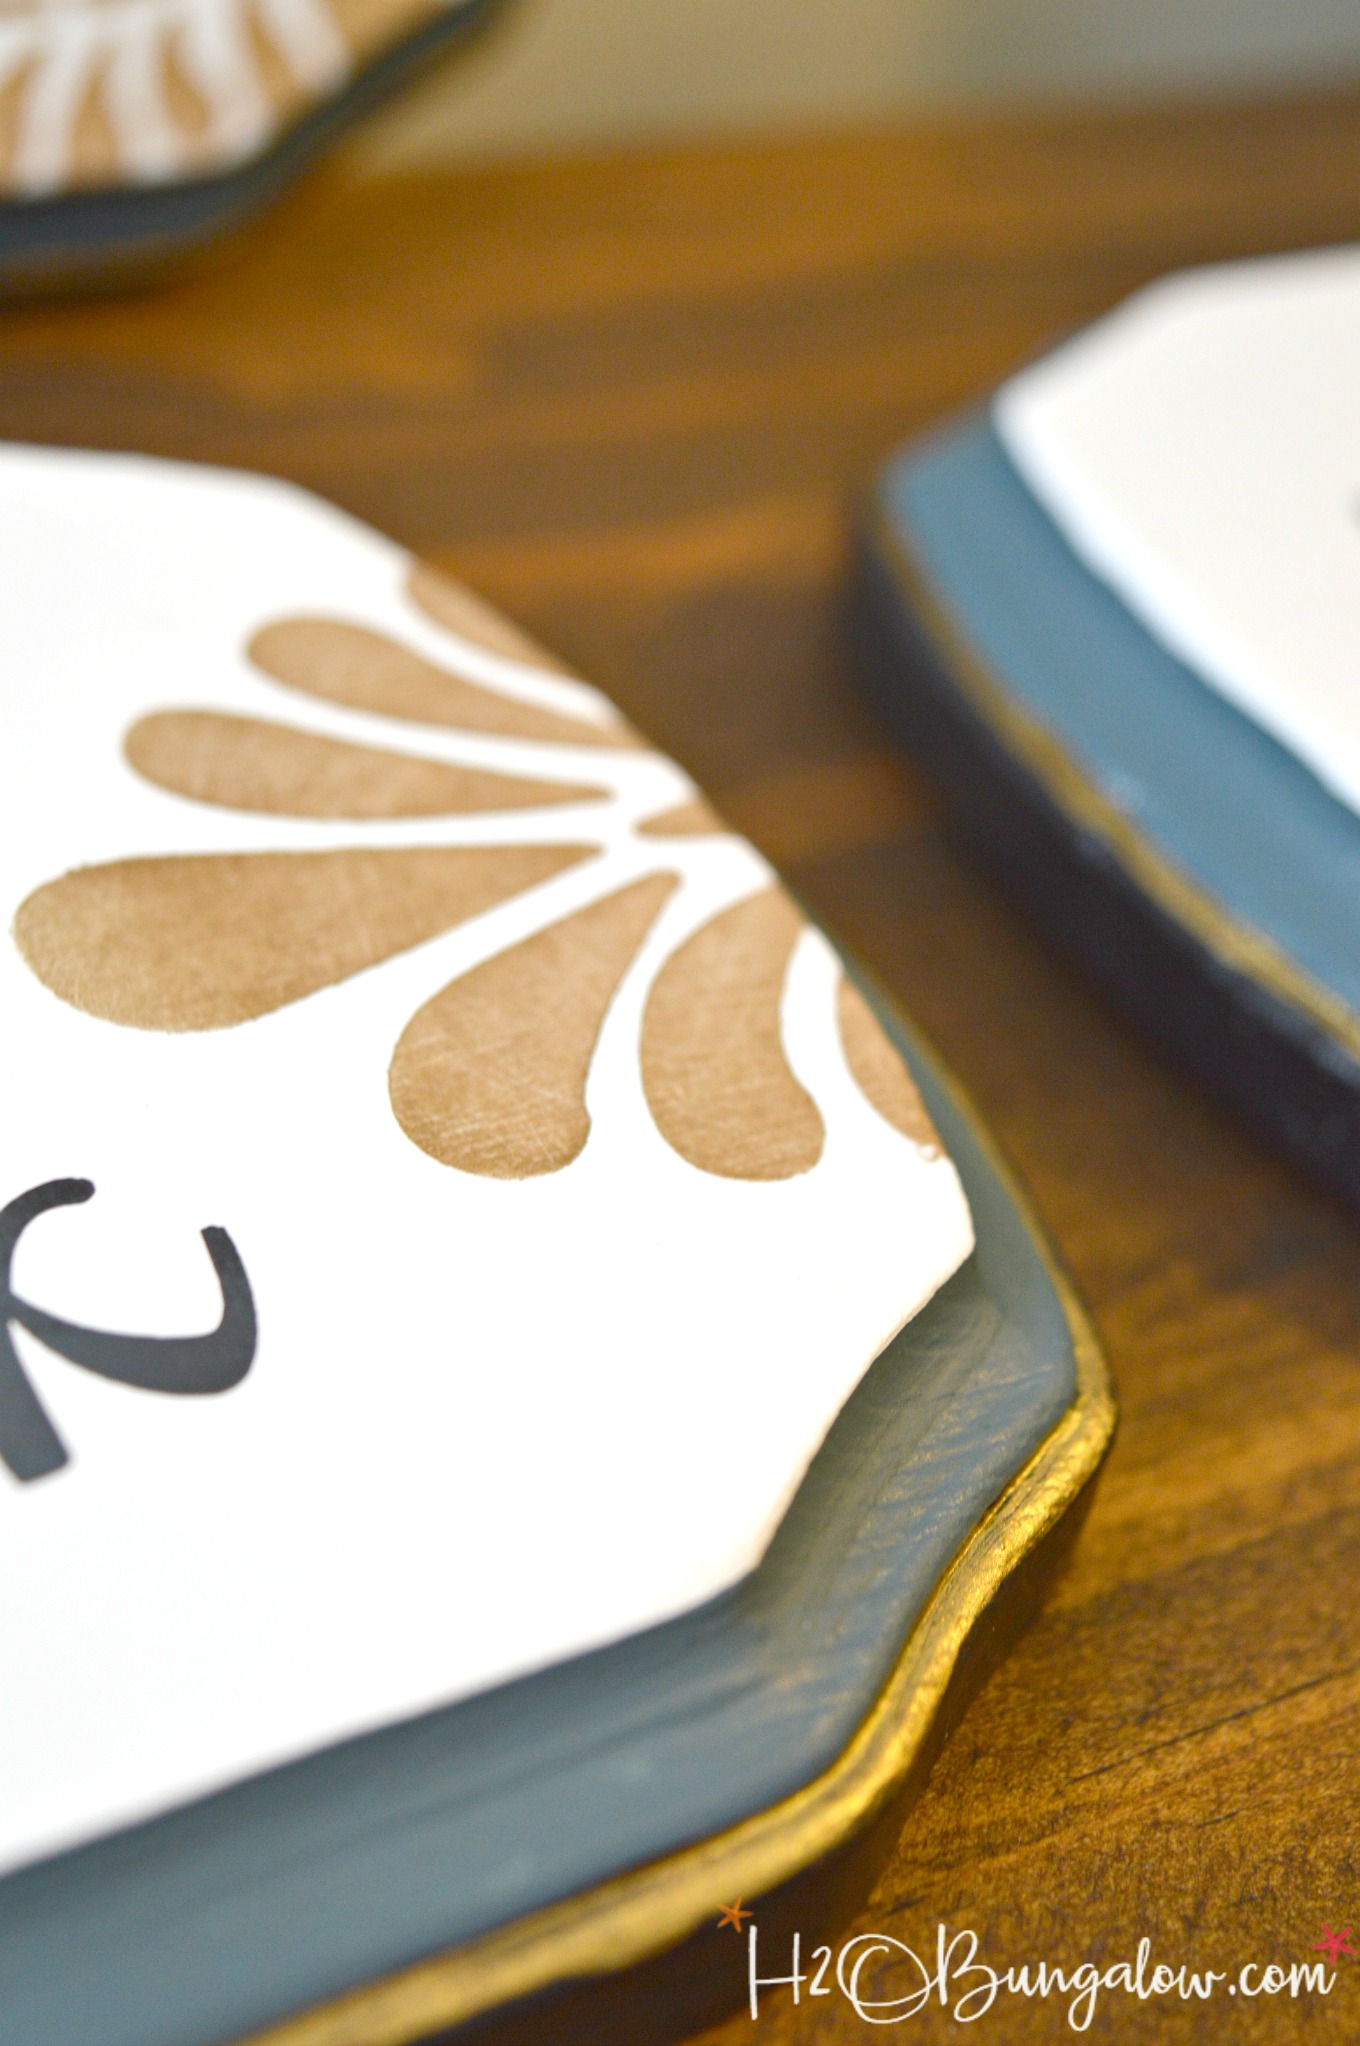
The gold stencil creme added character to my room plaques. I also used gold stencil creme when I stenciled my DIY Stenciled Hanging Pendant Lamp.
Stenciled furniture is always popular. I made over a bedroom set for my nephew with a little Faux Painted Cargo Furniture. Another pretty stenciled piece of furniture was this White and Gold Distressed Damask Dresser. You’ll find several more stenciled furniture projects here.
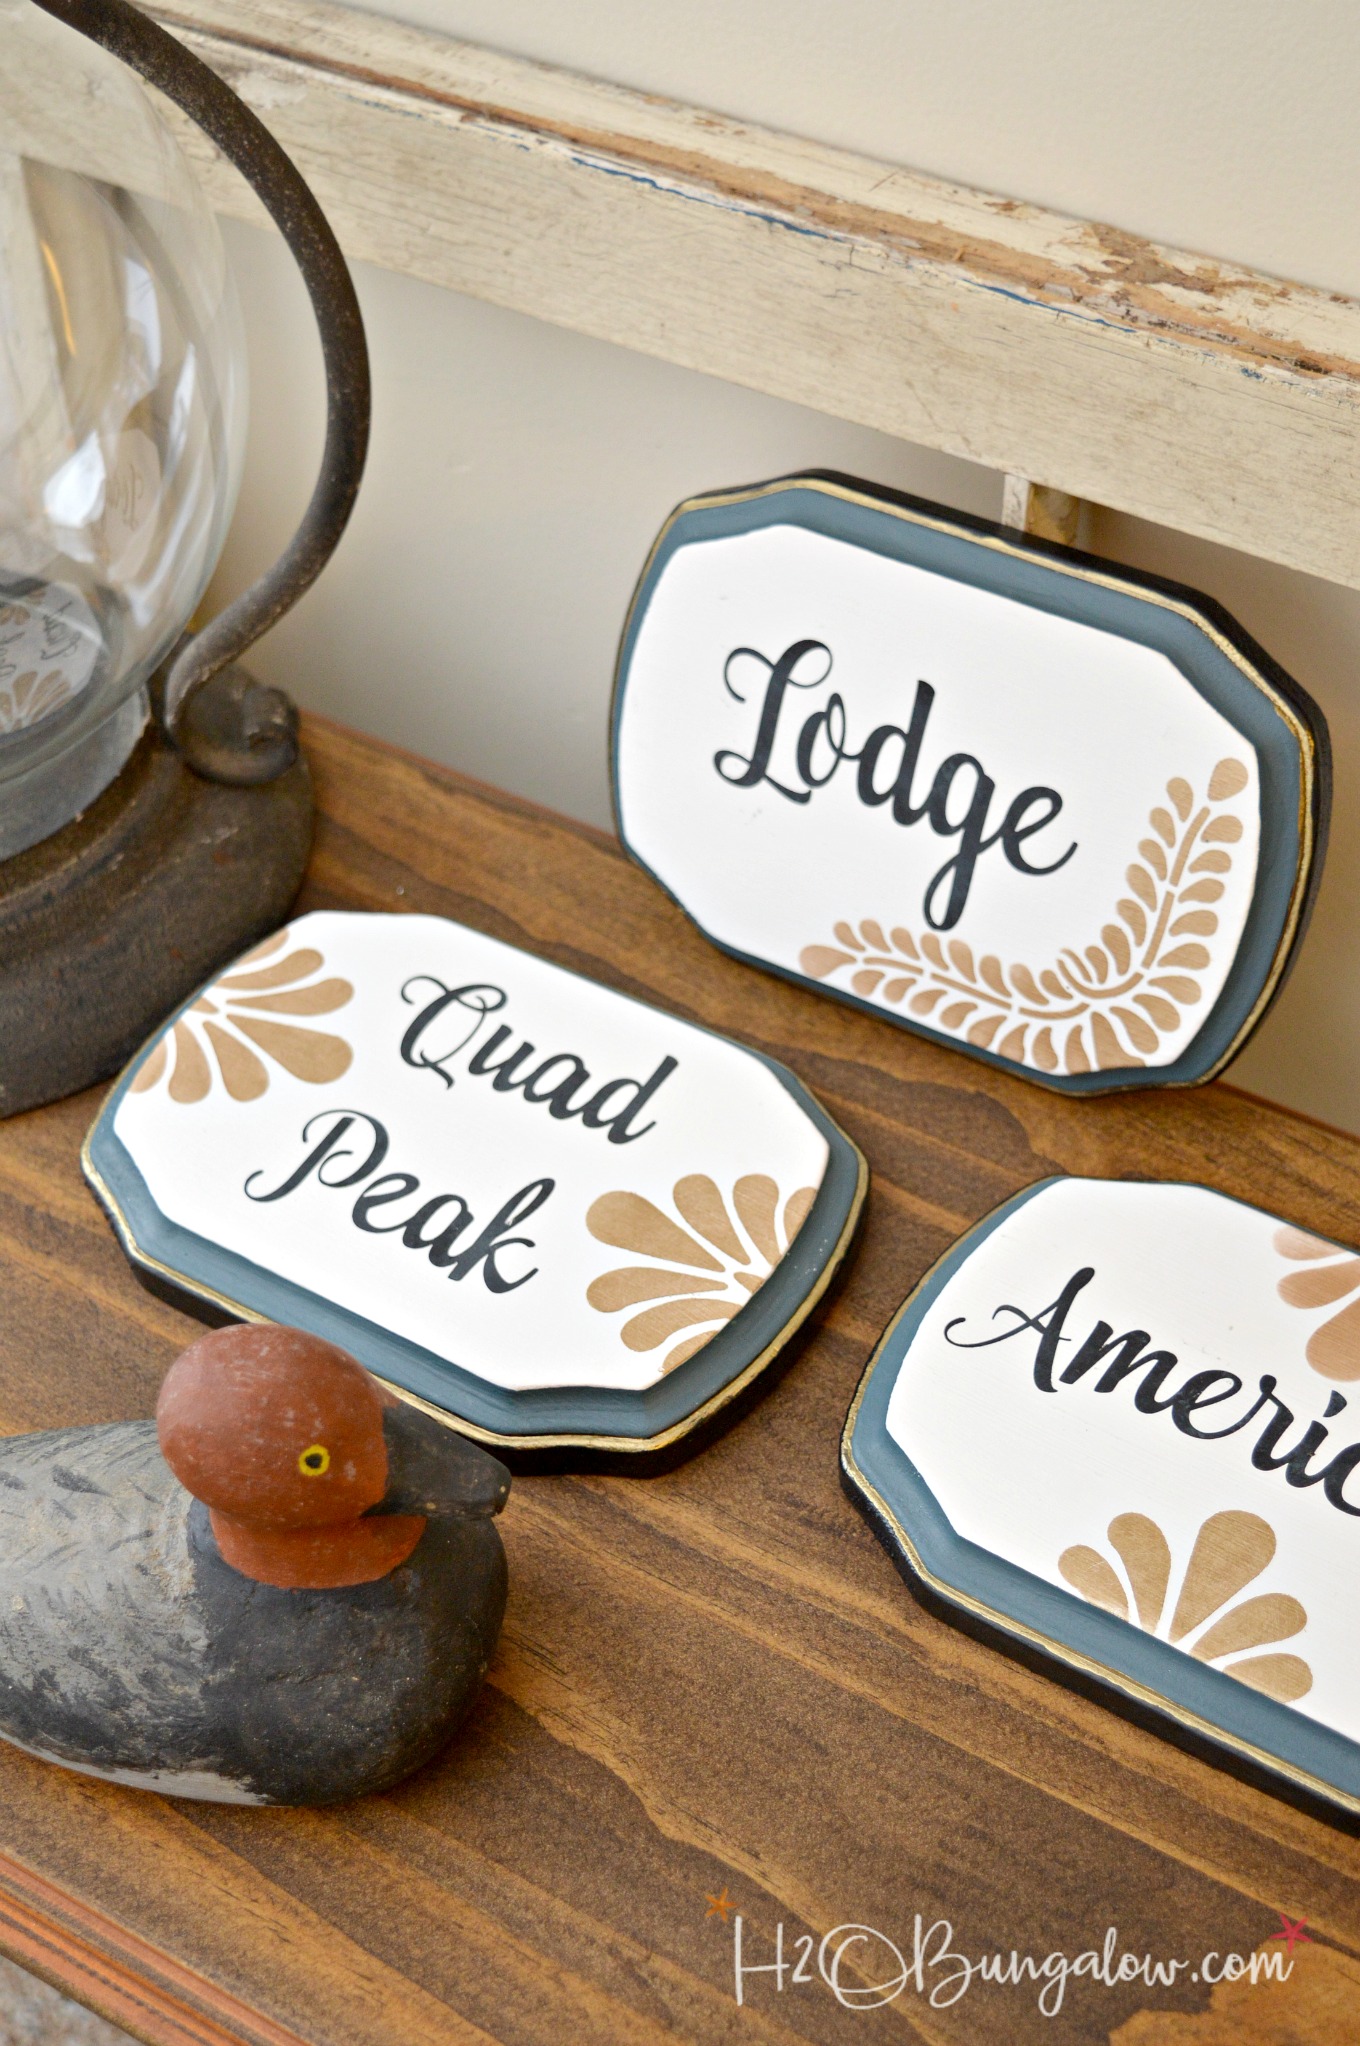
These plaques are now hanging at the door of each room in the North House Lodge.
Stenciling is a useful skill, especially for home decor projects. When I look back on a lot of my projects I realized many were done with stencils. I’ve been planning on sharing stenciling tips for beginners for a long time!
Pin this post for later!
Did you learn something new in my stencil tips for beginners tutorial? Or, do you have a tip to share that I didn’t mention? Share in the comment section below!
You’ll find my project linked up to these fabulous parties!
Love a good dose of DIY home decor, home improvement, the challenge of woodworking and creative ways to make your home look fabulous?
Me too!
I’d love to share mine with you. Click here to sign up for my post emails and I’ll send a quick note when I have a new project to share.
I use affiliate links, if you should make a purchase I receive an itty bitty commission which helps to pay for the overhead of running the blog. Thank you for your support!


Liz W. says
Wow, thanks for such great tips! I’m just learning to stencil, and your guide is perfect! Thanks for linking up with us at Funtastic Friday!
Wendi says
Hi Liz and you’re welcome 🙂 Stenciling is one of those skills that I would have never imagined needing and yet I use it all the time. So glad you found my tips helpful! Thanks for your visit & hosting as well!
Lynda Sneed says
Wendi, such a great addition to the North Lodge!!
I have stenciled a few projects, the last was a border in our small master bath. I do NOT like the results. If I want to paint or tile the wall, what do I do with the stencil on it? I want an even finish & I really hope you won’t say sand it!!
Thanks for all your tips! Your creativity amazes me!
Wendi says
Hi Lynda! I thought this was such a fun way to add personality to the place. What did you use to stencil your boarder? If it was just paint you should be able to simply go over it with anything. Paint, tile etc. I hope that helps! Let me know if you have any other questions and I’ll be happy to answer them. Thanks so much for your sweet words on my creativity! It overflows sometimes and the blog is the best place to channel my energy!
Erlene says
Stenciling can be such a fun project! Thanks for sharing your tips and tricks on the Merry Monday Link Party.
Wendi says
Hi Erlene! I love stenciling for so many reasons! It’s pretty simple once you have the basics down. So glad you found my tips useful:)
handmade by amalia says
Great tips, Wendi, I have to give this a try as I don’t do much stenciling at all.
Amalia
xo
Wendi says
Hi Amalia…I hope you find the tips useful. I’d never used a stencil before DIY blogging. Now I use them all the time:) Thanks so much for stopping by!
Marie from The Interior Frugalista says
Cute idea naming the rooms in the North House and having a cute plaque to identify them. Great stenciling tips!
Wendi says
Hey Marie! Thanks… It was a fun way to keep the different rooms separate in my head and I thought the guests would love it too. The room plaque were a good way to share those good stenciling tips we learn from doing so many stencil projects. Sometimes I forget our readers don’t know what we take for granted! Thanks so much for your visit!
gail says
great stenciling tips Wendi! I love how your room signs turned out. Sooo fun and unique.
pinned!
gail
Wendi says
Hi Gail and thank you! They were on my list to get done for the longest time. This was a good project to share a lot of the simple steps and tips that make stenciling an easy project! Thanks so much for stopping by!
Dione | twopluscute says
Crisp and clean stenciling.
Thank you for the pic by pic tutorial, makes everything much easier to follow
Wendi says
Hi Dione and thank you! Stenciling is such a fabulous home decor skill; even more so when a project turns out perfect!
Christina in FL says
Wendi these are great tips! Question: Assuming I have painted the based with latex/chalk paint, how long do you wait to let the paint dry before stenciling on top? Do you worry about the securing contact paper (or painter’s tape in my case) pulling up the base paint?
Thanks again!
Wendi says
Hi Christina! That’s a really good question. The base paint on my plaques was also latex paint, plain old white that I used for the wood trim. I’d let it sit at least 2 days with latex paint. After that you should be good with both contact or painters tape. If your’e using a painters tape for sensitive areas that should be good after about 6-12 hrs. Have fun with your project!
Christina in FL says
Thanks so much for the update and information! 🙂
Happy creating!!
Patty says
Great tutorial Wendi. I think stenciling really adds the perfect finishing touch on furniture, or signs or whatever you are working on. Sometimes I think I am done with something and I step back and look at it and it just doesn’t look finished and then it will come to me it needs a stencil.
Wendi says
Hi Patty! I feel the same way. I had no idea about stenciling four years ago but now it’s second nature and definitely the best choice for a finishing touch on lots of projects. Good to hear from you and thanks so much for your note 🙂