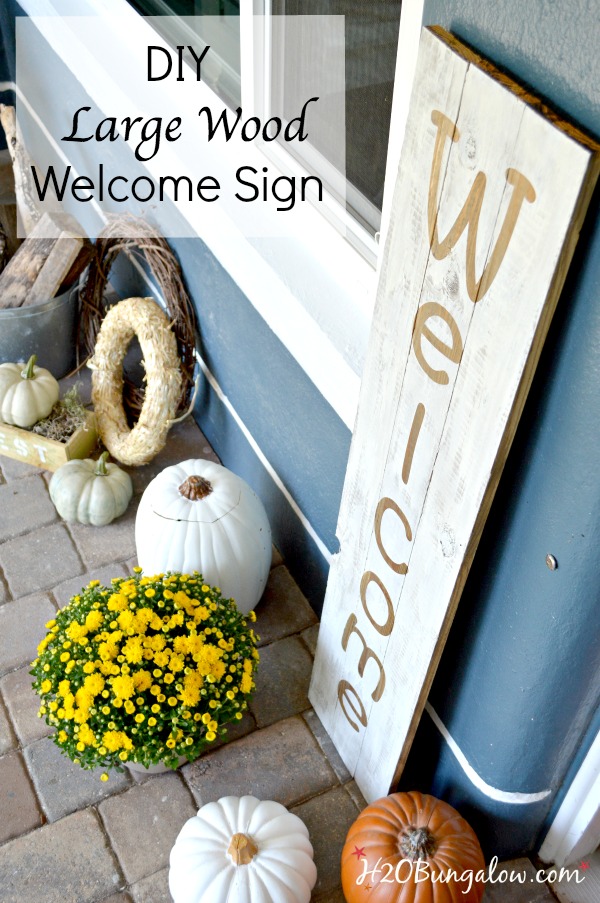
I’ve got an easy indoor outdoor large DIY wood welcome sign tutorial to share today!
I’ve made several other sign projects you may enjoy too, like my DIY Engineer Print Large Welcome Sign and another favorite is my DIY Large Modern Inspirational Art with the wonderful words about ordinary life!
A few years ago if someone had told me I’d decorate for seasons and more than just Christmas, I probably would have laughed. I might have even snorted because that thought seemed so absurd, so unlike me.
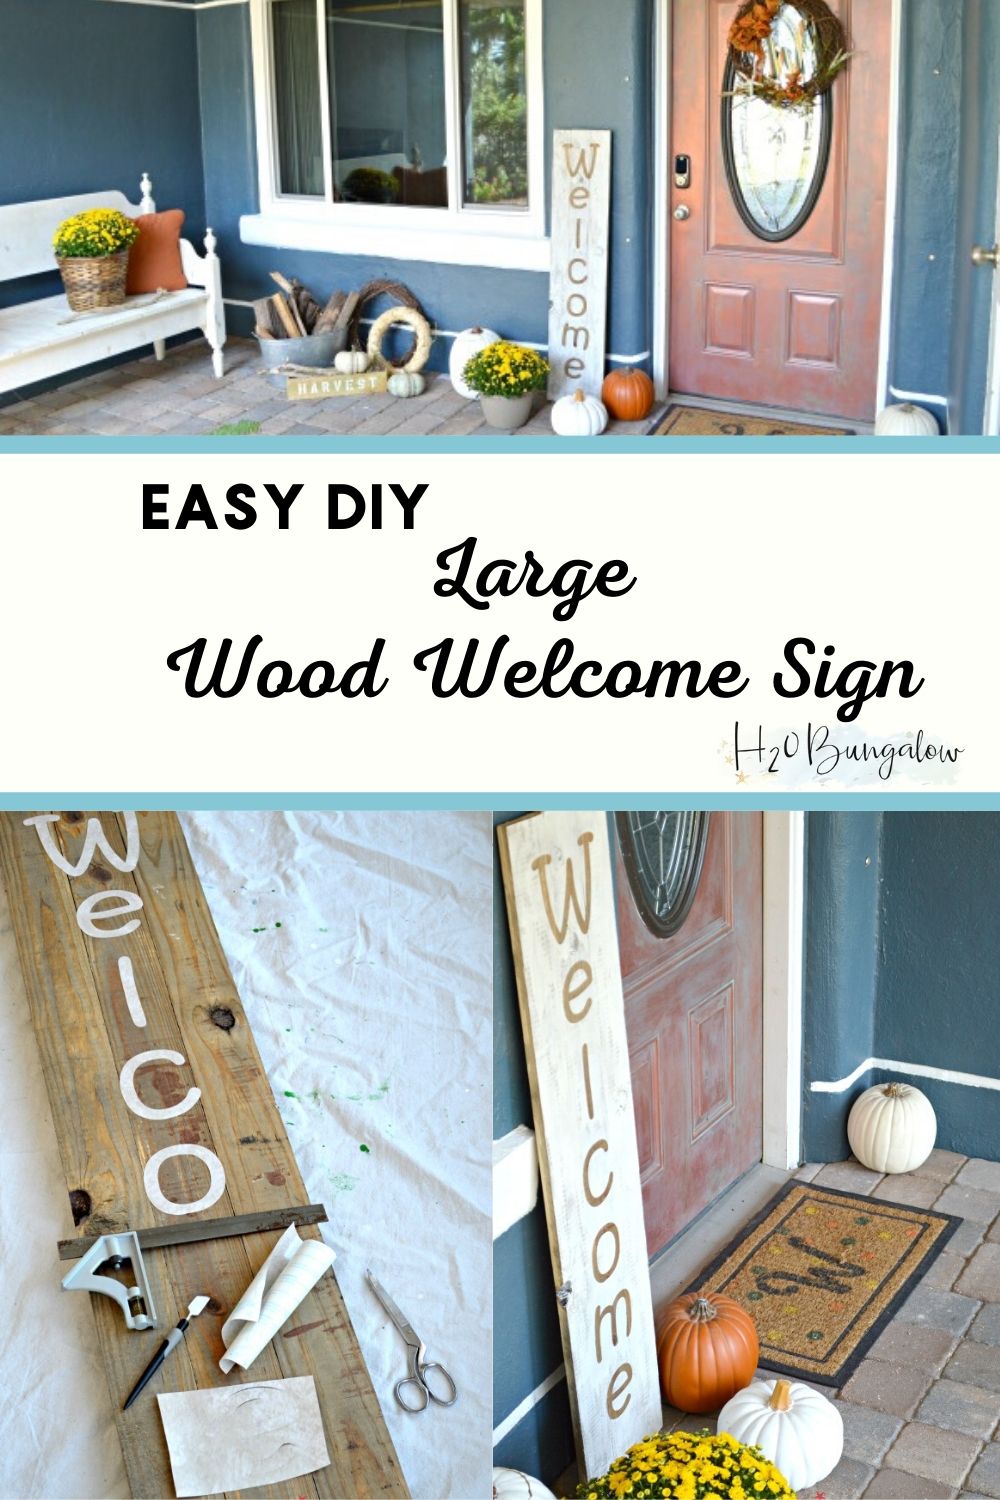
Fast forward a few years and over 400 blog posts and projects later and I’m sharing how to make a large DIY wood welcome sign. I’m planning on using it for this year’s fall front porch. It was time for a large decor piece I could use in lots of different ways, inside and outside with holiday decor or even, yes…you guessed it, seasons!
Fast forward a few years and over 400 blog posts and projects later and I’m sharing how to make a large DIY wood welcome sign. I’m planning on using it for this year’s fall front porch. It was time for a large decor piece I could use in lots of different ways, inside and outside with holiday decor or even, yes…you guessed it, seasons!
How to make an easy large DIY wood welcome sign
As an Amazon Associate I earn from qualifying purchases. I use affiliate links to help you find the products I used. If you make a purchase I get a small commission at no cost to you.
This is my supply list to make a large DIY wood welcome sign.
- 3 – 1″ x 3″ boards at 4 feet
- 3 – 6″ pieces of scrap wood, paint stirrers, or anything similar work great
- jigsaw and blade kit
- nail gun with 1 1/2″ brad nails or plain old screws and a drill
- DIY wood stain – How To Tea Stain Wood Recipe
- stencils or Silhouette cut letters on Dollar Store $1 sticky shelf liner
- scissors
- paint
- paintbrush
I still have a good sized pile of boards from the plank wall project I changed my mind on last year. Sixty boards have lasted a lot longer than I expected they would;) Anyhoo, they were the perfect size at four feet long to make my large DIY wood welcome sign project.
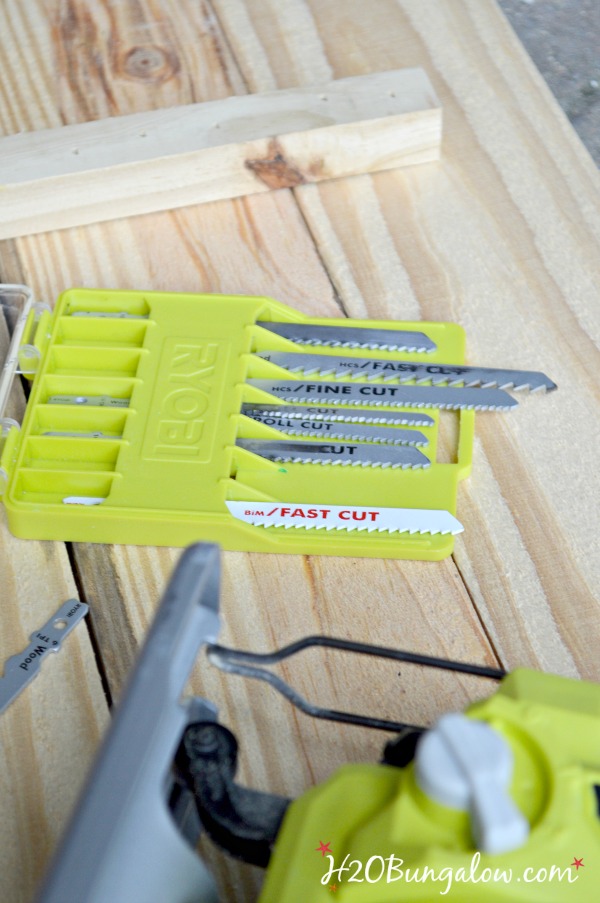
This was a super easy project with only a few quick cuts with my favorite new Ryobi One+ cordless jigsaw. One of the things I’m loving is that Ryobi makes jigsaw blade kits. Each blade is printed with what it’s used for, fast cut, fine cut, wood or metal. That takes a lot of guess work out of the equation!
Step 1. Cut the three support pieces of wood for the back of the three boards.
I used my Ryobi Airstrike Brad Nailer to attach the supports, but you could easily attach these pieces with screws.
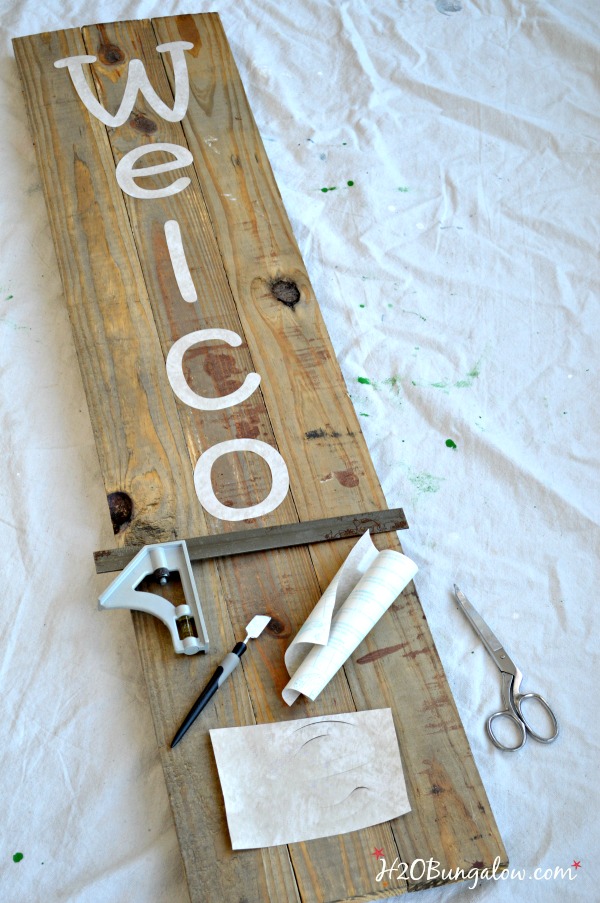
Step 2. Attach vinyl letters.
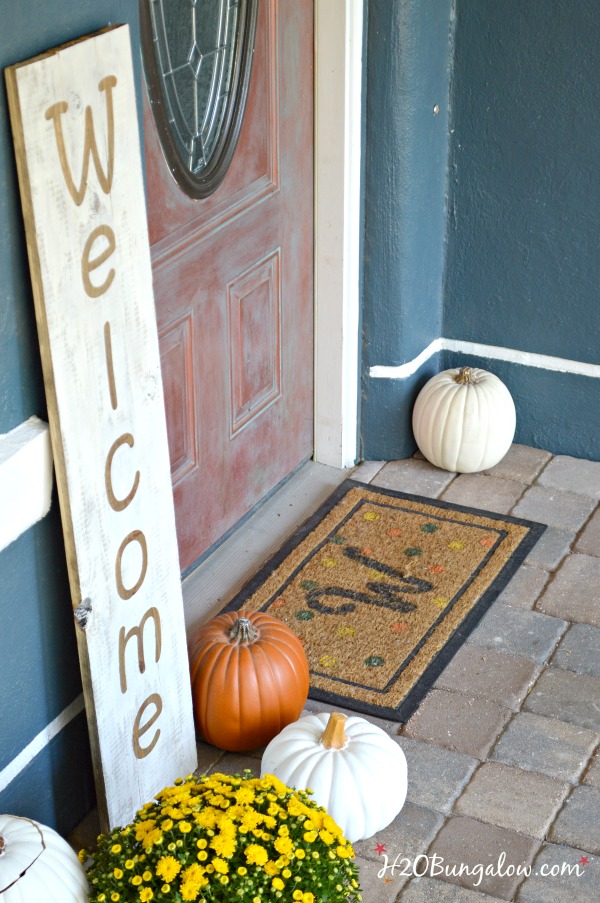
I made a cut file with my Silhouette of the size letters I wanted. My letters are about six inches high and four and a half inches wide. Because our house is a dark blue grey I wanted a light sign and made the letters in reverse. So I used the cut outs on the tea stained wood.
Step 3. Paint the wood.
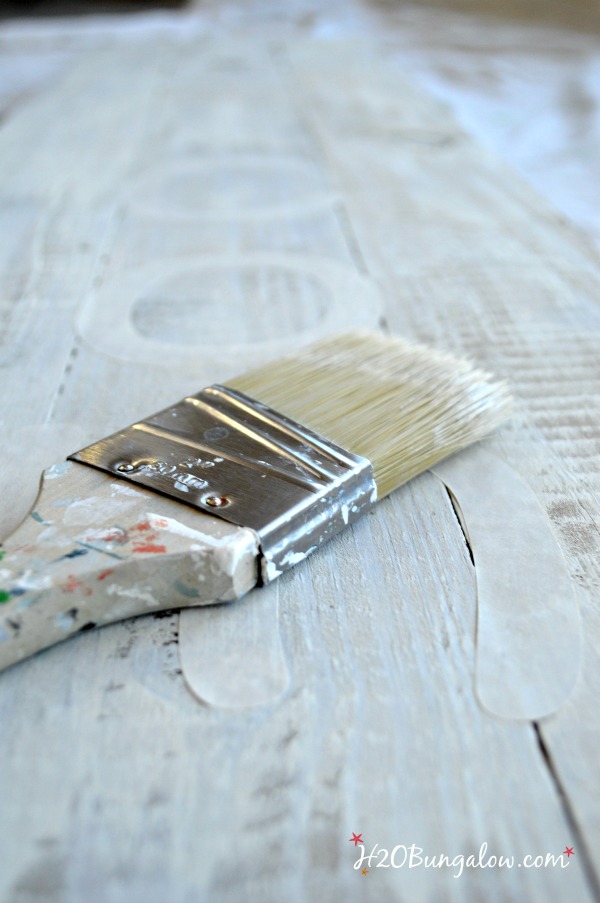
I used some leftover antique white paint and painted with a mostly dry brush. I left some areas thinly covered. This was like a heavy dry brush application. For variation I applied the paint a little thicker in some areas and a little thinner in others.
Step 4. Peel off the letters as soon as the paint is dry to the touch.
Add hanging hardware if you plan on hanging your large DIY wooed welcome sign instead of leaning it against a wall like I’m doing.
I’ve seen this style large indoor-outdoor signs in the stores and there was no way I was going to pay for something I could make for free with scraps of wood I had lying around.
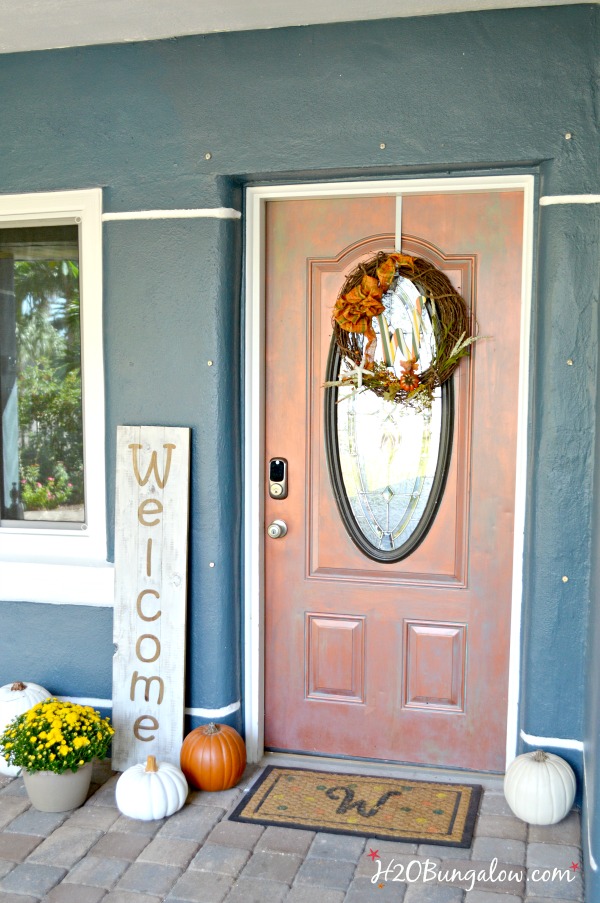
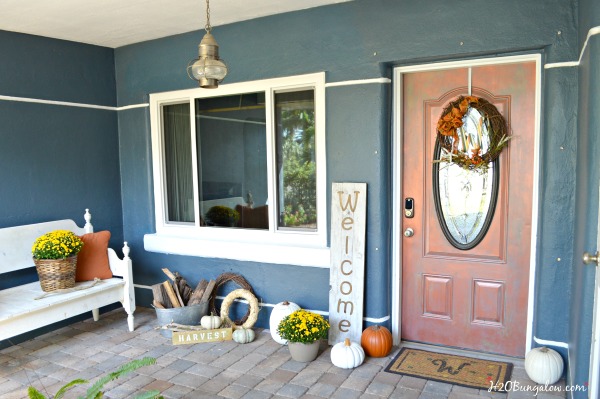
The light color of my DIY large wood welcome sign stands out against the dark paint color. yes, our front door is copper. Actually faux painted copper. You can find the tutorial on How To Paint a faux Copper Door here.
The mat is my easy Fall Monogram Doormat I made a few years ago. Best $5 DIY ever with an Ikea doormat. As you can see I kept adding more fall decor. It’s the byproduct of 4 years of DIY blogging 😉
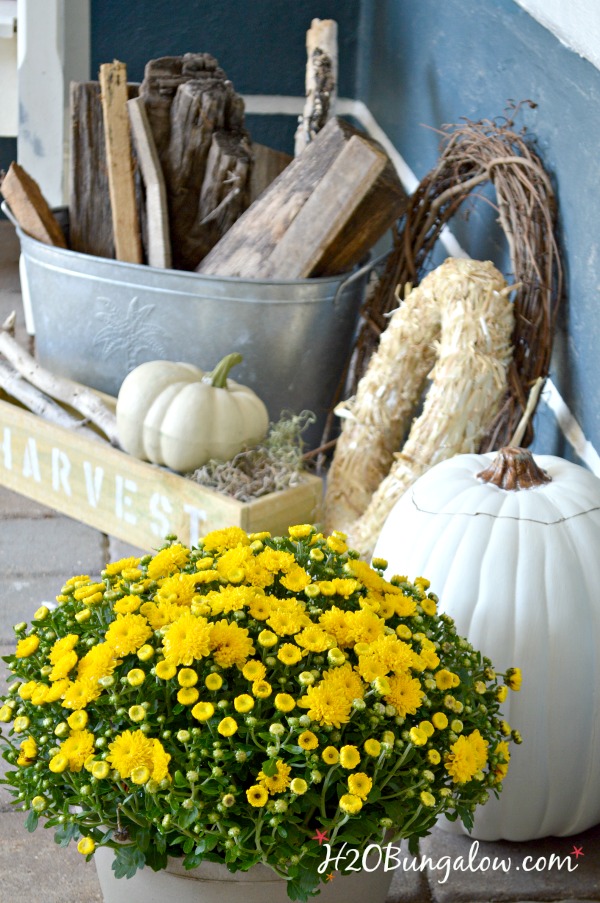
You can find the quick and easy tutorial on how to make a Faux Pallet Wood Box with a cedar fence board here. Looks great at half the work!
Decorating the front porch is a lovely way to brighten an entry and say hi, we are glad you’re here to family, friends and the new season.
Are you working on your seasonal decor yet? ! Where would you put a large DIY wood welcome sign in your house? Inside or out?

Karen says
I love your projects. I would like the cut file for the welcome sign letters. Thanks,
Wendi Wachtel says
Hi Karen! I have been looking for this file for a week now! I’ll keep looking, it may be on an older computer since this is an older post. Sorry for the wait!
donna rice says
I’m interested in how u do the letters and the cut gile
Wendi Wachtel says
Hi Donna,
That’s a good question on where to get the letters. I made the cut file myself on my Silhouette using whatever fonts were preloaded. But, if you don’t have one, you could easily use the transfer method I shared in this post and bench project https://h2obungalow.com/easily-transfer-graphics-paint. Just create letters or a word and print them out on plain computer paper.
Have fun with your project!
Kristine says
Thank you for sharing your DIY welcome sign! If you display this outdoors not pretected by a porch will it hold up? Or is there something I would need to do differently? Would I need to stain it?
Wendi says
Hi Kristine, So glad you liked my sign. I’m enjoying it even more than I thought I would since I can keep it up for all the seasons. If it were in an unprotected outdoor area I’d probably use paint made for outdoors and seal it with a clear sealer. Hope that helps and have fun making one!
Mary-the boondocks blog says
Wendi that does make quite an impact. The large size is perfect for the front entrance. I also like how you white washed the sign to reflect your coastal surroundings.
Wendi says
Hi Mary & thank you! Our dark porch is such a challenge for photos. My best option is to brighten it with light decor. Glad you like the washed effect, it took me a while to decide on that one:) This would look fabulous at your house too!
Kendra @ www.joyinourhome.com says
Love your sign Wendi!! And your porch is beautiful and so welcoming! Thanks so much for sharing at The Creative Corner… featuring you on Sunday 🙂
Wendi says
Hi Kendra & thank you so much! The porch has been a work in progress, just like the rest of this house. Until I blogged I’d never decorated my front door and now it’s probably one of my favorite things to do. Thanks so much for the feature and thanks for your note!
Grandmas House DIY says
Love this – pinning it to my Build Projects board for later! And I also wanted to mention that the Wednesday “To Grandma’s House We Go” link party just started over at grandmashousediy.com and I thought you might be interested in joining it, thanks!
Wendi says
Hi Tarah Lynn! Thank you, I love it too and even more that it’s easy to use multi-seasonal. Plus, it’s super easy to build Thanks so much for your visit and I’ll do my best to stop by for your party:)
Grandmas House DIY says
Thanks Wendy for coming by and sharing at our party!
Wendi says
You’re welcome!
Kim~madeinaday says
Very cute! I’ve been meaning to make one of these for my front door. Thanks for linking up to Merry Monday! Sharing on Twitter! Have a great week!
Kim
Wendi says
Hi Kim & thanks so much! I’ve wanted one for the longest and just couldn’t see paying for something I could buy myself:) Thanks o much for sharing my project!
Marie, The Interior Frugalista says
Now that’s my kind of easy-peasy DIY sign. Oh how I wish I had a Silhouette machine! Your Fall porch looks great, Wendi.
Wendi says
Hi Marie! Thank you & yes girlfriend you need one of these machines! I use it way more than I would have imagined. You have the “real deal” with fall out there… and true fall colors. I just stage it but at least it looks like fall. Thanks so much for stopping by my friend and hope all is well with you!
Patty says
Wendi I love your welcome sign, and what is so great is that you can use it for all seasons. I am beyond decorating for every little holiday and I like to make and buy things I can use most of the time. I’m fortunate that I have a large basement for storage but I’m tired of dragging stuff out then putting it all back again, OMG I have become my mother.
Wendi says
Hi Patty & thank you! I’m totally laughing because I have those same thoughts about becoming my mother too! I’m with you on having the multiple purpose items though, especially for decorating. We don’t have room for storage and who wants to spend all that time packing things away? Have a good weekend!
Lynda Sneed says
Wendi, you’ve done it again!! Everything looks perfect & ready for fall.
I’ve thought the same thing about Welcome signs I’ve seen for sale & refuse to buy. I’d love to have your cutouts, if they’re available. Maybe I’ll actually get er done this season!!
TY again for your blogging. It’s always a pleasure to read, inspire & learn!!
Wendi says
Hi Lynda & thank you! Yes, it’s hard to think of spending good money on something as easy as a giant sign like this. I had the wood in my scrap pile so it was free…that gave me extra $$ to spend somewhere else..like a new pair of boots! LOL Thanks so much for your visit and I’ll send you the Silhouette cut file shortly:)