Do I need to prepare furniture before painting it is a question I get asked often. My answer is usually a question back, do you want your furniture makeover to last? In this post, How To Prepare Furniture For Painting, I’ll share the steps I take to prepare furniture for painting and why I do them. I promise I’m not trying to make your DIY furniture painting projects more work, and not all prep before painting steps are hard or time-consuming:)
It’s just that in the colorful world of furniture painting, the simple answer is not black and white.
We live in a world of quick and easy. Many paint companies market their paints as needing no preparation. I think this is misleading. In some cases it’s OK not to prepare furniture for painting, but we need to understand what the paint manufacturers mean when they say no preparation needed. Most of the time it means no sanding required.
Looking for more furniture makeover ideas and tutorials? Check out my Wood Wax Finish DIY, How to Paint Over Dark Stained Wood and How to Paint Wicker Furniture.
It doesn’t mean don’t start with a clean or smooth surface:)
The problem with not preparing your furniture before painting is that the paint job may not last, or it may not look as good as you want it to look.
How To Prepare Furniture For Painting To Get A Finish That Lasts
If you follow these simple steps to prepare your furniture for painting you’ll get a finish that lasts, and a better looking one to boot:) I’m sharing how to prepare furniture for painting and the other little chores that I use to make my furniture painting projects look great and last a long time.
Everyone loves a good before and after picture of a DIY project. I’m using several before picture from my furniture makeover project gallery in this post. Click on the links above each picture to see how that one turned out. I think you’ll like them:)
Repair furniture before painting
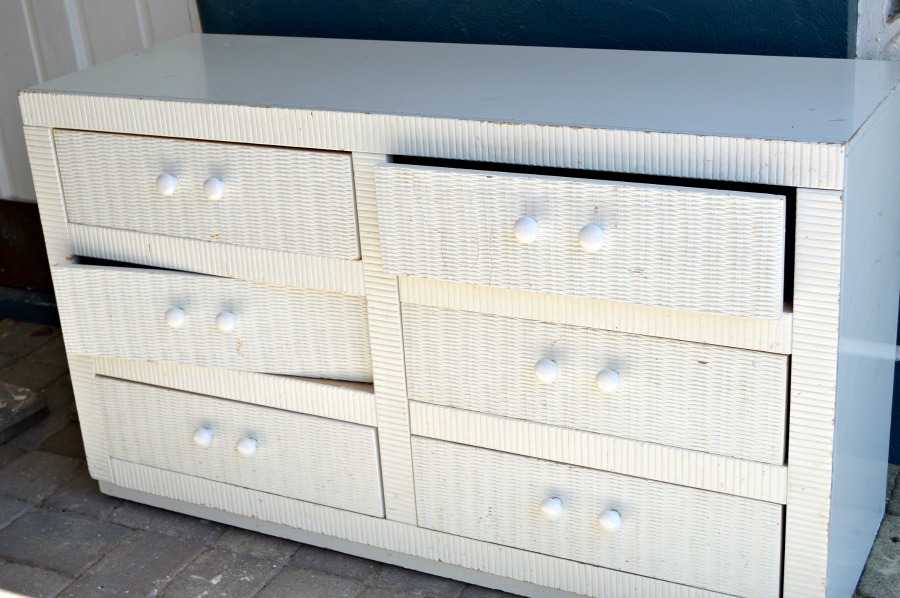
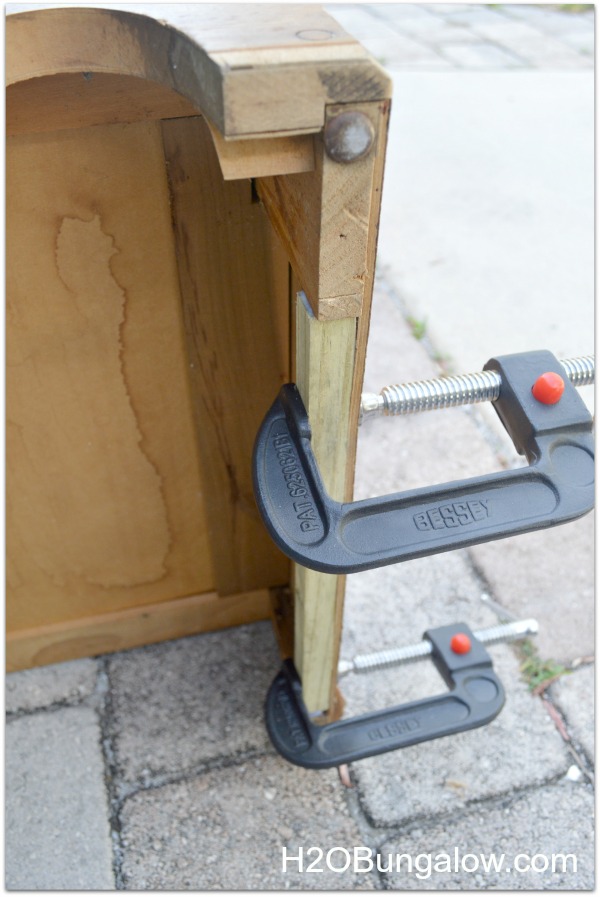
Give your furniture item a thorough look over to see what needs repairing or minor sanding before painting. Are there missing feet, mis-aligned drawer tracks or anything else that needs attention? This is the time to tackle those tasks.
See what this dresser looked like after the makeover here.
Fill gaps, dents and scratches with a stainable/paintable wood filler. Wood glue works well for loose parts. Fine grade sand paper such as 220 grit works great to smooth very rough spots, finish with a 320 grit to get a perfectly smooth surface for painting. If you are painting a slick surface such as faux wood, plastic or melamine, always sand any surface thoroughly that you plan to paint.
This is a good time to remove any hardware and put aside in a container if you’re going to reuse original parts.
See what this cute little chest looked like with some paint and imagination here.
Clean furniture before painting
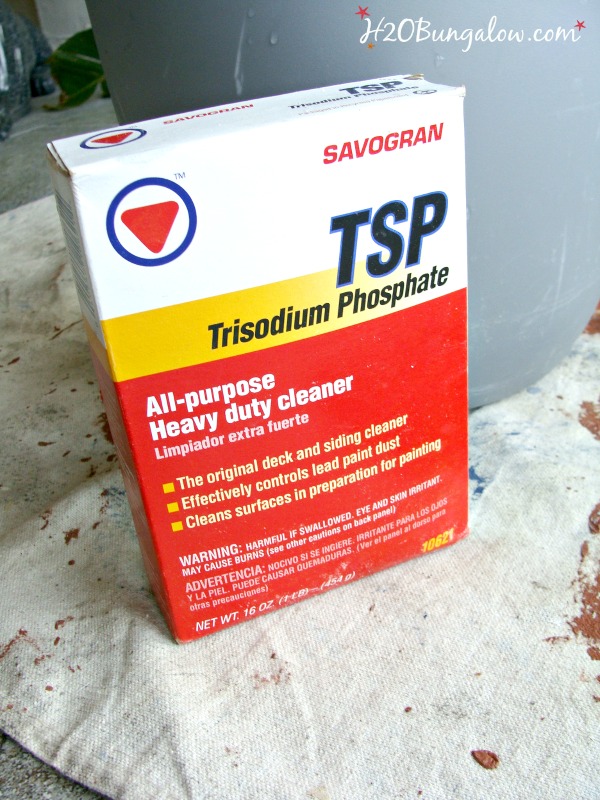
Always degrease and degloss your furniture and furniture hardware before painting. Old wax, dust and grime need to be removed to prepare furniture surfaces for painting. This step is really important if you want your finish to last and not chip away over time. I wipe every piece and part of furniture down with TSP before painting it.
I use a few teaspoons of TSP in a spray bottle mixed with water, and a clean lint free t-shirt rag (that I throw away after), to thoroughly wipe down all the surfaces, inside and out.
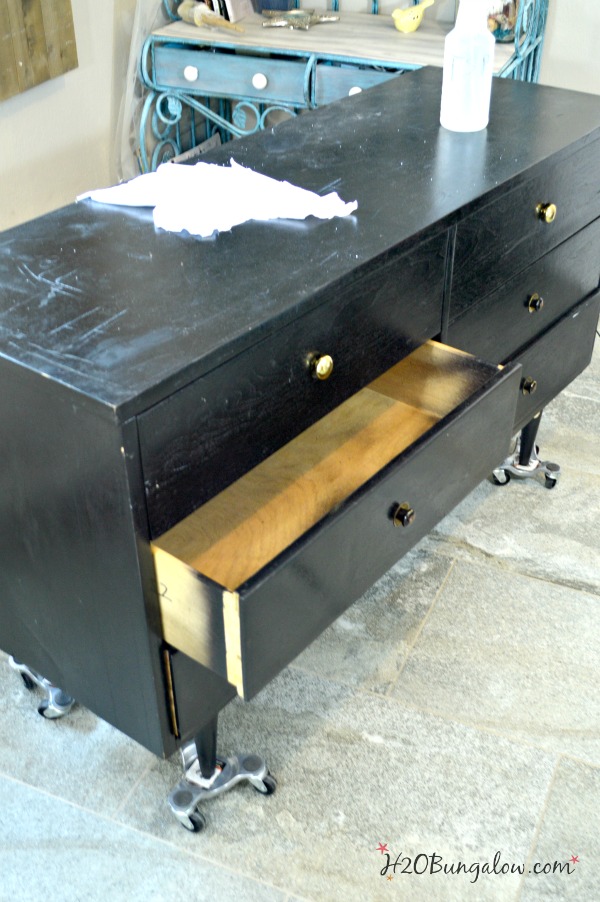
You’d be surprised how much dust accumulates inside a dresser. Yuck! I take all drawers out of dressers, and clean the inside of the base behind where the drawers slide in.
This was seriously ugly when I brought it home! See the after here.
Protect surfaces from paint
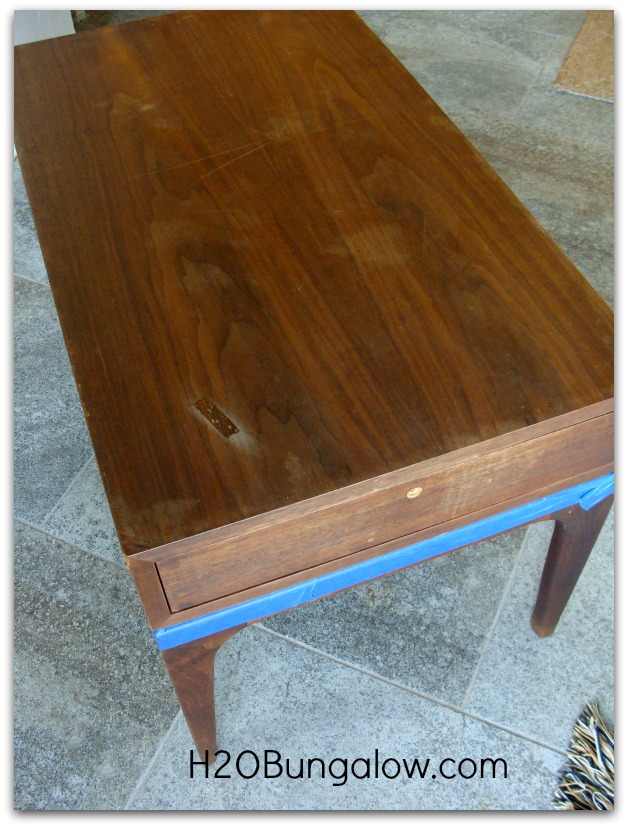
Tape off hardware and areas that you don’t want to paint Quality tape is a good investment, low-end tape wont give sharp edges and it often pulls the paint off painted surfaces. My favorite painting tape is Frog Tape for sensitive or painted areas. You can save a little money on regular painters tape, if the area you’re taping isn’t a painted surface or delicate.
See the after on this side table here.
Prime your furniture before painting
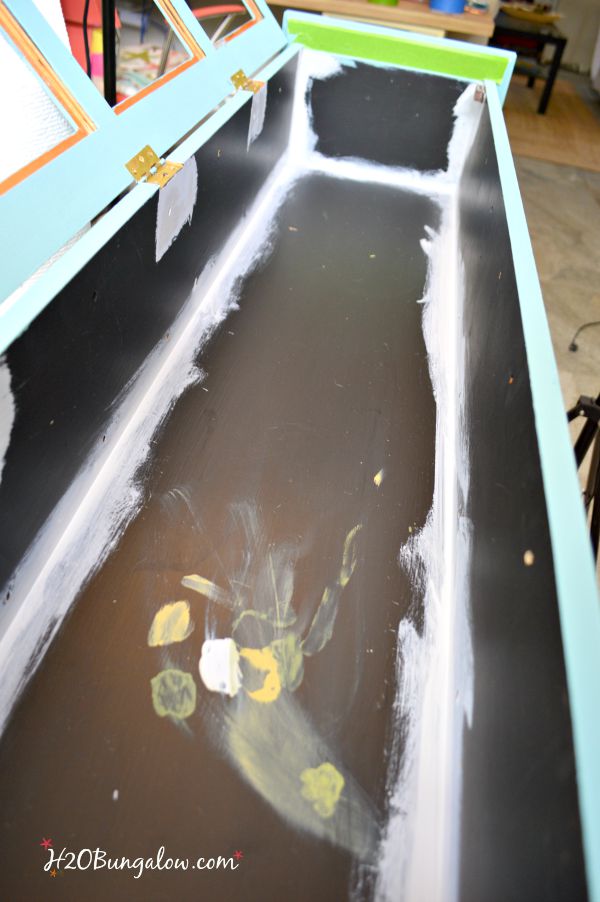
There will be times when priming a piece of furniture is necessary. As much as I want to be lazy with this step, it never pays off and I end up priming it anyway. How do you know when to prime a piece of furniture before painting it? Look for knots in wood, they will usually bleed through your paint leaving dark spots. If you plan to paint over especially dark paint, or have wood with a lot of oil in it you’ll need a coat of primer.
You’ll need to be especially careful in preparing your furniture for painting when painting over oil based paint. If the piece of furniture you are painting already has paint on it, wipe a spot with a cotton ball dipped in rubbing alcohol. If the paint comes off onto the cotton ball, it’s a latex paint. If not, you have a piece of furniture painted with oil based paint.
No worries!
It will be OK. Take extra care in cleaning and sand all the painted surfaces thoroughly with at least a 220 grit sandpaper before using your primer. Yes, with proper prepping and a quality primer I use a latex primer over oil based paint. They key is being thorough in the cleaning, deglossing and a good sanding to prep the surface for paint.
My favorite primer is Gripper or Stix. I always have them tinted a light grey which helps all paints colors, especially white go on better. A quart will last for several projects.
See what this cabinet looked like after I finished it here.
I’m so glad I shared how to prepare furniture for painting today. I’ve shared bits and pieces of how to professionally prepare furniture for painting over the past few years, but haven’t sat down to pull all the information together in one organized post. Whew! I meant for this to be a simple short post, but there was a lot to share.
Pin this article and refer back to it next time you are getting ready to tackle a furniture makeover with paint!
Do you have a favorite furniture preparation tip or product to share? Help out your fellow DIY’ers and share in a comment below!

Jamie McCormick says
I recently purchased a very similar table. It has not been painted just a poly and stained. There is much detail work in the pedestal. I’m wondering if TSP will be enough without sanding?
Wendi Wachtel says
Hi Jamie,
That’s a very good question! Both TSP and Super Green will clean and degloss a painted surface. As long as you get all of the cracks and crevices cleaned you should be fine. Be sure to let your painted table cure when you’re done before using it or placing anything on top of it. Especially if you’re not waxing the surface. I usually wait a week or two. Good luck on your project and thanks for your visit and question!
Sherry Nappa says
Thanks for sharing your great tutorial with us at Merry Monday.
Wendi says
Hi Sherry & thank you:) Prepping furniture is one of those chores we’d like to avoid but shouldn’t. It’s so much easier when you know the tricks.
Fran says
I have a chest I sprayed with a paint that had a grit like finish to it it has held up for years and I am now way past over it. I dread getting this fish off to go to something a lot better. Help
Wendi says
Hi Fran, I understand your pain! It always seems like the finish we don’t want to last is one the that does! If it’s a thick finsih that doesn’t sand down and smooth easily you may need to strip it. That’s a lot easier than you’d think. Here is a link to a post I did on stripping paint off furniture and cabinets. Its a 2 part series and should help a lot if you’re not familiar with stripping paint. https://h2obungalow.com/2015/10/how-to-strip-paint-off-kitchen-cabinets-and-furniture-part-1-of-2.html I have a table I need to strip now too, so thanks for the reminder. Good luck!
Amy | Canary Street Crafts says
These are great tips, Wendi!
Wendi says
Hi Amy and thank you! I hope they are useful on the next painting project you tackle! Thanks so much for our visit:)
Bonnie @ Our Secondhand House says
This is great Wendi! But prepping furniture to be painted is my least favorite part of the project. I would rather jump right in but it is so important to do it right. Not fun, but important. I would love for you to share this at the Friday Favorites link party going on now.
~Bonnie
http://www.oursecondhandhouse.com/2016/03/friday-favorites-week-317.html
Wendi says
Hi Bonnie. I completely understand it’s the no-fun step. It makes the pretty finish so worth it in the end though. Thanks for the invite and your visit, I will try to make it!
Vineta @ The Handyman's Daughter says
What a great list of tips! I just tackled painting my kitchen cabinets, and a good cleaning and primer went a long way to making the finished product look so much better. Hopefully it will last until the remodel!
Wendi says
Wow! Kudos to you for taking on cabinets! I’m sure they will last and I’ll bet they look fantatsic:) Thanks so much for your visit and I’ll look out for your kitchen cabinet project!
Angela @ Setting My Intention says
Thank you so much for these tips! I have a couple pieces I’m thinking about painting and need to know these basic tips! I’m all about decluttering and budgeting right now, but plan to actually do some purposeful decorating and DIY someday! 🙂
Wendi says
Angela, So glad you found these useful. Prepping your furniture well makes such a huge difference in the finished piece. Enjoy & thanks so much for your visit and sweet comment!
Tina @ Treasured Tidbits says
Thank you for sharing!
Now that our new wood floors are being installed I can’t wait to start working over our furniture. I have been studying furniture how-toys for awhile and this tsp tip makes wonderful sense.
Wendi says
Tina, You ‘ll love using TSP. It’s the easiect way to clean, degloss and prep I’ve found. Who doesn’t like easy, right? 🙂 Thank so much for your visit and and have fun with your painting projects!
Emily @ The Benson Street says
Great tips!! It can be a nightmare if you don’t clean before you paint! Thanks for sharing at the Monday Funday Link Party – Emily!
Wendi says
Thanks Emily. You’re right a fun project isn’t so fun if the paint doesn’t turn out well! Have a good week & Thanks so much for your visit!
TwoPlusCute says
Super helpful post. I have a few hand-me-downs that I really want to turn to something less oak-y and more “us”.
With this post I am pretty sure I can tackle them (and I already bought TSP).
Wendi says
You can do it! I’m glad these tips will be useful for you. Whne I was preparing to teach my local class I realized I’d never put all those steps together for the blog. Please share a picture of your makeovers on my H2OBungalow Facebook page when you finish:)
gail says
great tips Wendi!
pinned!
gail
Wendi says
Thanks so much Gail!
Marie, The Interior Frugalista says
Great tips Wendi that I’m pinning to share. My personal favorite primer is Zinsser Bullseye 123 – always have a can in my workshop. I haven’t tried Gripper or Stix but now I’m curious and want to try each for a comparison test. Thanks for inspiring me to step outside of my usual go-to route.
Wendi says
Hi Marie.. That’s a good primer too. Let me know if you try the ones I listed and how they work for you. It’s tough trying new products once we find reliable favorites. Thanks so much for your visit my friend!
Mary-the boondocks blog says
Absolutely Pinning this Wendi, on my paint board and on my super secret board so that I will be able to find it. Thanks for all of your handy tips.
Wendi says
Mary …as always thank YOU so much for reading my posts:) Proper prepping makes a big impact on a paint job. So glad my tips will be useful for you:) Thanks so much for your visit!!
Patty says
Thanks Wendi, another great tutorial. You just don’t know how much I appreciate all your hard work. I know TSP is good for cleaning we used to use it to pressure clean our house, patio and boat. I read somewhere that they took something out of TSP and I wondered if it affected it’s cleaning ability.
Wendi says
Hi Patty… I wasn’t aware anything was changed in the recipe for TSP. I’m sure it still works fine. I love that it’s so economical and easy to use. It’s been my go-to for so long I wouldn’t know what else to use! So glad my tips are useful:) Thanks so much for your visit & have good weekend!