Today I’m sharing how to paint your home with a paint sprayer. I know what you’re thinking. I thought your house was already painted.
I’d have to answer yes….and no.
When I painted my house two years ago, we were about to start construction of a new addition, and build an amazing master bath. I was soooo tired of seeing the faded old paint that I just couldn’t stand it any more. A project house can do this to you. Make you do silly things;)
So, I painted the front and back.
I had every intention of getting myself outside to finish painting the house, and the new addition as soon as it was finished. The addition turned out to be a long drawn out affair lasting six months. By the time they finished the weather was all wrong, we were in the middle of the holiday season, I was burnt out, life happens and so on…
The bottom line is, much to my neighbors dismay, it never happened.
I never got around to painting the rest of my house!
Simple Steps To Paint Your Home With A Paint Sprayer
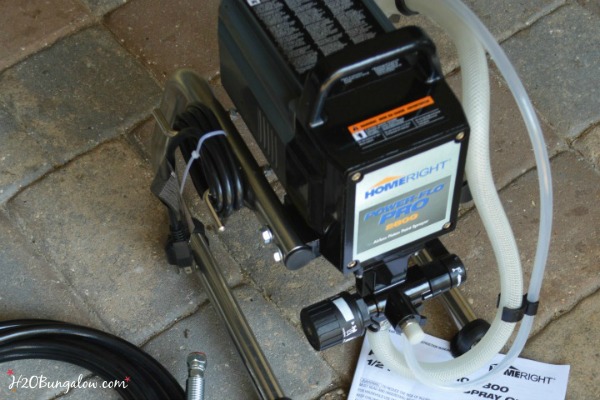
I used the Power Flo Pro 2800 by HomeRight. It’s a heavy-duty exterior stain and paint sprayer that made painting my house a piece of cake. I’ve used other HomeRight paint sprayers before, just not anything so large. I read the instructions and followed the simple steps. I figure if I can do it by myself, pretty much any one can.
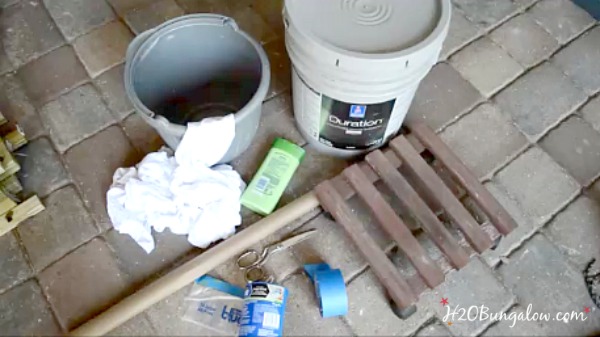
Supplies you’ll need to paint your house with a paint sprayer
- Paint
- dropcloths
- painters tape
- ScotchBlue Pretaped Painter Plastic 24″ size
- two buckets
- metal bucket or large bowl
- lots of rags or wet towels to wipe your hands
- ladder and step stool
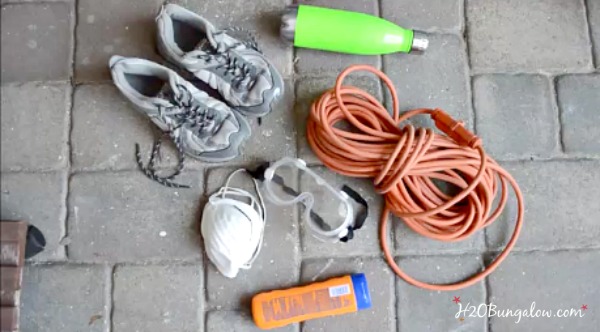
Safety gear you’ll need when using a paint sprayer
- electrical cord that is rated for the sprayer you’re using
- safety goggles
- respirator
- sunscreen
- water to stay hydrated
- sturdy shoes
Strategically plan your exterior painting project
Since I’m sharing how to paint your home with a paint sprayer, let’s not forget a huge item, the weather. We have frequent summer showers, I watched the weather and planned my home painting project to begin when we had a forecast of no rain and low winds for 3 days. The paint, and you will do better in cooler temperatures and lower humidity. I planned around the sun, which meant I painted early in the morning and I painted the walls that the sun wasn’t directly shining on. Since it was May here in Fl and heating up, it helped the paint and me!
Prepping your exterior before painting
Painting a stucco house is pretty straightforward. Remove any loose, peeling or flaking paint from the surface. Powerwash all the surfaces you plan to paint. You can add TSP (Trisodium Phosphate) or simple green to the detergent receptacle if you have stubborn dirt or build up on your exterior surfaces. Allow to dry.
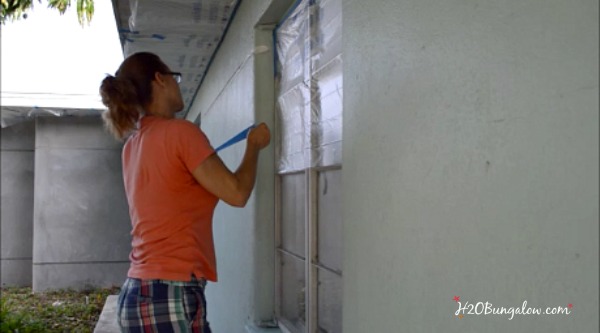
Protect areas from overspray
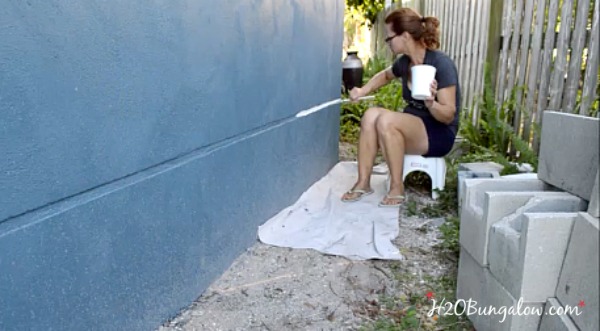
I didn’t need to buy a big or expensive drop cloth to protect the ground. I made a large heavy paper one that worked perfectly, and I moved it as I painted. It was 10 feet long from a roll of heavy Kraft paper that I found in the painting department of my local Home Depot. Doubling it, and taping around the edges made it thick and strong. For extra protection, I also put a line of painters tape along the ground at the bottom of each wall if there was a sidewalk.
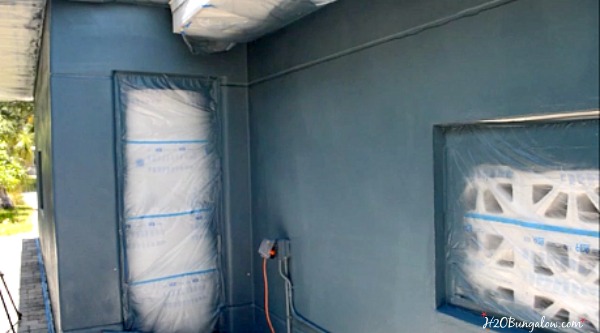
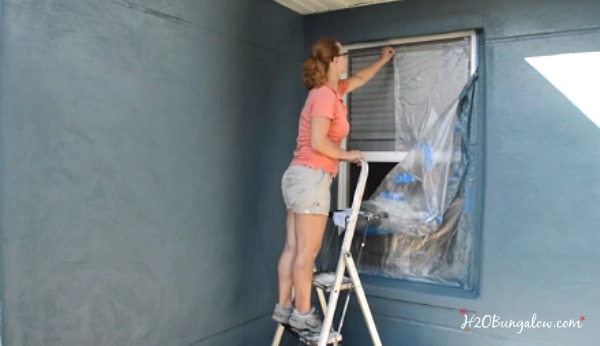
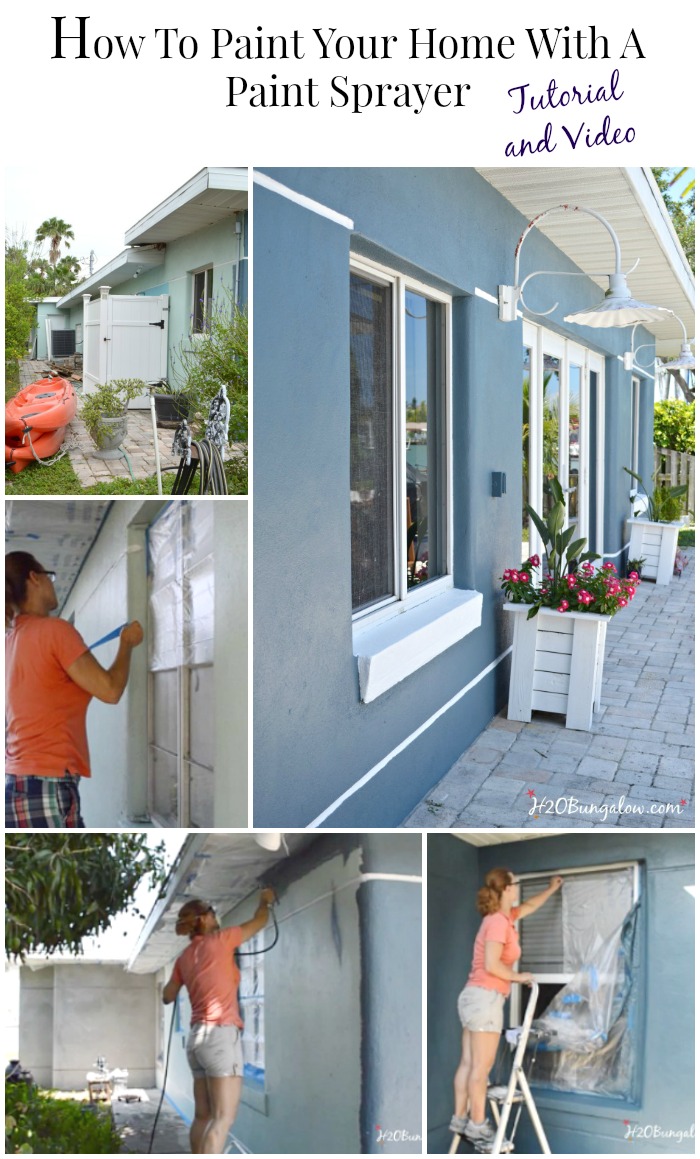
I was not looking forward to taping off everything. I saved hours by using the ScotchBlue Pretaped Painters Tape with the dropcloth built-in. This product seriously made a one person job easy! You’ll see how I did the tape and prep work in the video.
Using the Power Flo Pro 2800 Paint Sprayer for the first time
This is the step that requires all the buckets. Plain old buckets work fine, except the metal one.
All I had to do to make my new paint sprayer ready to use was to attach the long tube to the machine and the other end to the sprayer nozzle.
Easy enough. Check 🙂
Run a gallon or so of soapy water through it to clean it before using it. This is the step that requires the metal bucket. I had to look all over for a metal bucket, I ended up using my (good) large metal bowl. Plan ahead, go to the thrift store and find a used bowl for a few dollars. It took a lot of scrubbing to get the paint out later 🙁
Next, you’ll prime the Power Flo Pro with the paint. Priming was easy, just follow the directions. That’s it, you’re ready to paint.
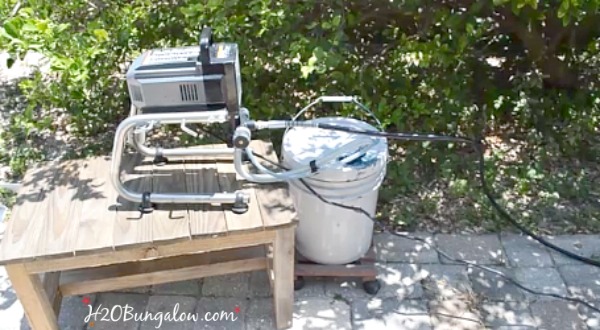
This is the set up I made for the paint and sprayer. You’ll see the paint suction and overflow return tubes run into the five gallon bucket of paint. I set my paint on a plant dolly with wheels to make it easier to move around.
Smart!
I used one five gallon bucket of paint to paint both sides of my house. You’ll use more paint than painting with a roller. Funny, I always thought that was due to overspray, but it’s because you spray the paint on thicker than rolling. There was very little overspray for the entire project.
Start painting!
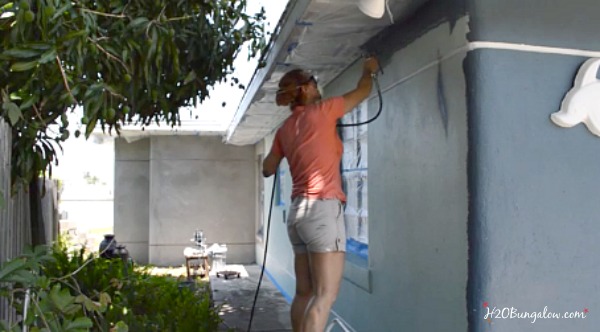
It’s easy to adjust the amount of paint that comes out of the sprayer by turning a knob on the Power Flo Pro. Adjust the spray pattern for a horizontal or vertical spray by turning the spray nozzle. Pull the trigger and start painting. It was simple. Hold your arm steady and use back and forth motions to paint. You’ll see me do this in the video.
This is the first area I painted, it took me about 30 minutes!
I was working on the other side before I knew it. A step stool worked great on this side of the house. I guess there are benefits to having a single story 1950’s block and stucco house.
One feature of the Power Flo Pro I absolutely loved was how long the paint hose was. When I placed the paint and the paint sprayer in the middle of the side I was painting, I could reach both ends. I hardly had to move the paint bucket!
My house only needed one coat of paint. I painted both sides and the addition in less than half a day.
Removing the plastic and painters tape after painting
The paint was fully dry in a few hours and I was ready to take off the protective covering. Taking down the plastic was easy. Take everything off when the paint is dry to the touch the same day! Otherwise, you run the risk of the paint hardening and the tape being tough to get off when the paint starts to cure. This is true for any paint project you tackle indoors or outside.
This step was a breeze!
Touch up and trim
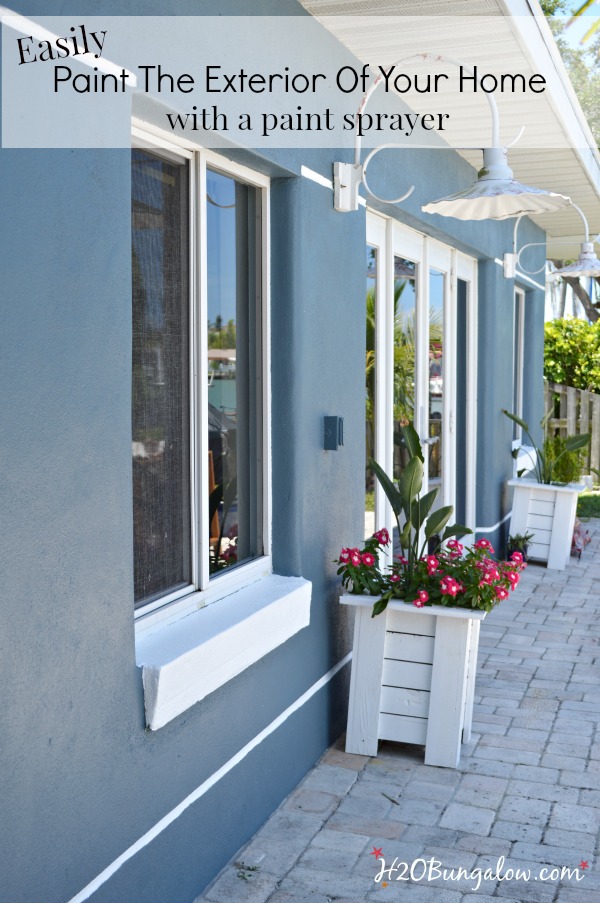
Touch up any areas you missed by hand with a brush. Paint any trim as needed. We have two white stripes that go all the way around our house, ugh… it’s not hard to paint them, just tedious.
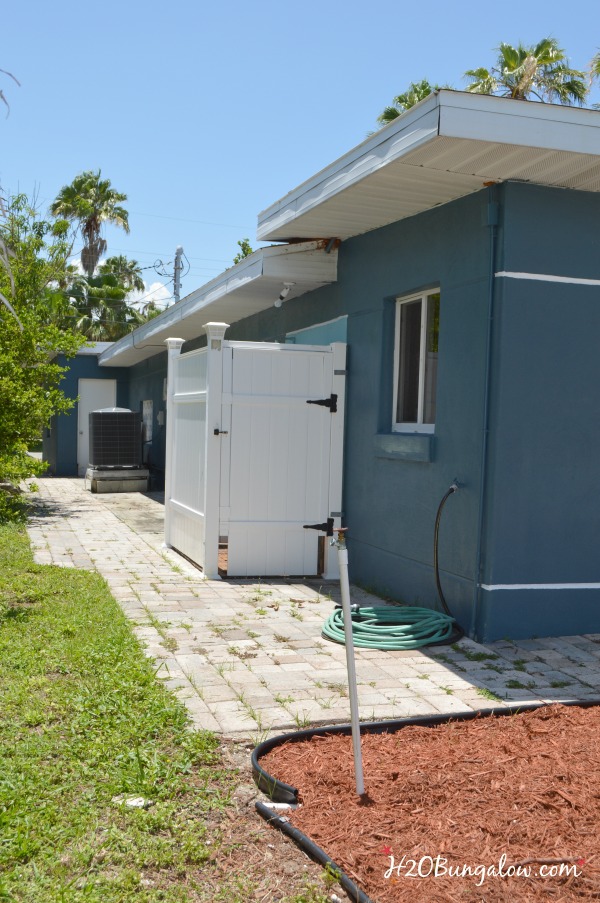
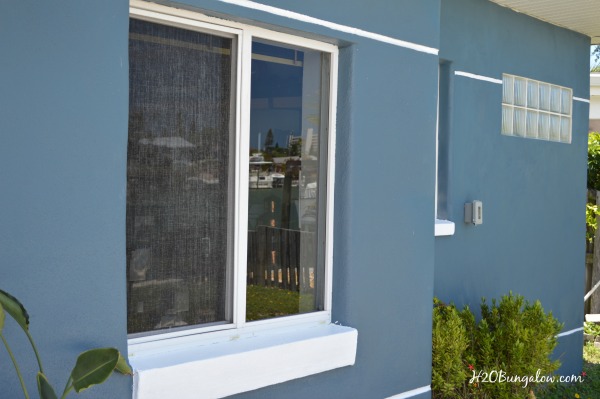
I still have the white stripes and the window sills to finish on this side, but it’s a whole lot better than it used to be!
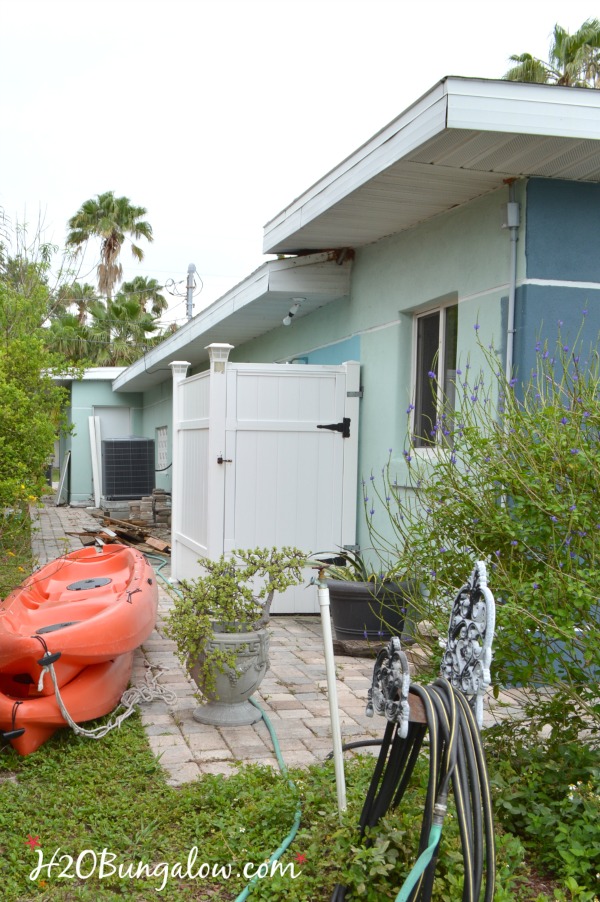
That white box is our outdoor shower…
another project for another day 😉
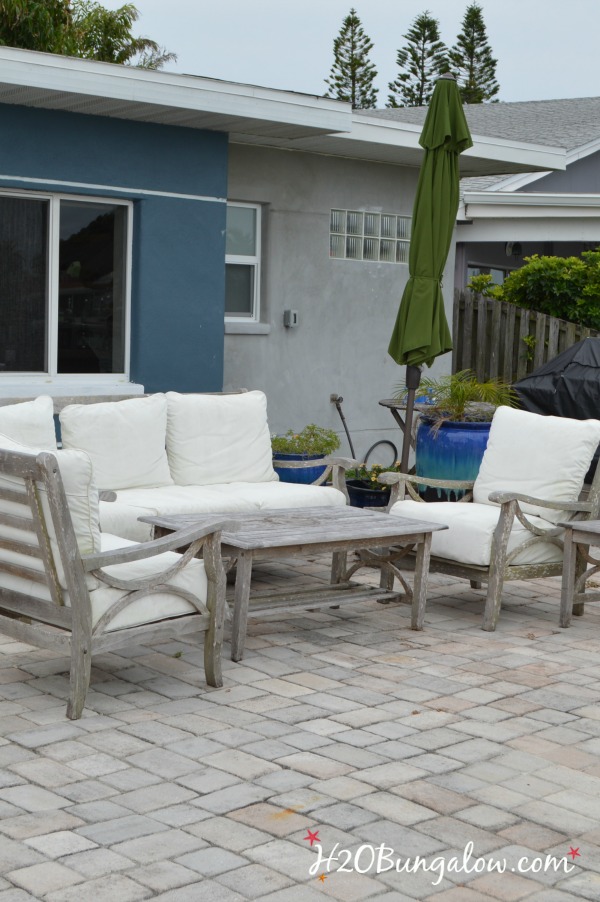
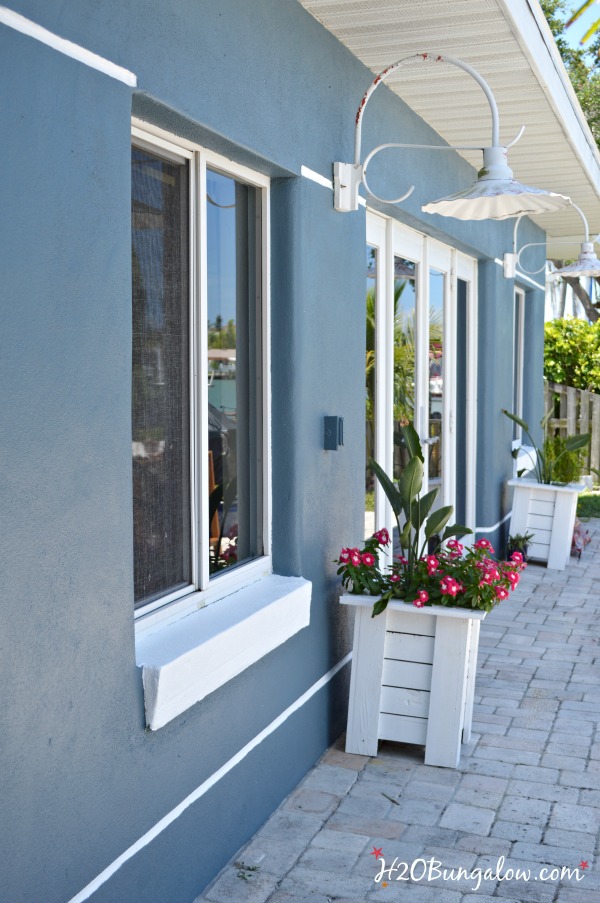
It’s such a treat to look at the back of the house and see everything matching…finally, after 2 years!
I’m sure our neighbors appreciate our house being one color almost as much as we do.
I’m amazed at how well the paint matched! We used Bunglehouse Blue from Sherwin Williams in the Duration line. You can’t tell the difference between the paint I put on two years ago and the fresh paint. That’s nothing short of a miracle since the Florida sun is so brutal. It pays to use the best quality you can afford when it comes to choosing outdoor paint.
Are you wondering whether I’m recommending rolling vs. painting your home with a paint sprayer?
Rolling took me 4 long days and was a very physical job. Sure I needed the excercise, but I’d rather get it somewhere else:) I sprayed both sides of my house in just a few hours…hours friends! I took one day to prep and tape. It wasn’t even a full day, I was just being lazy and did it in between other things.
I not only saved a ton of time but saved a ton of cash painting my house with a paint sprayer. Yes, I highly recommend painting your home with a paint sprayer and I have no doubt that the Power Flo Pro 2800 had a lot to do with how easy this job was to complete.
Painting my house is the first project in the 30 Days To Fabulous Backyard Makeover I’m tackling this month. Since I had a huge unpainted wall that needed to be painted before I could start my other projects, I included it in the series.
Now that I’ve shared how to paint your home with a paint sprayer and how easy it is, are you ready to tackle your own?
You’ll find my project linked up to these fabulous parties!
Love a good dose of DIY home decor, home improvement, the challenge of woodworking and creative ways to make your home look fabulous?
Me too!
I’d love to share mine with you. Click here to sign up for my post emails and I’ll send a quick note when I have a new project to share.
Disclosure: I may have been compensated, given product or tools that I used in this DIY post. All opinions that I share are always 100% my own. I use affiliate links in my posts. If you should make a purchase I will receive an itty bitty commission at no cost to you. Thank you in advance for supporting my blog and two fur-ball cats who believe they are privileged.


Thomas Roberge says
Hello Wendi,
Did you use the ascp wax? If so how did you apply it? Also, what sprayer do you have? Could you recommend one?
Thank you very much!
Wendi says
Hi Thomas, Not sure I understood your question. I wouldn’t use any wax when painting the outside of our home. I used the HomeRight paint sprayer that is featured in this article. Thanks for your visit & I hope that clarified your question.
Jennifer Whitaker says
Loved the tutorial. I never seen that plastic with the tape attached. Where’d you get that?
Wendi says
Hi Jennifer! Isn’t that the most amazing product ever???? Without exaggeration it saved me a ton of time when I painted the house. It wasn’t expensive either. I found mine at Home Depot in the paint department. Let me know if you tackle your house with a paint sprayer too. It took so much less physical work and strength than using a roller. If you have any other questions, just send them along 🙂 Thanks so much for your visit!!
Merit says
Wow – that looks great! Love the color – Thanks for sharing it at #HomeMattersParty
Wendi says
Thanks so much Merit, I’m happy I finally finished the job. Now I can start working on decorating the area:)
Sara says
What a beautiful house color. Love it! Thanks for sharing at Merry Monday!
Wendi says
Hi Sara, Thank you. It took me the longest time to pick the right shade of blue… one that wasn’t to bright and had dusty grey undertones. Have a good weekend and thanks for your visit!
TwoPlusCute says
Girl, you are athletic!
(Yeap first thing I noticed…)
The color is a fantastic blue hue and the idea to put the 5 gallon on wheels, was brilliant! You did a great job and the pre-taped plastic looked so easy to apply in your video.
Spray painting exteriors make all the sense in the world, seeing how fast and easy it was to cover it all. That was a single coat coverage?
Wendi says
Hi TPC! Thanks & yes I’m active. It must be the beach yoga…LOL I LOVE this color blue, it took forever to find the right shade, I tested several on the walls outside first. Yes, the sprayer gave such a good coverage all the house needed was one coat! This is such a doable and money saving DIY project. I hope I’ve inspired others to do it too:) Thanks as always for your visit!
Lisa House says
Did your arms tire quickly? Did you get sore muscles? I guess I am really wondering how heavy this is, is it difficult to hold over time? Your house looks fabulous!
Wendi says
Hi Lisa, Those are really good questions. My arms didn’t tire at all. The spray gun is attached to a long small hose and weighs hardly anything. The trigger was easy to pull and hold down. I have sensitive hands from a double carpal tunnel surgery and they are sensitive. I’m thrilled to have the house finished ad thanks so much for your visit and great questions!
Marie, The Interior Frugalista says
Wow Wendi, you made this BIG job look doable!!! It all looks fabulous and the color is lovely and perfect for the style of your coastal home, along with the white trim. You must be so happy to have this project checked off your list! Those ScotchBlue Pretaped Painters Tape with the dropcloth built-in is the cat’s meow. I’ve never seen these before. Now that’s a mighty paint sprayer and good quality paint to get it all in just one coat! Smart tips using the small table and plant roller. You did good girl!!!
P.S. Great video too.
Wendi says
Hi Marie! Yes, I am thrilled to have this project done. Doing it wasn’t nearly as diffucult as getting to it. Now I’m ready to tackle the rest of the oitside projects that the paint was holding me back from starting. Perfect timing as the weather gets beastly humid and hot here! Thanks so much for your visit!
Mary-the boondocks blog says
Wendi it looks fantastic. I love the color and although I would not be brave enough to do something like that, I certainly can appreciate your tenacity. Tha t is one beautiful shade of blue.
Wendi says
Hi Mary and thank you! LOL.. it ‘s not as scary as you’d think. I was motivaed by cash and curiosity, which can be a dangerous combination. I really wanted to say that I’d tried a paint sprayer of this size. Like most things, it wasn’t so scary, and was way easier than I thought it was going to be! I LOVE this color of blue. I tried out and tested blues for a long time before I found the perfect dusty shade that would fit the beach:) Thanks so much for your visit!