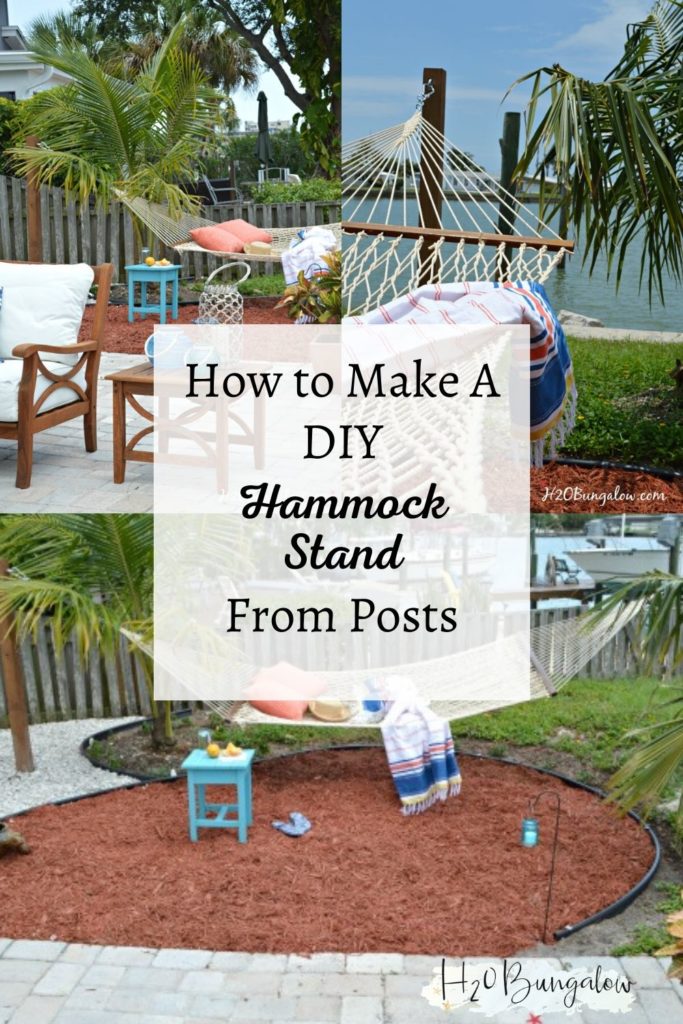
Initially, when I thought about how to make a hammock with a DIY hammock stand from posts, it seemed like it would be a big deal. It’s not my friends! This DIY hammock stand built with posts was easy to do! Today, I’m going to show you how to make a hammock stand and the supplies you’ll need. It’s easy and inexpensive, not a big deal at all.
Plus, you won’t need to worry about a big metal hammock stand rusting and falling apart when it gets weathered. This DIY hammock stand is solid and isn’t going anywhere!
I wasn’t planning on adding a hammock to the backyard. In fact, I had no idea what I was going to do with this strip of yard on the side where we put our awesome master bath addition two years ago.
For weeks, I’d look out the window or over at this area when I was doing another part of the backyard makeover hoping to feel something, some little beginning of an idea, inspiration…
…something.
Nope, not a thing 🙁
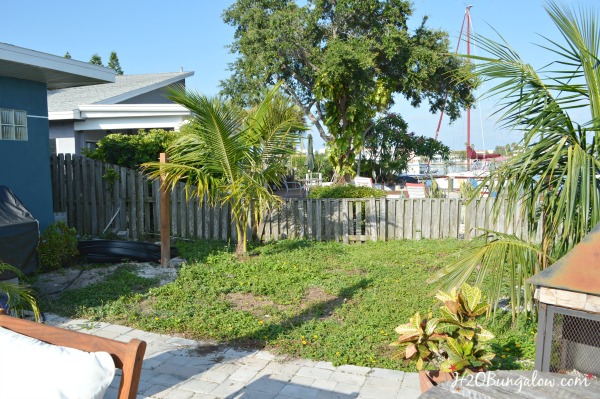
I finally made the decision to start by adding a palm tree. Shade, we needed shade, right?
My good friend, who is also a Master Gardener, said “Why don’t you get a coconut palm”? Do you mean the kind that makes coconuts I asked? How fun! I was all over that idea! Thrilled that I finally had some direction for this area, off I went to find my new coconut palm.
The fellow at the nursery helped me pick a beautiful healthy one. Then he said, “If you have two, you can hang a hammock between your trees”. Really? What an awesome idea! Gimme two of those beauties:) Keep in mind, my new trees are about 15 feet tall and have maybe a foot of thick trunk on them.
Later that night, I realized it would be a few years before my coconut palms were tall and strong enough to support a hammock with people in. Darn! Yes, years. I don’t want to wait two or three years just to swing in my side yard!
I wanted to swing in my backyard hammock that week!
And that’s when I decided to make a hammock stand from posts in that neglected spot in the backyard.
How To Build A DIY Hammock Stand With Posts
This post contains affiliate links, as an Amazon affiliate I earn a fee from qualifying purchases at no additional cost to you. Thank you for supporting H2OBungalow!
Supplies to make a DIY hammock stand from posts. I use affiliate links to help you find the products and tools used for this project.
- 2 – 4″ x 4″ x 8′ pressure treated posts
- 1/2″ spade bit – this is a really good deal on a kit
- drill press, I use the Ryobi Brand
- 1/2″ x 6″ eye bolt with washers
- hammock , I purchase the Duracord two person one.
- 5/16 stainless steel carabiner clips with locking bolt each one holds up to 1950 lbs, clearly iverkill but they fit the chain and the eye of the eyebolt.
- post hole digger
- 4 – 50lb bags of Quikrete
- Thompson’s WaterSeal Waterproofing Stain in Semi-Transparent Acorn Brown.
- water
This is how I made m a hammock stand with posts over a weekend.
Steps to make a DIY hammock stand with posts
Step 1. Treat the hammock posts with a Thompson’s WaterSeal product.
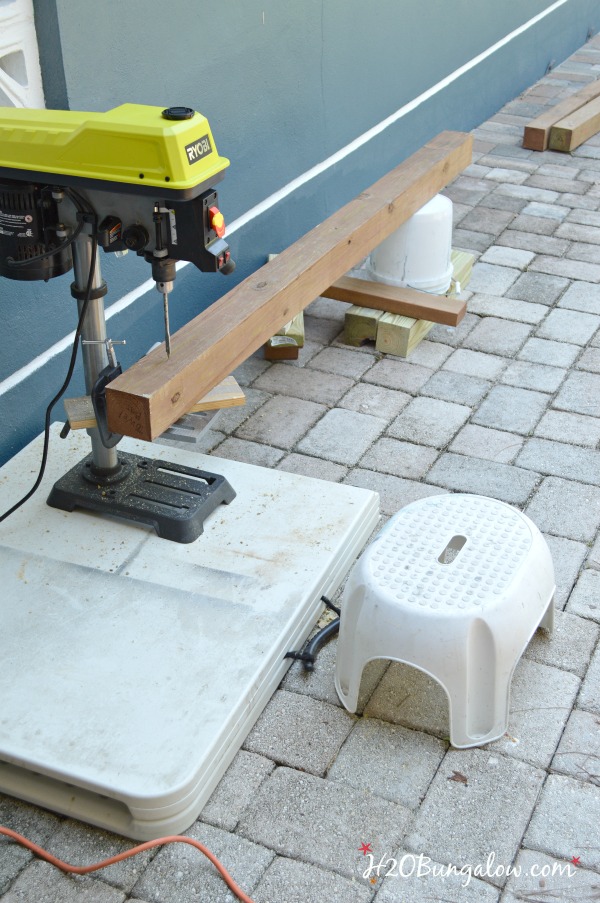
Step 2. Use a 1/2″ spade bit and drill one hole for the eye bolt that will connect the hammock to the post about 3″ from the top on each post. It was a cinch to drill through the 4″ posts.
You can see I had to be creative in my drill press set-up since the posts were so long, at least I added a seat for myself!
I bought a double wide hammock and wanted to be sure it would hold when DH and I are relaxing with a little frozen something swinging lazily together.
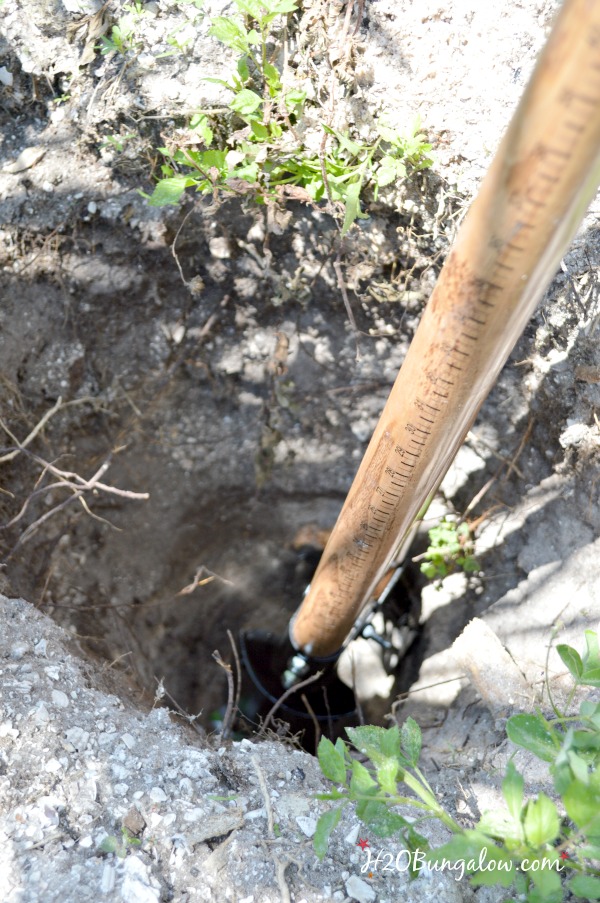
Step 3. Dig the hammock post holes. You’ll need to have at least 3o% of the post underground, which is 29 inches on an eight foot pole.
I was pretty surprised that by using the post hole digger it only took a few minutes per hole. My son handled this task, thank God for brawn and age:)
Step 4. Use two 25 lb bags of Quikrete in each hammock post hole. Follow the manufacturers directions and layer the water and the concrete mixture.
I waited two days for the concrete to cure in the hammock post holes and then back filled the holes with dirt.
How far do I space hammock posts apart in the ground?
When you build a hammock stand from posts, you’ll want to space them about 15 feet apart. If they are too close your hammock will hang at an uncomfortable angle. I planned for my hammock hooks to be at least 57″ from the ground which was higher than what the manufacturer suggested. I’m glad I did, because a new rope hammock will stretch.
We would have had our behinds dragging the ground even after bringing in the slack in the chains at the ends.
Make your DIY hammock stand area pretty
You’ll want to make your outdoor area pretty after you’ve gone to all of the trouble of making a DIY hammock stand.
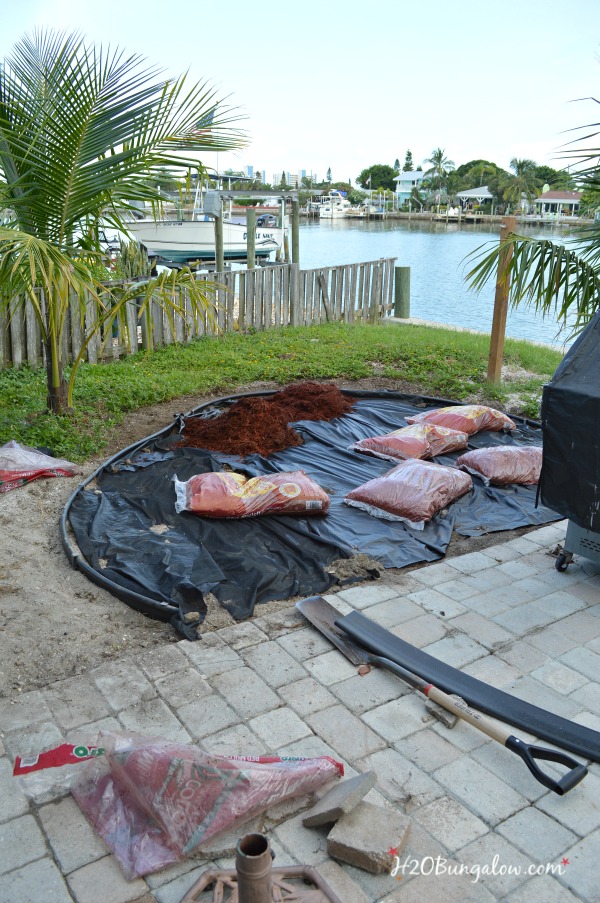
If you don’t have grass under your hammock, consider adding mulch or something with color. This garden border edging is the easiest stuff to install and it’s crazy heavy duty. I show how to put it in in my Butterfly Garden project from last year. I also used it in my coastal rope garden border project.
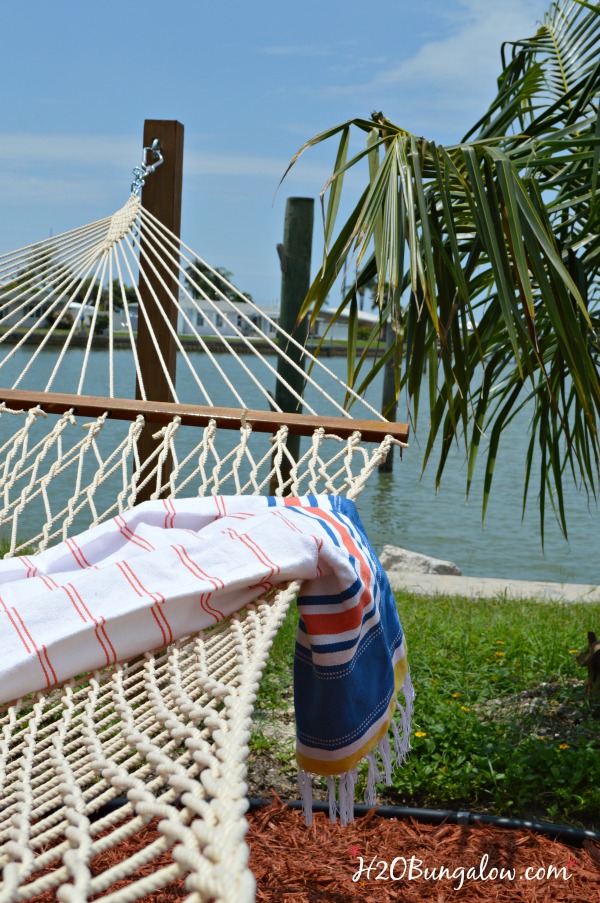
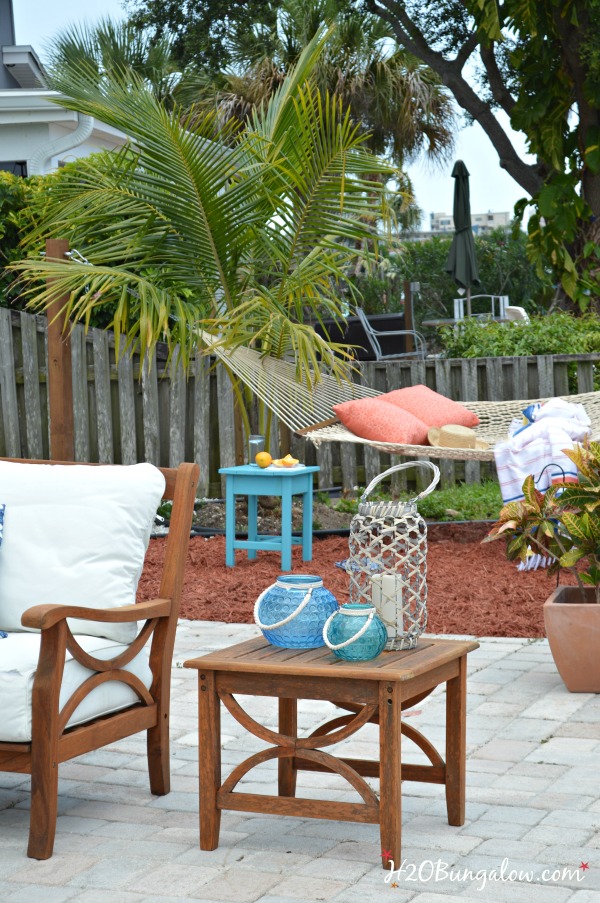
Have a small outdoor side table near to hold that frosty drink you’ll be holding while swinging on your new DIY hammock with the awesome DIY posts.
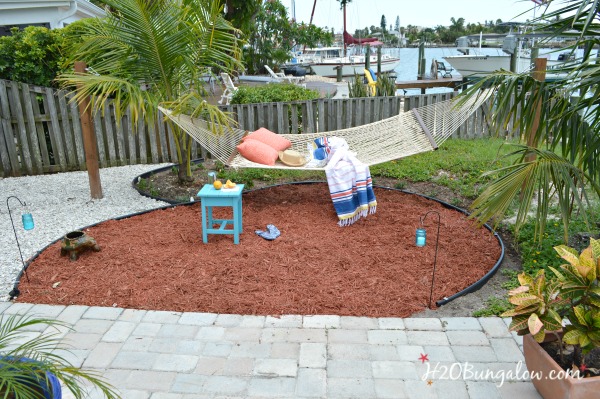
Place your hammock stand near shade if possible. One day these trees will grow and we’ll have lovely shade.
New rope hammocks will stretch with the first few uses. When ours did, I took up excess chain by moving the carabiner up the chain.
My new landscaped hammock area looks great with the rest of the backyard. It was a good decision to build a hammock stand from posts for this project. It blends well with my teak furniture I just finished redoing. Plus, I’ll never need to worry about it rusting and falling apart like metal hammock frames eventually do.
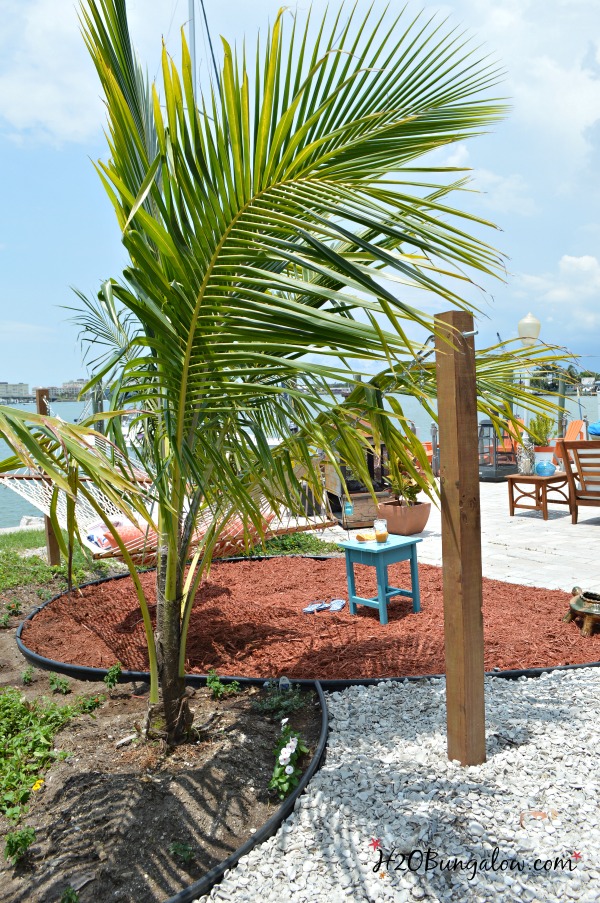
My coconut palms should start making coconuts in about two years and they’ll be great for shade too. Thank goodness I don’t need to wait a few years to use my hammock!
Now that I’ve shared how easy it is to build a DIY hammock stand with posts are you ready to add one to your backyard too?
Pin this for later and share with your friends on Facebook!
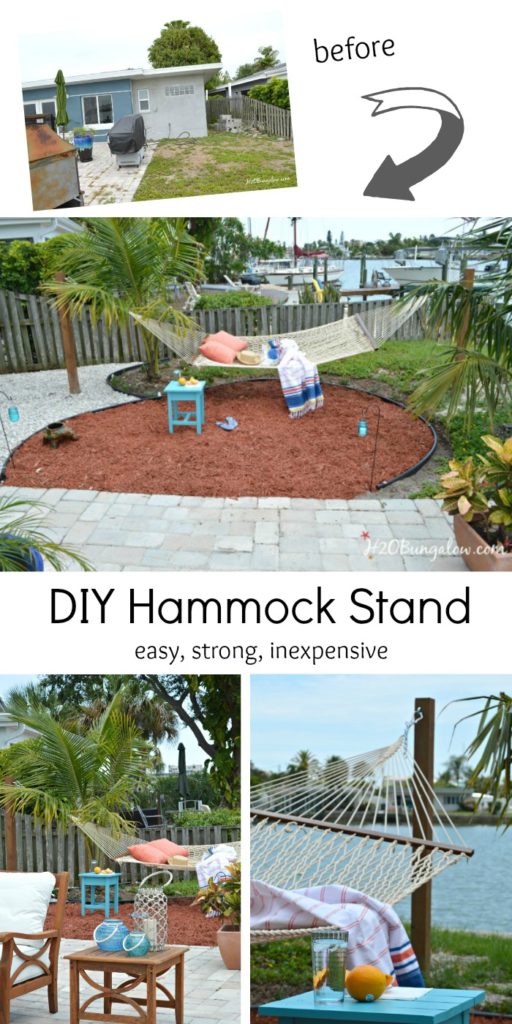
My DIY hammock stand was my 10th project of my 30 Days To Fabulous Backyard Makeover. That a peek at the rest of my backyard DIY projects for more ideas to overhaul a backyard!

Fatima Figueroa says
Enjoyed this post
Wendi says
Thank you so much Fatima! I love that hammock stand and it’s lasted beautifully. It’s been about four years since we put it up and still use our hammock! Plus, the trees are larger which is even better Thanks so much for your visit and comment!
Lauren @ Mom Home Guide says
I have ALWAYS wanted a hammock — I LOVE this project! I am going to pin this, and hope to make a hammock stand in my own backyard! Thanks for sharing!
Wendi says
Hi Lauren! Funny, I’ve always wanted a hammock too. I just didn’t like the big metal frames that they come with. This was an easy project, like really easy! I hope you add one to your backyard soon! Thanks so much for pinning my project and stopping by with your sweet comment:)
Marie says
I love this! Would love to build one of these for our yard and relax on it. Just perfection! Thanks for sharing your project with us at Merry Monday this week!
Wendi says
Hi Marie. You should build one, they are so easy to do and wonderful to relax on at the end of the day. I think it may be my favorite part of the entire month long makeover. Thanks so much for stopping by!
Lisa House says
I love everything you have done but just curious why you have not painted the addition on the side of the house…
Wendi says
Hi Lisa & thank you! It’s been a fun series and we are loving how pretty the back has started looking:) I’m not sure how you interpreted that the house hadn’t been painted yet. Maybe from the before picture? I did paint the house, it was the first project for the 30 day makeover:) I only took one set of before photos though, so that might have been the confusion:) Either way, it’s all looking fantastic compared to where it started from!
TwoPlusCute says
My huge comment took to long to write and it reset…boo.
Well, I love this hammock area. Your backyard is turning into a vacation paradise! 🙂
TwoPlusCute says
too* long
Wendi says
Hi TPC…Boo is right, I hate it when that happens! I’ve done it too;) Thanks so much for the compliment…I’m surprised the yard has come together so well too. I was truly stumped with what to do with this area. We are loving the hammock! Thanks for stopping by:)
Marie, The Interior Frugalista says
Wow, your yard is coming along so nicely! Love the area you created for your hammock and can’t beat that gorgeous view. A hammock for two – even better! When we moved into this house there was a hammock between two spruce trees. The trees have since been removed but I wonder whatever happened to that hammock. Pinned your hammock to share 🙂
Wendi says
Hi Marie and thank you 🙂 The yard has come a long way. I’m enjoying looking at the before pictures as a reminder of how far it has come! We’ve never had a hammock before, the metal frames have always kept me away since I know they eventually fall apart. I’m loving this idea. Thanks so much for sharing my project!
gail says
Super idea! I love the new trees and the hammock! I don’t think I’ve been in hammock since I was a kid…
Everything is looking so nice Wendi!
gail
Wendi says
Hi Gail and funny, now that you mention it, I haven’t been in a hammock in a long time either:) We’ve used this one a bunch of times already, when it cools off a little in the evening and there’s a sea breeze it’s a fabulous place to watch the sunset:) We are loving the backyard transformation! A hammock would look pretty good in your yard with the pretty picket fence:) Thank so much for your visit my friend.
Vanessa D. says
What a fabulous place to relax with a book and a drink!
Where I live Lantana are an annual we value for it’s heat tolerance, do they grow as a shrub down in Florida?
Wendi says
Hi Vanessa, It is a good book reading place. I’m really looking forward to using it when it cools down too. Right now it’s evening or morning coffee only because of the intense summer sun and heat. I’m still trying to figure out Fl gardening and what works year round. My yellow Lantana in a pot by the Umbrella Stand is a few years old and bears the heat well. It just needs to be watered almost everyday. In the ground it does much better. I’m hoping the orange and red Lantana does well in the ground. If so, it will look great surrounding the mulched hammock area. Thanks so much for stopping by!
Meg says
I’m really enjoying your backyard posts! Hubby and I are also taking the big step to retire in FL. We are stationed in Belgium, I leave Sunday for Tampa and he will follow in March. Reading your posts makes me so excited for our new home! We plan to do what you did and get a fixer on the water to move into in a few years. We still have kiddos at home, so the chaos would be too much now. You’ve been great inspiration for us! Thanks!
Wendi says
Hi Meg! Wow, I know you are excited! I remember what it was like when we knew we were moving here. You’ll love the area. We are right outside of Tampa and have loved every day here. Heads up, it will be a lot warmer than where you are now. My husband was active duty Navy when we moved here, so we did the same stretch as you to get our son in school. Living on the water is a dream come true, I’m sure you all will be blissfully happy. Thanks for the compliment and I’m thrilled I have been inspirational to you both:)
Patty says
Wendi that looks fantastic. Don’t you just love it, I can spend all day in a hammock reading and napping. You did a great job on the hammock and the landscaping looks beautiful and so relaxing just what it is supposed to look like in Florida.
Wendi says
Hi Patty! Thank you. I’m at the point where I can look outside and be very happy with the backyard. Such a huge change from a month ago!! Thanks so much for all your visits through this crazy makeover process 🙂
Julia says
Looks great but you may want to wear a helmet while you’re relaxing in the hammock once those coconut palms start producing!! Lol..
Wendi says
LOL, Julia! Good point! I’m still learning the fine art of taking care of fruit trees and palms here in FL so they do produce! If nothing else, I’m ready for the shade they will provide:) Thanks so much for your visit!