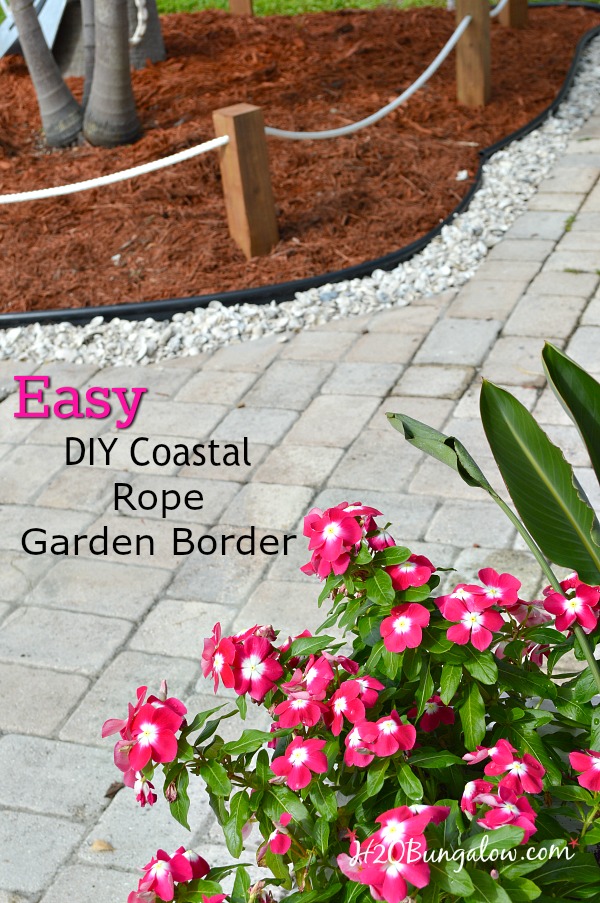
Oh my gosh, looking at my backyard and trying to figure out where to start for the 30 days To Fabulous Backyard Makeover was a bit overwhelming. I figured I start with another big eyesore, the overgrown planting bed. I’ve wanted to make a coastal rope garden border for my front yard for months, so I figured testing my idea out in the backyard was a good place to start.
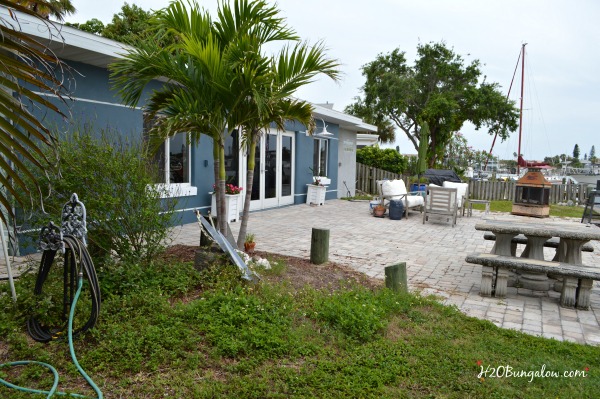
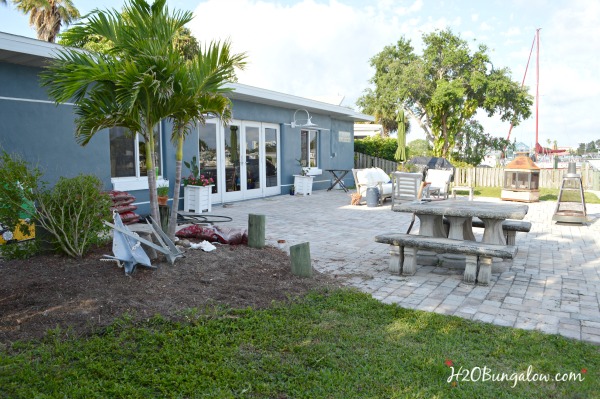
The picture below is my before shot of my yard. You guys know I just finished painting the outside of the house last week, and shared a video and tutorial on how to use a paint sprayer to paint your home.
The next thing on my list was to clean up the outside and get rid of things that don’t work!
Like the 800 lb concrete table that was here when we moved in.
It was like a gorilla. Big and just there.
What you can’t see is that it was two concrete tables side by side. Two heavy tops, two benches, six concrete pedestals and eight bench bases. This house was full of crazy concrete stuff when we moved in. I listed it all in the free section on Craigslist, and it was gone the next morning! I feel sorry for the poor husband who hauled this away. It took four people to lift the pieces onto dollies to move!
Next I had to prep my garden bed…or should I call it heavy weeding for my new DIY coastal rope garden border. Some might call it a coastal rope fence, either name works.
I’ll share my little weeding secret with you guys.
Weed after it rains.
I always weed after it rains!! Weeds pull out all the way to the roots when the ground is moist, it’s fast and easy. I like easy 🙂
Supplies you’ll need for a DIY coastal rope garden border.
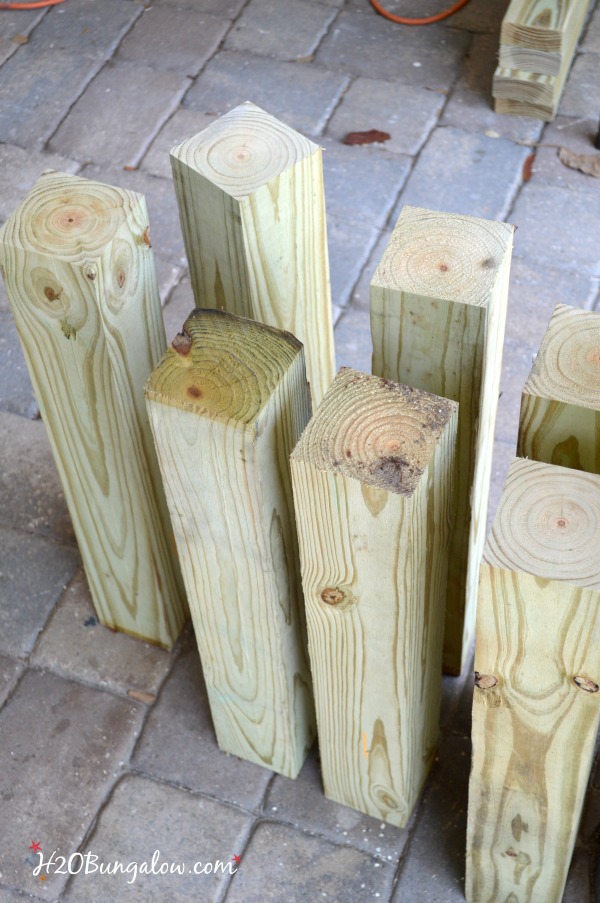
- 18″ pressure treated 4″ x 4″ posts
- 3/4″ white nylon rope I found much better prices here than what I paid at my local store. I should have checked before I purchased.
- E-6000 glue
- electrical or painters tape
- Thompson’s WaterSeal Waterproofing Stain in Semi-Transparent Acorn Brown.
Tools needed to make a rope fence
- Ryobi 10″ compound miter saw
- Ryobi drill press
- 3/4″ spade bit
- shovel
- rubber mallet
- sharp knife
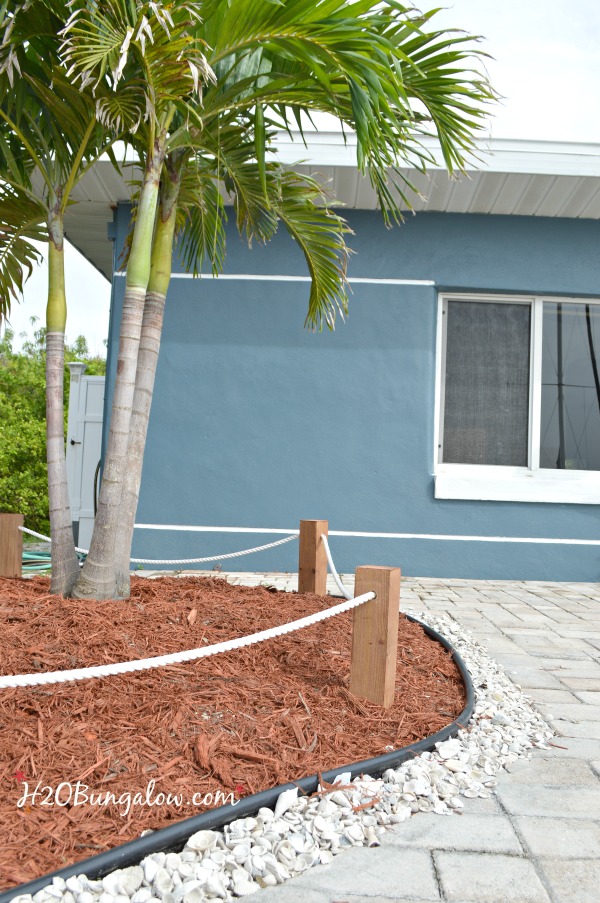
Even though I was installing a rope fence border around my garden bed, I planned on installing plastic garden edging in the ground too. I wanted it to stop the mulch from spilling onto the concrete and looking messy. This happened all last year and it drove me crazy.
I share how to install plastic garden edging in my butterfly garden project. It’s really simple to do.
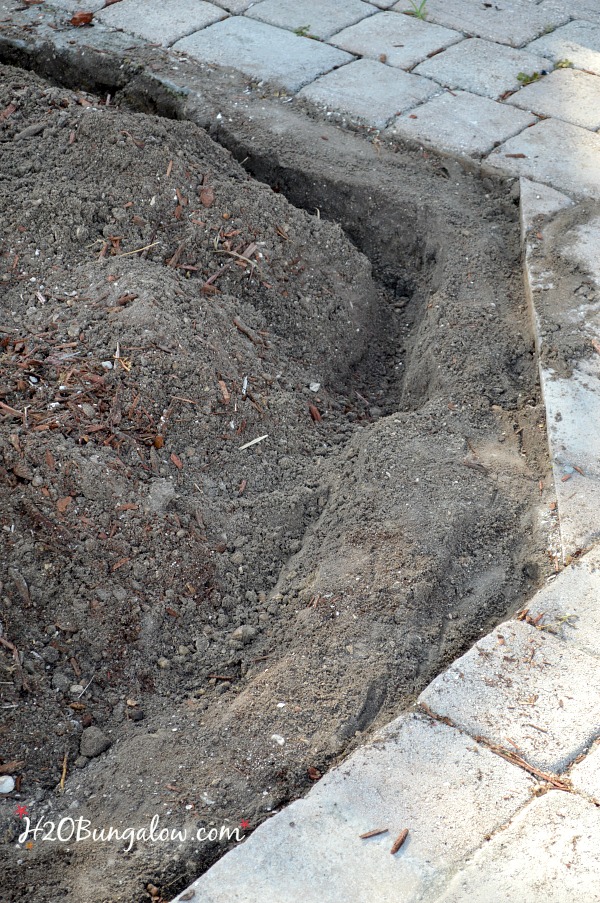
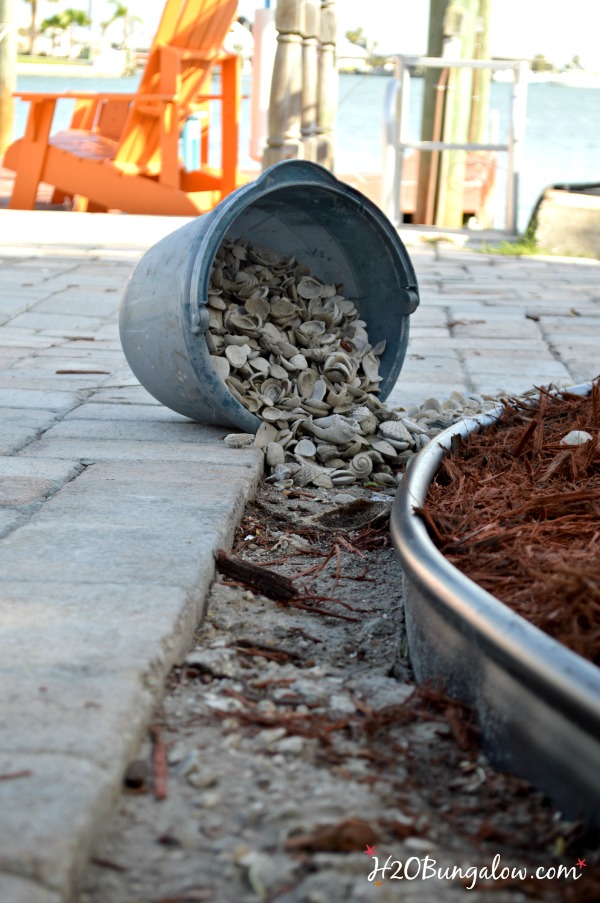
I had to get creative when I discovered this cement footing from the pavers.
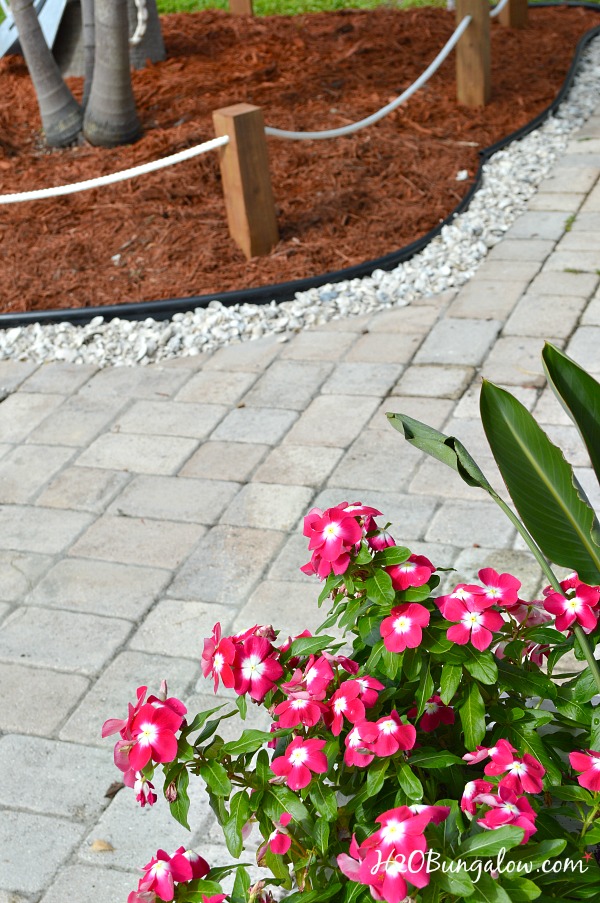
I filled the gap in with shells. It’s perfect and I like it even more!
If you’re local I used Larson’s in Largo to have a load of crushed shells delivered. They have fabulous prices and deliver fast.
Next came the fun part. I started to work on my DIY coastal rope border fence. I cut my 4 x 4 posts. They fit fine on my Ryobi compound miter saw. The trick with big pieces is to go slow.
No worries if you don’t have a saw, Home Depot will cut your pieces for you 🙂
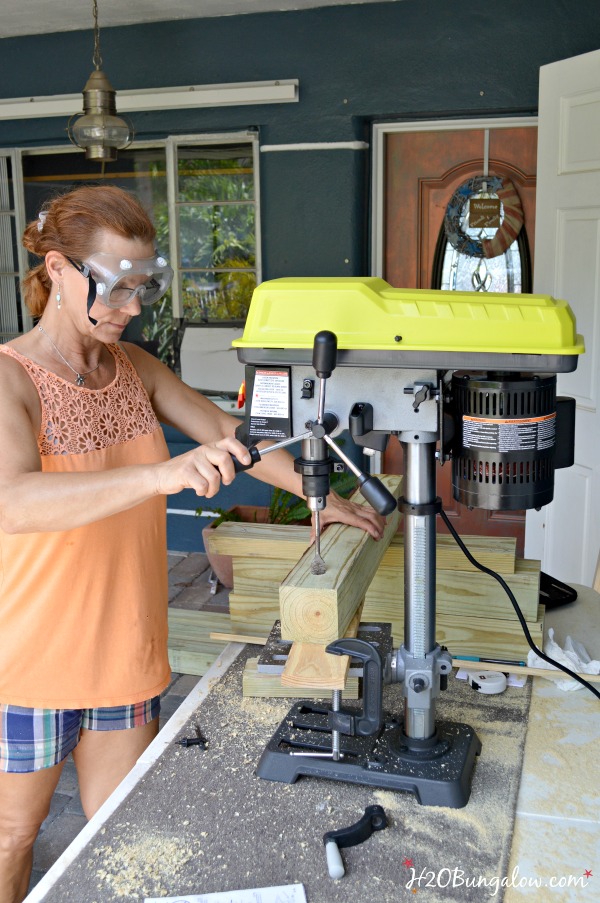
Drill a hole 3″ down from the top and in the center of each post. This was my first time using my new drill press. I loved it! I also discovered that using a spade bit, a wide flat bit to cut circles, requires again, slow progress and patience on thick pieces.
It wasn’t the spade bit as much as it was that I was drilling all the way through a 4″ piece of wood.
This part was a challenge as DH watched and kept reminding me that I needed to be patient with this process.
Ugh..he was right. Don’t tell him I said that though 😉
If you don’t have a drill press, you could try to drill the holes using a drill and a spade bit. Another option is to use these pipe clamps and attach your rope to the side of your post instead of threading the rope through.
Once I had the holes for the rope done, I gave the all wood a good coat of my Thompson’s WaterSeal, just like I did on my outdoor DIY Outdoor Sofa Table project a few weeks ago, and set it aside to dry. I’m loving the new line of semi-transparent finishes.
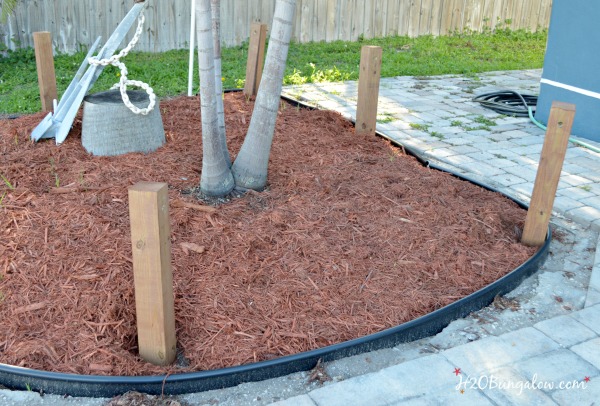
I’ll call my garden area kind of an organic shape, it’s not a square, exact or a circle. I laid out the posts before digging my holes,
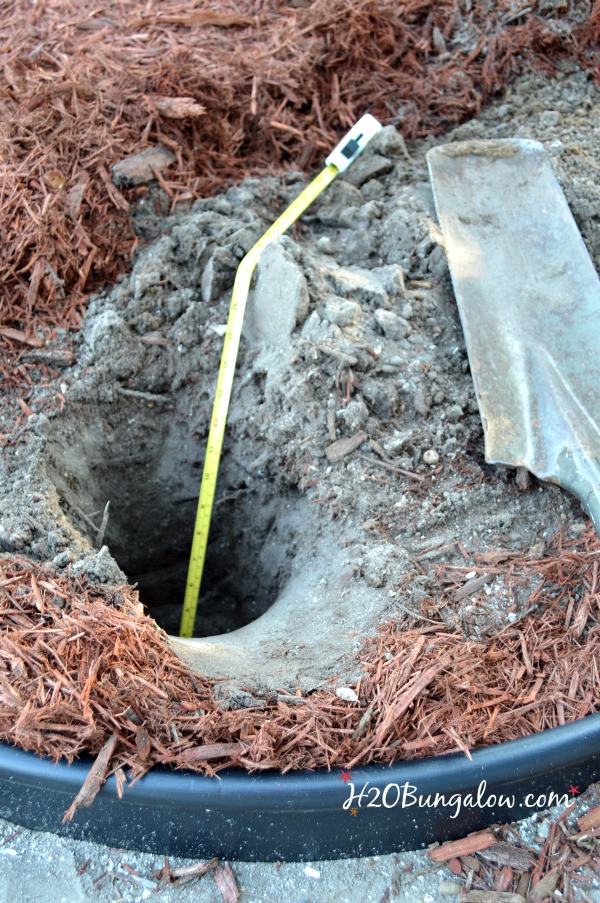
When I figured out where I’d put the fence posts, all I had to do was dig a hole 10″ deep for each post. Our dirt is pretty sandy and easy to dig. Since these are short posts, only 15″ tall from the ground, I didn’t worry about anchoring them with concrete. This area won’t be walked on or the posts bumped so I just put them in the ground as is.
Pop a post in, fill the dirt back around it and tamp the ground.
Done…move on to the next one 🙂
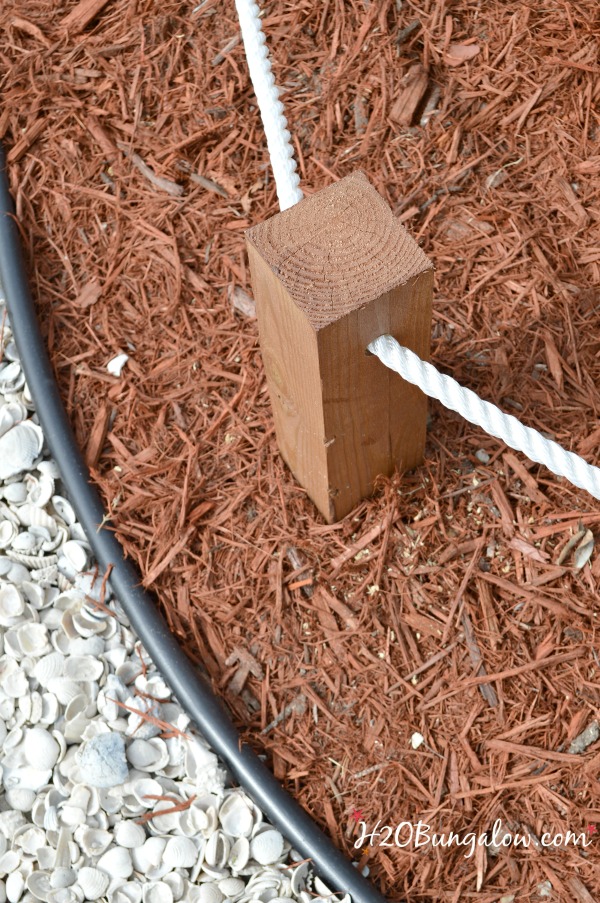
I ran a test line through all the holes in my coastal rope fence posts to see how much rope I needed before purchasing. That let me adjust the swag between the posts too. I used 35 feet of rope for this garden island.
I attached the two ends together by gluing them with liquid nails and taping them together to dry. I was leary of melting them together since if I melted too much the rope would be too short or it would be ugly and stand out. This way I can tuck the glued ends into a post and no one can see the beginning or end of the rope on my coastal rope fence.
If you need to cut your nylon rope, wrap a section tightly with electrical tape and use a sharp knife to cut down the middle of the tape. You’ll get nice clean ends on both pieces.
What do you think?
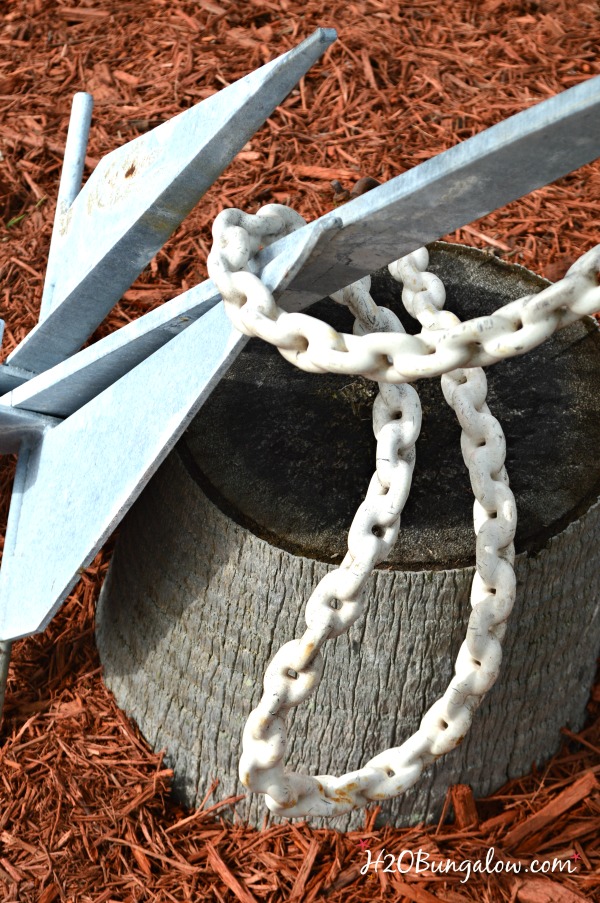
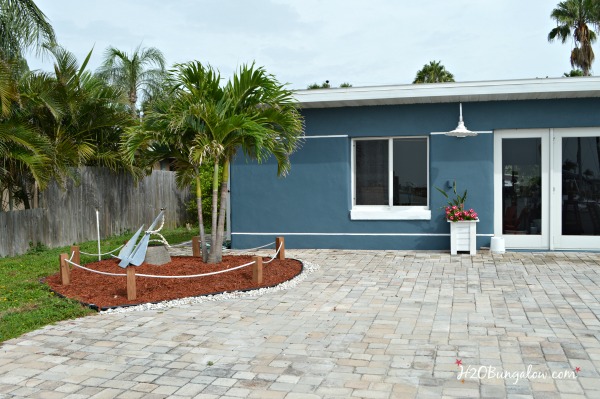
This is actually one of our hurricane anchors. They are big and heavy so I keep them out and use them for decoration;)
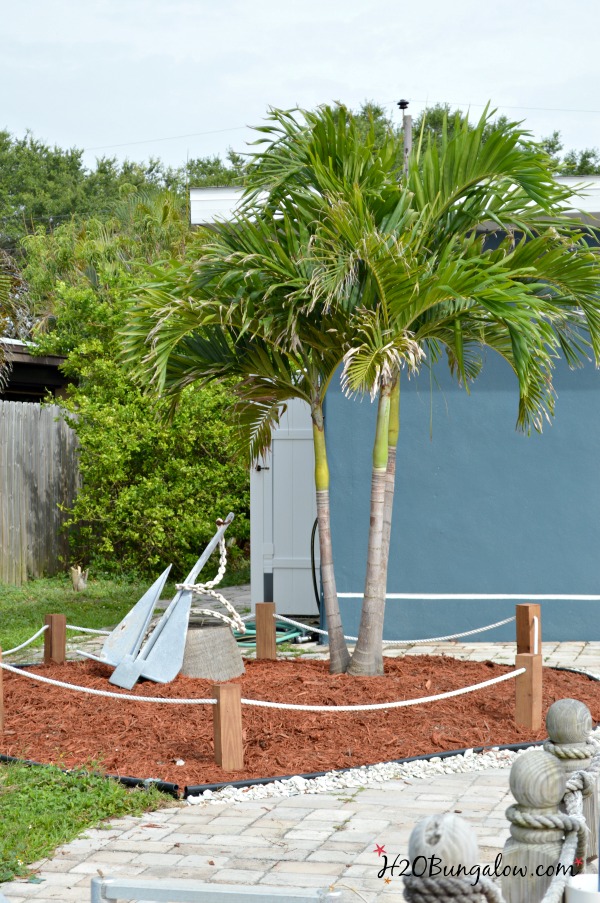
The contrast of the shells against the mulch and my coastal rope border fence are perfect. It looks much better than the before picture!
Doesn’t the area look so much better with the gorilla concrete tables gone?
I may add plants to this area eventually but for now I have plenty more projects to keep me busy!
This is project #2 of my 30 Days To Fabulous Backyard Makeover.
I’m looking forward to sharing the next project with you guys.
Next week is all about easy, easy projects that look great and work in any size yard or patio!
Do you have a garden bed you’ve wanted to tackle and clean up? What’s holding you back? Share in the comments section below:)
Disclosure: I may have been compensated, given product or tools that I used in this DIY post. All opinions that I share are always 100% my own. I use affiliate links in my posts. If you should make a purchase I will receive an itty bitty commission at no cost to you. Thank you in advance for supporting my blog and two fur-ball cats who believe they are privileged.
Andrea Davis says
I love this, I am decorating our beach house and the backyard and this would look amazing. And it doesn’t look all that difficult! Me and my husband are definitely going to take on this project this weekend. Thanks for sharing 🙂
Wendi says
Hi Andrea, That’s awesome! You’re right, it’s not that difficult to do. I’d love for you to share a picture of your fence project on my H2OBungalow Facebook page:) Thanks so much for your visit and have fun with your fence!
Mary-the boondocks blog says
The area looks really great Wendi. Perfect decorating with the coastal them. It creates such a delineation from one section to another and makes the whole area look so crisp. I love that anchor… now I’ll have to go and steal my husband’s. He has one down in the lobby but I don’t know why he left it there?
Wendi says
Mary… Go get that anchor, I know you’ll do something cool with it! We have two, and of course no storage. They are perfect as decorations and DH can still grab them when he needs them. Hopefully we won’t need them since they are for hurricanes to anchor the boat out 😉 I’m loving the little garden border. There’s nothing like committing to a big makeover to light a fire under my feet and get things done! LOL I always enjoy your comments, thanks so much for stopping by:)
TwoPlusCute says
Brilliant idea!
Or, should I say ideaS.
When I saw the finished project, I had to do a doubletake and check the before because, I had not noticed the gorgeous palm tree. “Was there a palm tree?”
Yes, there was and I missed it because it didn’t really stand out before
The after is fabulous, yet simple and easy to re-produce.The oars, the anchor and the sea-shells are so inspired!
TwoPlusCute says
Ignore the oats reference, I mistook the anchor in one of the photos, for oars. I do have really bad sight (really). :))
Wendi says
Funny! LOL
Wendi says
Haha… TPC! Yes, there was a palm tree there and the whole island was just plain sad. It does stand out now and the entire area is beginning to look so much better! Thanks so much for stopping by:)
Jody says
Ah, you gave me inspiration again. My backyard is 90 feet by 90 feet and to little fence it is beyond my monetary wallet. I love your coastal fence. Showed my son and budgeted it in July’s money. Just all mine the cutest fence in the neighborhood. I can do it myself and it is so adorable the front yard is getting one also. Was going to picket fence it and still may down the road but this will spiffy up the yard. Thanks again for inspiration.
Wendi says
Hi Jody and I’m thrilled I’ve inspired you! Notes like yours make my day:) Look online, I have links in this post for cheaper resources to purchase the rope. I paid about twice the cost at my local store 🙁 Enjoy your project and please share a picture on the H2OBungalow Facebook page when you finish it! Thanks so much for your visit:)
gail says
I love your coastal rope garden Wendi, and the shells are sooo pretty!
I can’t wait to see what’s next!
gail
ps I had one of those concrete sets years ago. My cousin wanted it, so we traded, and I still have her wrought iron set that has those chairs that sort of rock. They’re still going strong. The concrete ended up falling apart due to our cold temps!
Wendi says
Hi Gail and thank you! I’m thrilled I finally got this done, it makes this little spot stand out so much more:) Oh my gosh, you totally know what a gorilla the concrete set was! Ours was wearing too. I’m so happy it was re-homed, the space looks much better and open without it!
Kate Horrell says
OMG I love it Wendi. Your home is so beautiful, it makes me miss Florida when I see it. I’m originally from Cutler Ridge, then I moved up the coast to Jensen Beach. After hurricanes Francis & Jeanne in 2004 destroyed my house, now I’m living outside beautiful Savannah GA. I’ve wanted to do this kind of border at my house for so long, this has always looked so simple but elegant too me. Can’t wait for the rest of the projects.
Wendi says
Hi Kate and thank you! We’ve fallen in love with FL, it’s definitely home now. I still have so much work to do and projects to finish before the house is done. It’s starting to shape up nicely and take on the personality I’d like it to have. Like you, I’ve loved this type of border fence too, I can’t wait to add it to my front yard as well. I hope you’ll like the rest of my other projects too. We are so ready to love our backyard! Thanks so much for your visit!
Marie, The Interior Frugalista says
The perfect garden border for a coastal home and it looks great, Wendi. Love the added detail of the shell border too. Looking forward to Day 3 of your series!
Wendi says
Hi Girlfriend! I love this border. It’s been planned for such a long time, I’m grateful the 30 Days To Fabulous series is forcing me to accomplish lots on my list! Thanks so much for your visit!
Patty says
That area looks beautiful wendi, and the rope fence is perfect, it says coastal like nothing else.
The shell border is lovely and adds just the right texture. Wonderful job, and doesn’t it feel great when you finish a project like that.
Gilda Friedman says
I know your neighbors are so happy. Pretty soon they will be bringing over drinks for you……or they may be so impressed with your work,as I am, and ask you to help them do a project. Ughhhhh
Wendi says
LOL Hi Gilda, I hope they do bring drinks over. Especially the frozen kind with fruit and alcohol! I’m glad you like the yard so far, I have so much more to share:) It’s been fun. Thanks so much for your visit!
Vanessa D. says
I really like the look of your rope fencing. I’ve been looking at options to fence or barricade my gardens to protect them from the dogs and those little wire fences just don’t cut it.
Wendi says
Thank you Vanessa! It was pretty easy to make and inexpensive when you find a good deal on the rope. I’m not sure how well it would keep a dog out, but if he’s well behaved it probably will stop him/her from walking through it. Thanks so much for your visit and I love your shade plant articles:)
Lynda Sneed says
We made the mistake of putting my lighthouse bird feeder inside one of the flowerbeds. Need I say, stupid, stupid???
There are thousands of sunflowers growing & an inch thick of what looks like grass growing on top of my fabric to keep weeds out.
We are moving the bird feeder , but how do I get all this debris, less a few sunflowers out of my garden beds?? I cannot pull it out with my fingers & we have brick chips on top.
Need I say stupid once more??
Lynda
Wendi says
Oh my gosh Lynda… I was laughing as I read this! This morning I spent and hour scraping off the top layer of soil in my butterfly garden. Why? I let a pretty weed plant stay because the bees liked it so much. A friend and accomplished gardener mentioned I was headed for trouble because the weed had gone to seed and I promptly pulled it out. It rained a lot this week. We had a solid huge patch of sprouted weeds! Like your garden, thousands of sprouts. Can I join you in the stupid corner? Maybe we’ll toast to “bright ideas”! LOL If you don’t have any other plants near, you may try to kill the grass sprouts which are probably the other seeds with a mixture of 1 gal white vinegar, 1/2 cup salt and a small squirt of dish detergent. Mix & spray the weeds in the morning. I use this mix to kill our weeds. Thanks so much for your visit and fun story!
Serena @ Thrift Diving says
I love it, Wendi! I’m all about patios right now, after being here with RYOBI! I’m excited to get back to my house and work on my patio! Your new edging looks fresh and clean! Can’t wait to see what you do next! 🙂
Wendi says
Hi Serena! I know you are on a patio roll my friend! I’m looking forward to watching your new videos and seeing what you did at Ryobi. I’m excited, the backyard is shaping up nicely:) Thanks so much for your visit!