Today’s project for the 30 Days To Fabulous Backyard Makeover is a simple one that makes a big impact. Spray painted planters are an easy way to color coordinate an outdoor space. I’m sharing my top 3 tips for spray painting outdoor planters to get a perfect finish every time that looks great and lasts a long time.
You guys have seen a lot of my backyard in the last few weeks. There’s lots of open space.
While I’m still working on a few big projects in the background, I’m starting to add a few things here and there that will make this space the perfect outdoor area to relax and enjoy with friends.
I added interest at eye level when I hung my outdoor art without nails. I still need a lot more items that have height to fill in spaces and help define the area. This strategy will help me create an intimate space that looks and feels fabulous when I’m finished with my backyard overhaul 🙂
When I saw these tall planters at Walmart for $20, I knew they were perfect. Except for the brown color.
Since I paint just about everything, this was a simple fix. Outdoor paint can last and look good for a long time as long as you follow a few simple rules for outdoor painting.
Looking for more paint tips and ideas? Check out this list of 22 Fabulous Spray Paint Project Ideas, How to Paint a Front Door With No Brush Marks and 35 Painting Tips and Tricks That Save Time
3 Tips For Spray Painting Outdoor Planters
#1 Prep your planter surface before painting it.
Gently rub a little sandpaper over a shiny surface to give the spray paint something to adhere to. Next, wipe the outside of your planter down with TSP (tri-sodium phosphate) and a lint free cloth or rag to de-gloss and de-glaze your surface before painting it. See more painting prep tips here. Make sure your surface is dry before painting it. It’s been incredibly humid here lately so I brought my planters indoor to sit for an hour or so to be sure they were dry.
#2. Use the right paint for your outdoor project.
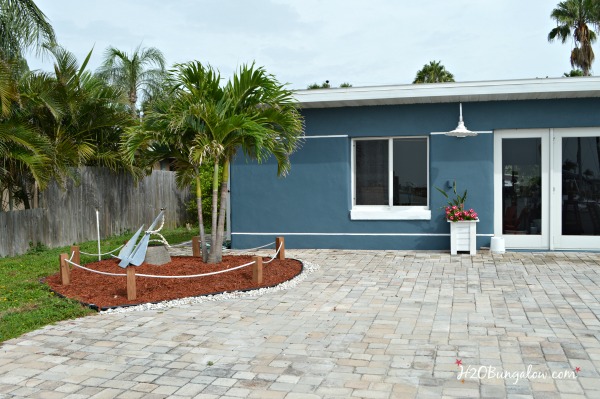
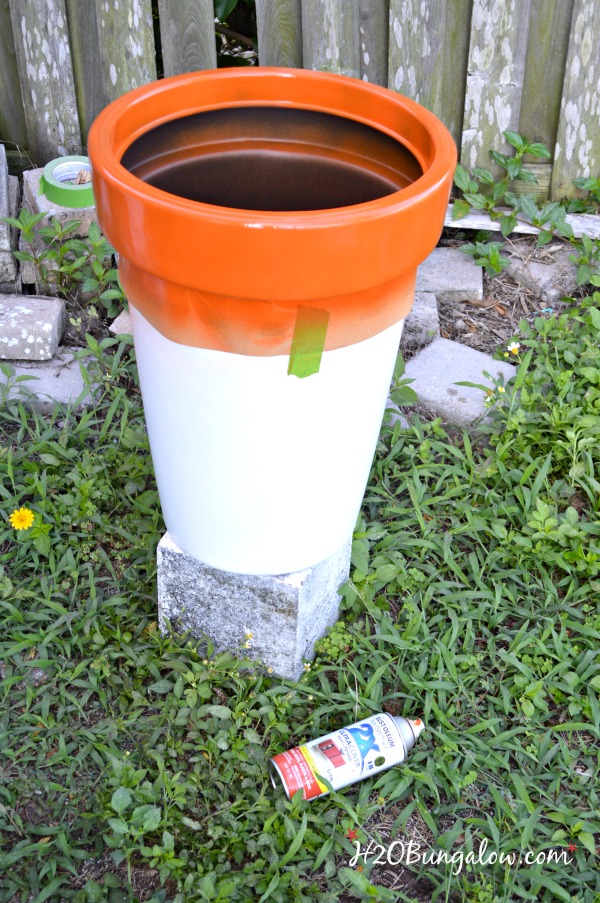
Choose an outdoor spray paint and one that is made for your surface. My outdoor planters are plastic, and I used Rustoleum’s 2X spray paint for plastic. Orange looks especially good against the blue of our house and I’m loving the pop of color. I used Rustoleum’s 2X in Gloss White and Satin Fire Orange on my patio planters.
#3. Paint your outdoor planters in the right conditions
This sounds elementary but it’s especially important. Read the label on your spray paint and you’ll see that it mentions not to paint when temperatures are too high or too low. To low is never an issue here in FL, but too high is.
The same goes for humidity.
I spray painted my outdoor planers early in the morning before the day heated up. Because our humidity was so high, when they were just dry to the touch I brought them indoor and let them sit overnight.
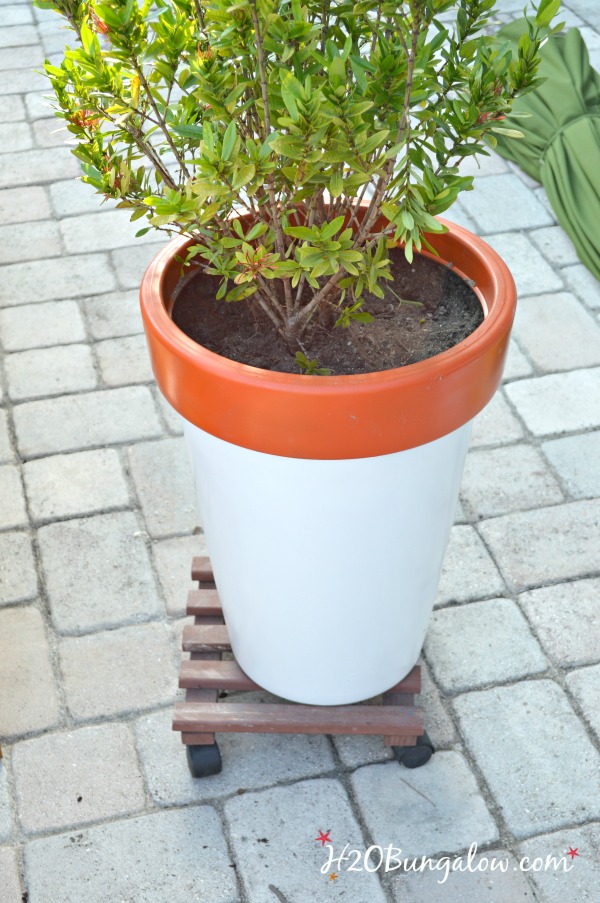
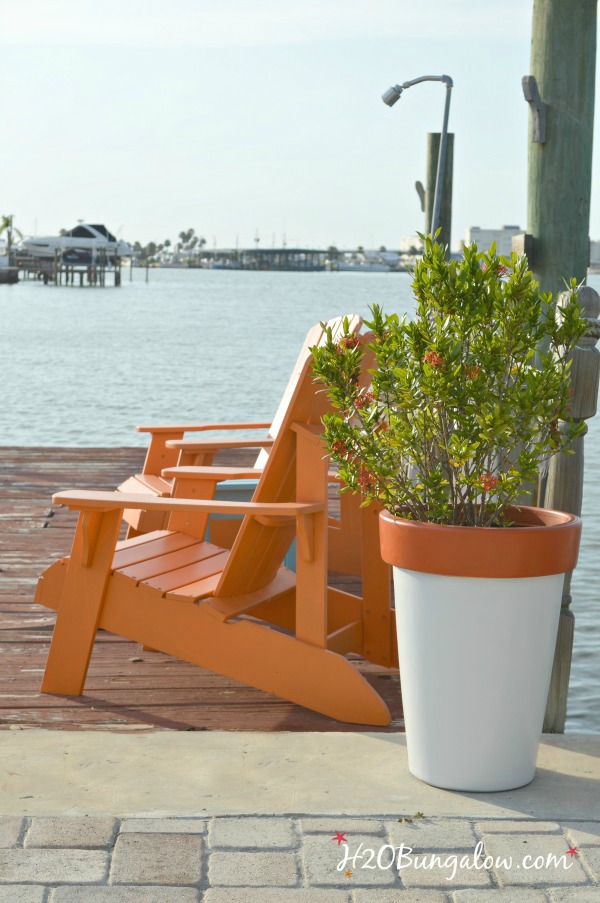
I shopped my yard and re-homed a few xantha bushes from the front yard for my tall planters. They are a dwarf variety so won’t get much bigger and produce beautiful orange pom-poms of flowers year round. Yes, I used my plant dollie to move them, these babies were heavy after I planted them!
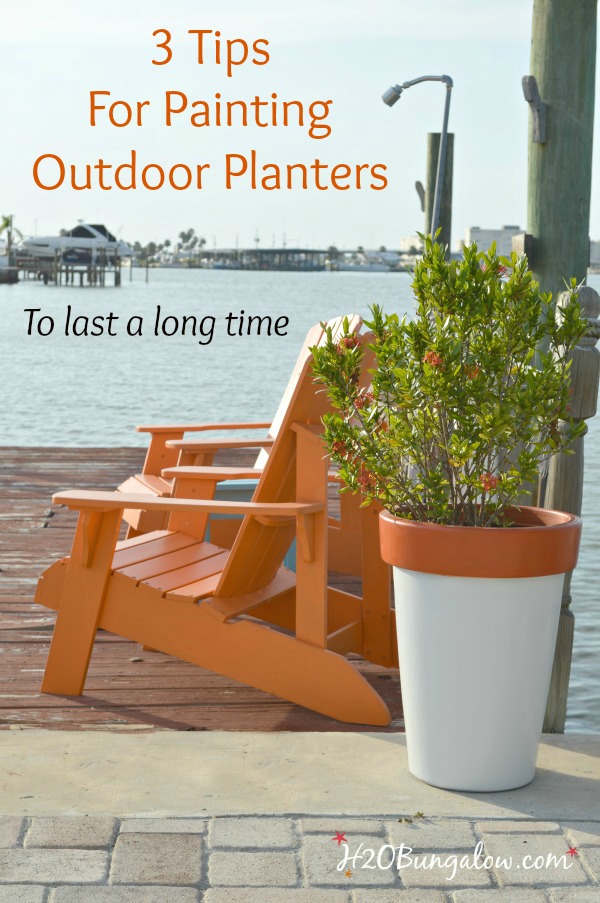
They look great next to the dock and my painted Adirondack chairs. Since they are tall, they give a big impression.
I placed one at each side of our dock, they fit nicely in a simple vignette.
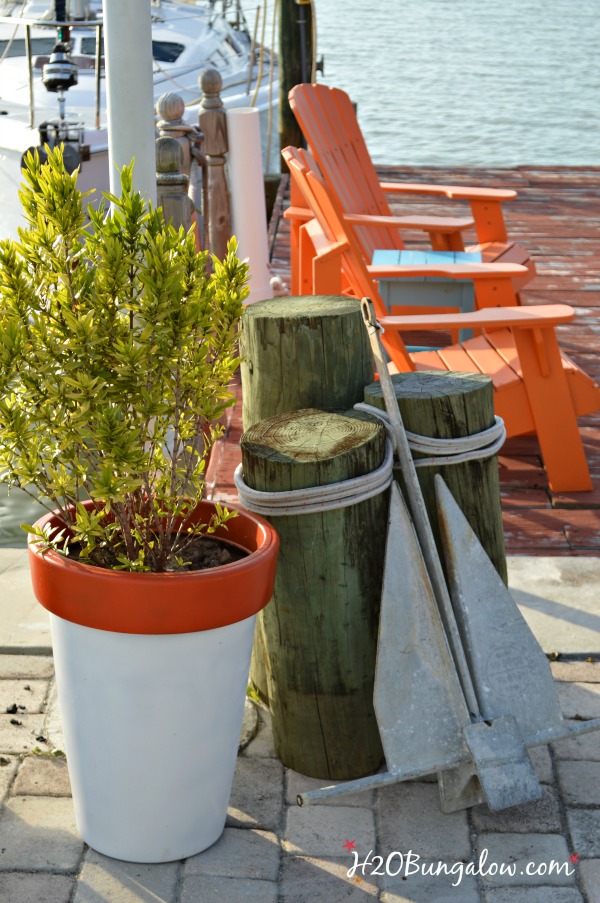
This is the other hurricane anchor we have. I re-purposed the piling pieces and some dock line to create this simple visual.
Spray painting your outdoor planters and decor is an easy and inexpensive way to color coordinate a yard or patio. Adding a pop of color or even changing your outdoor colors takes minutes. Follow my 3 tips for spray painting outdoor planters and you’re project will turn out as good as you envision it will and last a long time.
What color would you paint your outdoor planters?
This is project #7 of my 30 Days To Fabulous Backyard Makeover


Shirley Wood says
I have a few to paint. Thanks for stopping by and sharing with us at Merry Monday. I hope you have a great 4th of July weekend!
Wendi says
Hi Shirley! Spray paint is one of those items we can’t live without:) Thanks so much for hosting your party & wishing you a fun 4th of July too!
Jelica@APrettyFix says
Great tips! Love the orange you chose. It turned out so well 🙂
Wendi says
Hi Jelica and thank you! I needed something to give that area a big pop of color and these worked so well. Thanks so much for your visit and please stop back by!
Angela Boone says
What a great idea. Saw this on Work it Wednesday and I will have to try it.
Wendi says
Hi Angela! A few extra steps makes a big difference in how spray paint adheres to plastic or outdoor surfaces:) Thanks so much for your visit.
TwoPlusCute says
Studied and noted all the tips.
Your pot looks so smooth and modern, I love it.
Wendi says
Thank you TPC! It was the look I was going for! I needed some big color and these did the trick:) Thanks for your thumbs up on the project!
Vanessa D. says
The orange and white of your planters looks so sharp with your chairs. Spray paint is one of those things I’ve got a love-hate relationship with. I love it when I’m in the groove and it’s going on as it should, I hate it when it runs and drips on me. Practice, practice, practice I guess.
Wendi says
Funny Vanessa! I hate it when it drips too. Use light passes of spray back and forth and stay patient. It’s better to have several thin coats than a few thick ones:) Thanks so much for stopping by & I’ll bet my planters would look awesome with your healthy well cared for plants!
Patty says
I love the shape of these planters, they are the perfect size for the site. I love painting my flower pots, I have some that have been painted several times whenever I change my color scheme.
It must be nice to have flowers bloom year round, oh wait, yes it is I remember how that is.
Your back yard is looking beautiful, can’t wait to see it at the end of 30 days.
Wendi says
Thanks so much Patty. I need to be better at recycling my planters with color, you clearly have it down pat:) yes, I picked those bushes because they look good yer round and take zero effort,..my kind of plant! I’m looking forward to sharing my entire space with you guys soon:) Thanks so much for your note 🙂
Marie, The Interior Frugalista says
They look fabulous, Wendi and pair so nicely with your Adirondack chairs. Thanks for the very timely tips because I have a special project involving four large plastic planters that I’ll be spray painting for my daughter’s wedding. Your yard is coming along very nicely – I bet you’re drawing attention from the neighbors!
Wendi says
Hi Marie and thank you! It is coming together well. I’ve looked out the window and taken a double look because it’s shaped up so well I’m not used to seeing it pretty! LOL Thanks so much for your visit!
gail says
Your dock looks fabulous Wendi, so inviting. I love the bright colors, it fits well for you.
I would probably use more muted colors here. 🙂
gail
Wendi says
Hi Gail :), yes, big bold happy colors are popular here. The best part about paint is we can change them as soon as the styles change. Thanks so much for your visit my friend!
Mary-the boondocks blog says
These really make a difference. Nice pop of color and the look great next to those chairs.
Wendi says
Hi Mary! I had no idea where they’d go, I simply loved the shape. I think dockside is the perfect place for them..but then again, I may move everything around when I’m done with the projects:) ..which I’m ready to be, done that is! Thanks so much for your visit:)
Jeanie says
Your backyard area is really coming together nicely Wendi! It looks so put together and cohesive. Most importantly it looks inviting and I’m sure you and your guests are going to be so comfortable there.
Wendi says
Hi Jeanie and thank you! It is coming together, project by project. I have a few more to finish up before the month’s end. Whew! I’ll be happy when it’s over, next time I choose something so massive outdoors, remind me to pick another time of year. It’s crazy hot out! LOL!!